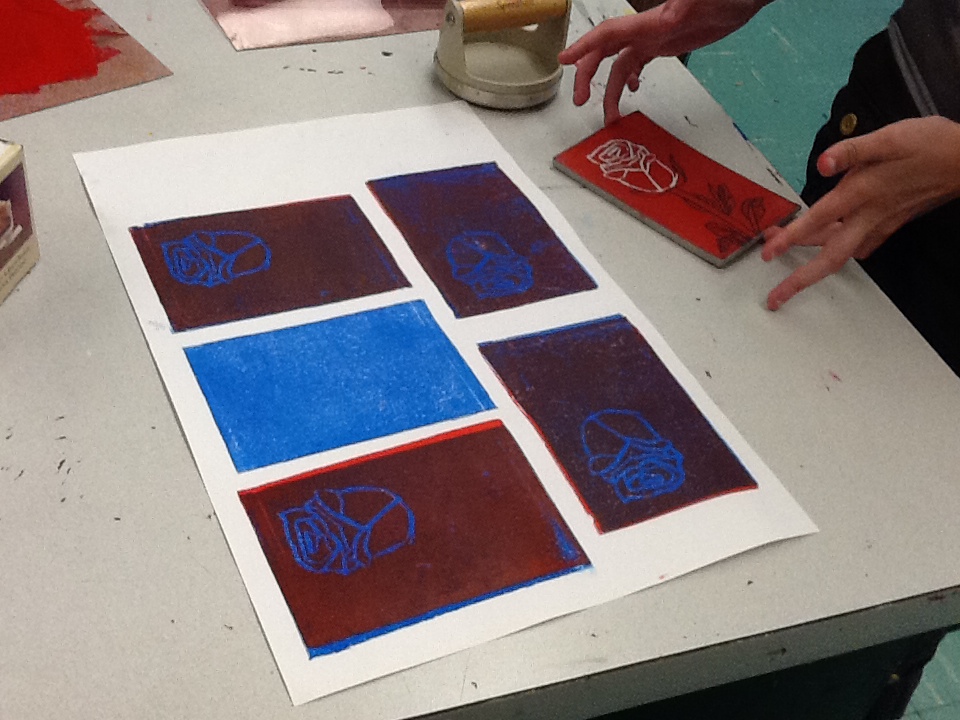
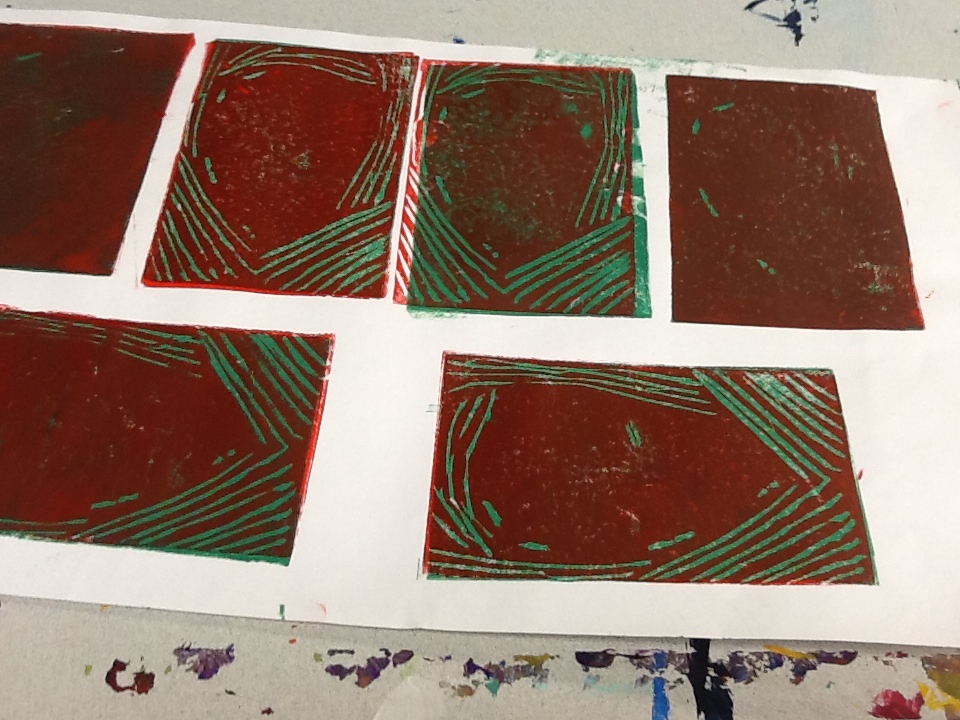
student's choice multi-color lino cut prints


genius hour through the weeks :)


genius hour blogs
Here you will find our ART 7 Genius Hour Blogs! Students are required to blog once a week but can always blog whenever they feel the need. Please click on student names to be taken to their blogs. They are super excited about their projects and can't wait to get some comments! These blogs are all the student's creations and so the first couple may be rough as we begin learning about online blogging, blogging expectations and explore ourselves as learners.
lino-cut printmaking
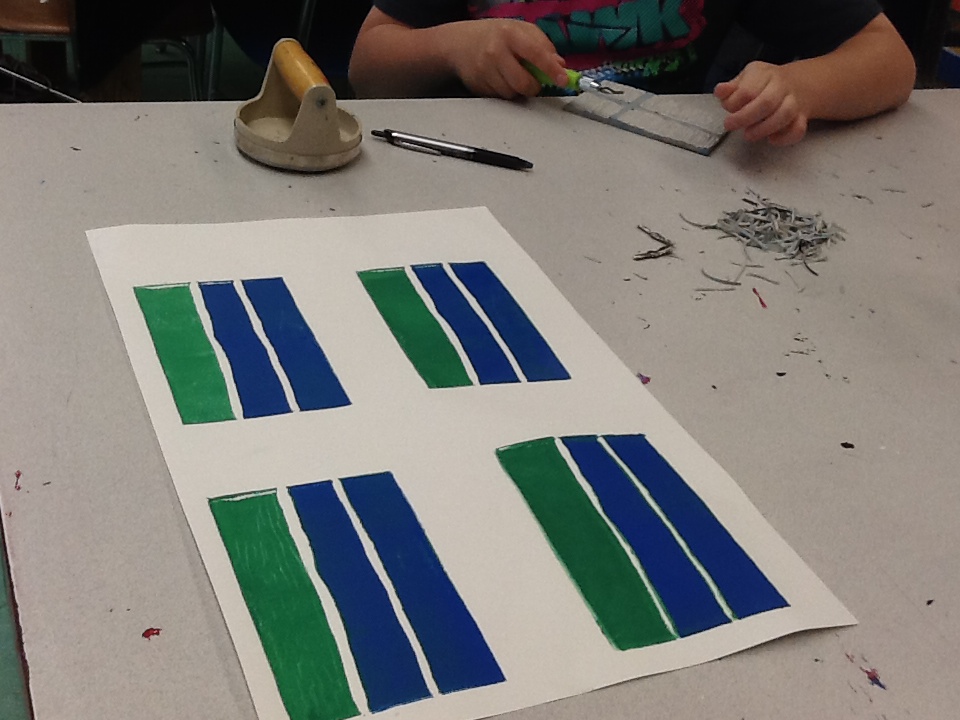
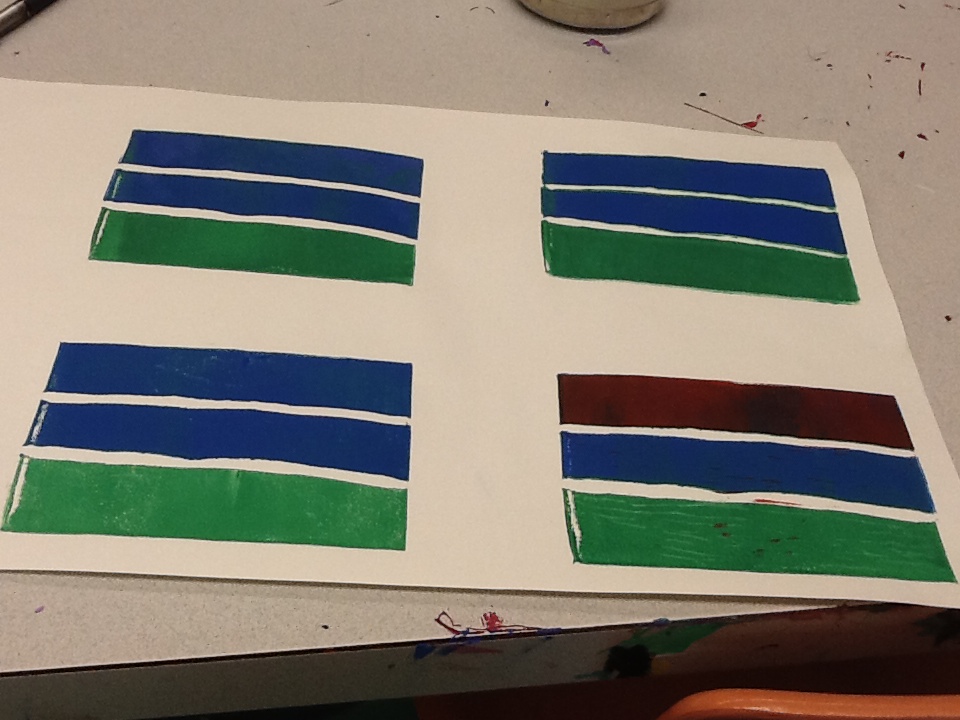
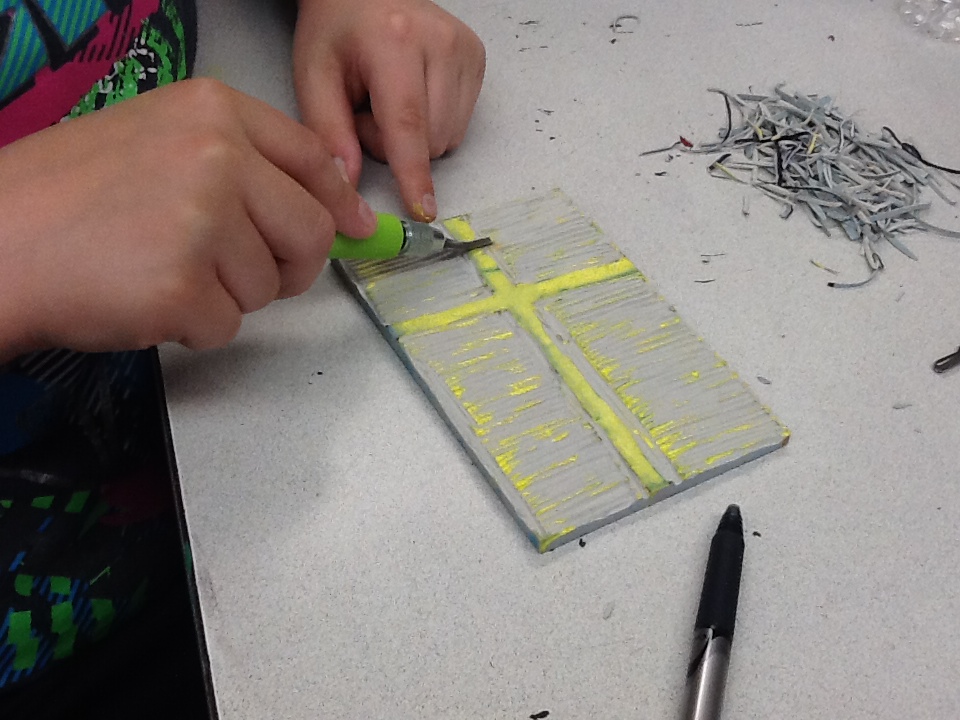
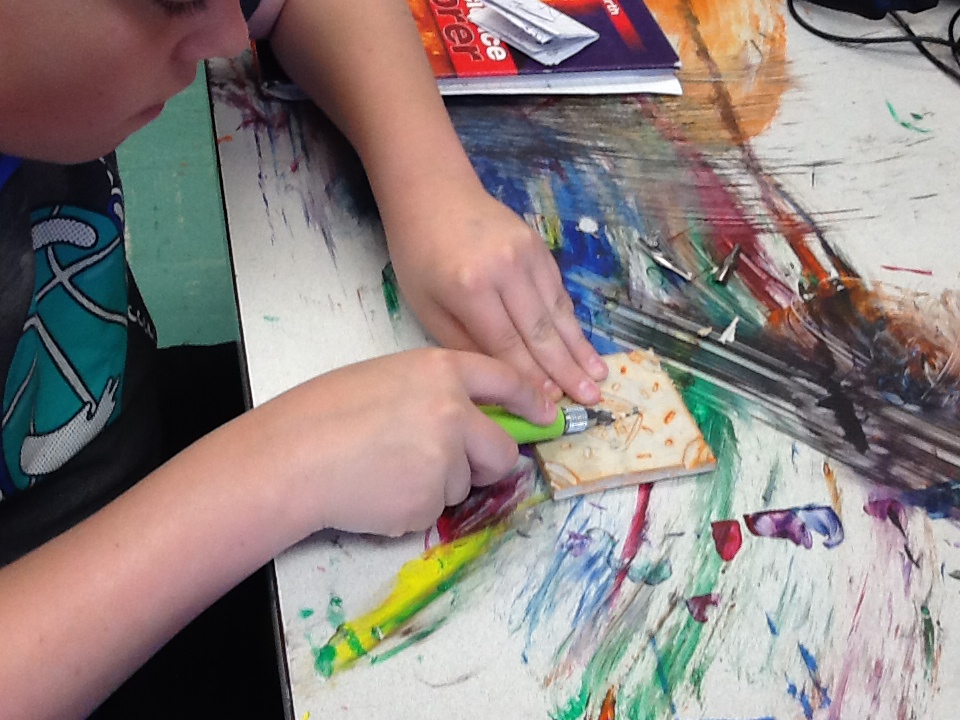
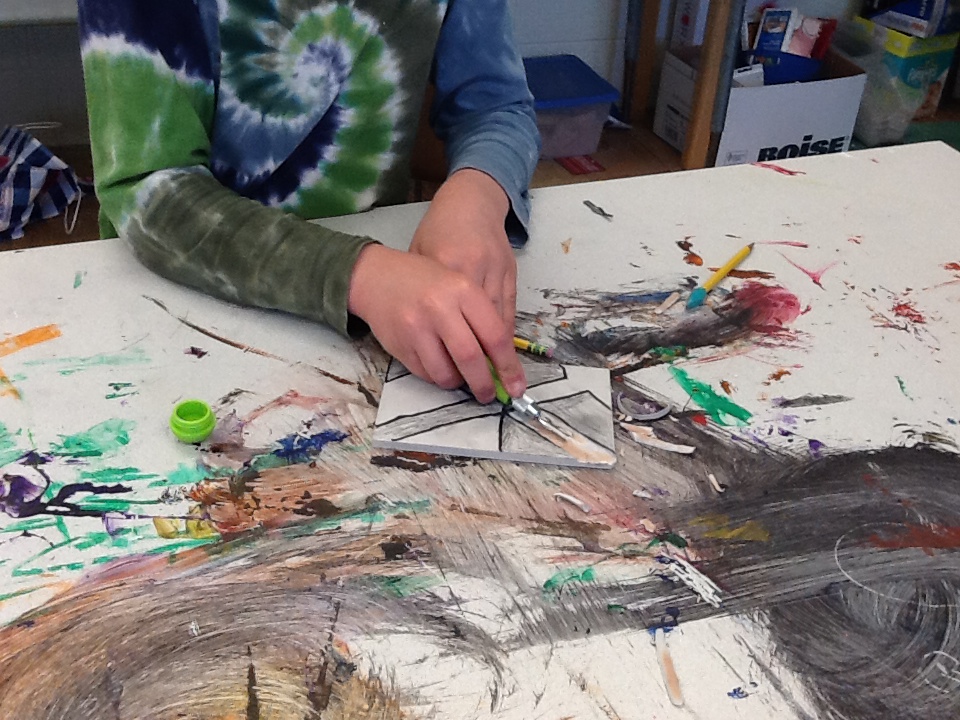
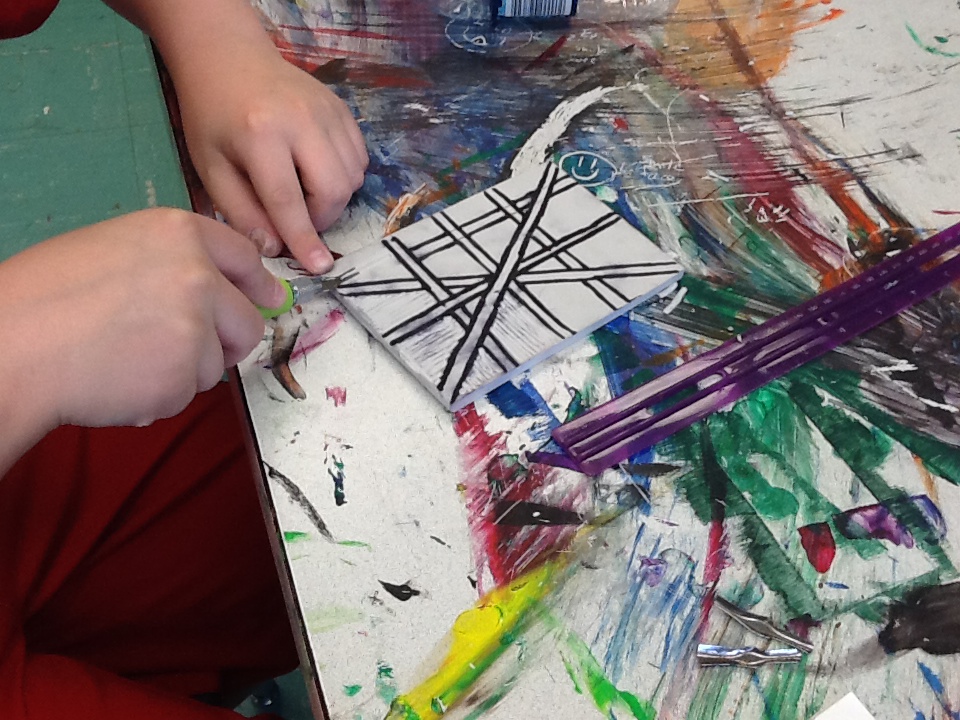
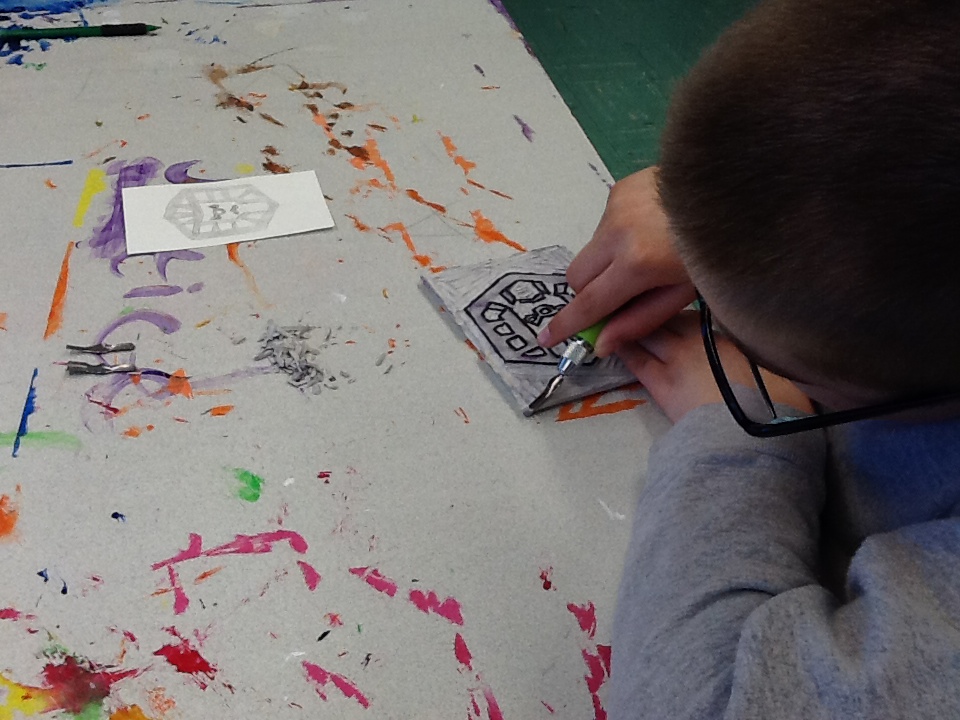
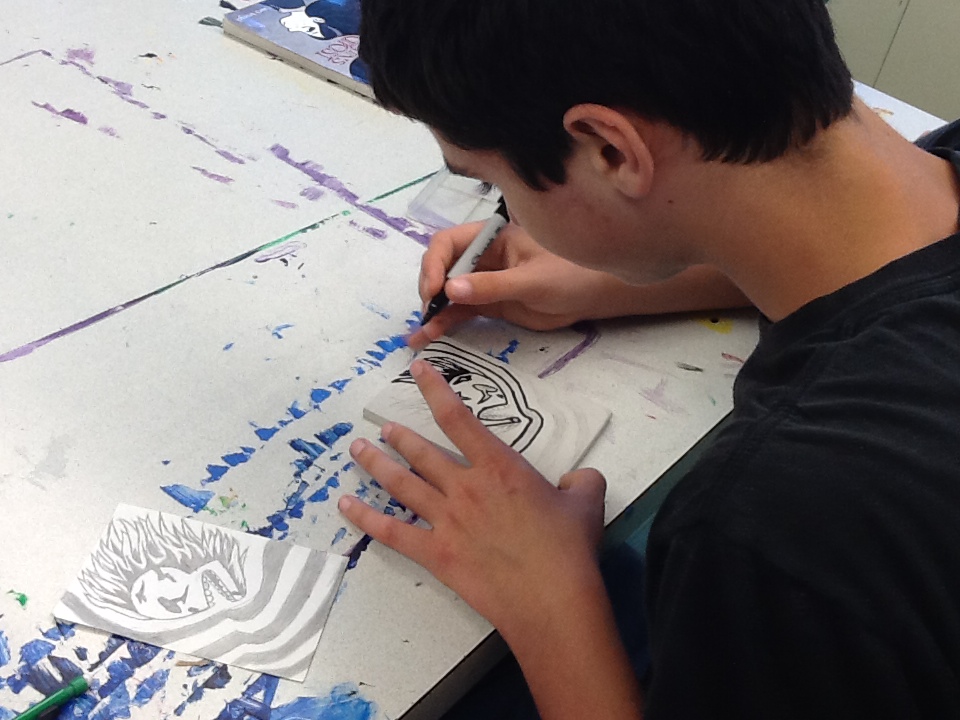
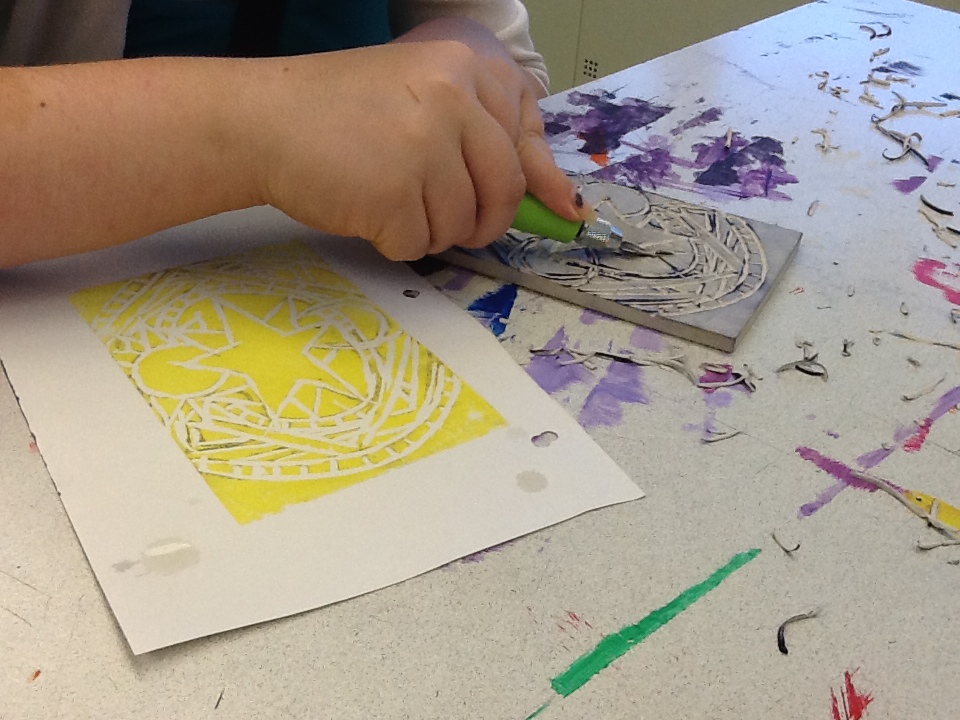
Our next adventure in our ART 7 class is into printmaking. There are several types of printmaking out there, but for our project, we will be carving linoleum blocks as our medium. To get acquainted with the process and its tools, we started by watching some videos from our art supplier, Dick Blick and other art teachers. After material and tool introduction and even more safety tips and must follows, students got familiar with their tools by practicing on some old, used lino blocks.
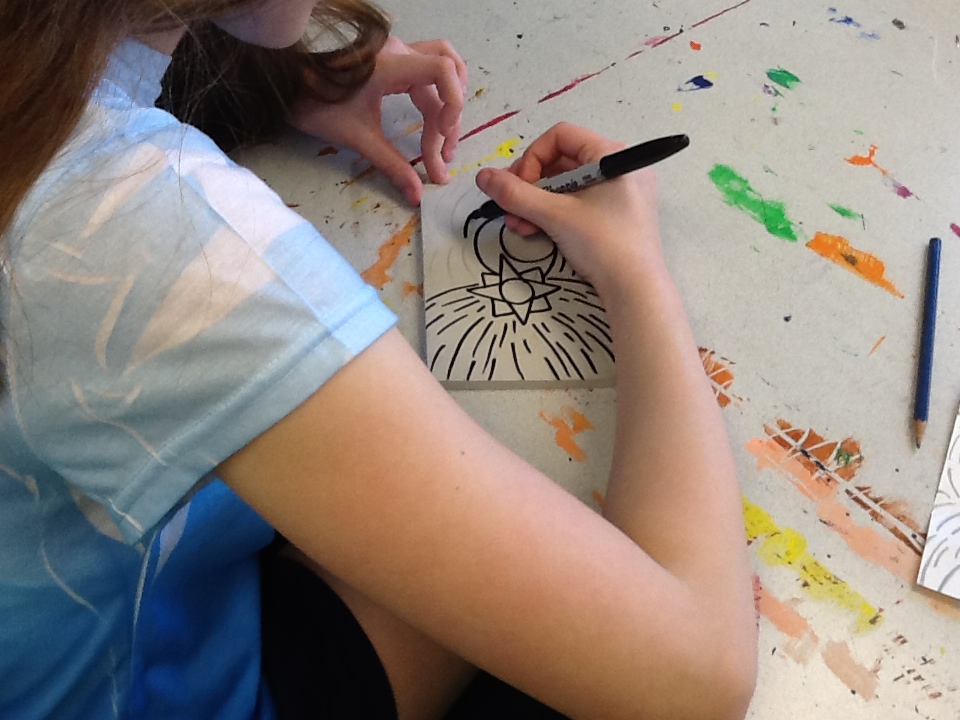
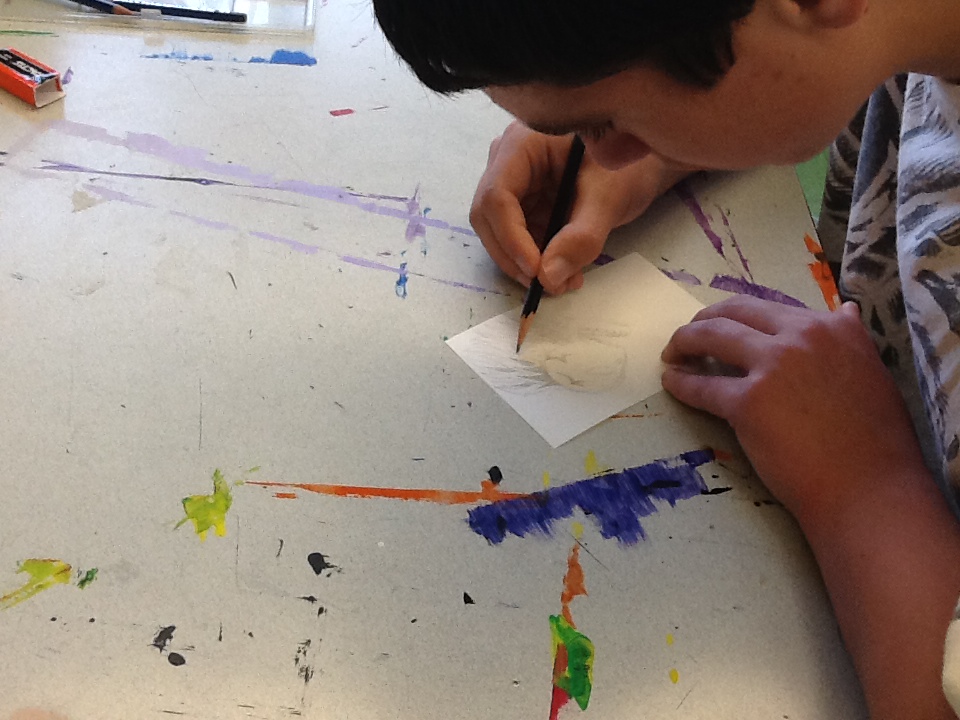
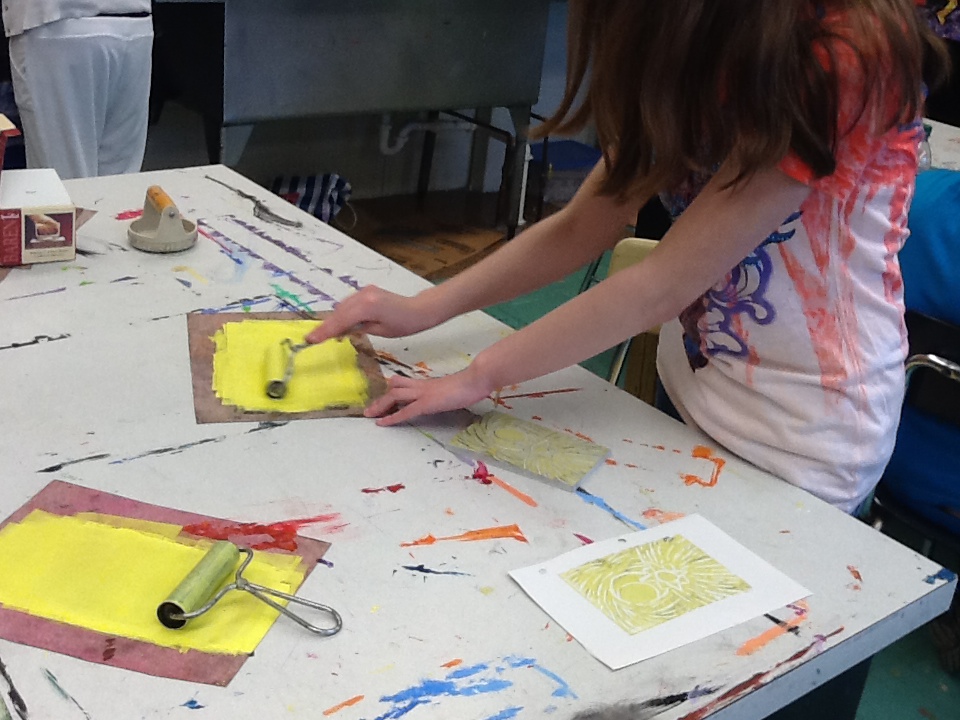
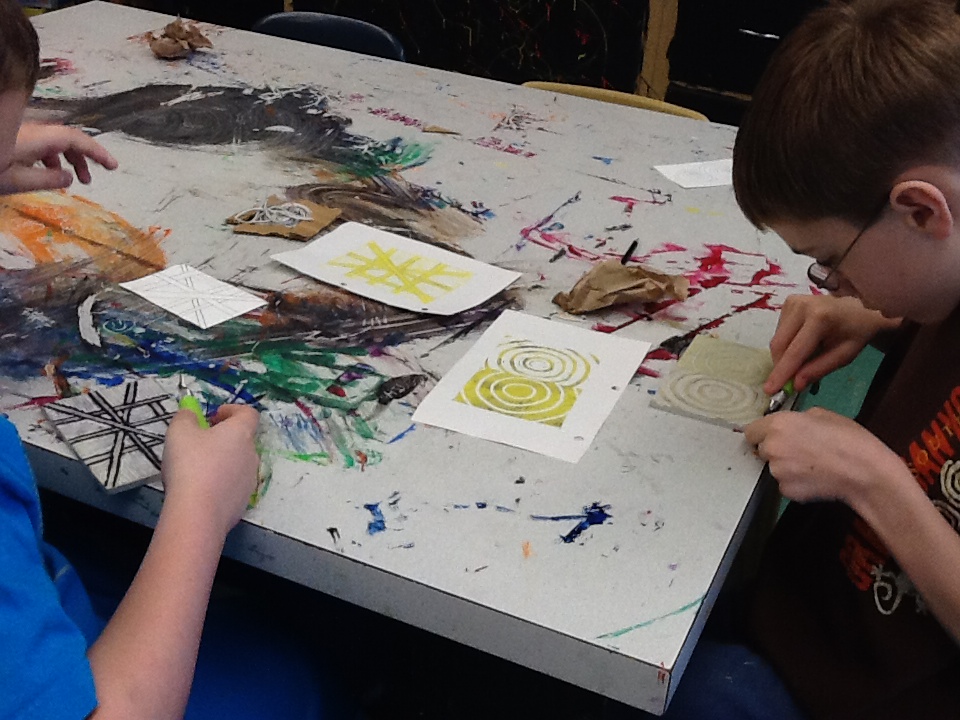
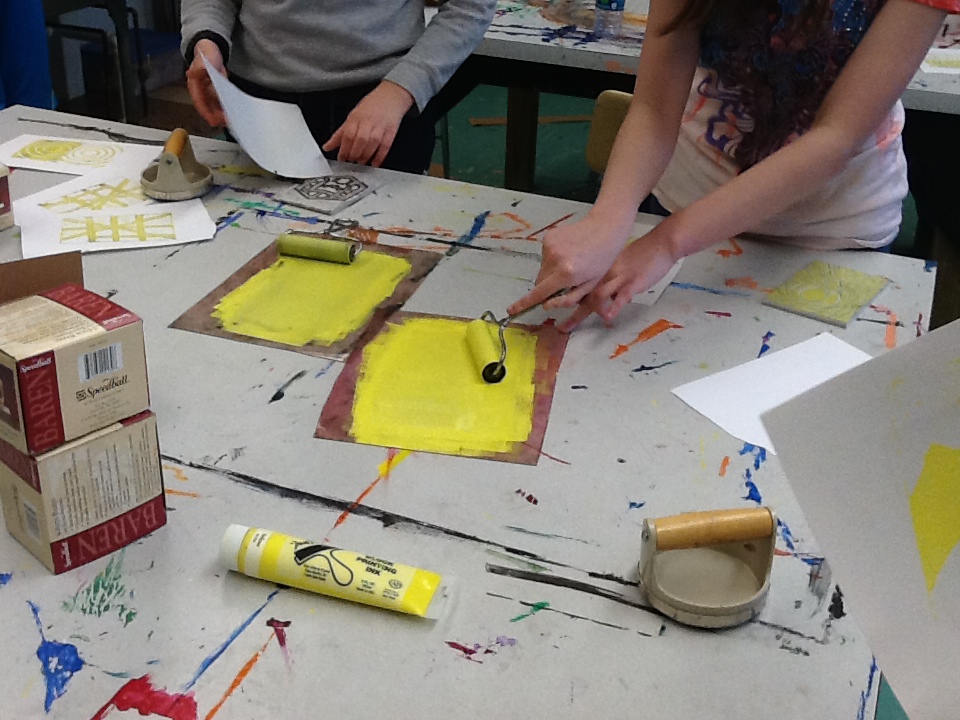
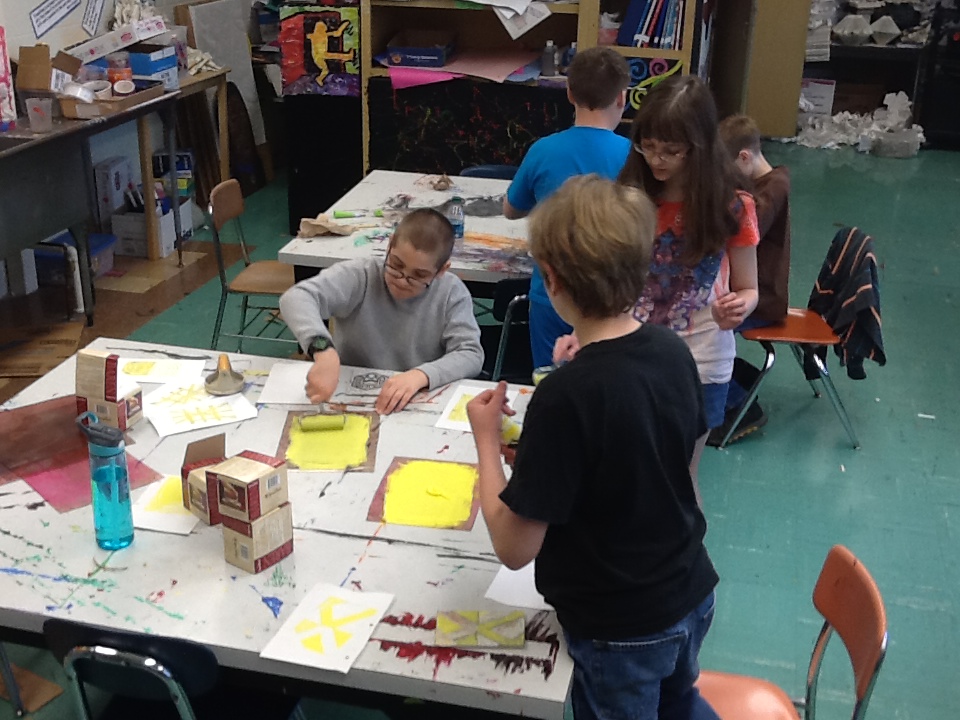
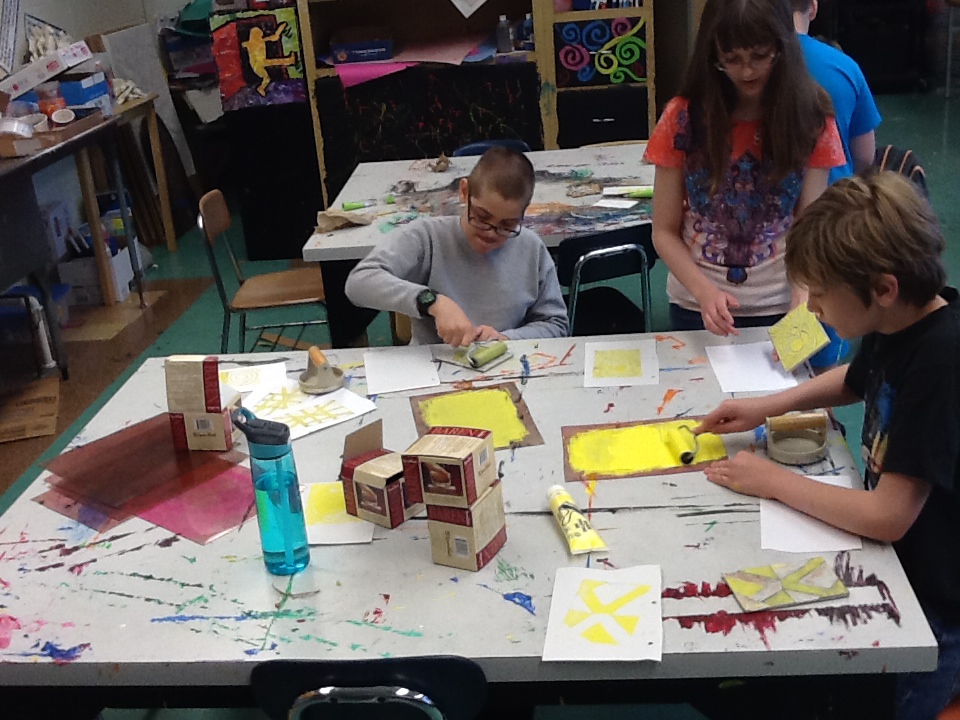
For their prints, students could choose any design or image they wanted. There were celestial designs, concentric circles, fish and skulls. After preliminary sketches, final drawings were done on our linoleum blocks and practice prints were underway. Students have to create a triptych of their print in any color(s) and mount on construction paper. You can check out our Gallery later this week to see the final pieces!
For their prints, students could choose any design or image they wanted. There were celestial designs, concentric circles, fish and skulls. After preliminary sketches, final drawings were done on our linoleum blocks and practice prints were underway. Students have to create a triptych of their print in any color(s) and mount on construction paper. You can check out our Gallery later this week to see the final pieces!
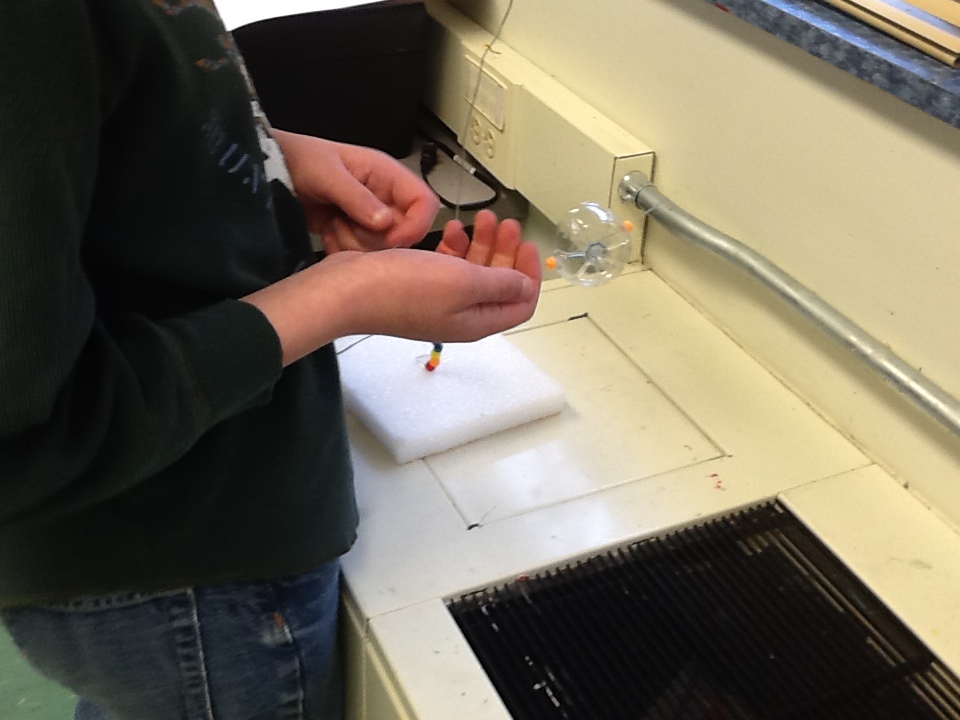
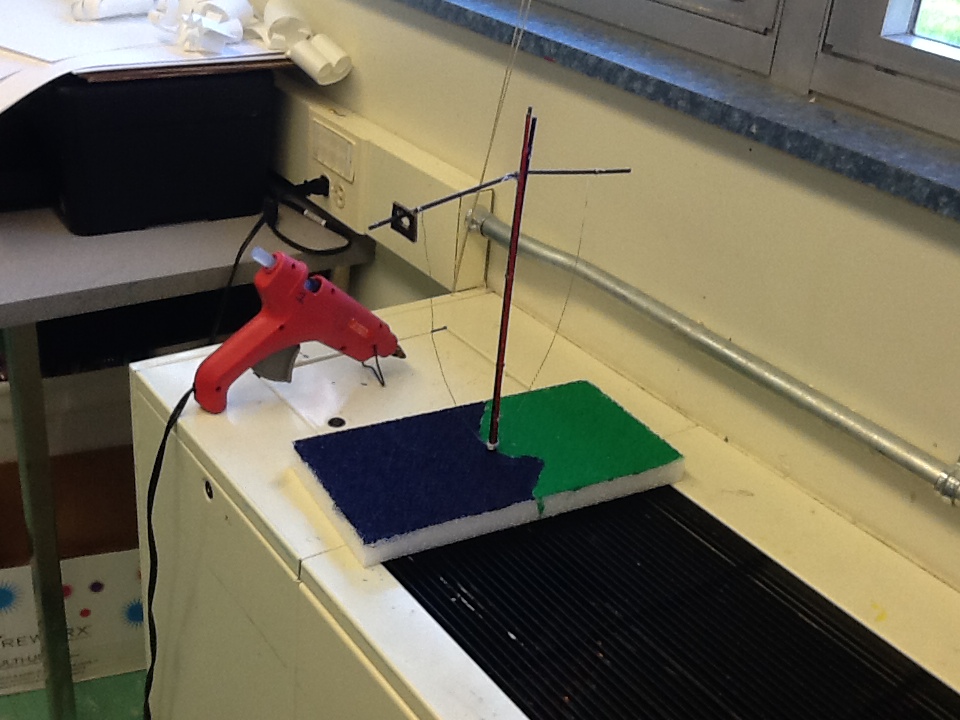
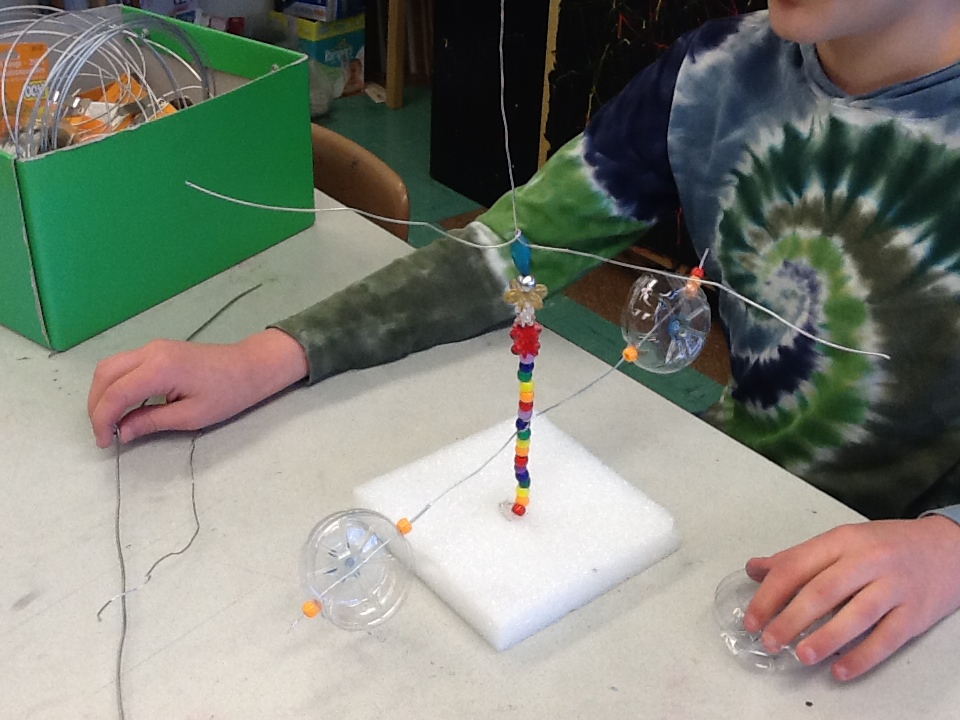
kinetic sculptures
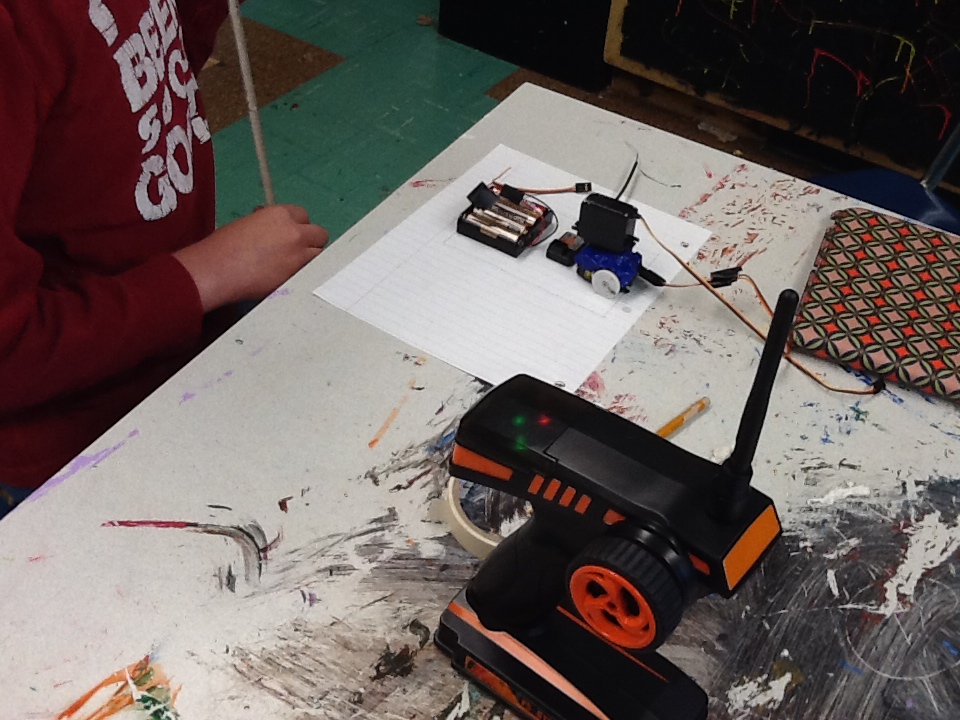
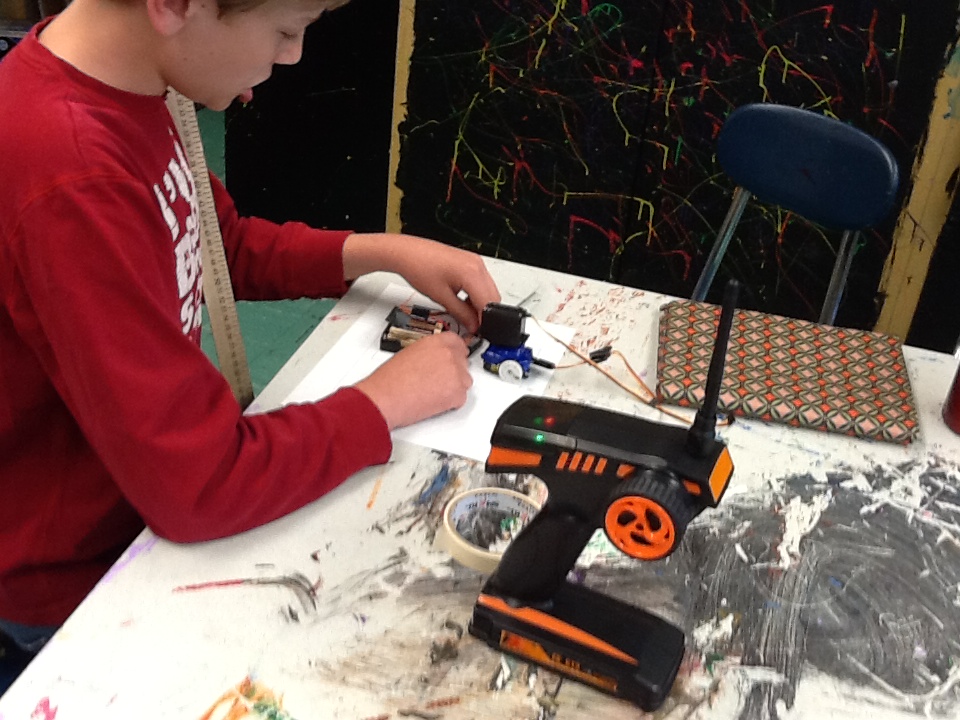
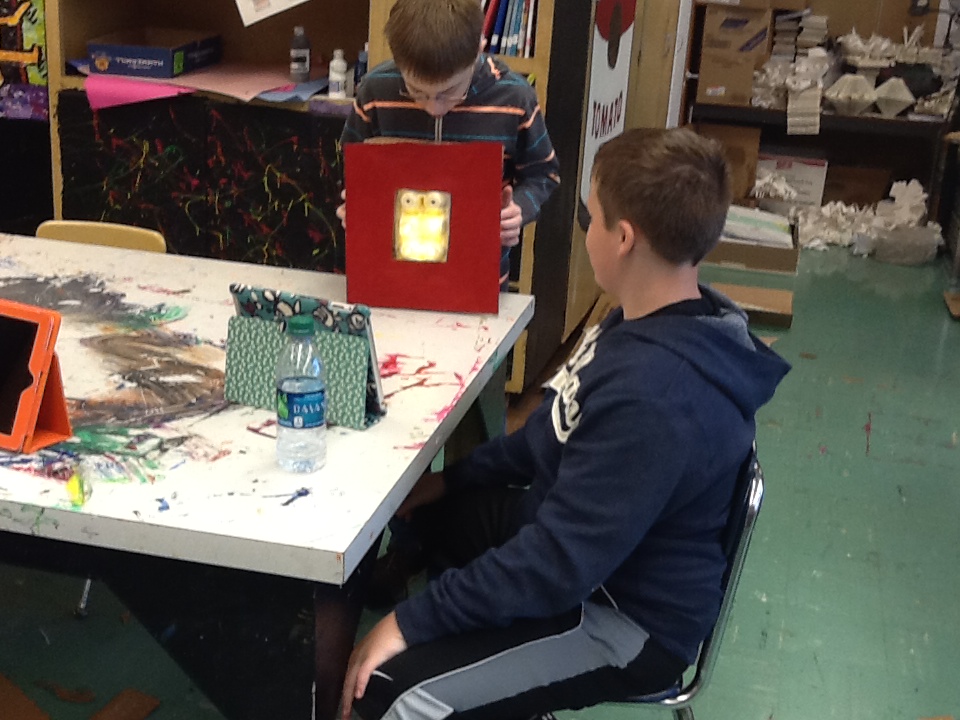
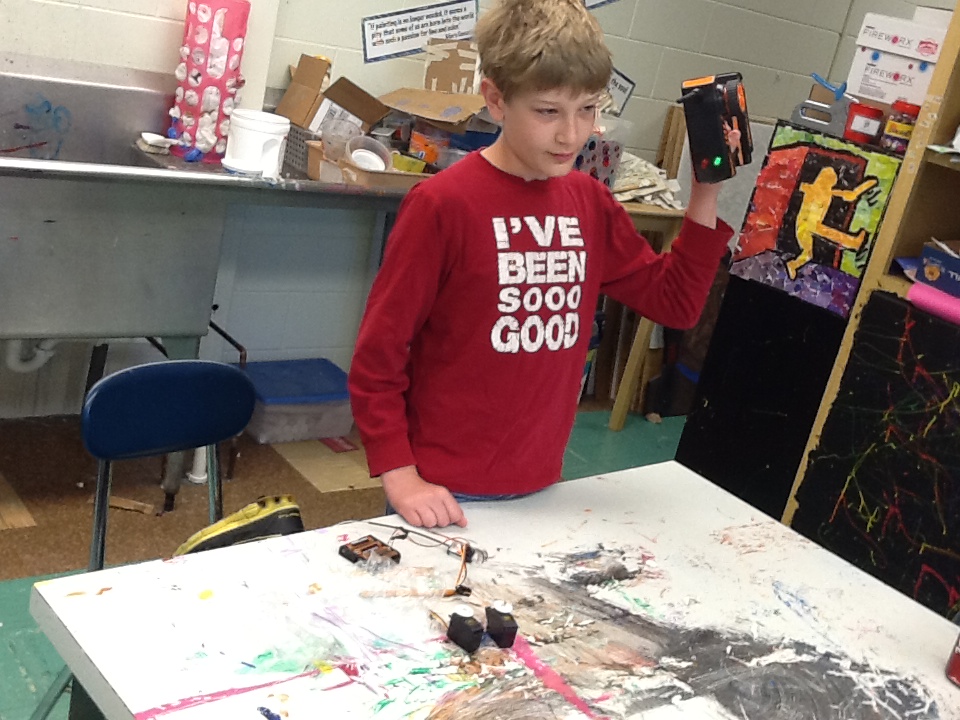
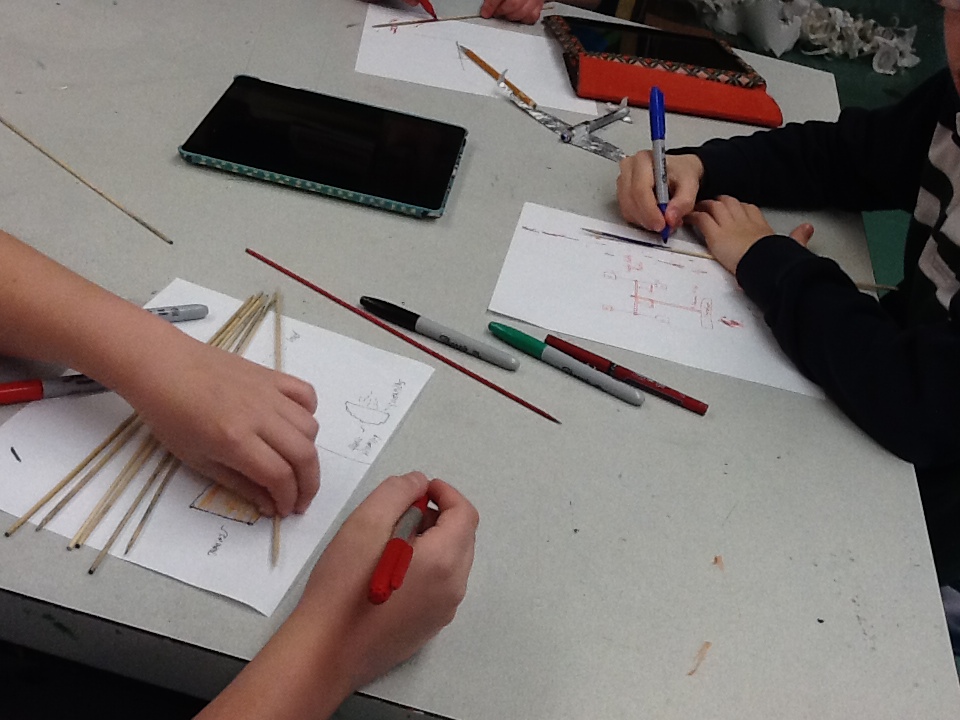
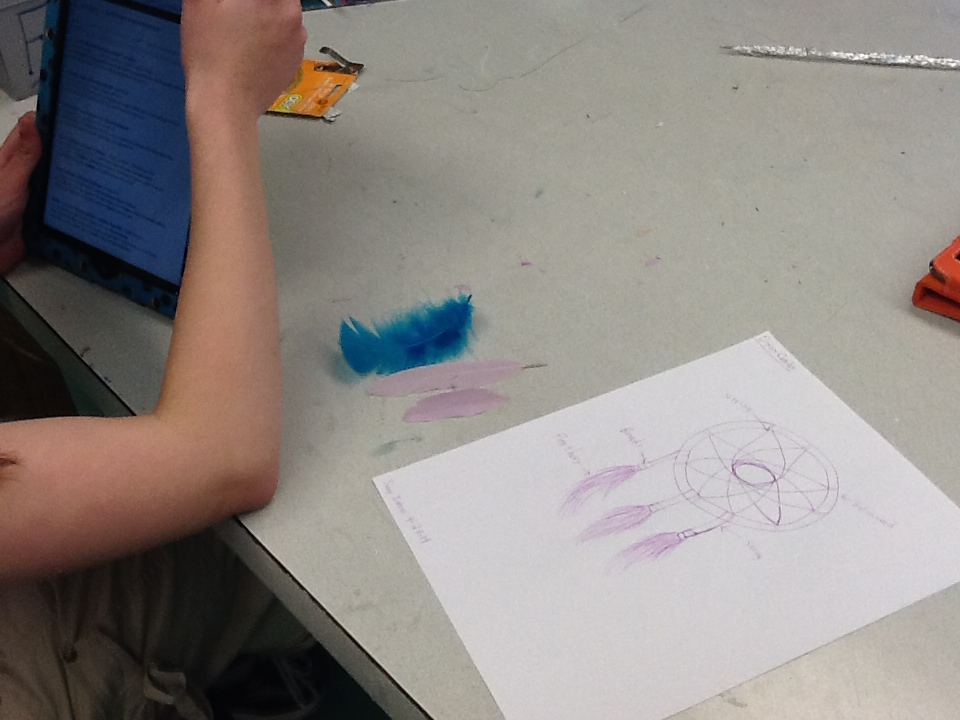
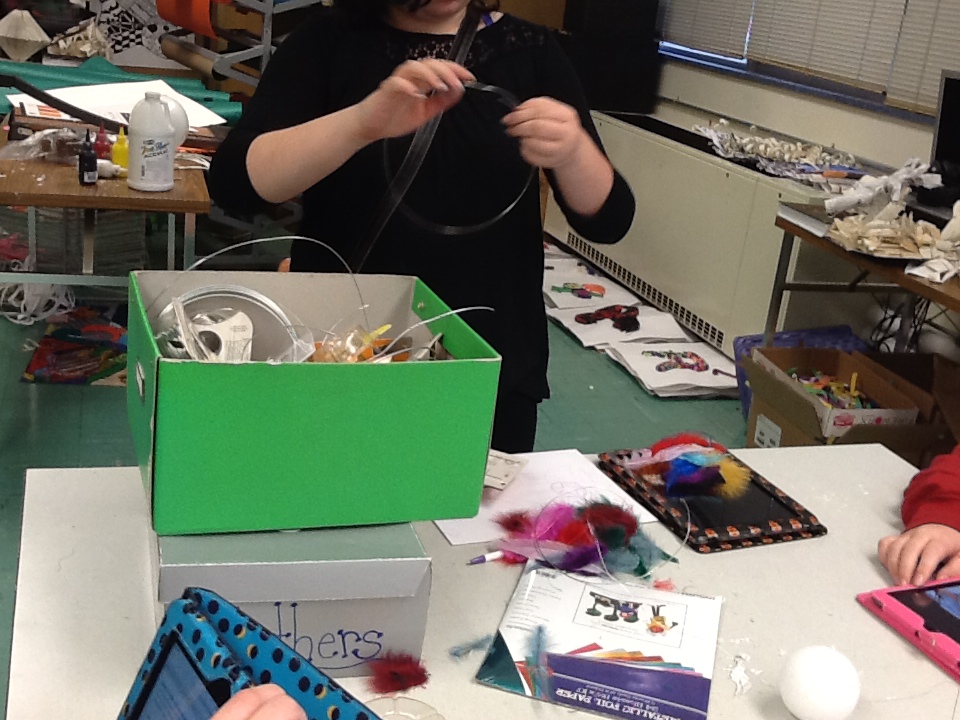
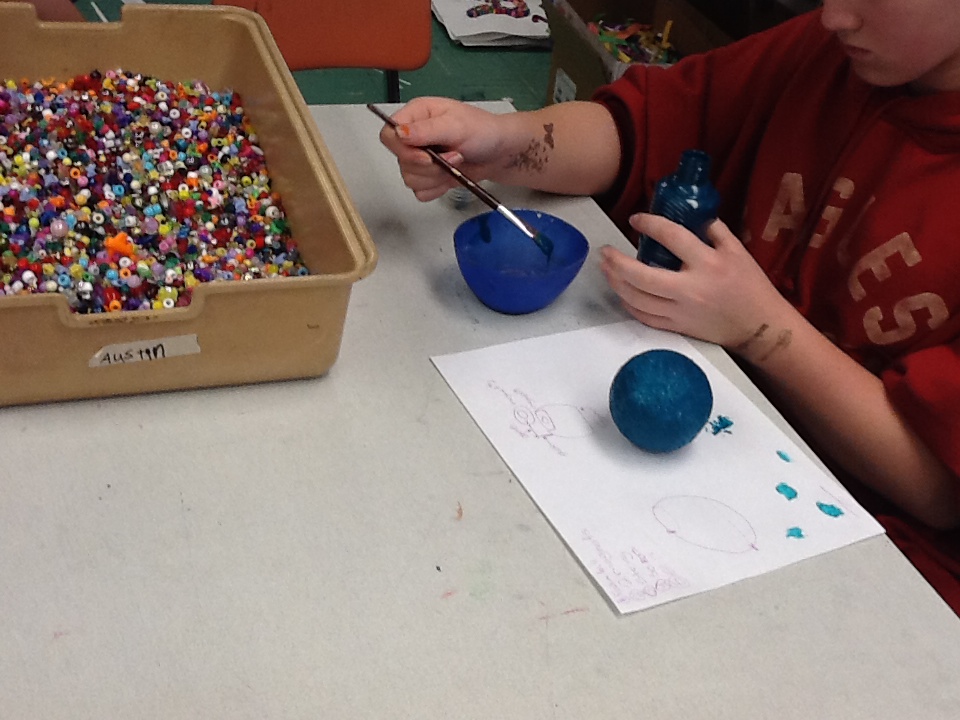
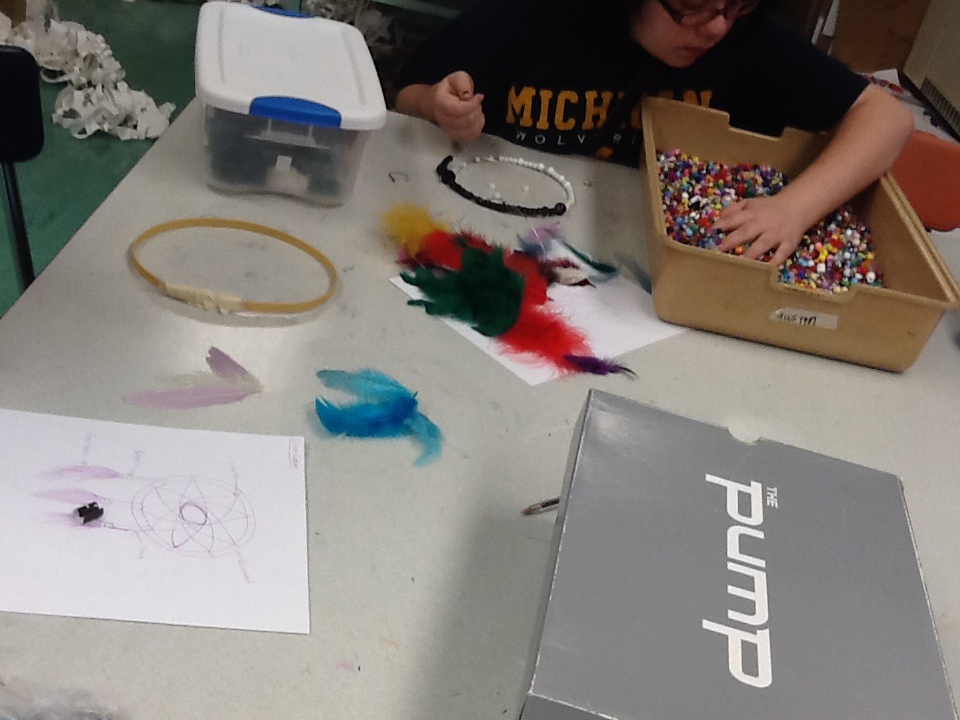
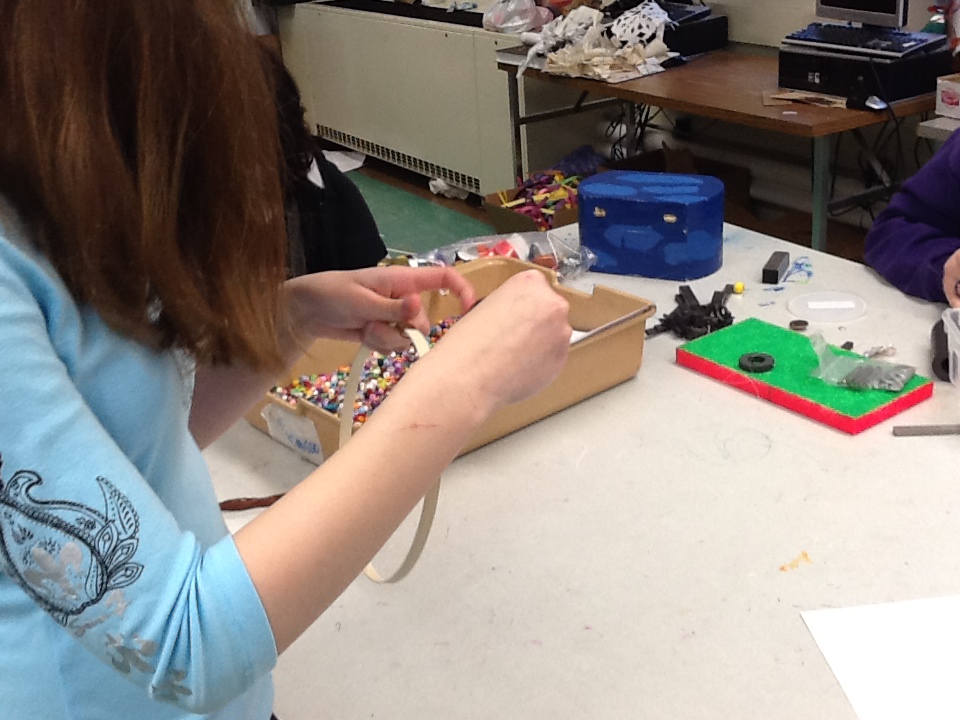
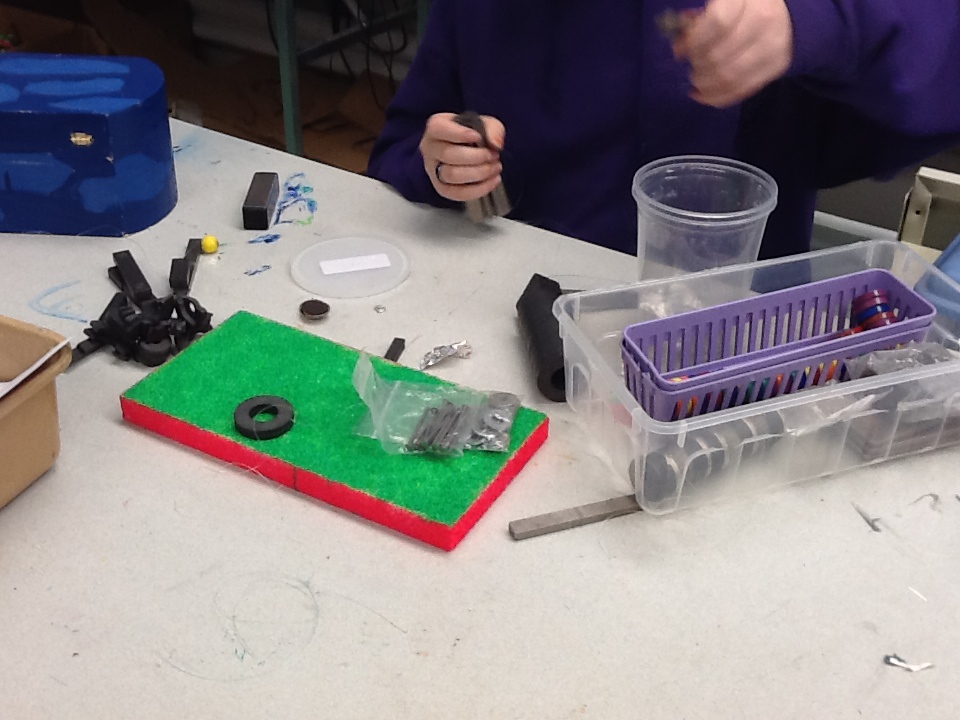
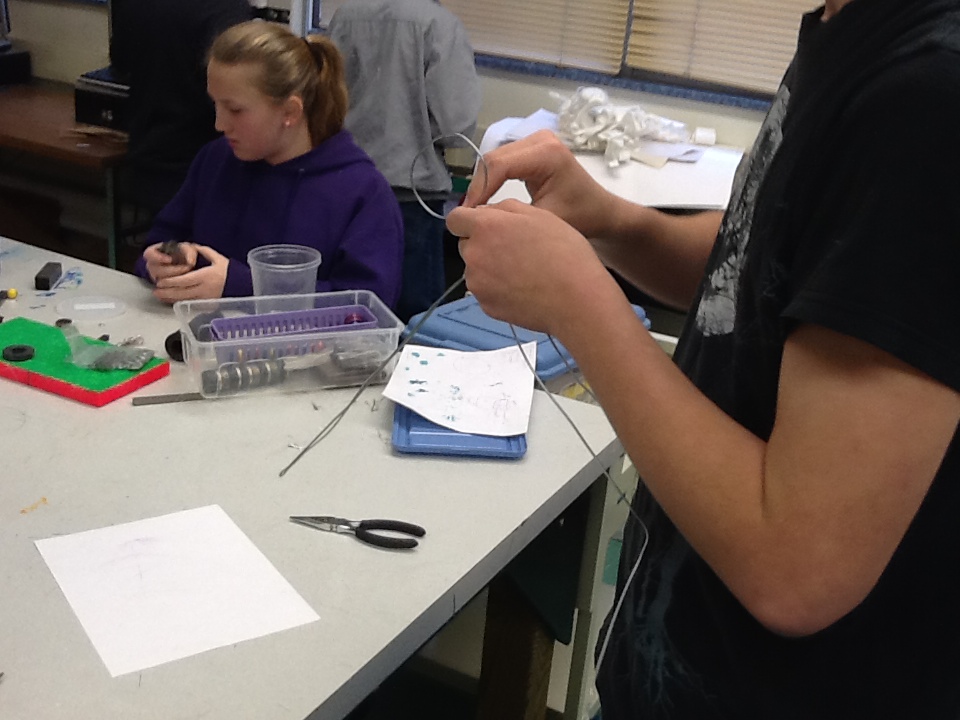
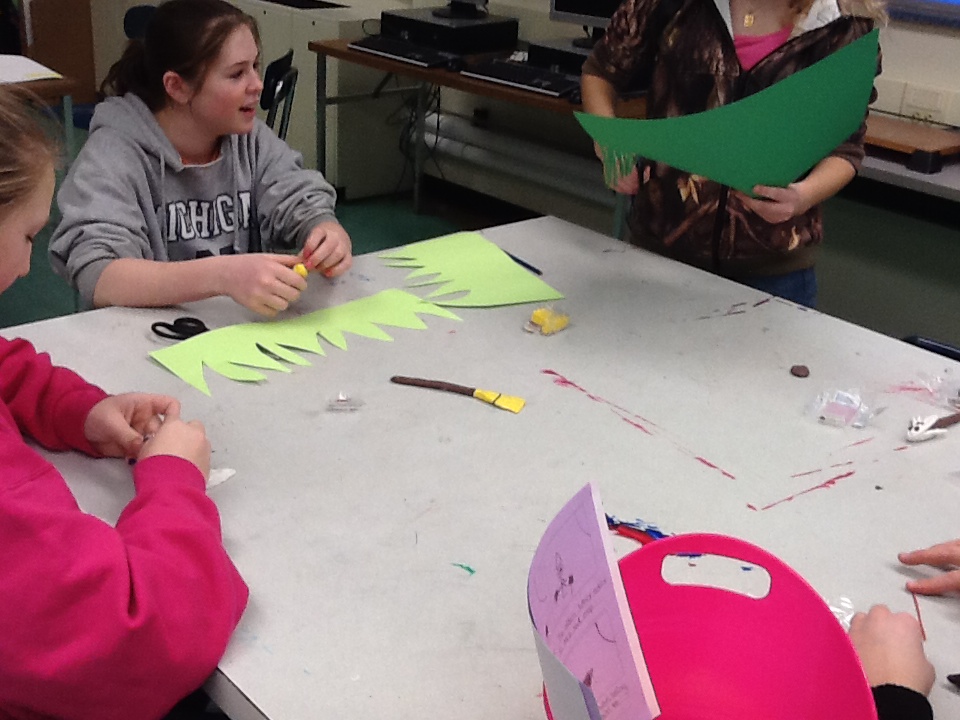
Our next project is all about movement as art. We are channeling our inner Christo and Calder to create kinetic sculptures. ART 7 students have total freedom over this project. They choose the materials, kinetic pieces, overall appearance and style. The only requirements are that the sculpture has a major movement aspect that draws the viewers eye or accentuates the piece, quality craftsmanship and overall artistic appearance (did they have a vision). I Am so excited about this project, I have students working with so many different mediums and materials. There are beads, magnets, paint, Styrofoam, and wire to name a few different materials that are being utilized. Check below to see our progress!

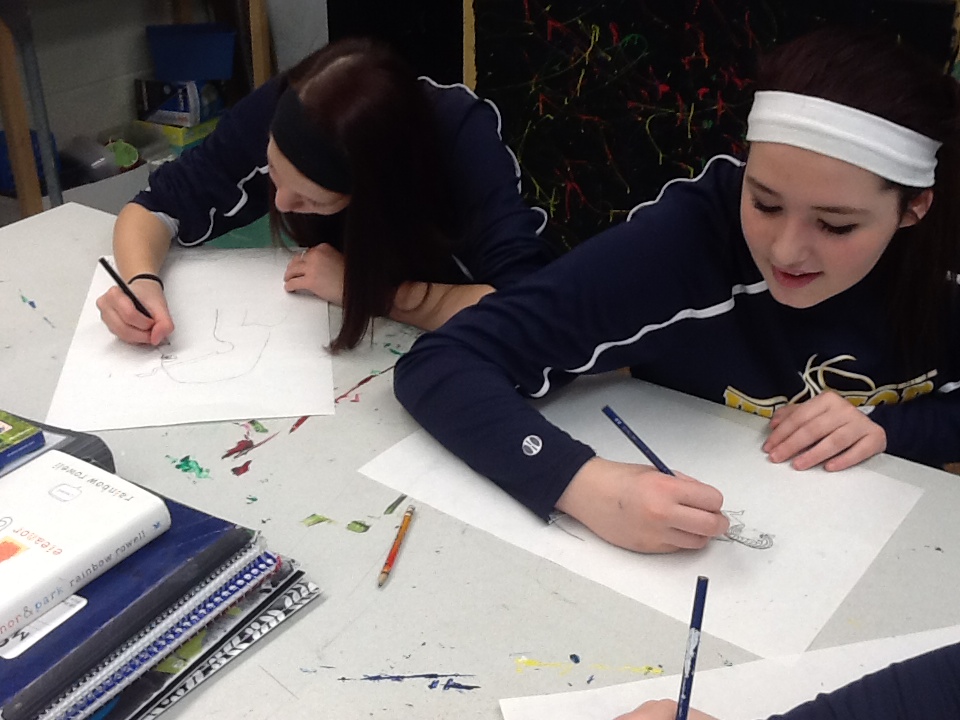
alberto giacometti sculptures
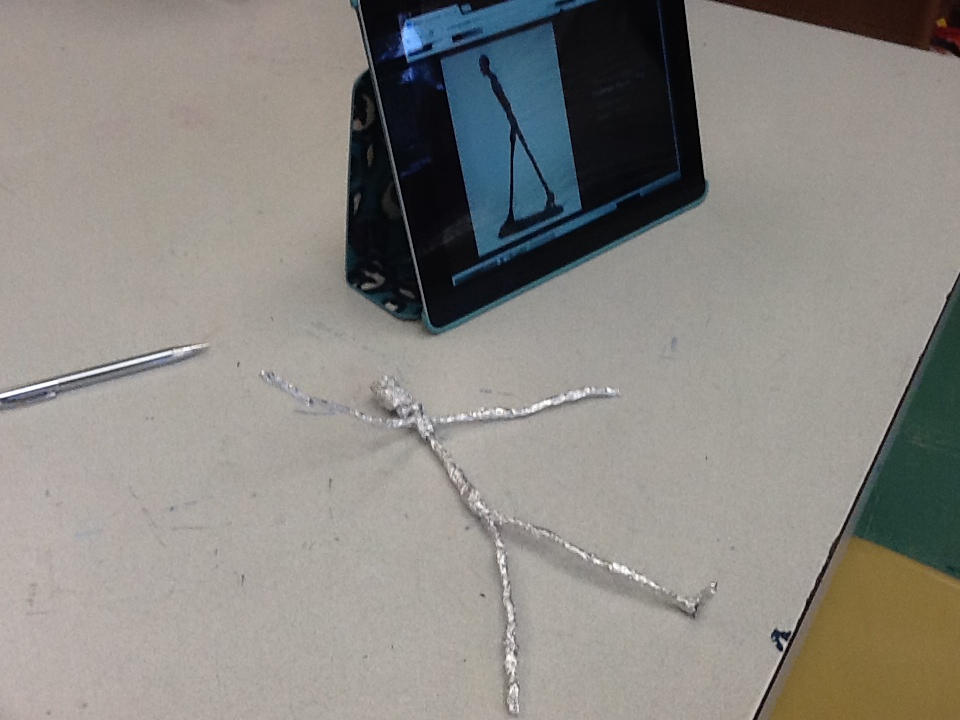
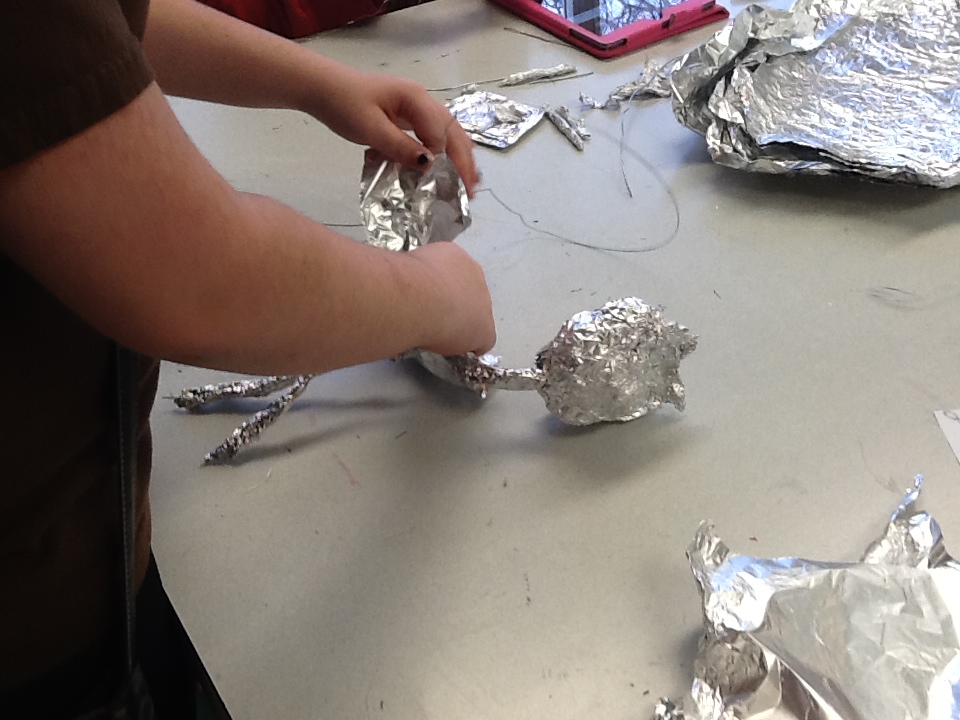
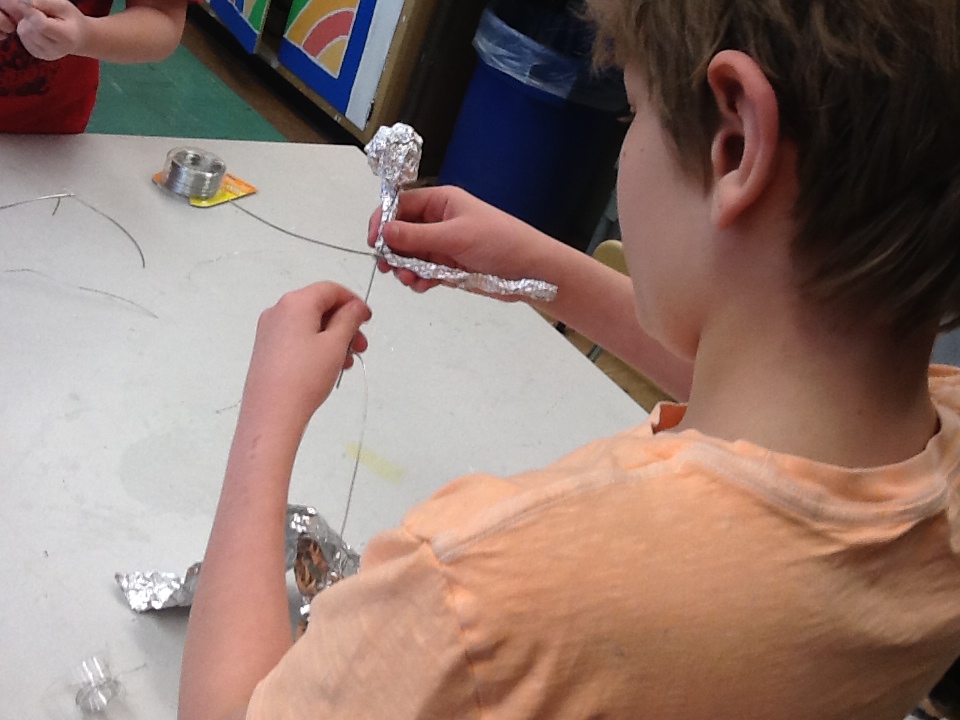
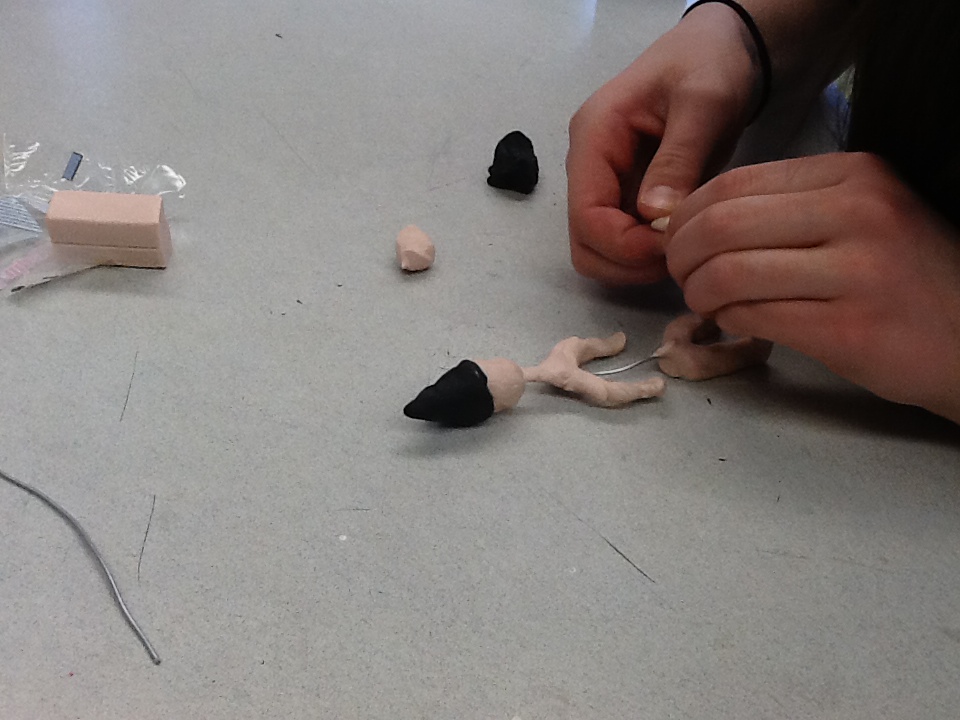
Now that our Genius Hour is up and running, we are ready to begin our first art project of the quarter. Students are going to create their own Giacometti-inspired sculptures with wire armatures and aluminum foil. Giacometti is best known for his cast bronze sculptures of elongated, almost emaciated sculptures of human and animal forms. Giacometti is best known in the art world as a leading Surrealist sculptor, but also is tied with the philosophical branch of Existentialism. It is through his sculpture that his struggle with his own existence is showcased. Below are some of his most famous works.
Project in progress
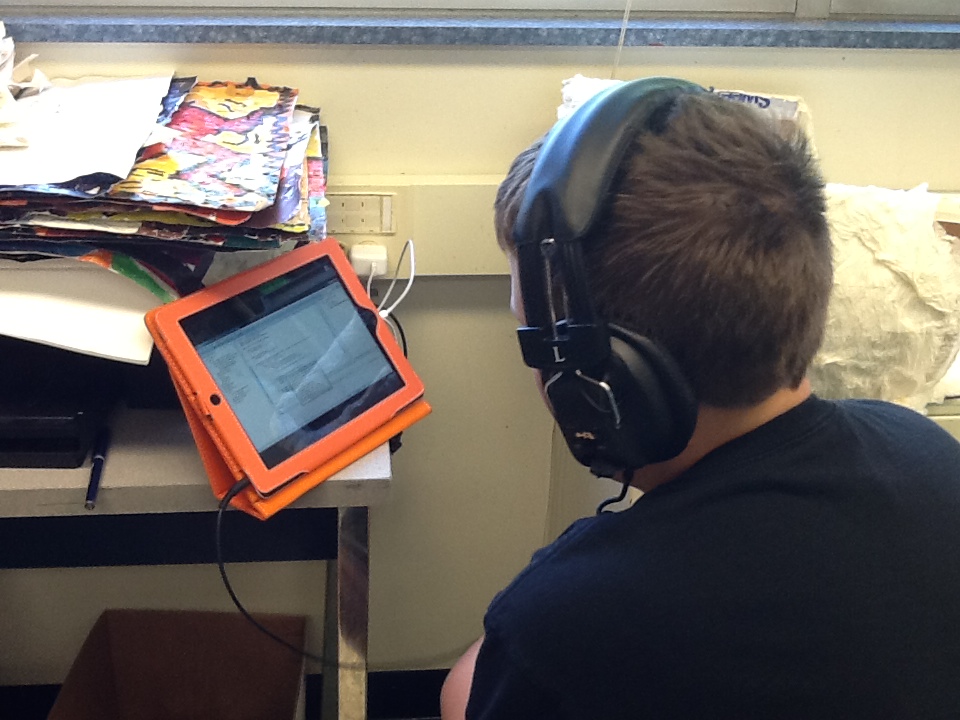
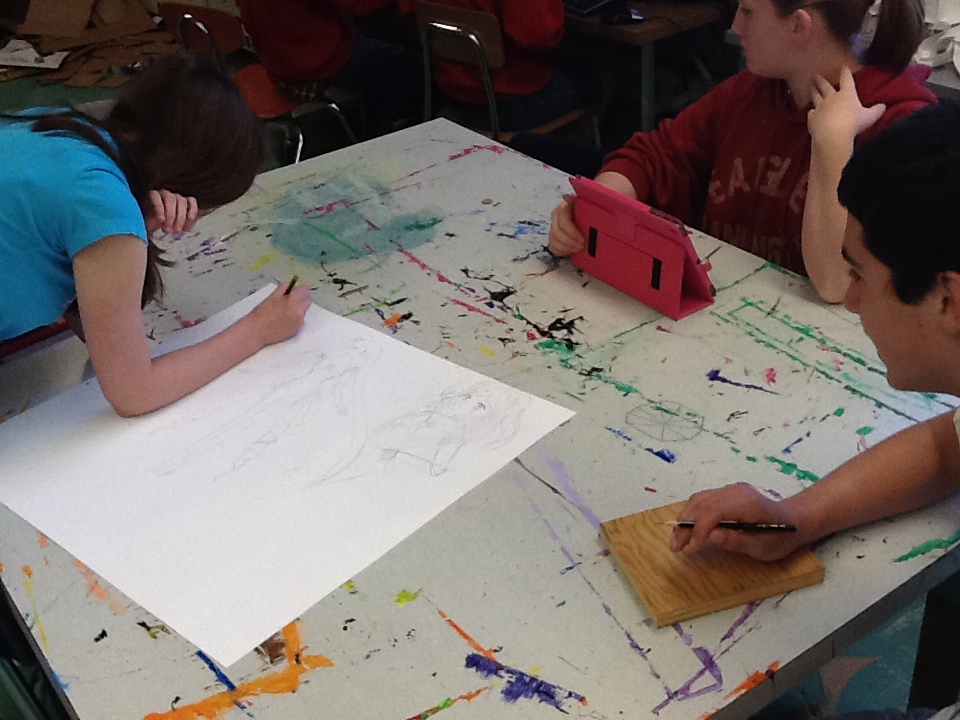
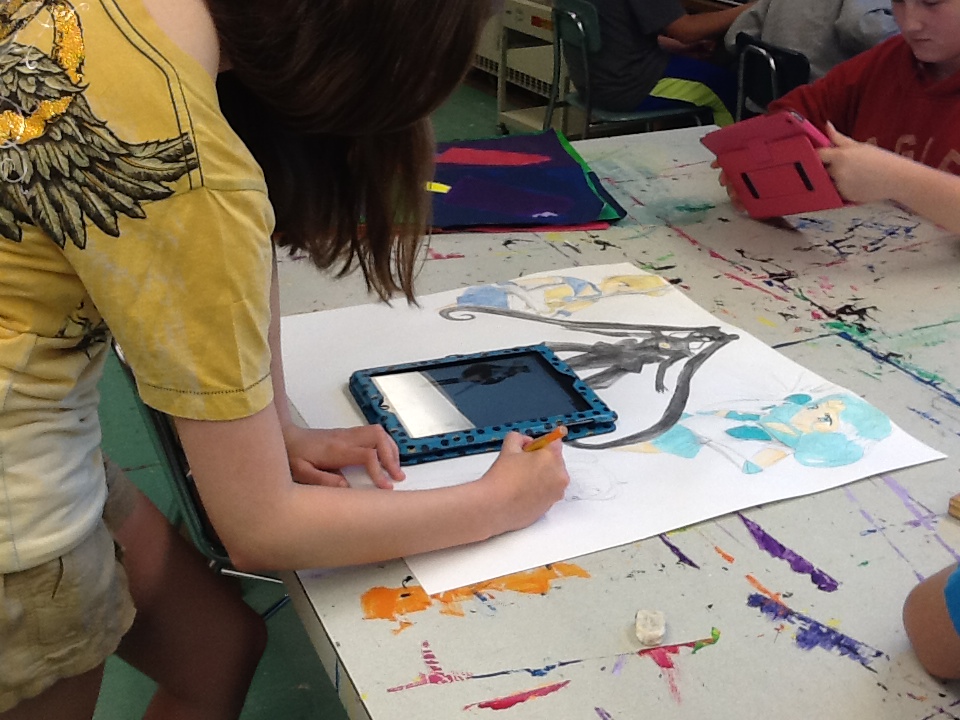
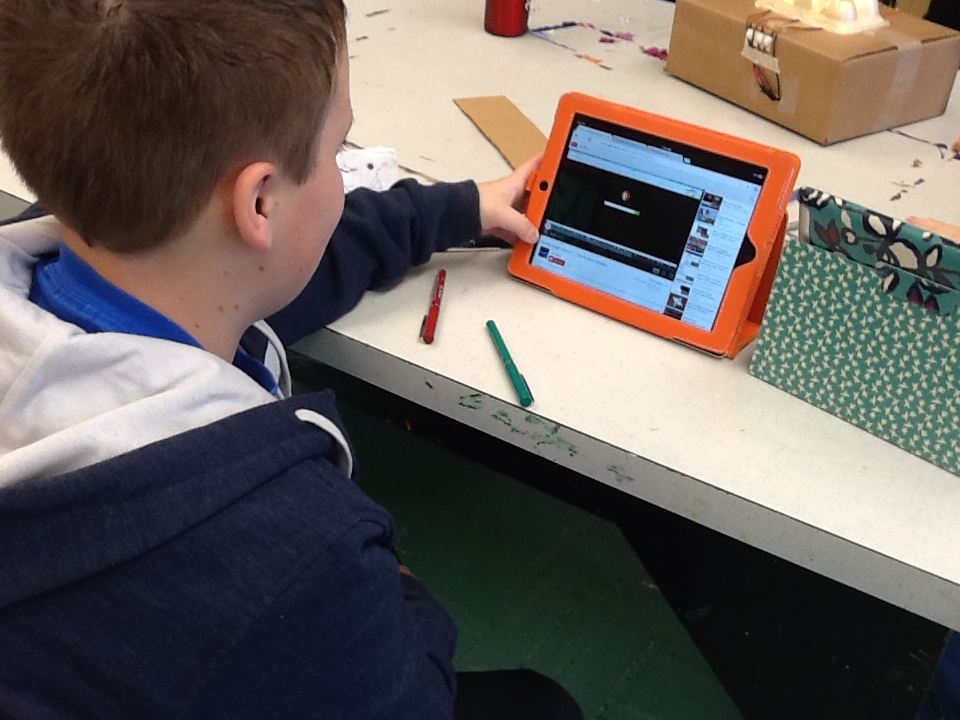
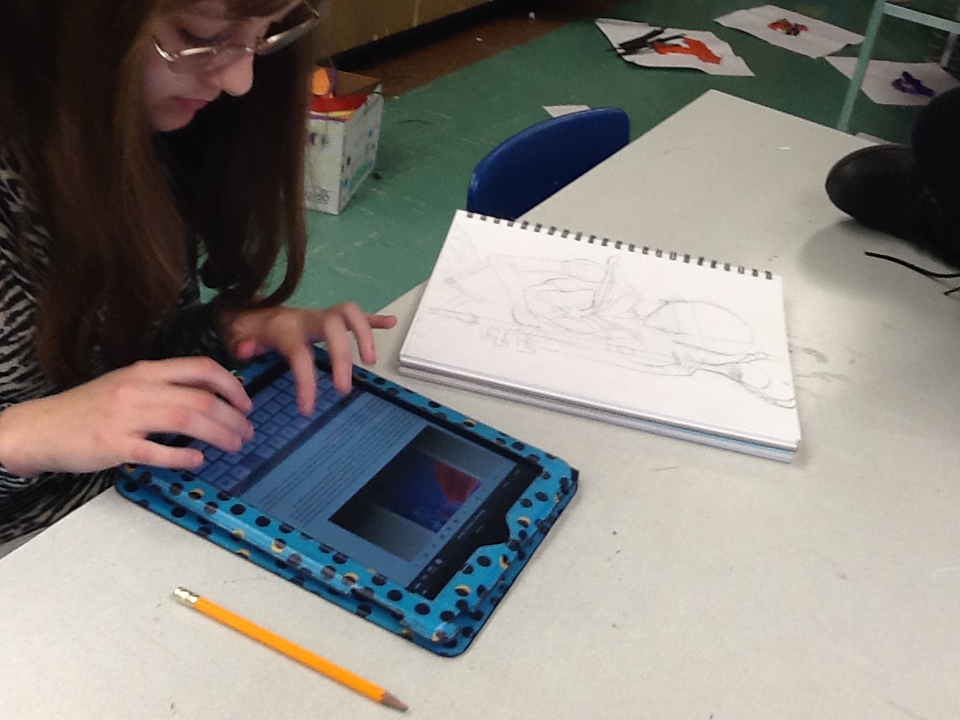
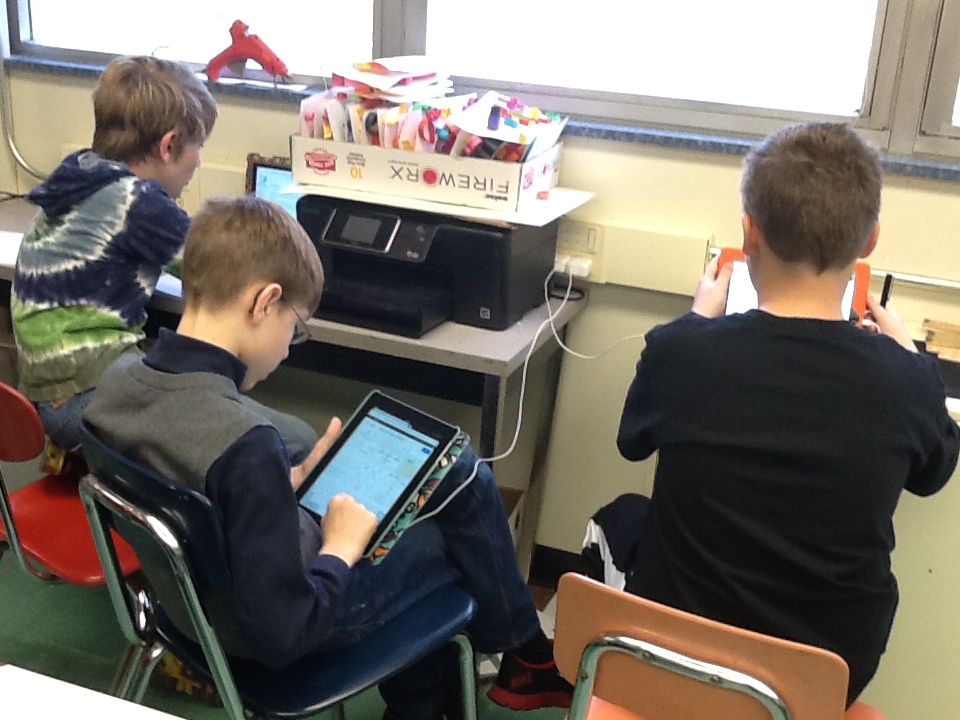
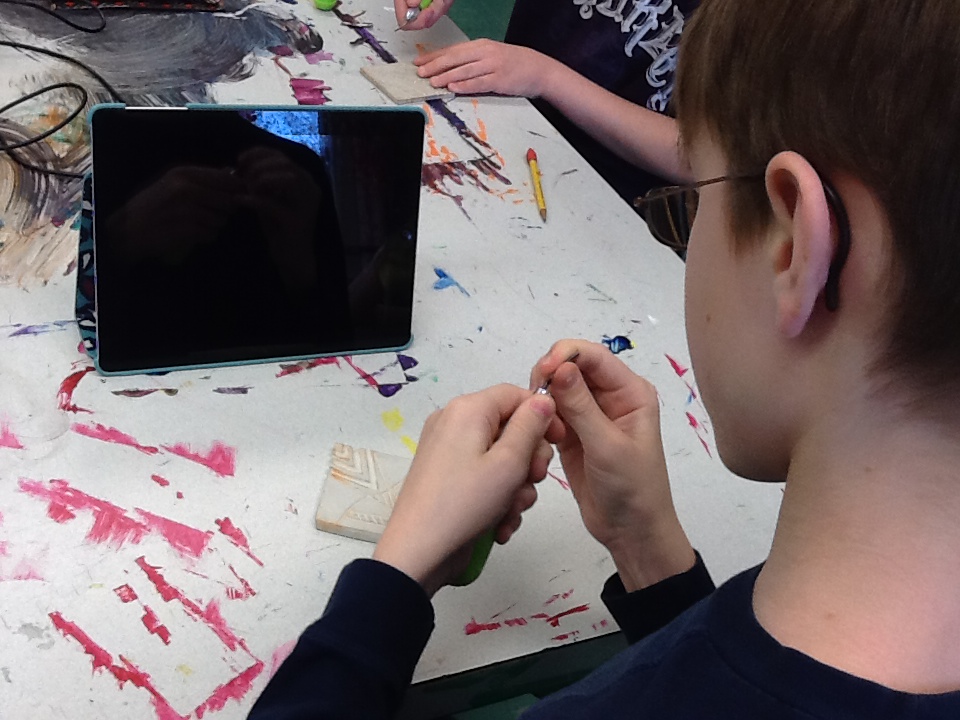
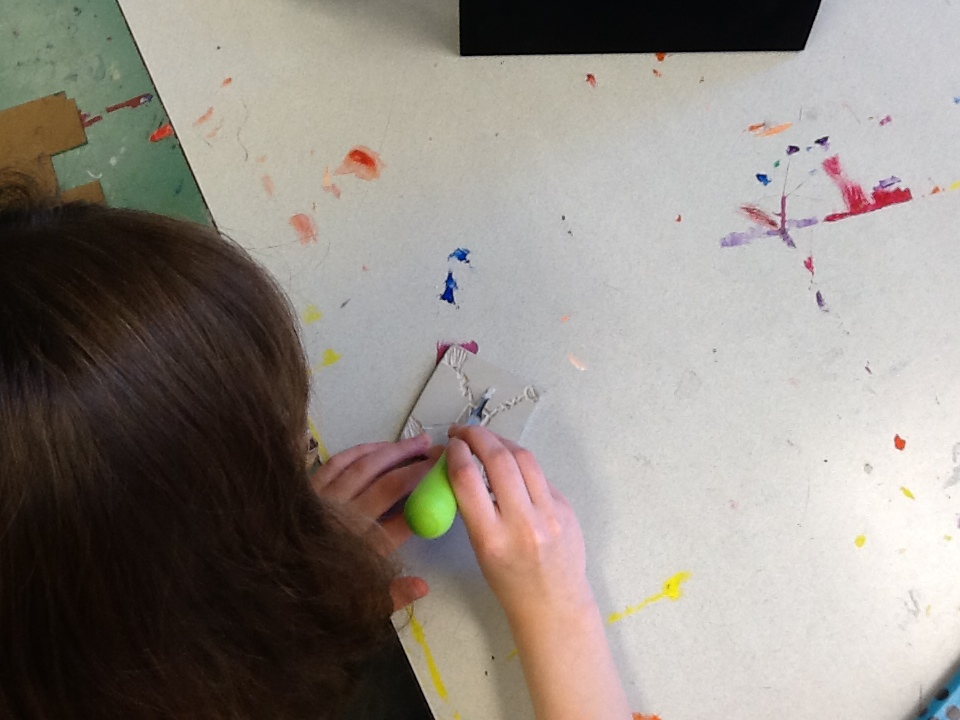
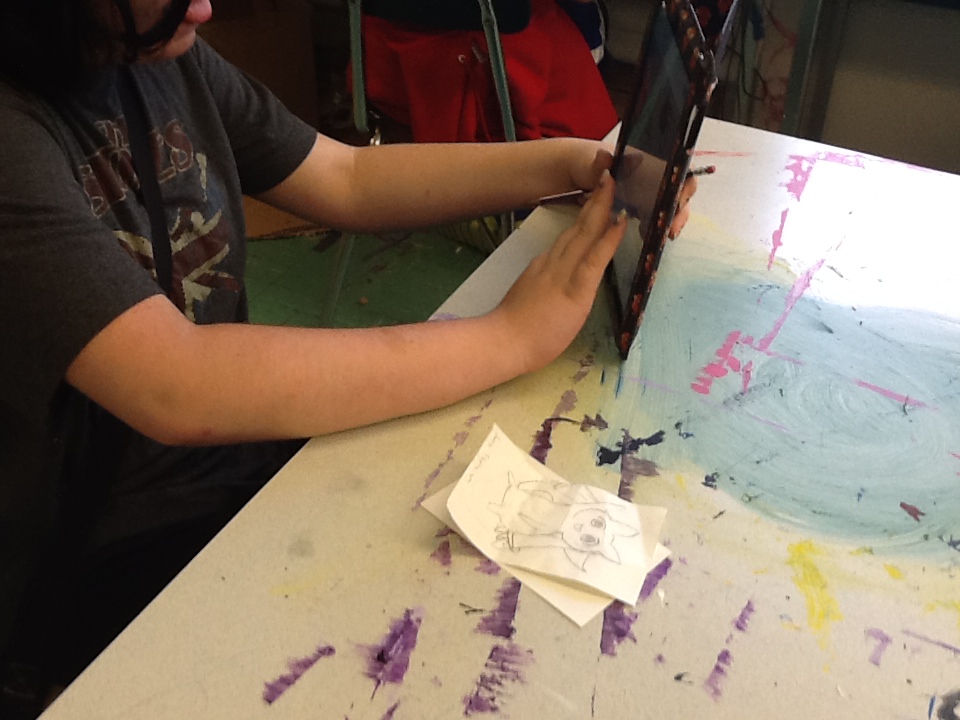
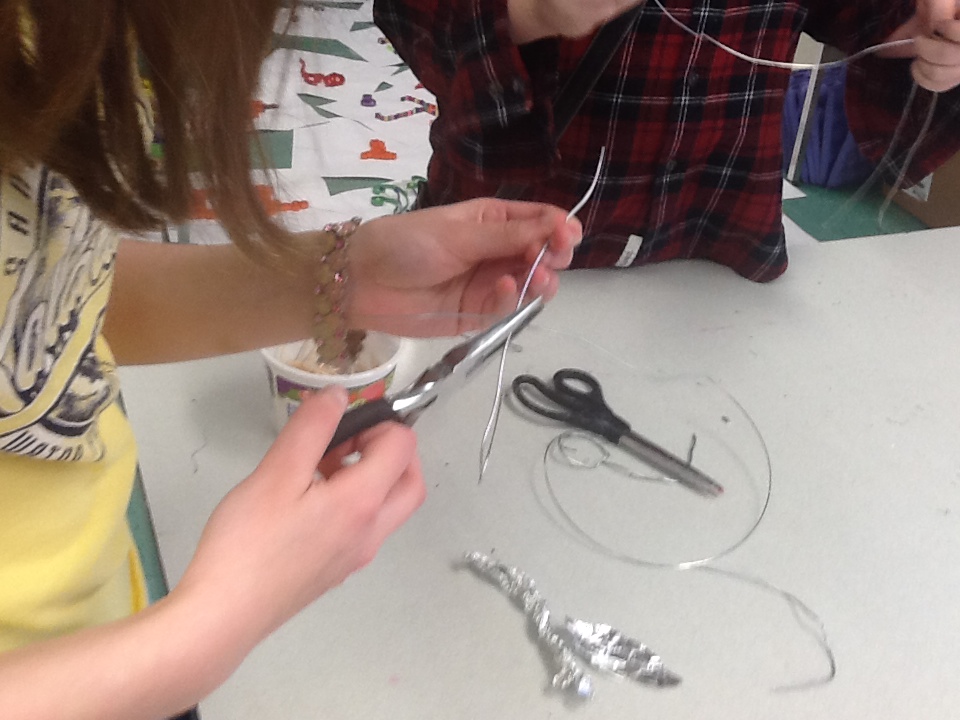
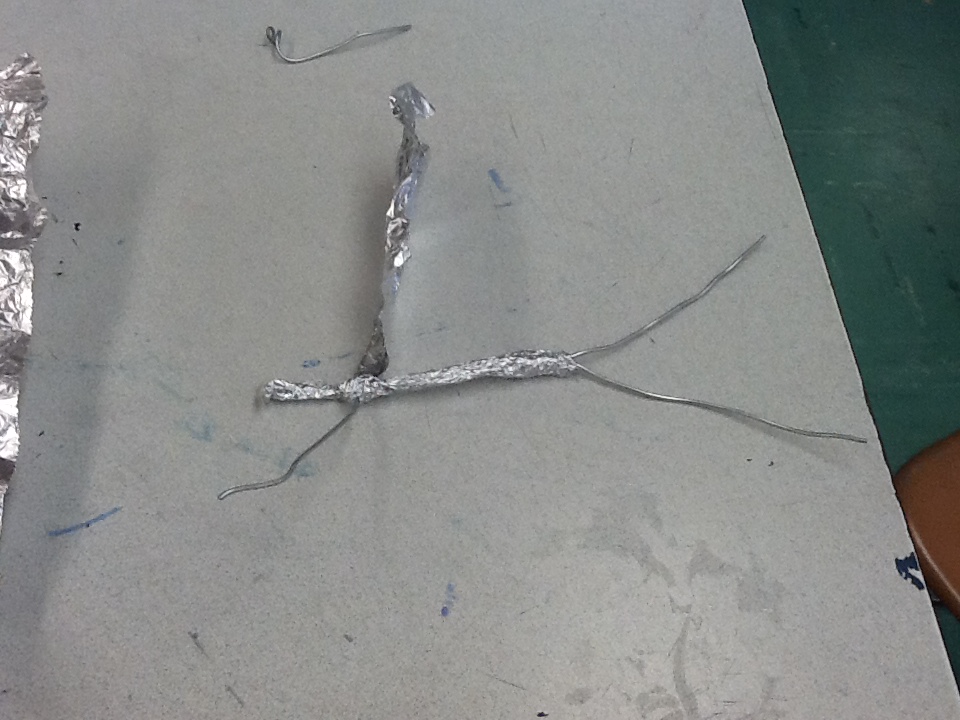
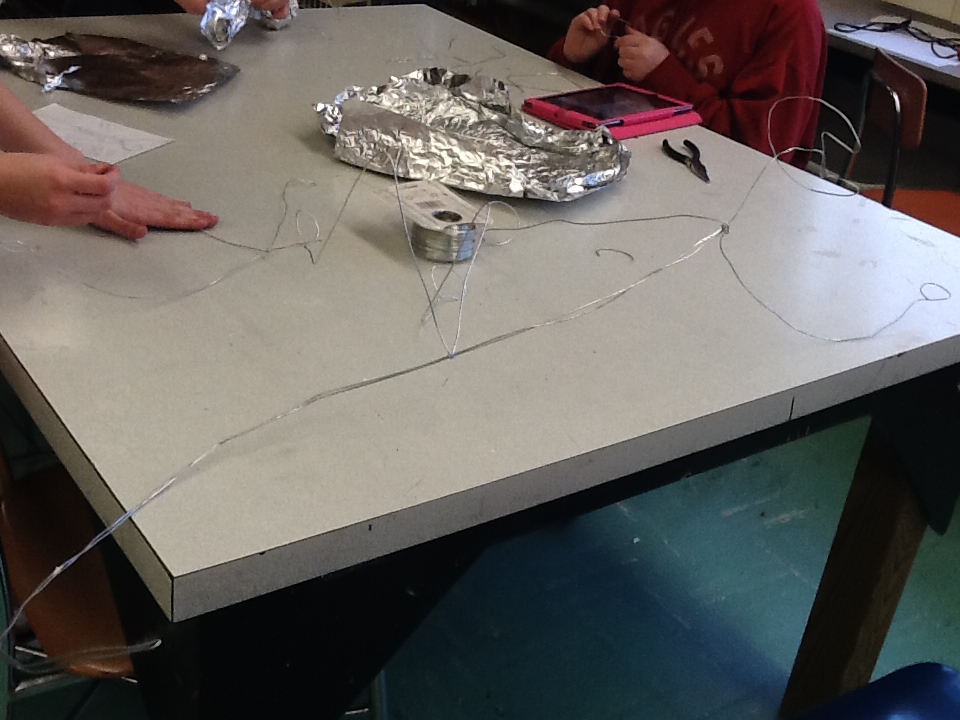
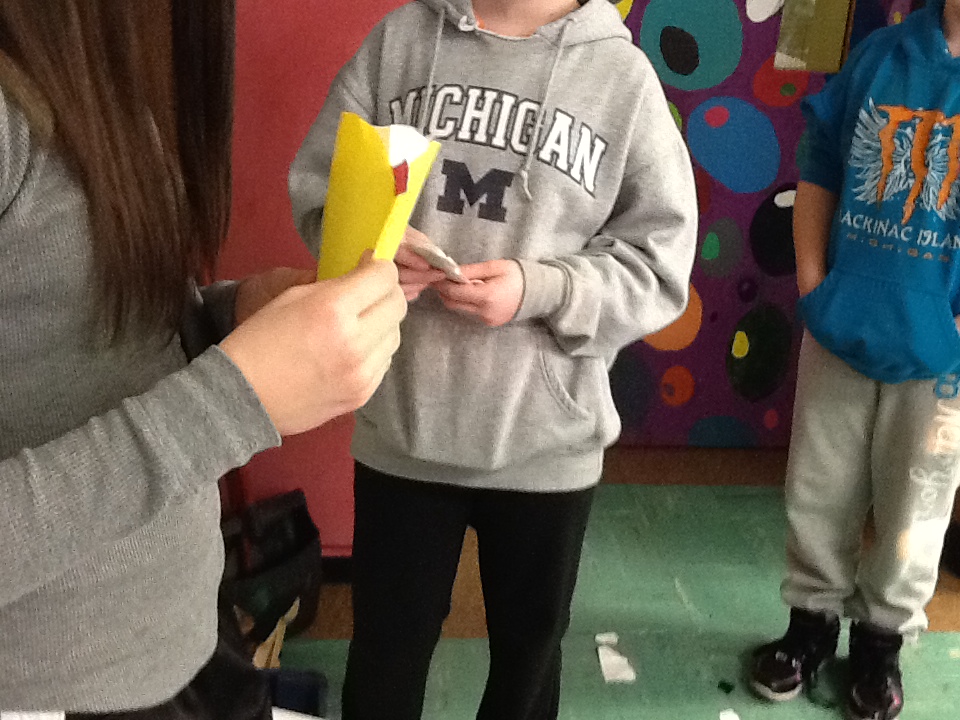
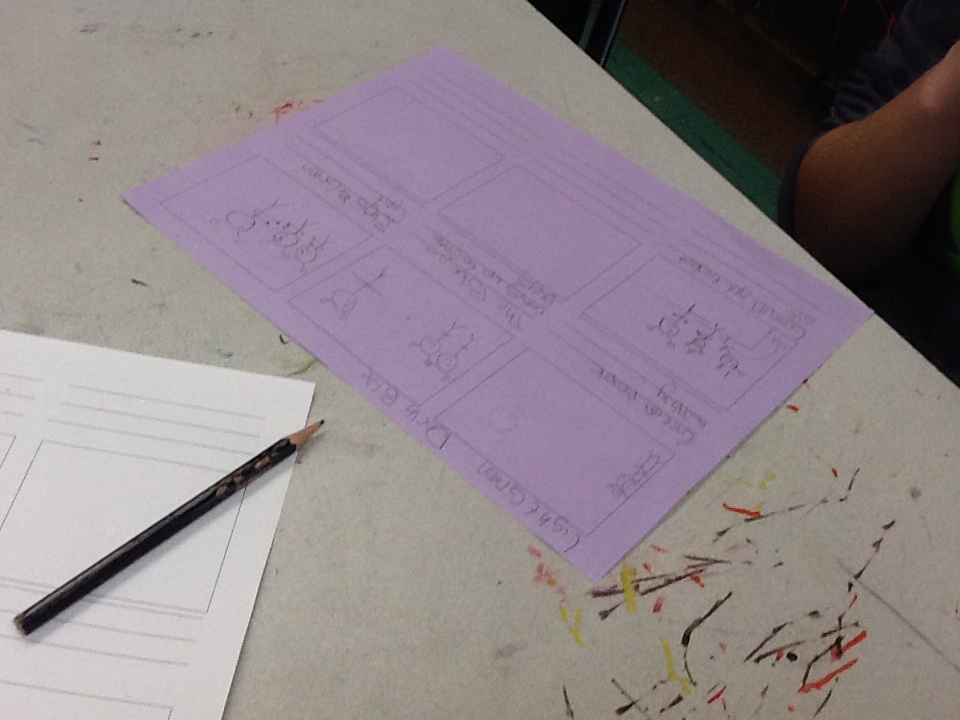
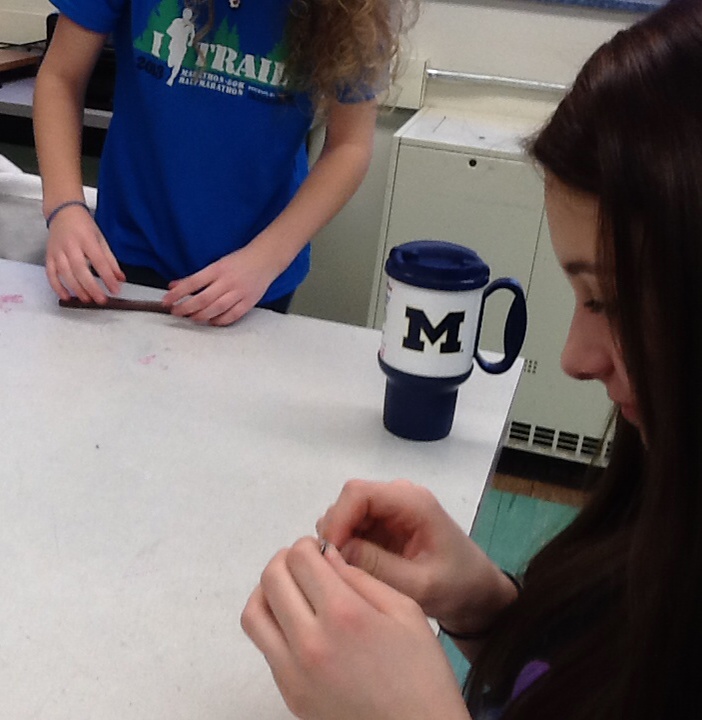
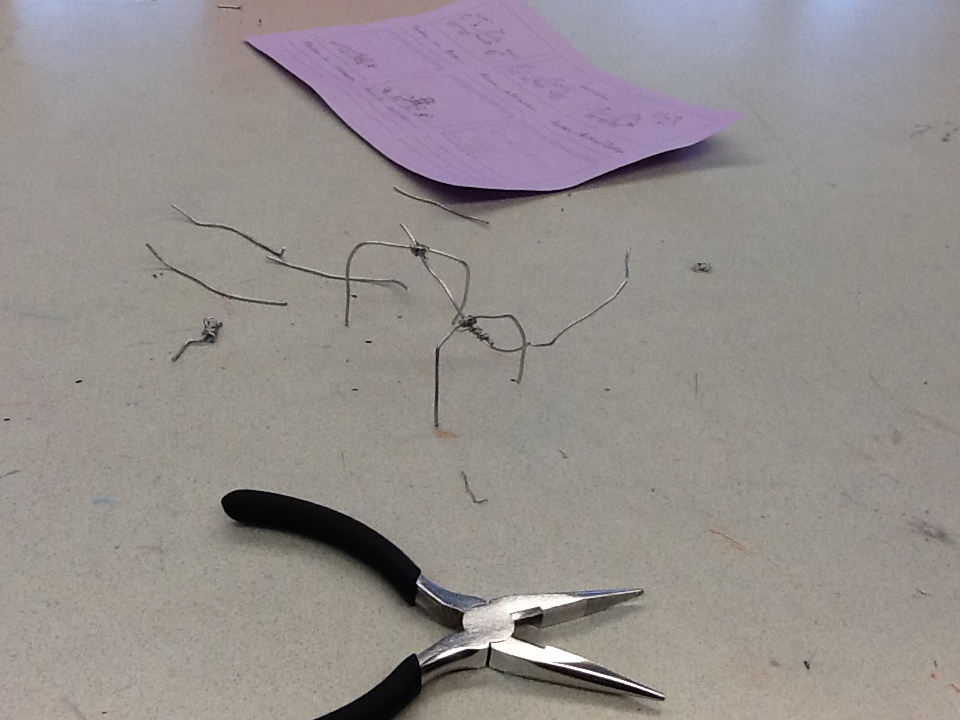
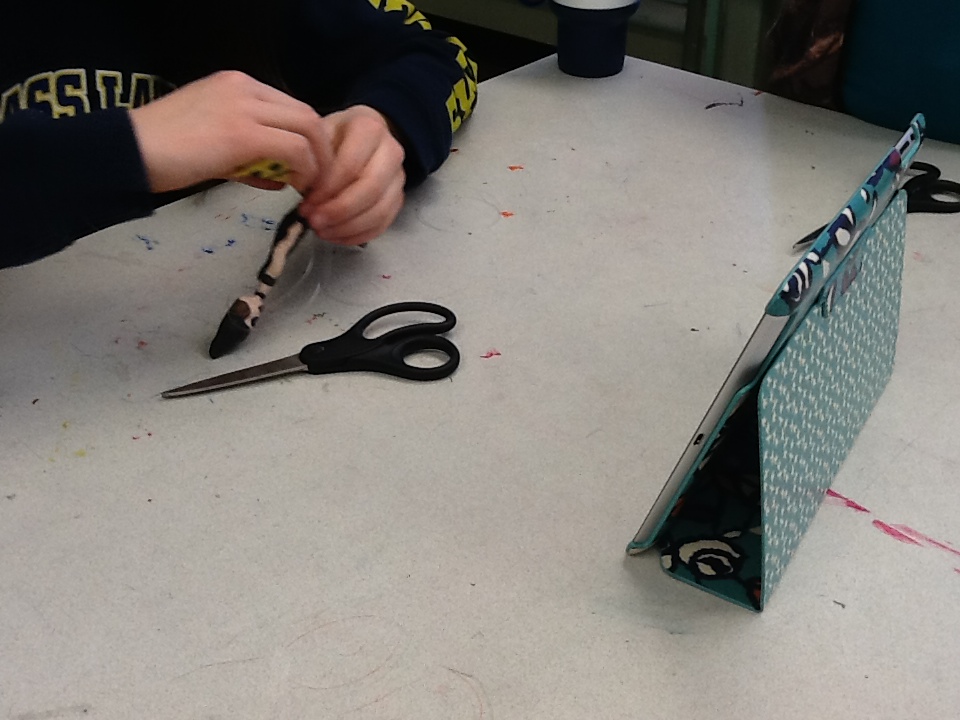
To begin this project, students compiled their own Giacometti facts, opinions and characteristics. Since our class is so small, each student has access to their own iPad this hour- they used those to research Giacometti and then we did a class-wide share out and discussion. This provided a much more meaningful introduction to our artist and the discussion went much deeper than it would have if I did the introduction. After that we spent a day creating wire armatures and playing with form and the aluminum foil to figure out exactly what we wanted to create and the best way to go about creating it.


the final quarter brings exciting project for art 7
Due to the different schedule for our 7th graders they get to visit 3 different specials throughout the year. This means that they visit one special twice. Since this is the "extra time" my ART 7 students have art, we are doing something new to GLMS. My ART 7 students will be participating in Genius Hour. Genius Hour is a time of the week where my students will be allowed to work on a project that THEY choose. Students have the freedom and responsibility to pick a topic that they wish was offered as a class at school, research, learn about it then present their learning to our class in any form they choose. This opportunity asks students what they want to learn about instead of teachers telling them what they will be learning about. We will still have art instruction and projects Monday, Tuesday and Wednesday each week but will dedicate the last 2 days of our school week to our Genius Hour projects! You can visit the links below to learn more about Genius Hour or 20 Time. Later this week, we will posting pictures and topic choices of students as we start this awesome adventure.
collage masterpieces
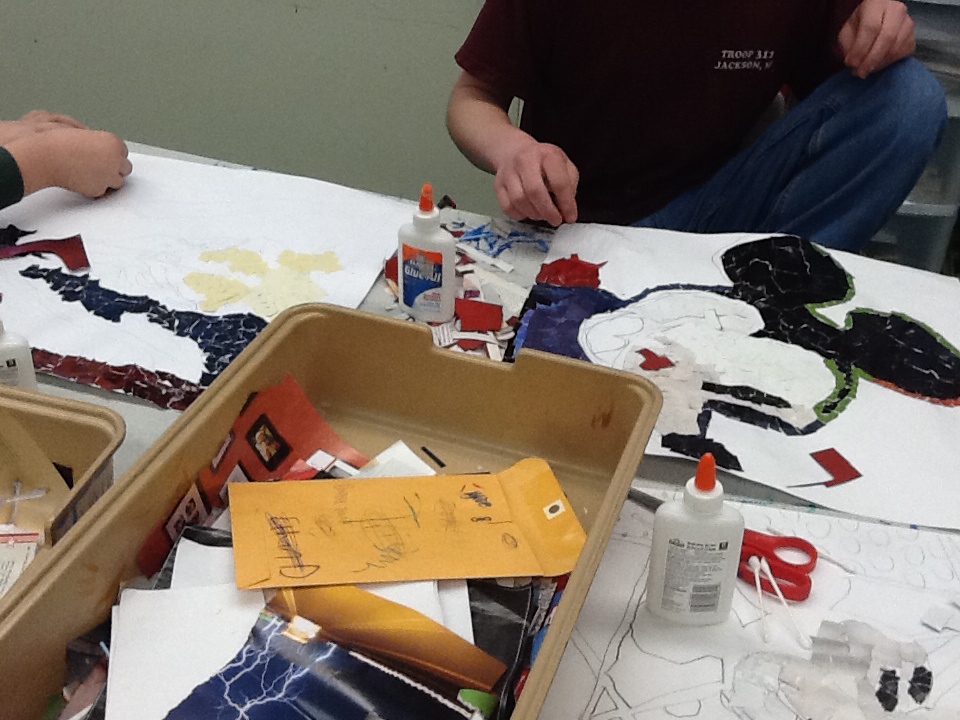
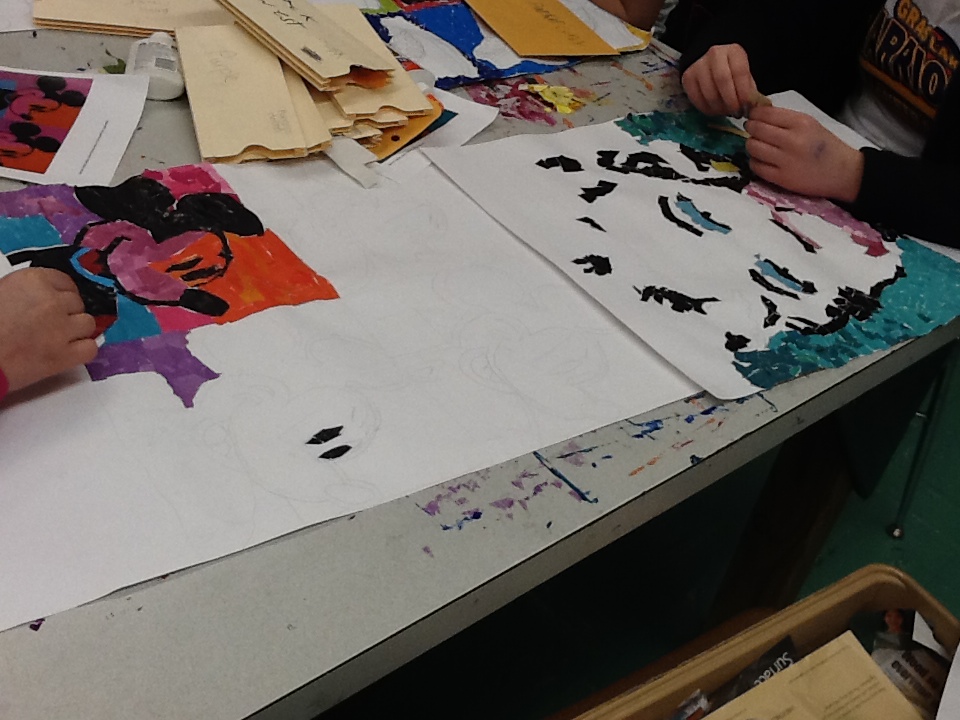
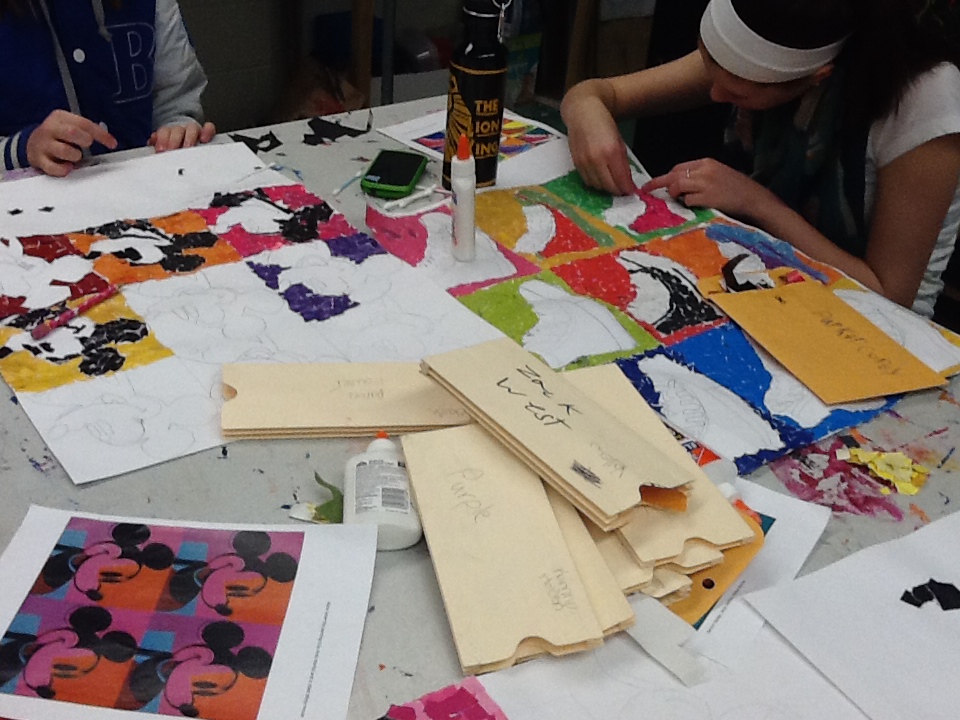
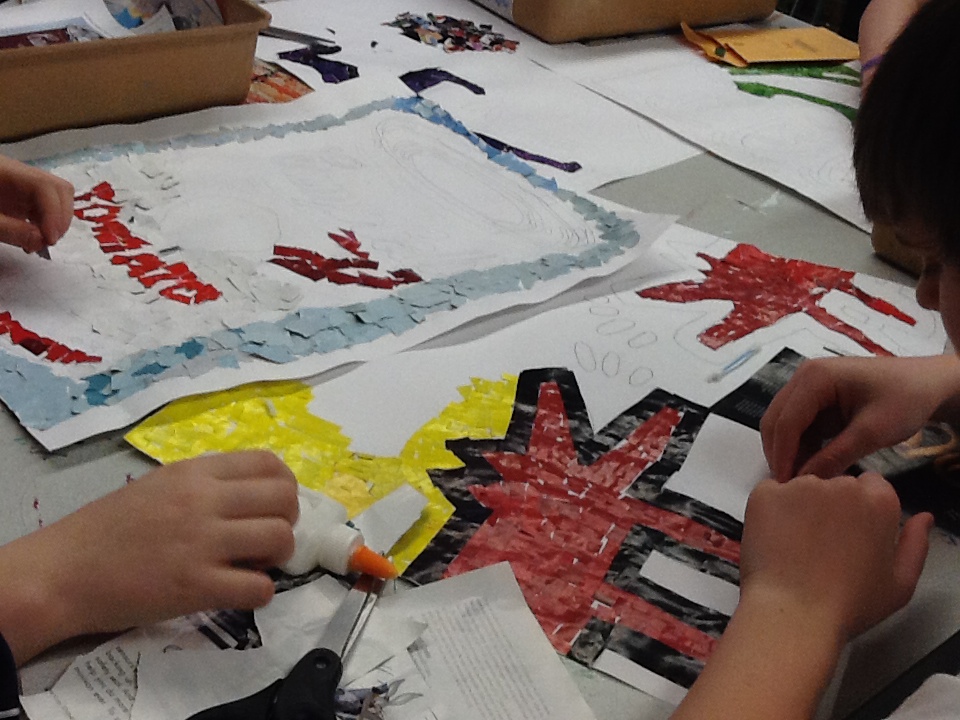
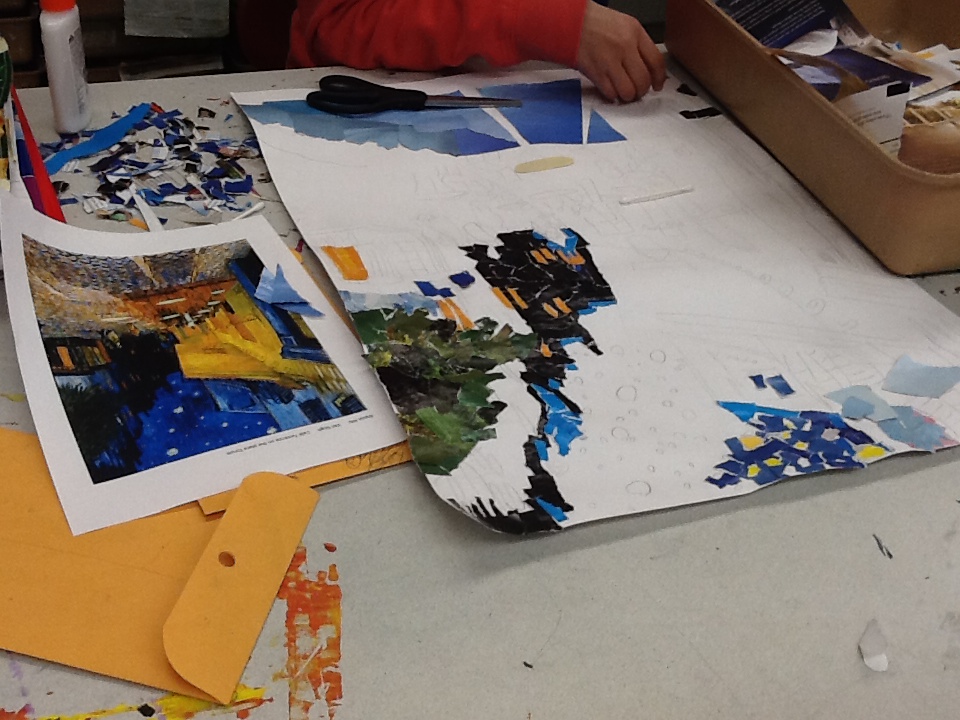
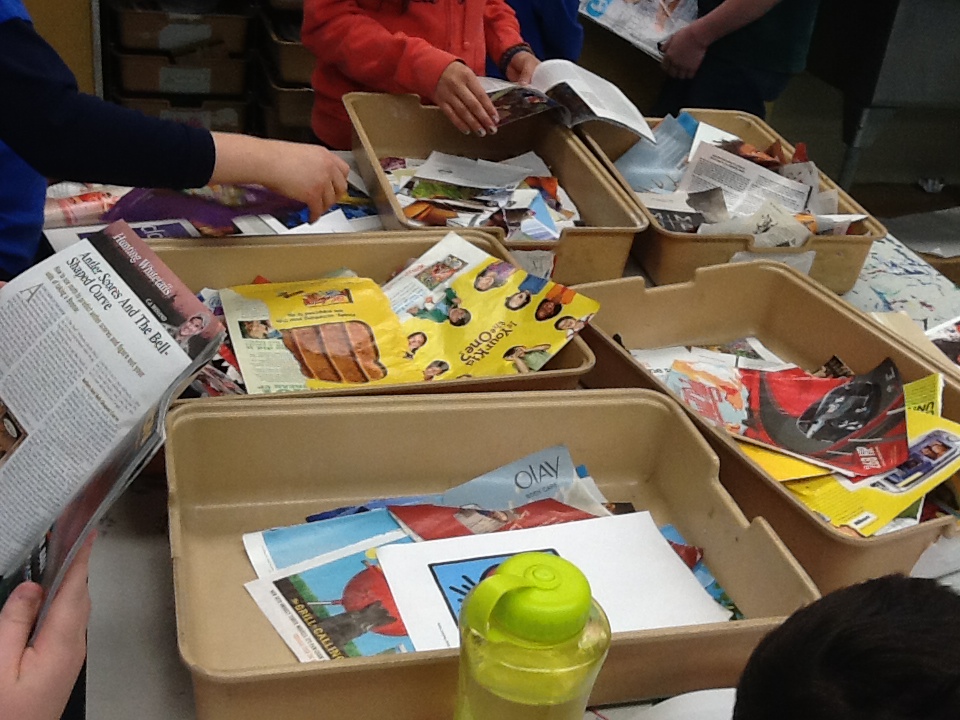
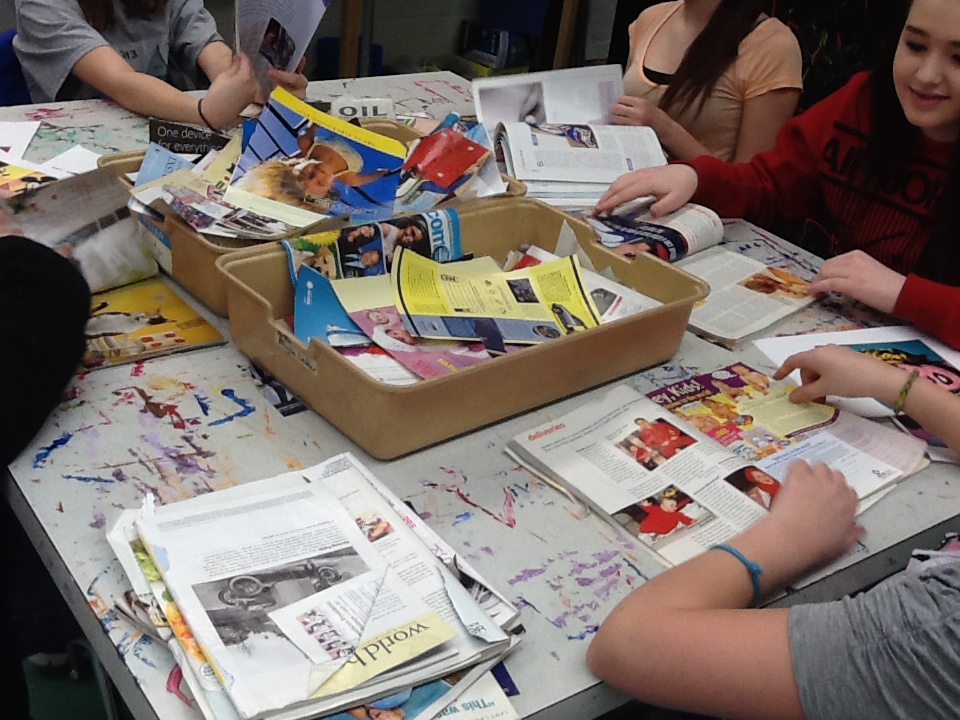
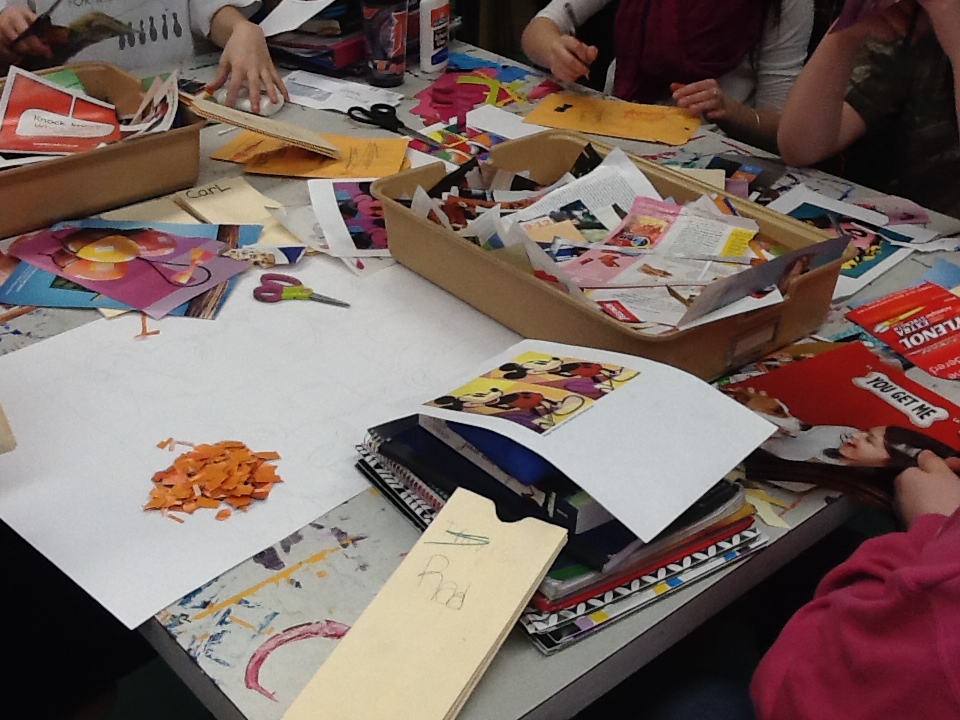
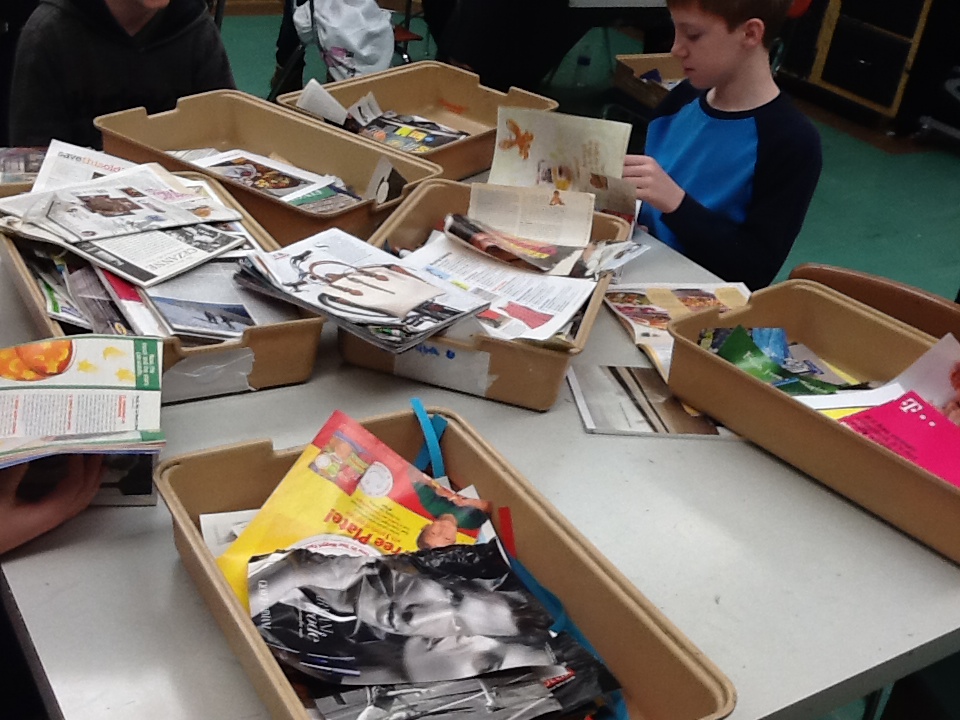
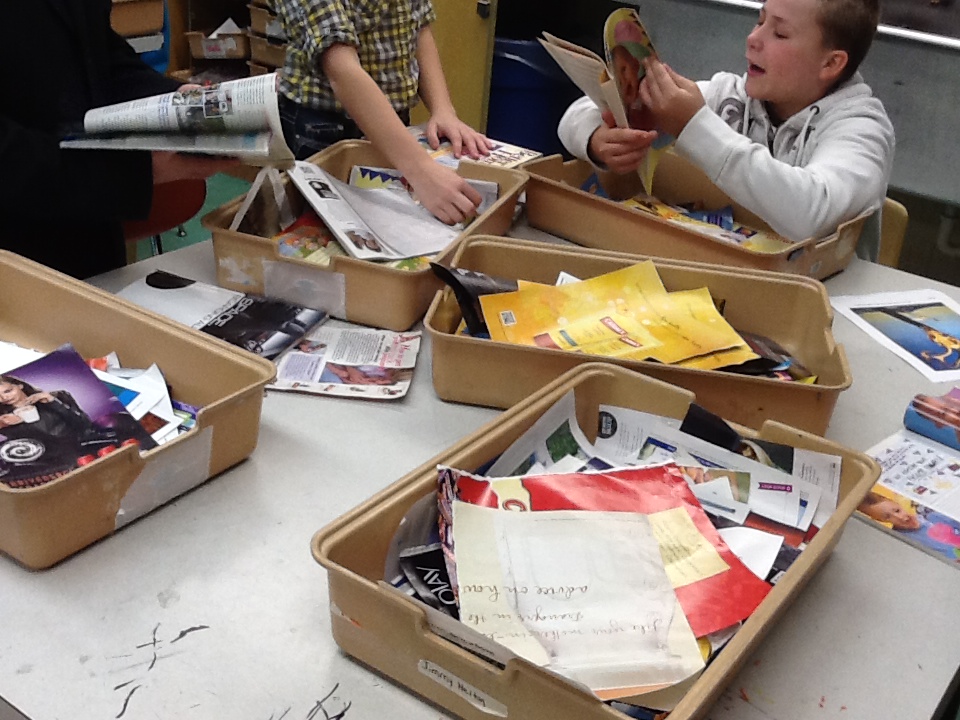
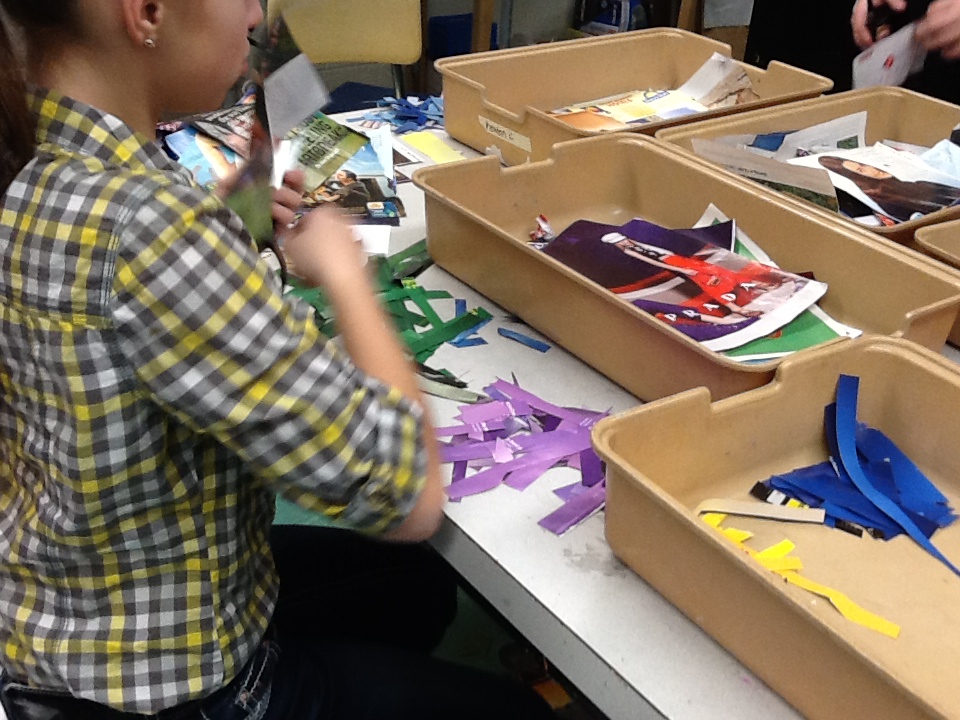
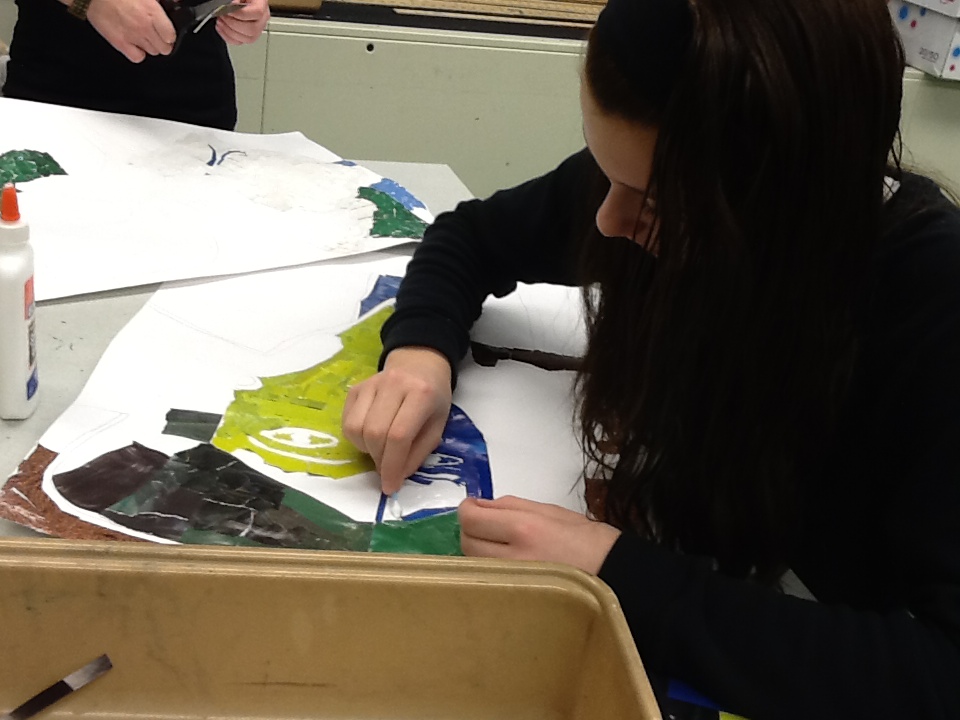
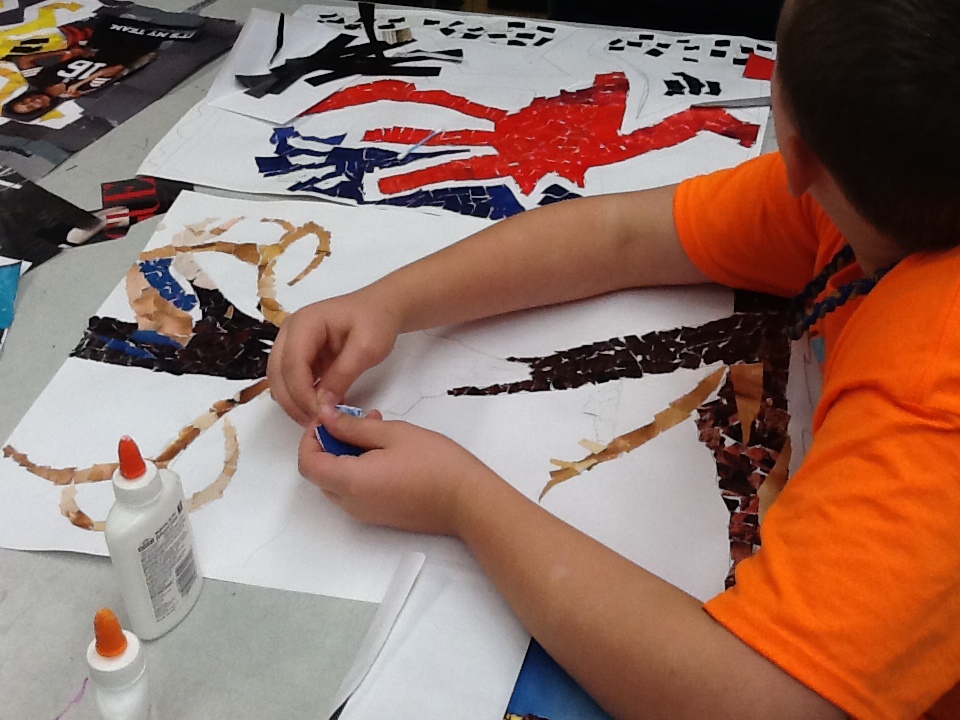
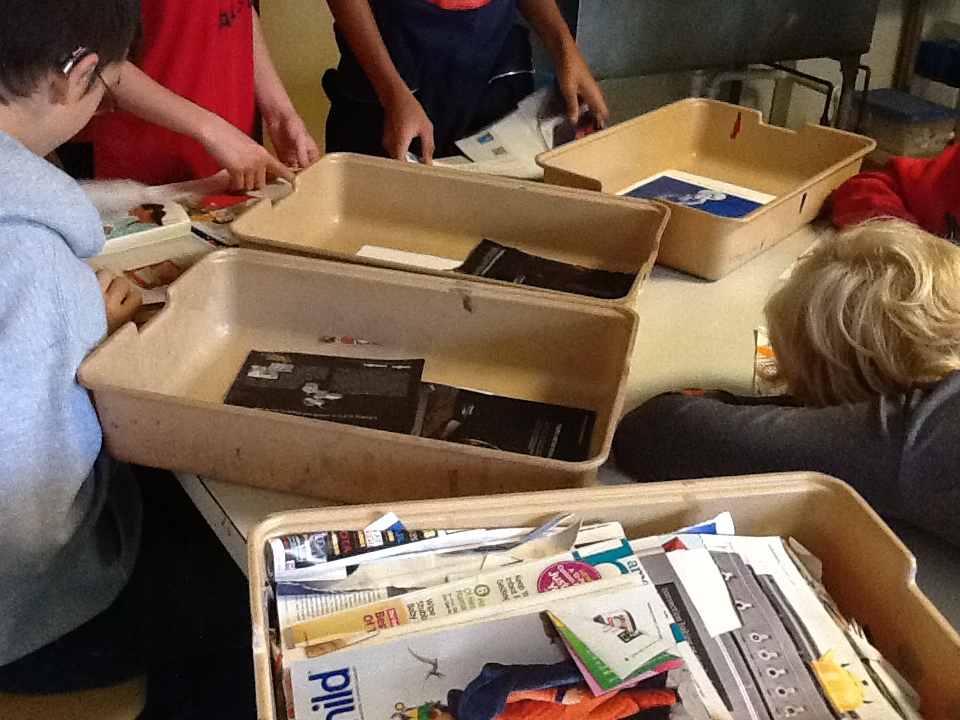
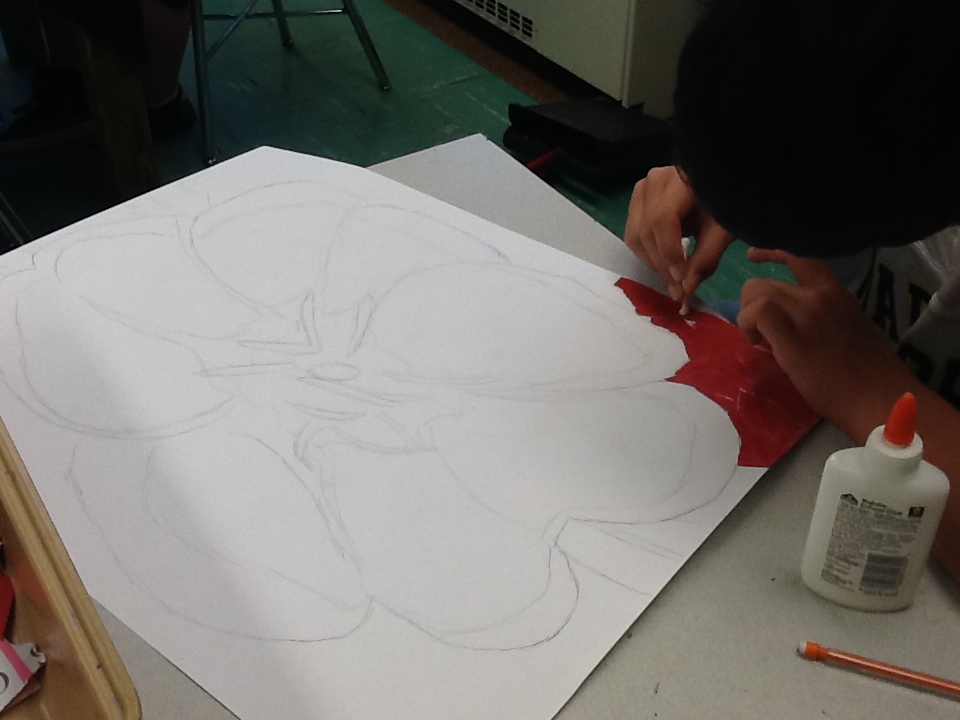
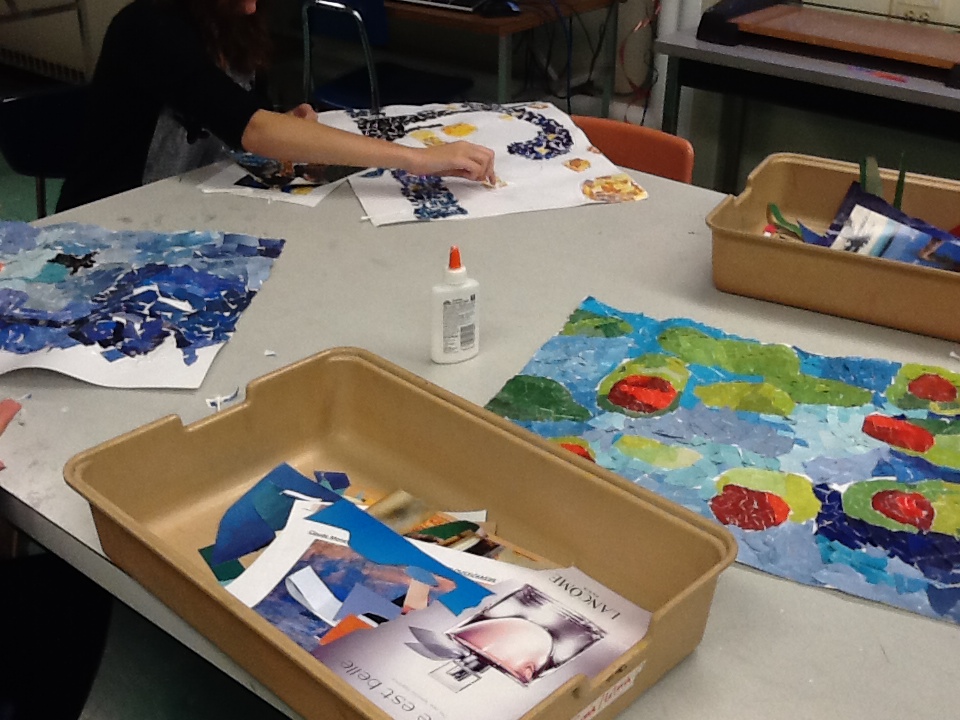
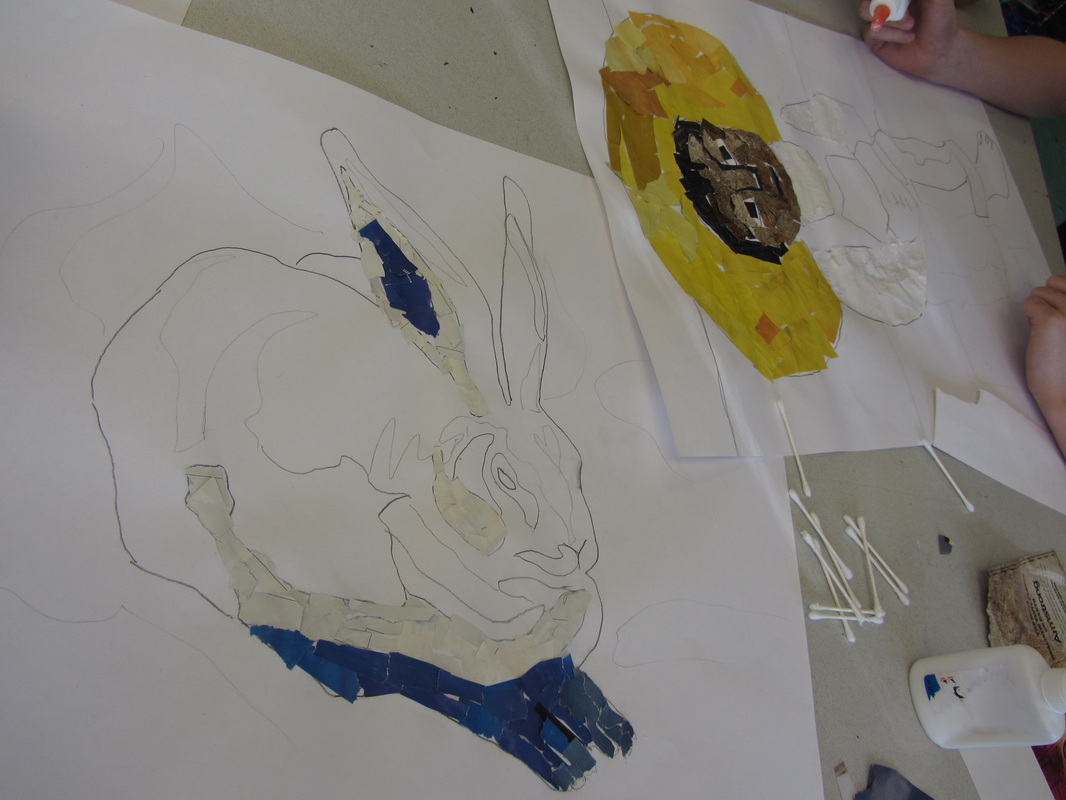
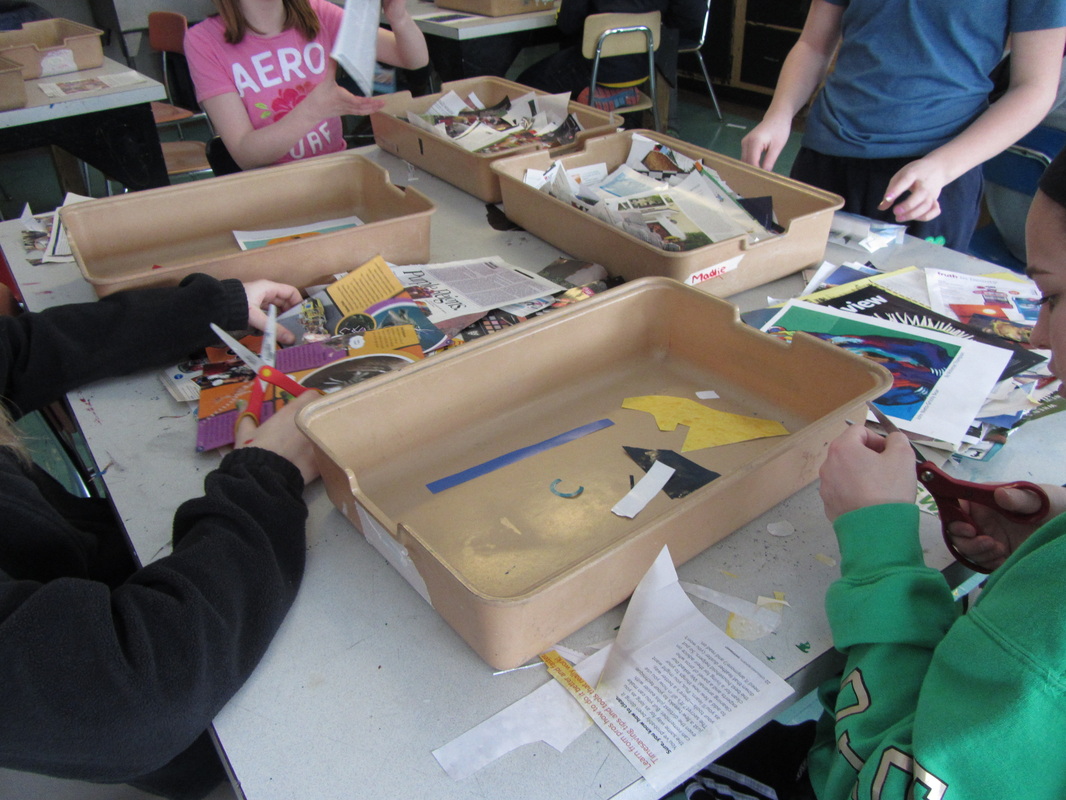
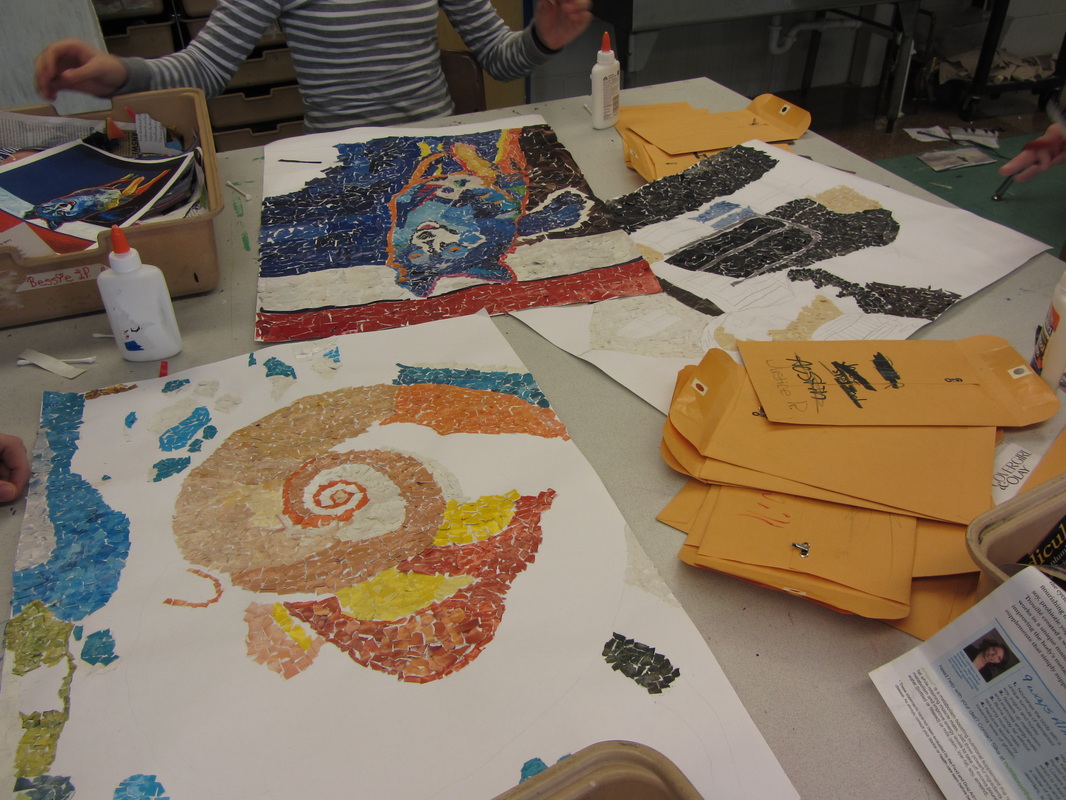
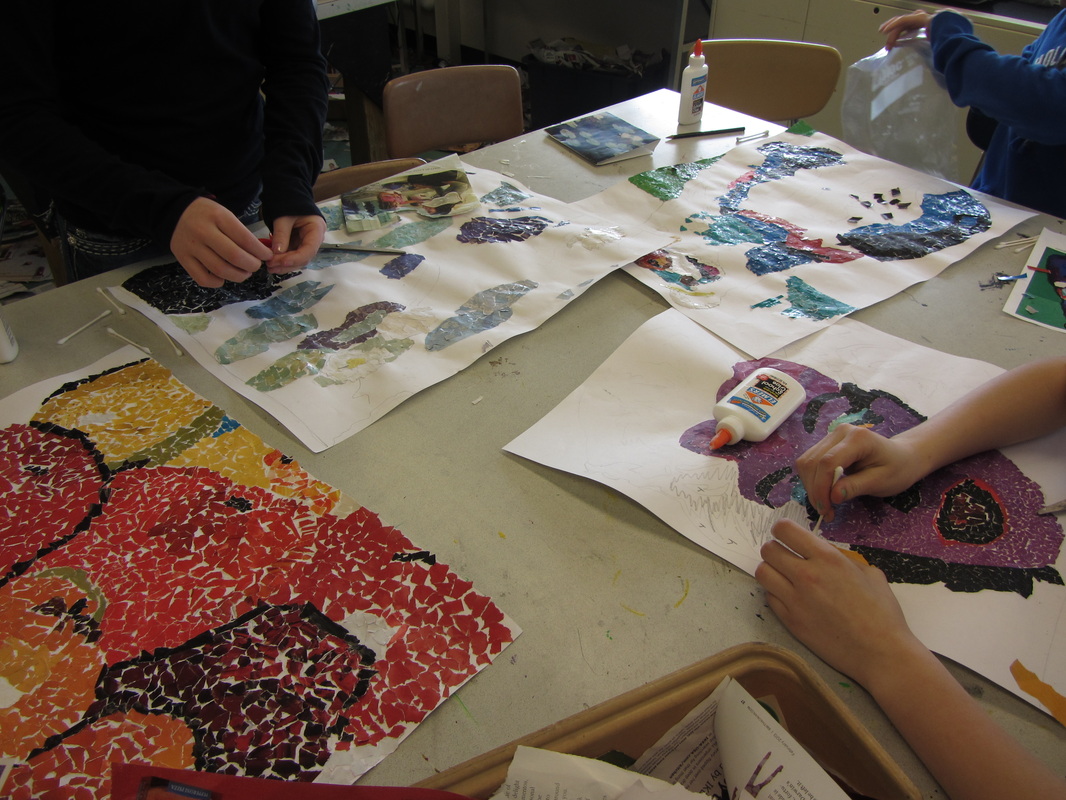
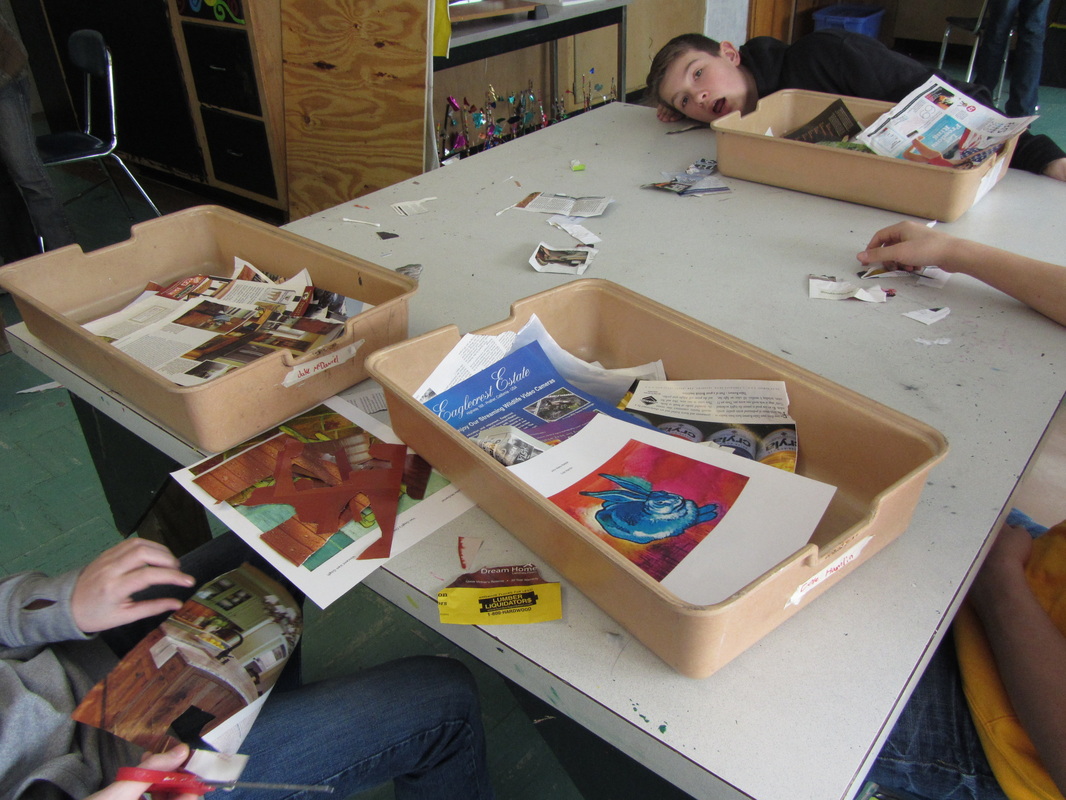
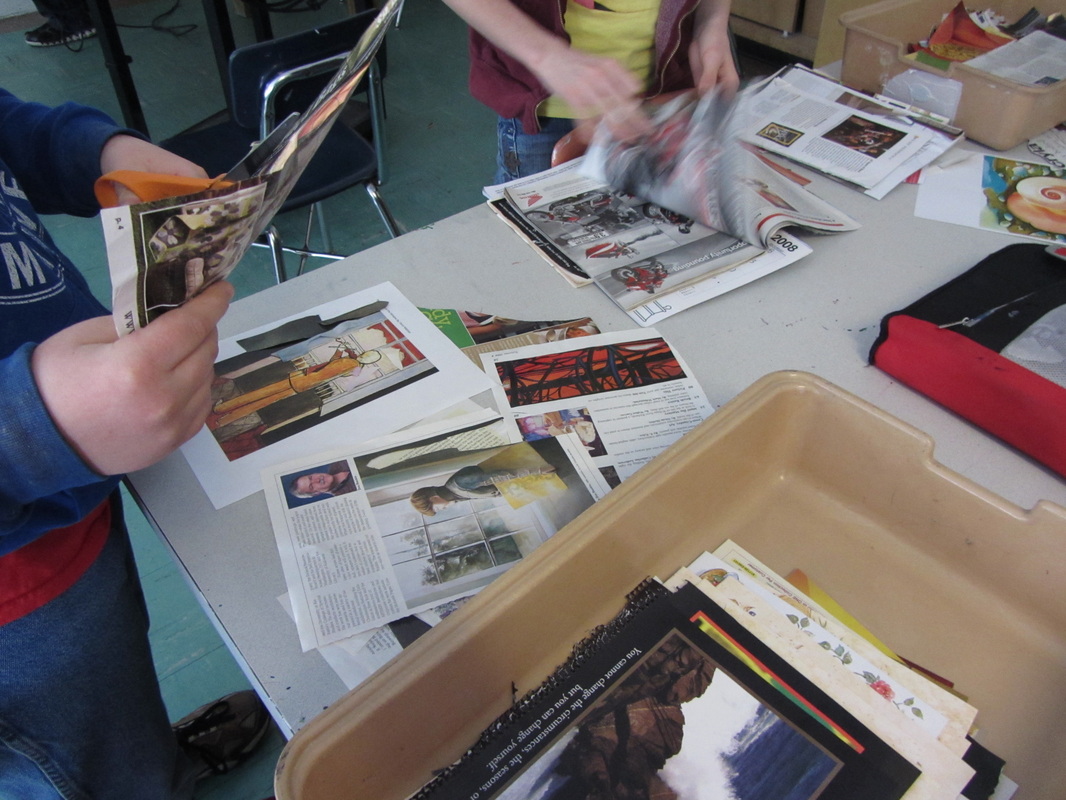
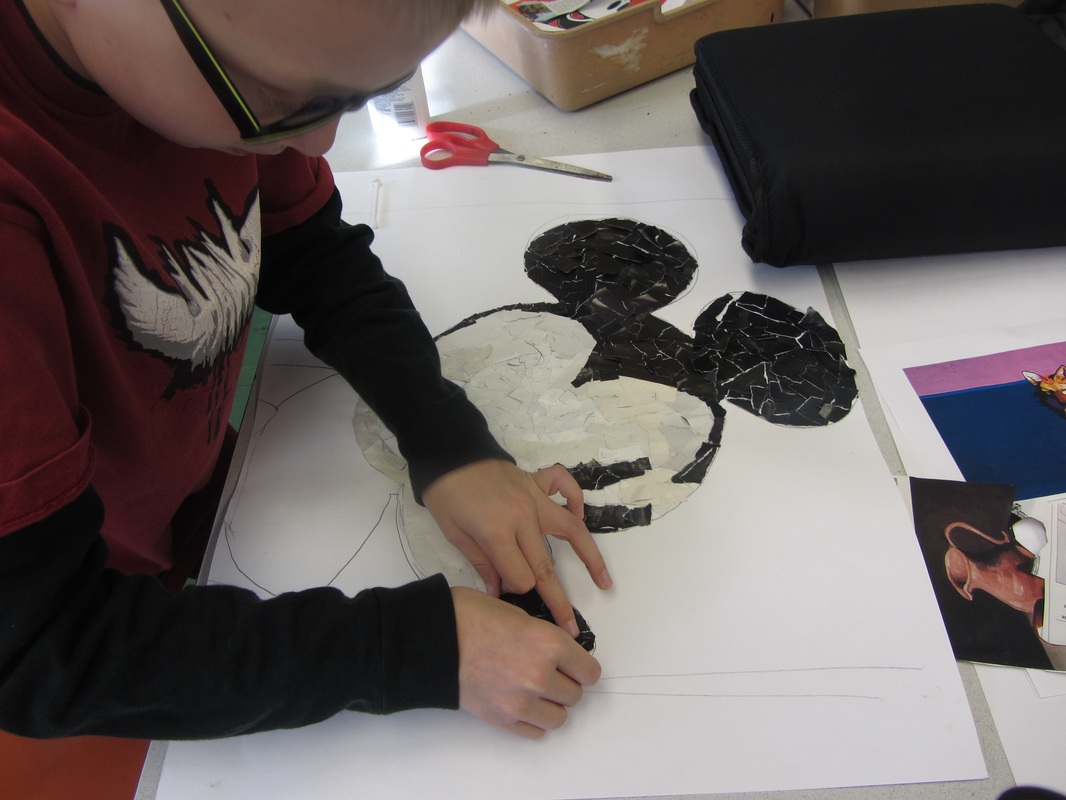
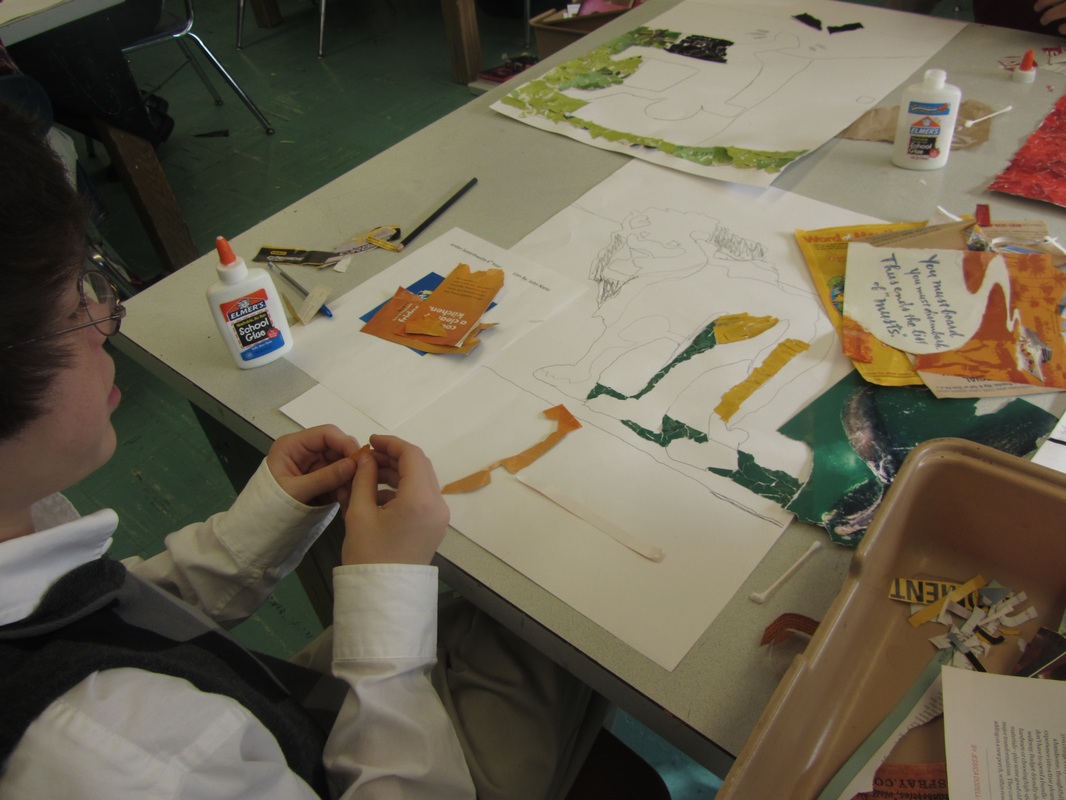
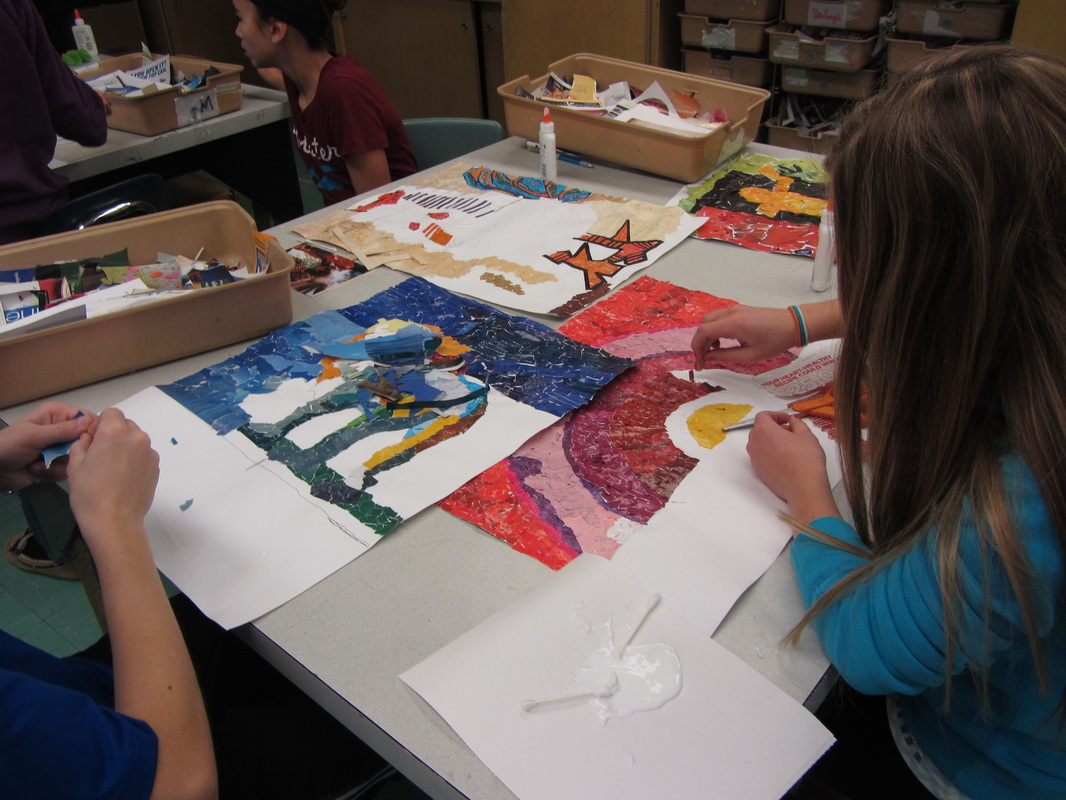
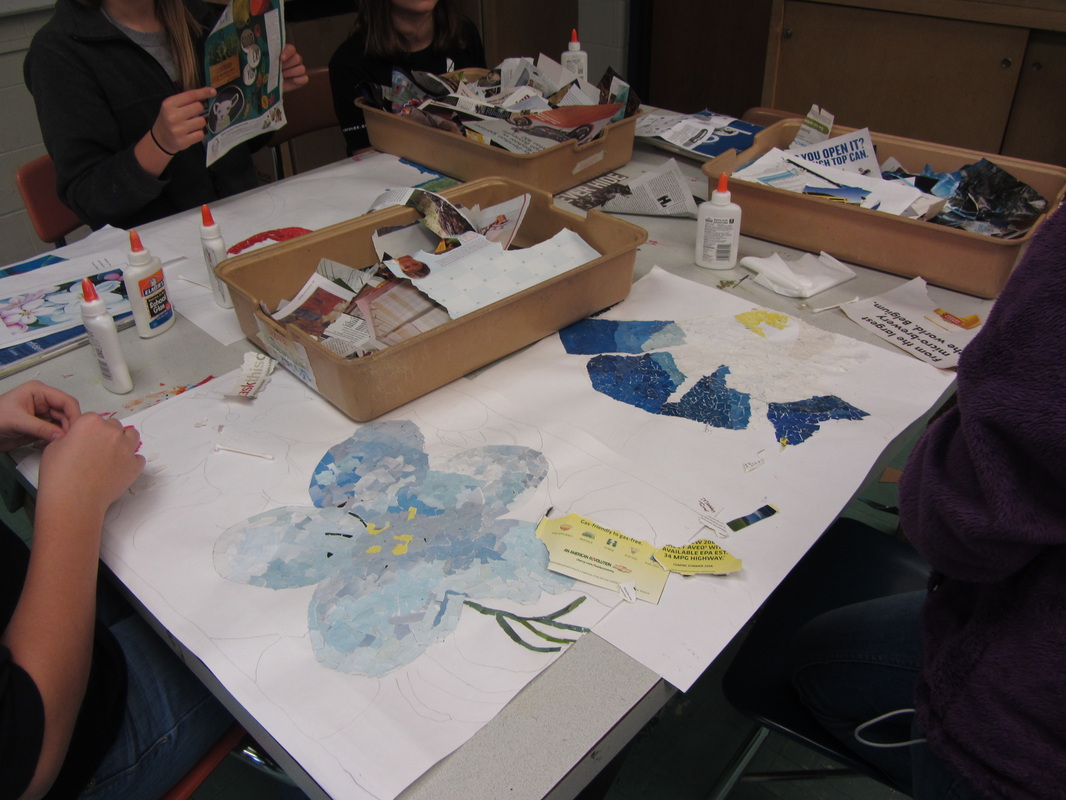
Time for the ART 7 staple- Collage Masterpieces!! This project is an exercise in color- students often look at pieces and give blanket titles to colors - red, blue, etc, without seeing the variation within these colors. This exercise opens their eyes to seek out color variations and they often never look at another piece in terms of blanket color again. Students found the "masterpiece" they wanted to recreate earlier this quarter and now will recreate their chosen piece with pieces of color gathered from magazines. This has quickly become a favorite project in our building and they always turn out wonderfully done! Check below to see our progress over the next few weeks.
final sneak peek before they are complete!!


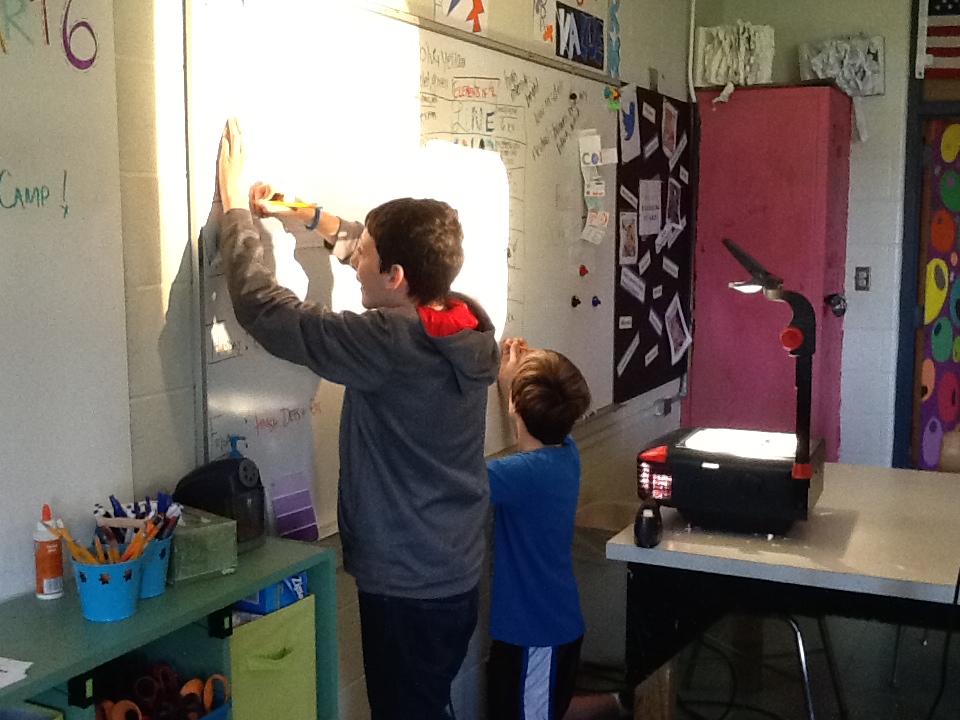
tracing and gathering color
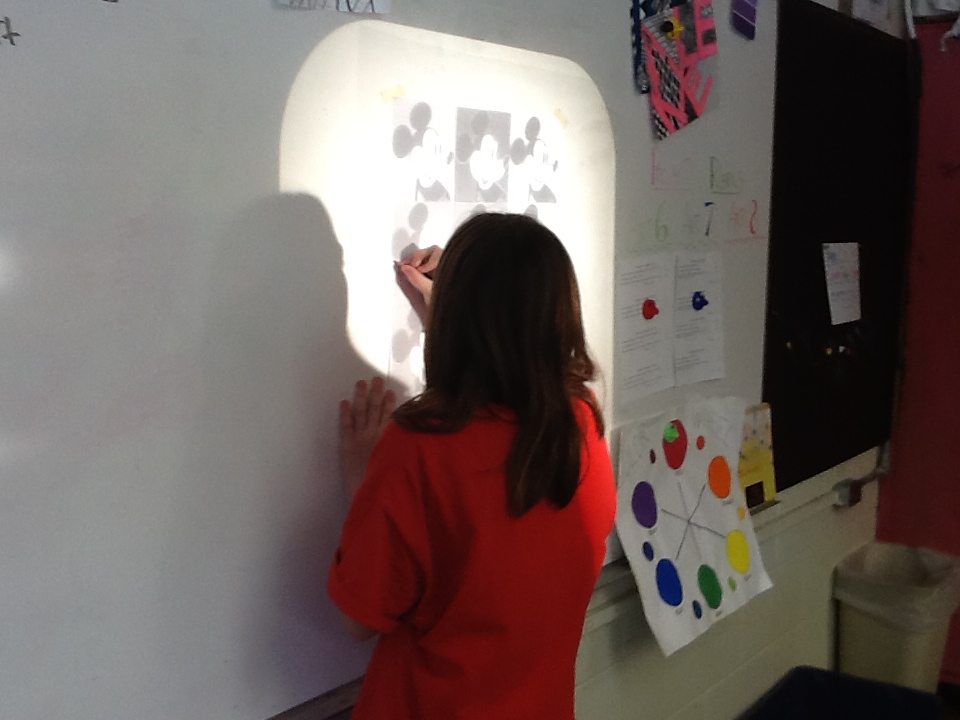
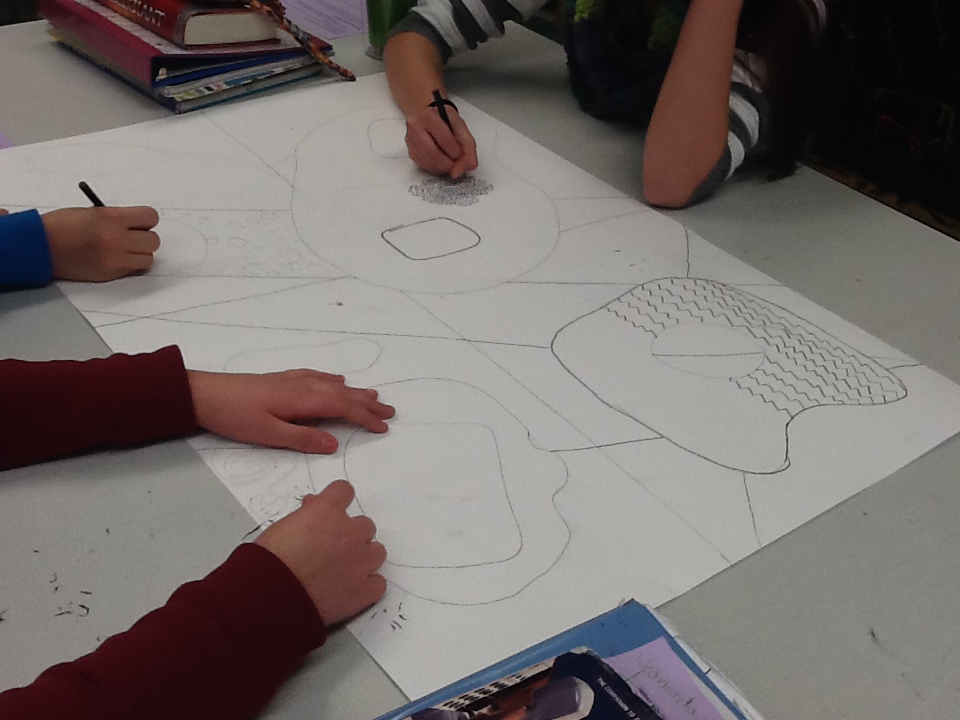
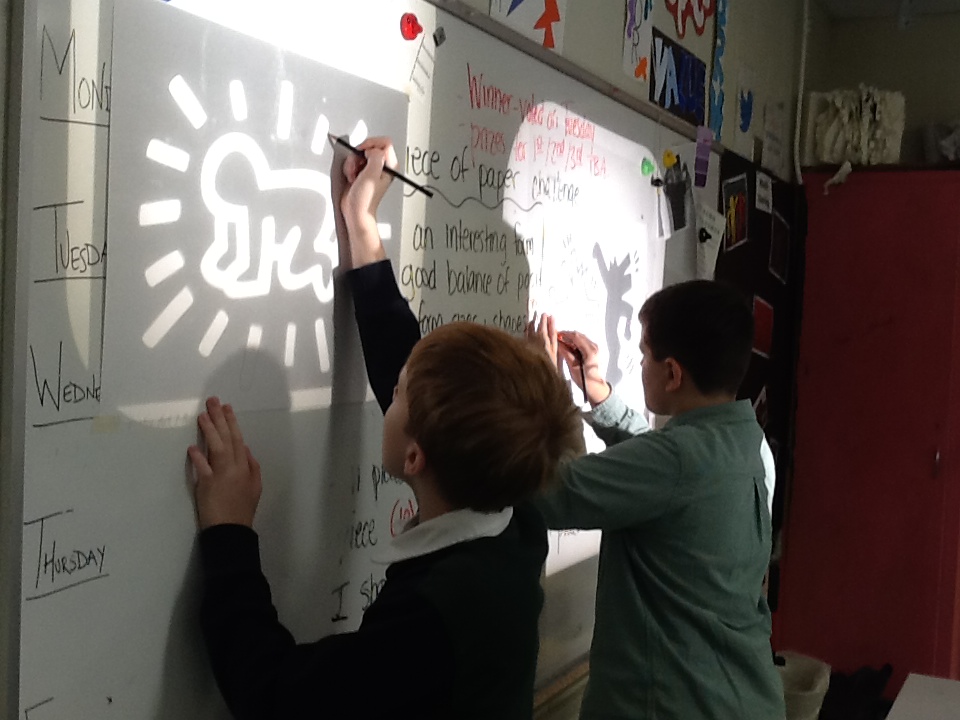
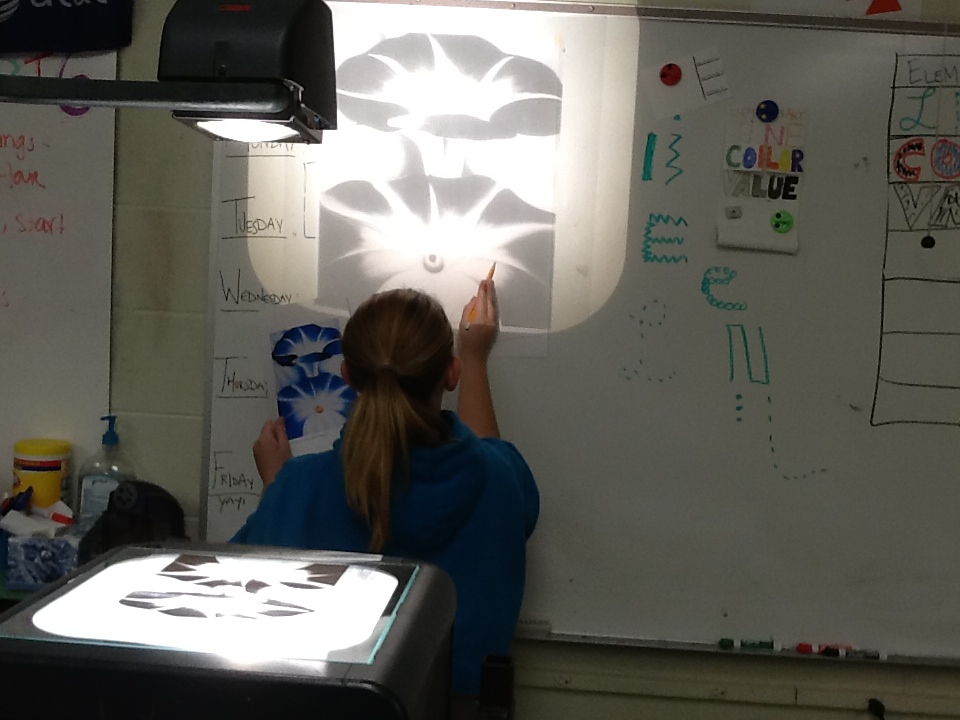
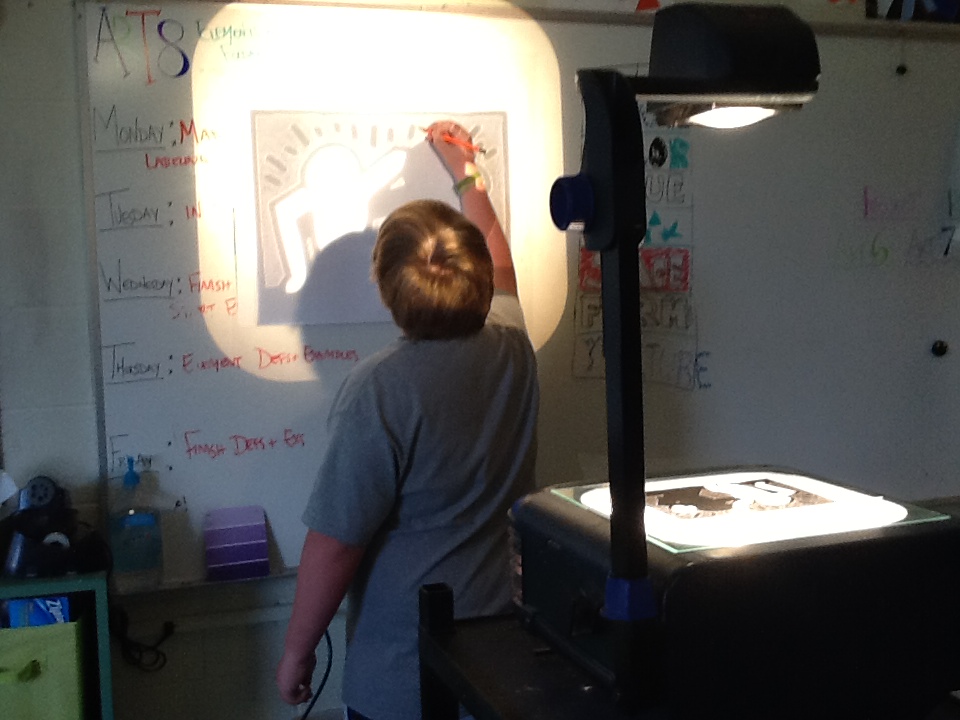
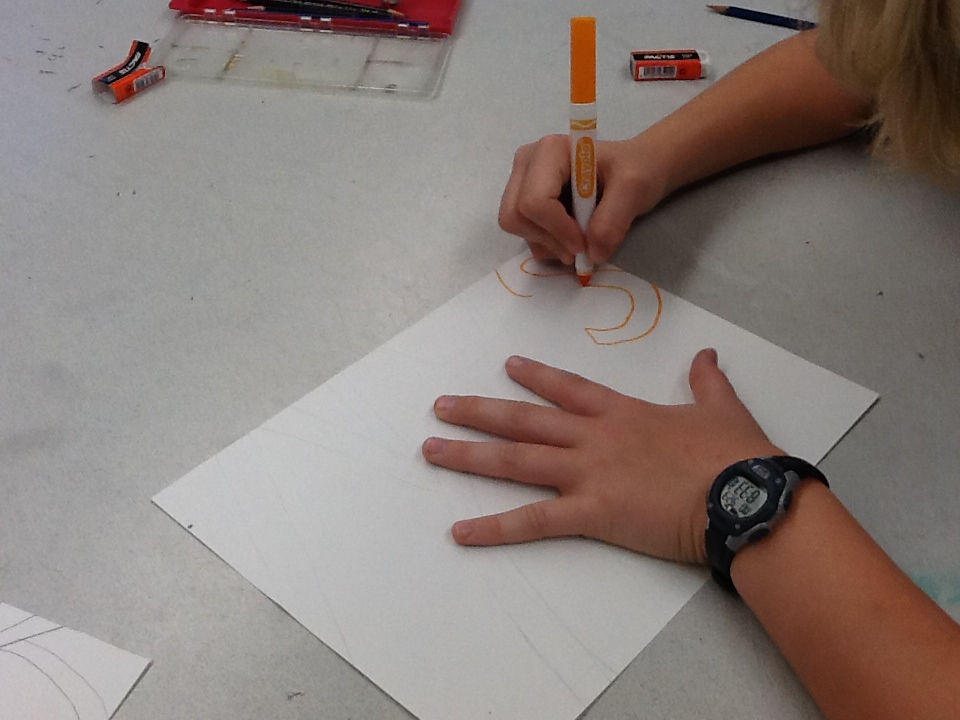
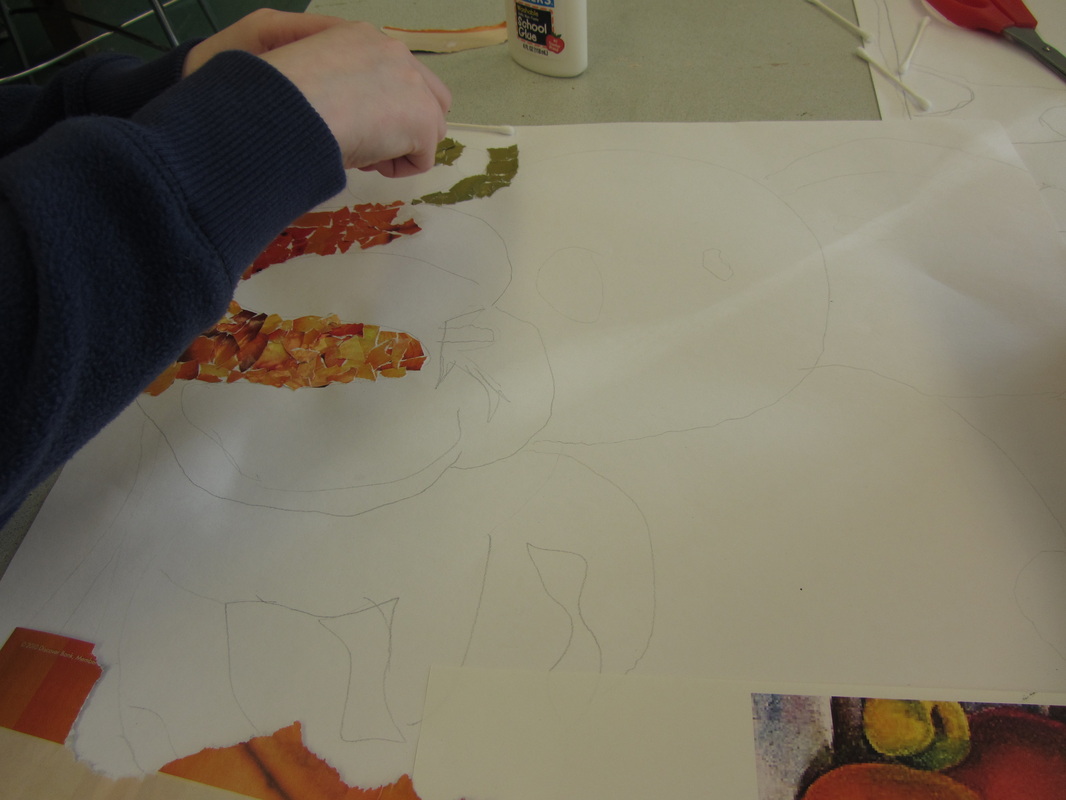
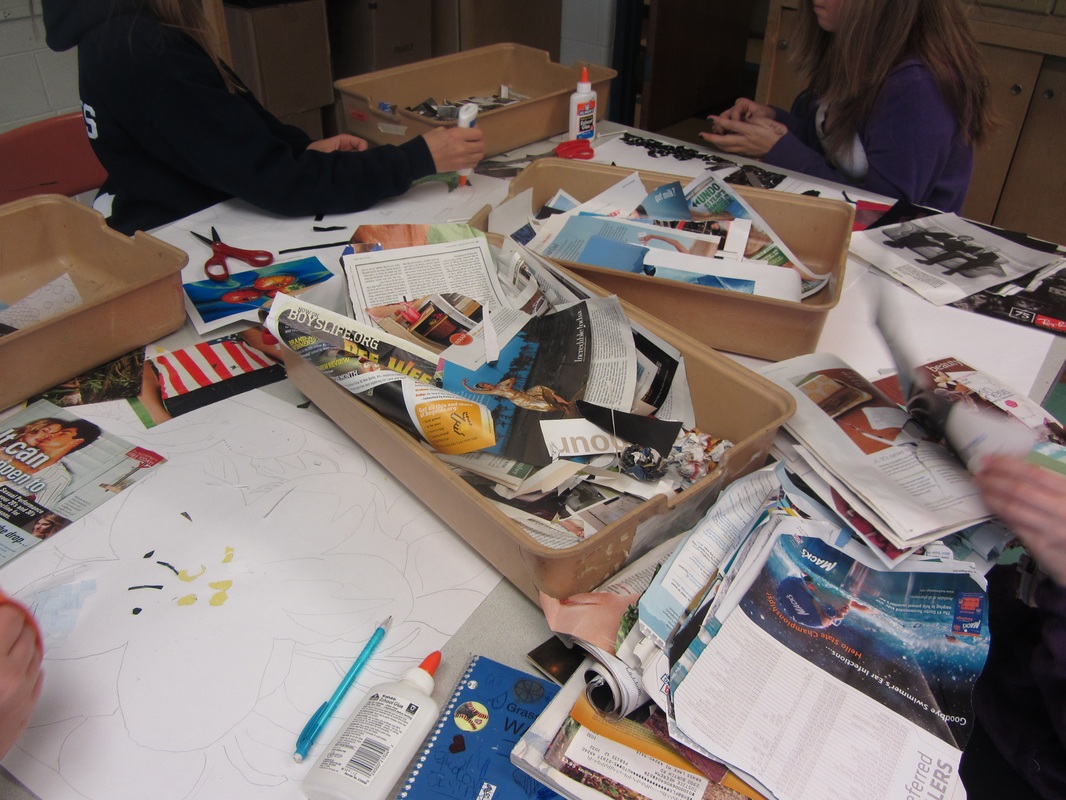
The first few days of our project are spent tracing the main components of the piece via overhead projector and gathering color swatches from our class supply of magazines. It is boring work but it pays off when we start creating our masterpiece replicas.
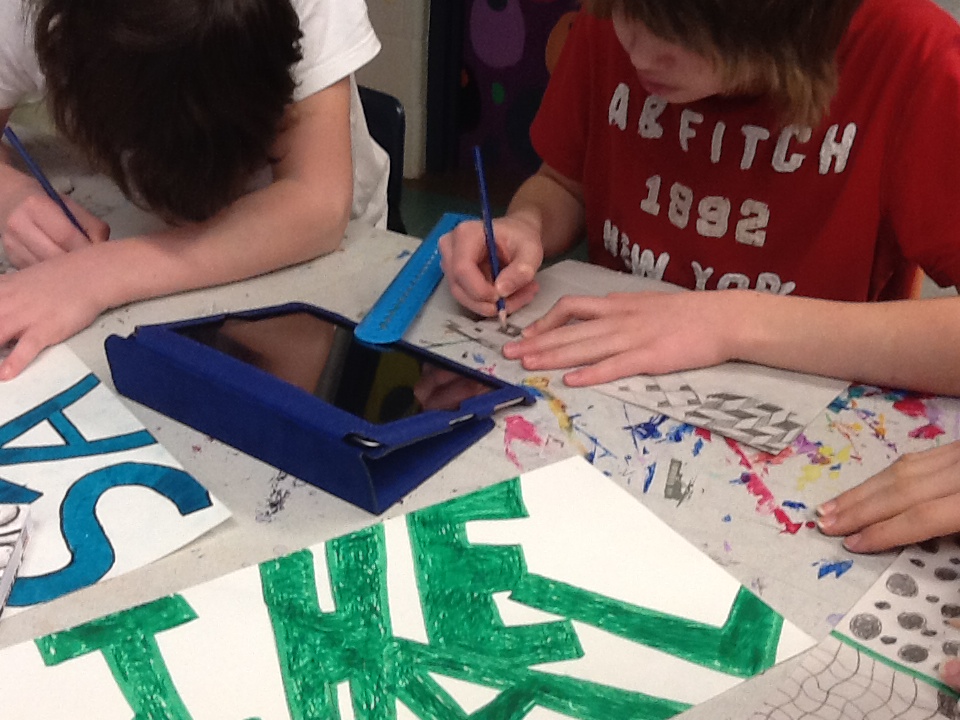
nametangles
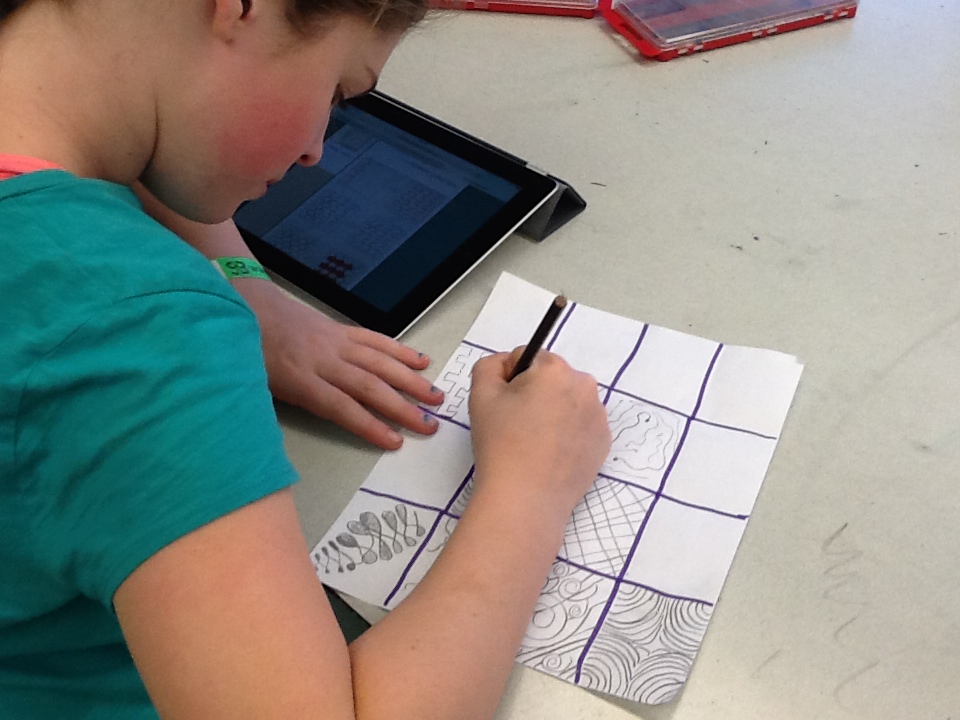
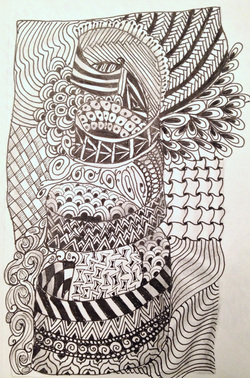
A staple ART 7 project is the Nametangle project. This project combines name tags and the latest art craze-Zentangles to create one-of-a-kind pieces to hang above their lockers. These pieces always turn out great and have become a 7th grade locker tradition over the past 3 years.
day one: Intro and drawing names
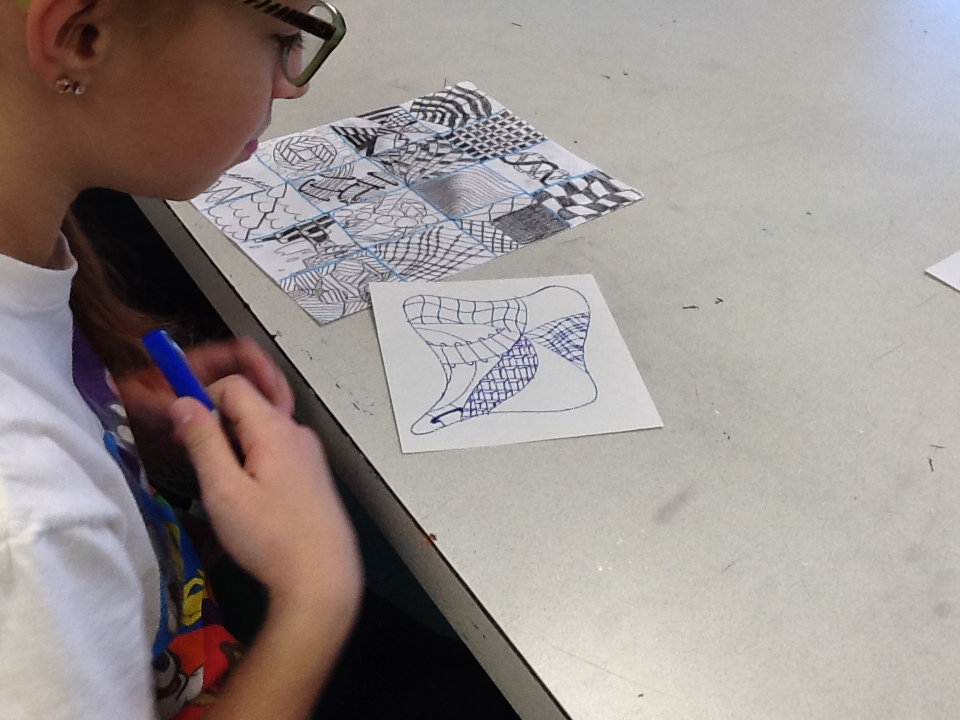
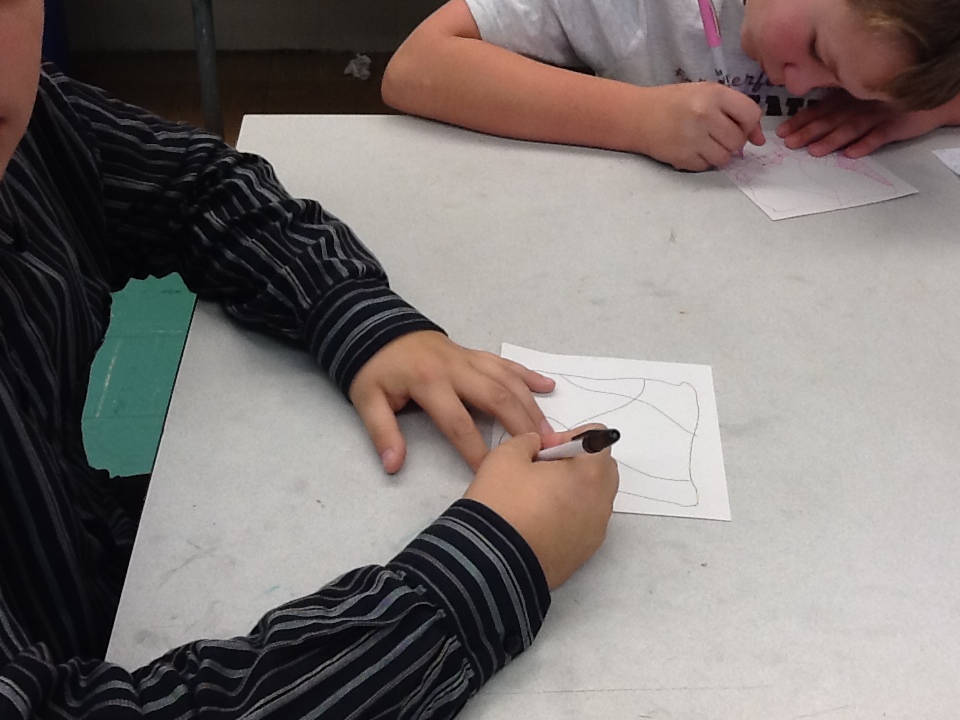
After a super quick intro to Zentangle (thanks snow days) with the Powerpoint below. Students were given the "formula" to draw their names. When doing this project, it is important to structure the names in a certain way to maximize the number of different patterns present in the piece. Student started doing simple, block, capital letters touching both the left hand side and the bottom of the paper. The next letter touched the letter before it and the top of the paper. This process repeats itself until the last letter where the it also needs to touch the right hand side of the paper. You can see an example below.
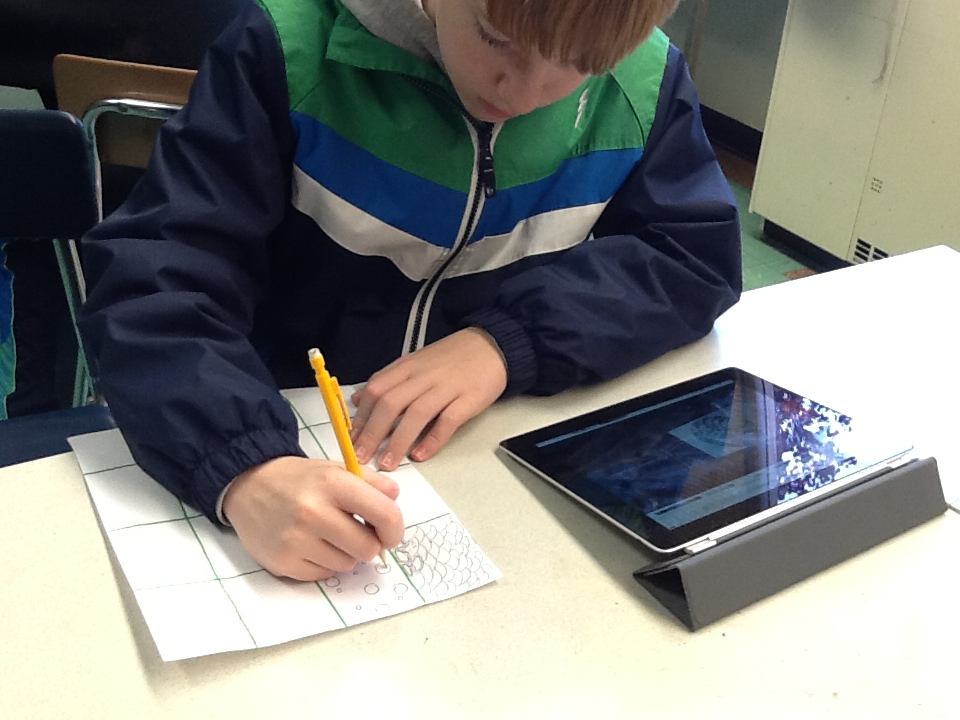
day two: doodles and pattern practice
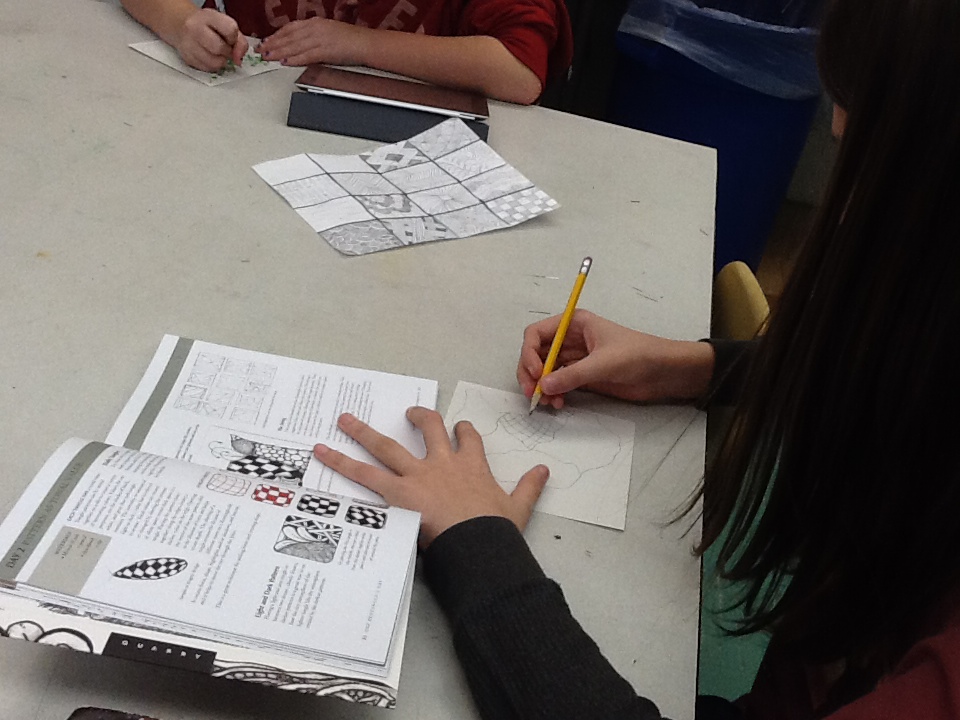
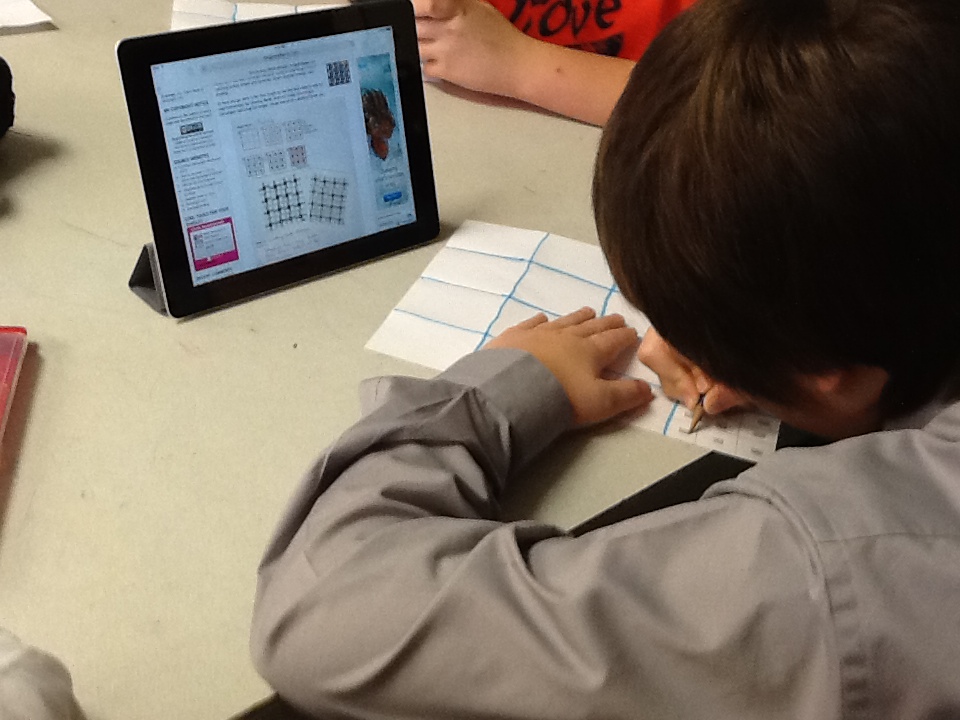
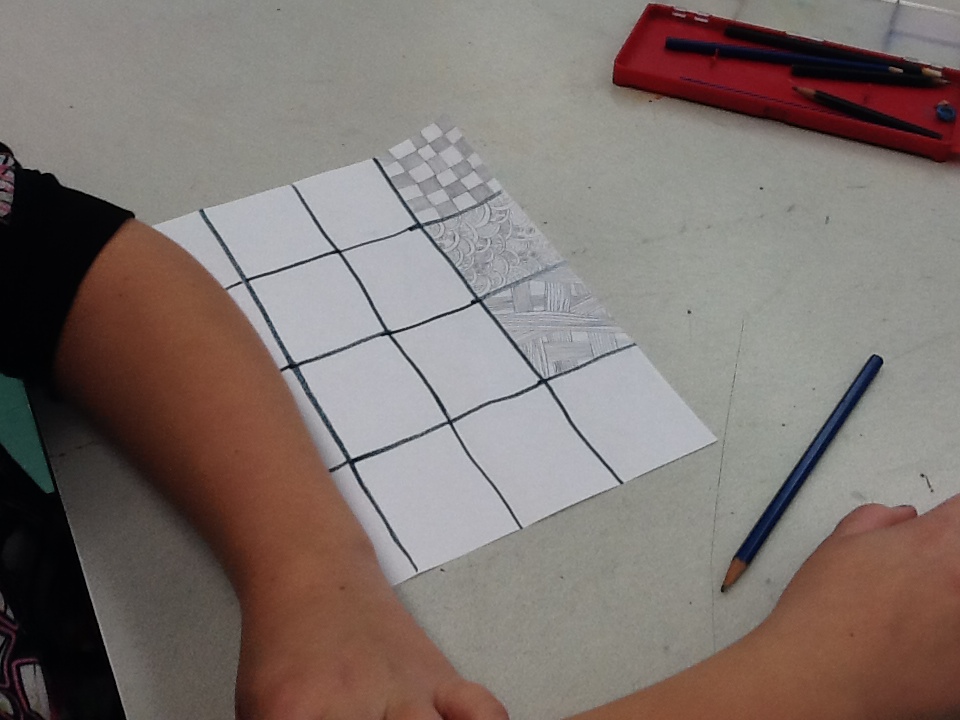
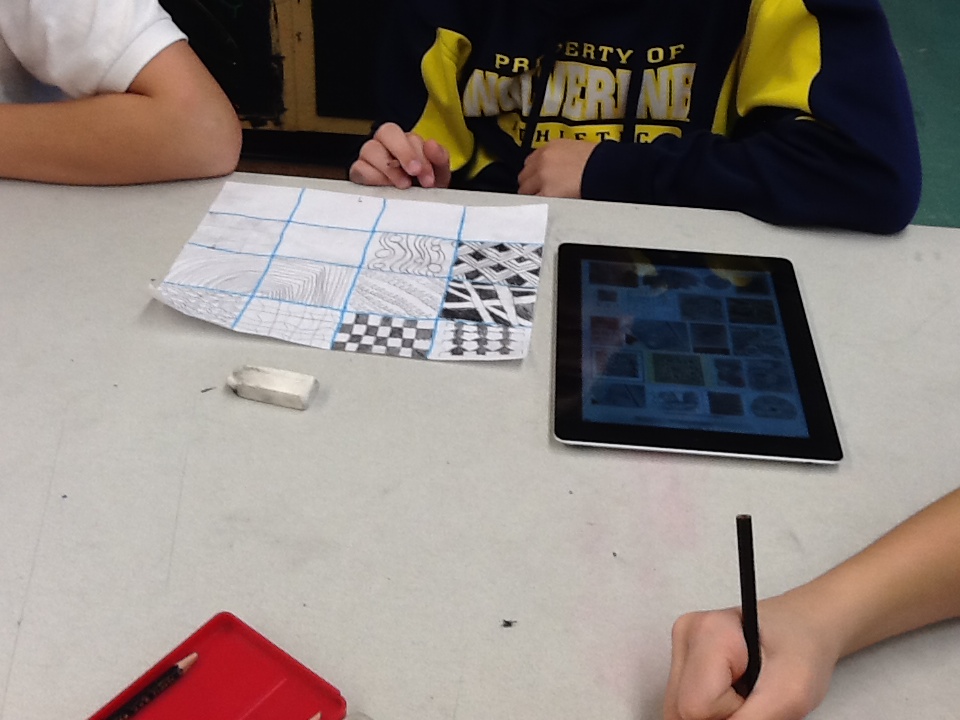
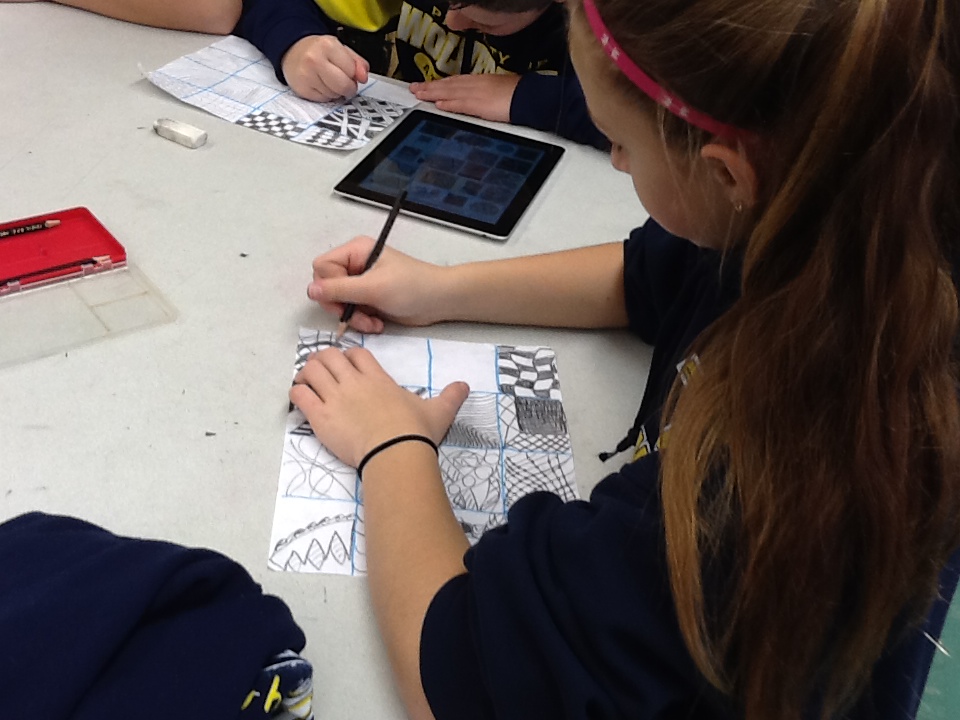
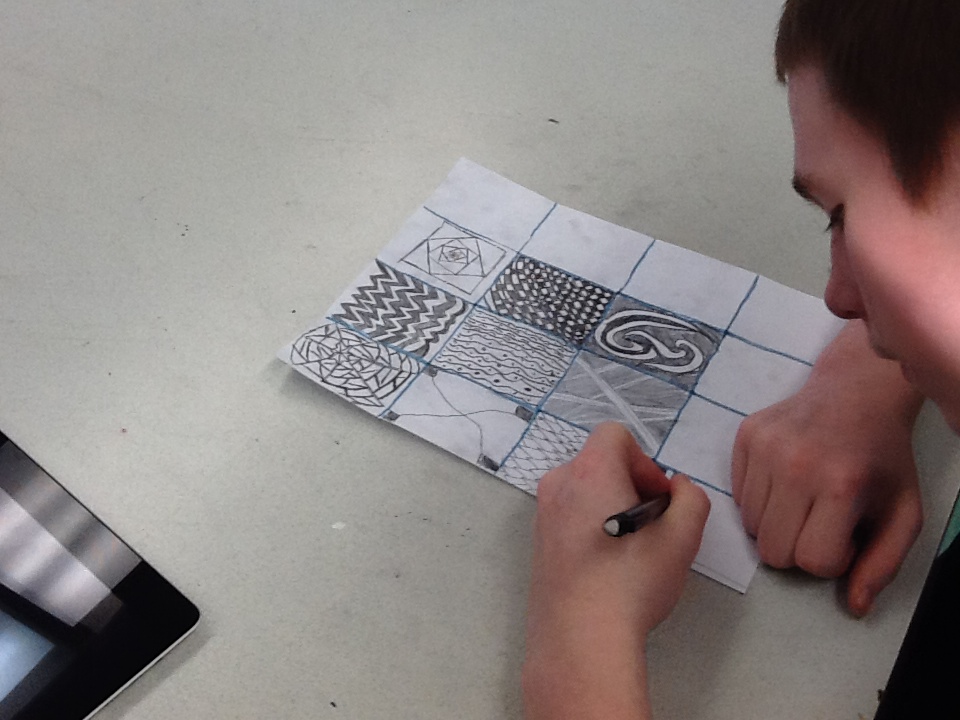
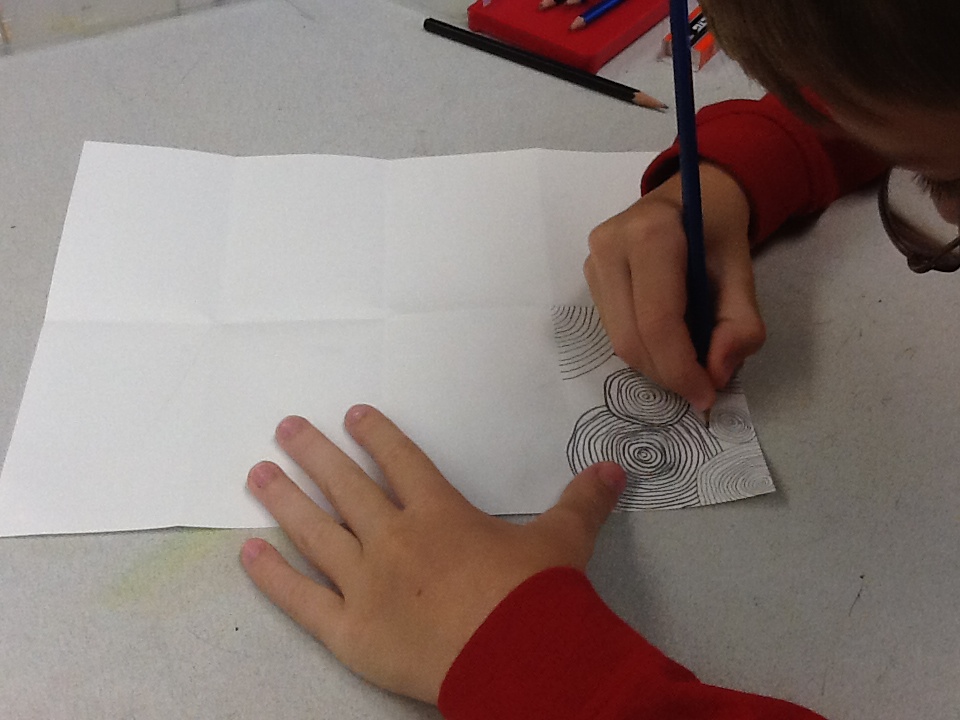
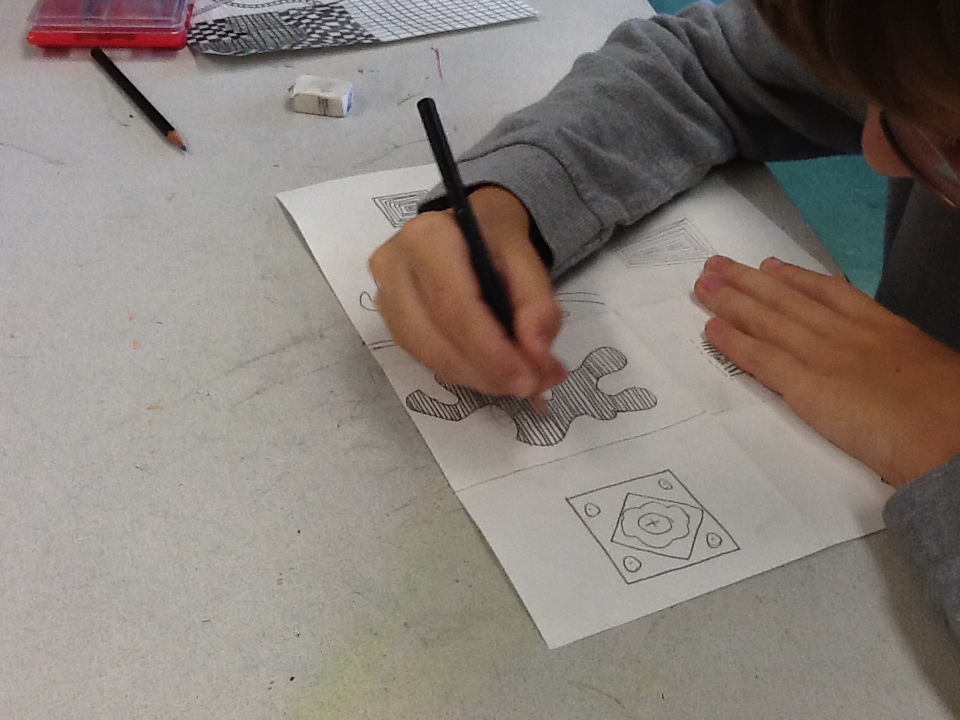
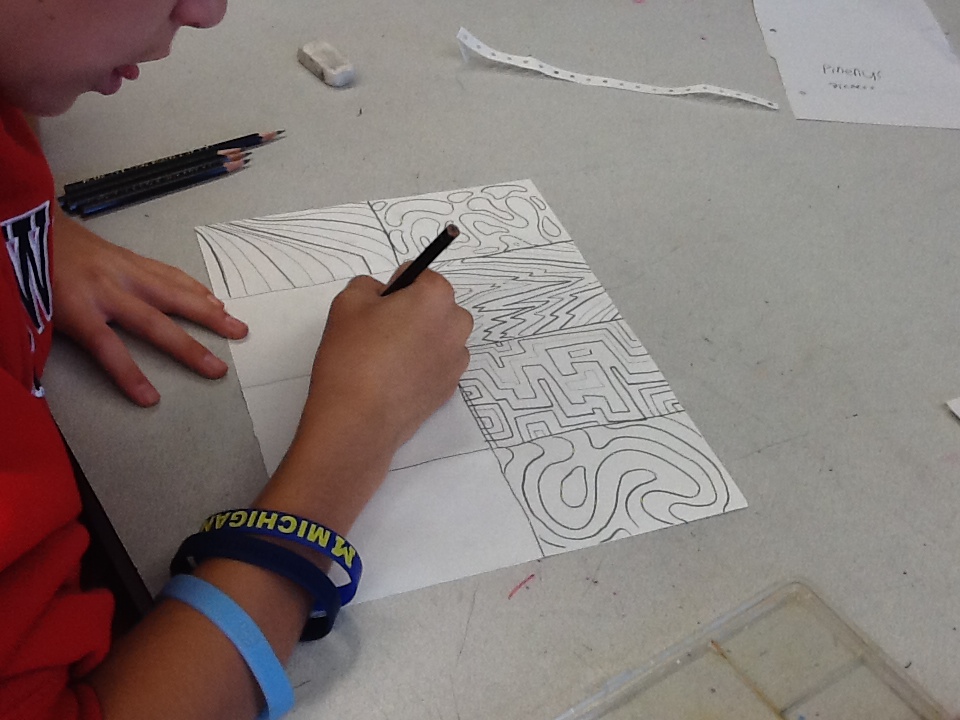
Day two was all about doodling our original patterns and seeing what was already out their in the art world. Student spent the hour doing at least 12 different patterns, looking for designs to draw in Zentangle books and using the iPads to look at some great pieces online.
days three & four: final nametangles
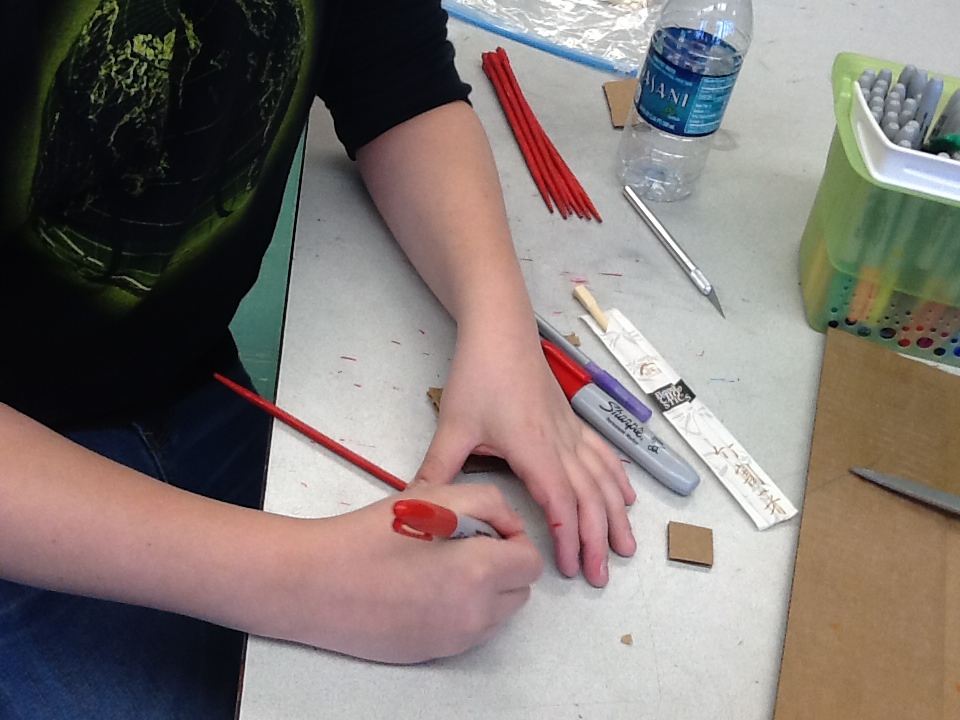
After playing with pattern and choosing their favorite ones, students used Sharpie to recreate their favorites inside their Nametangle. Each one is unique and looks great! You can see them in the ART 7 Gallery starting Friday evening.
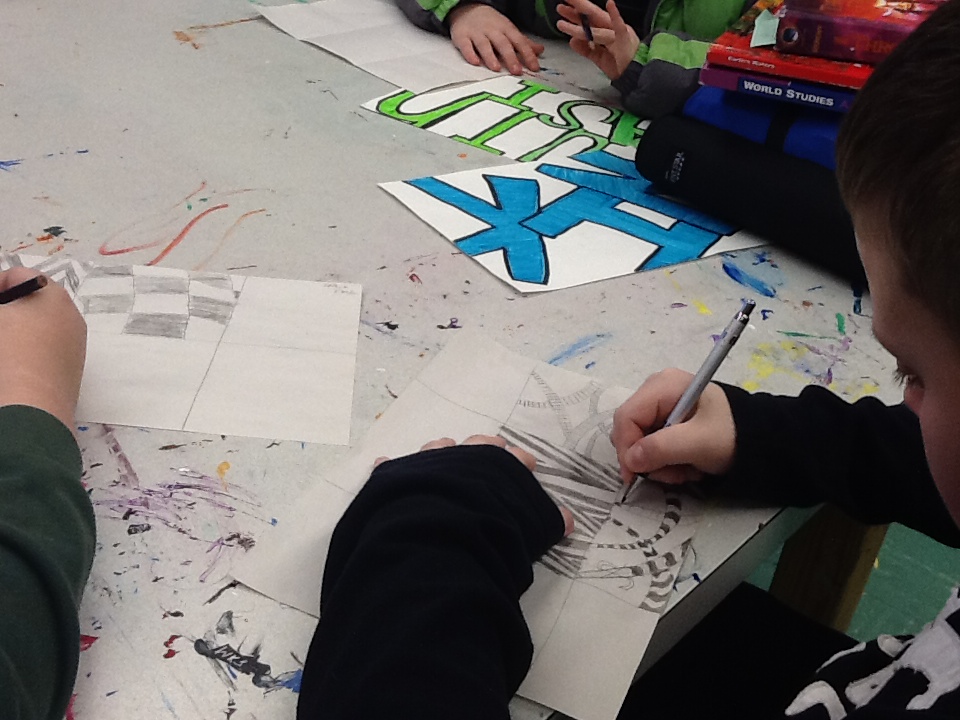
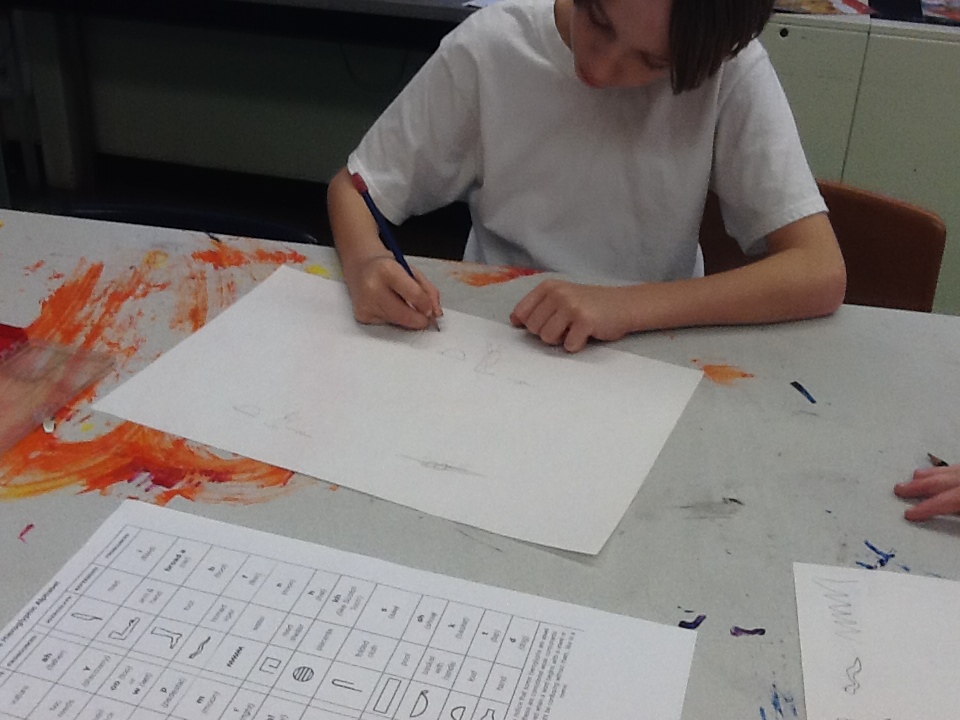
ancient egyptian hieroglyph portraits
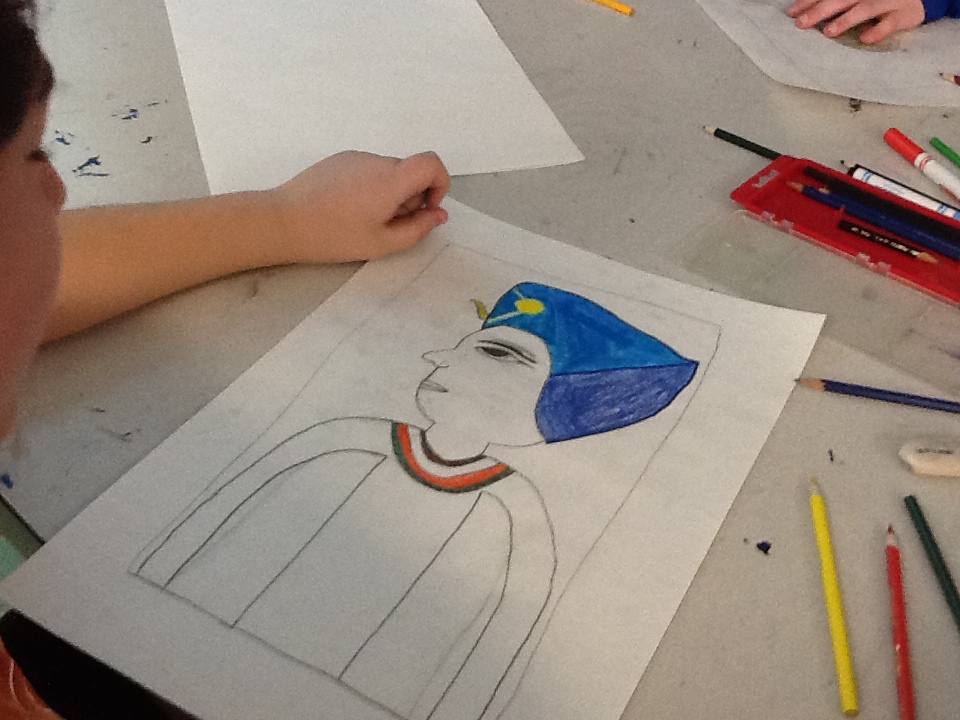
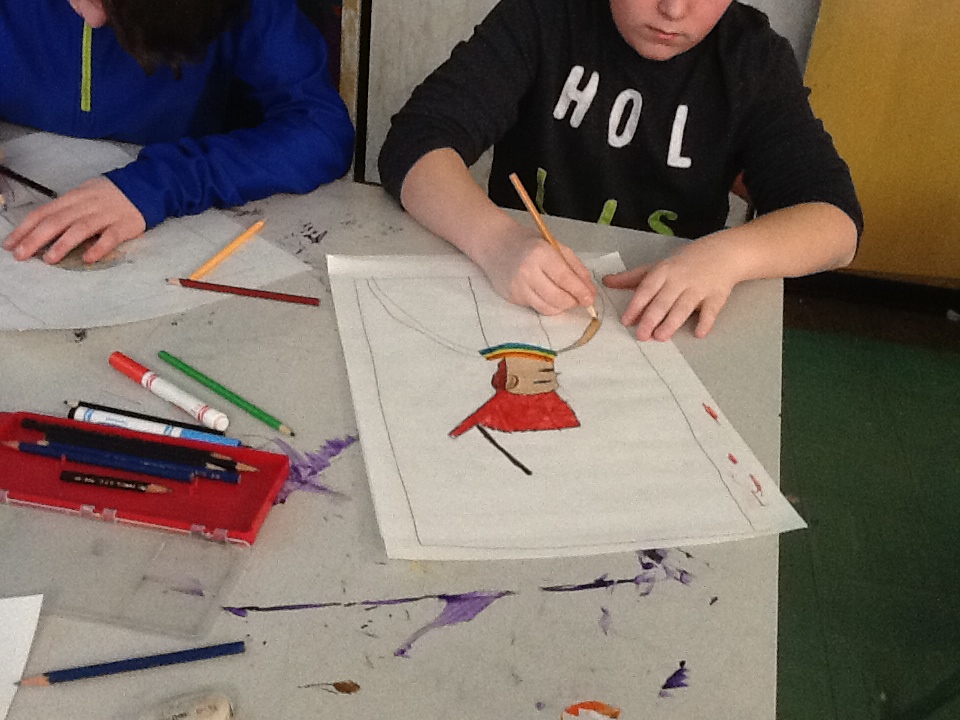
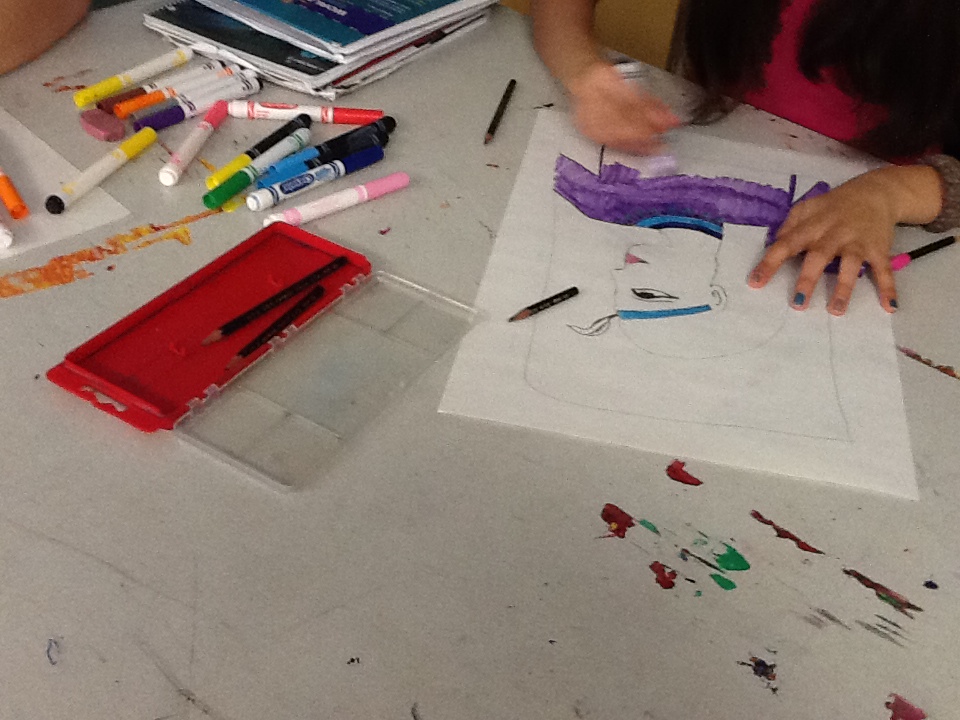
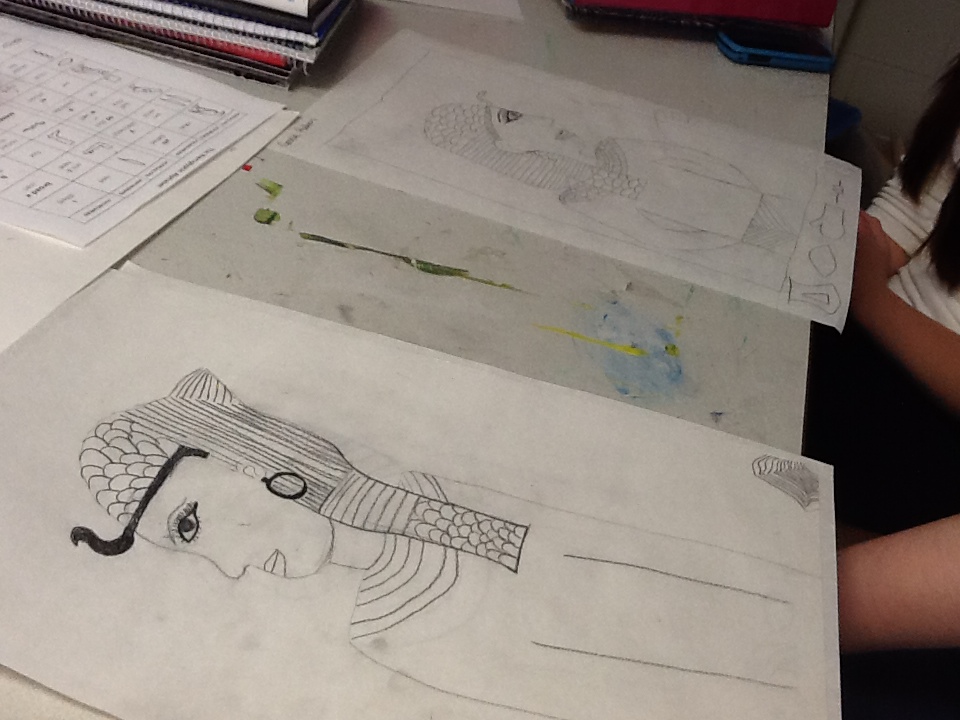
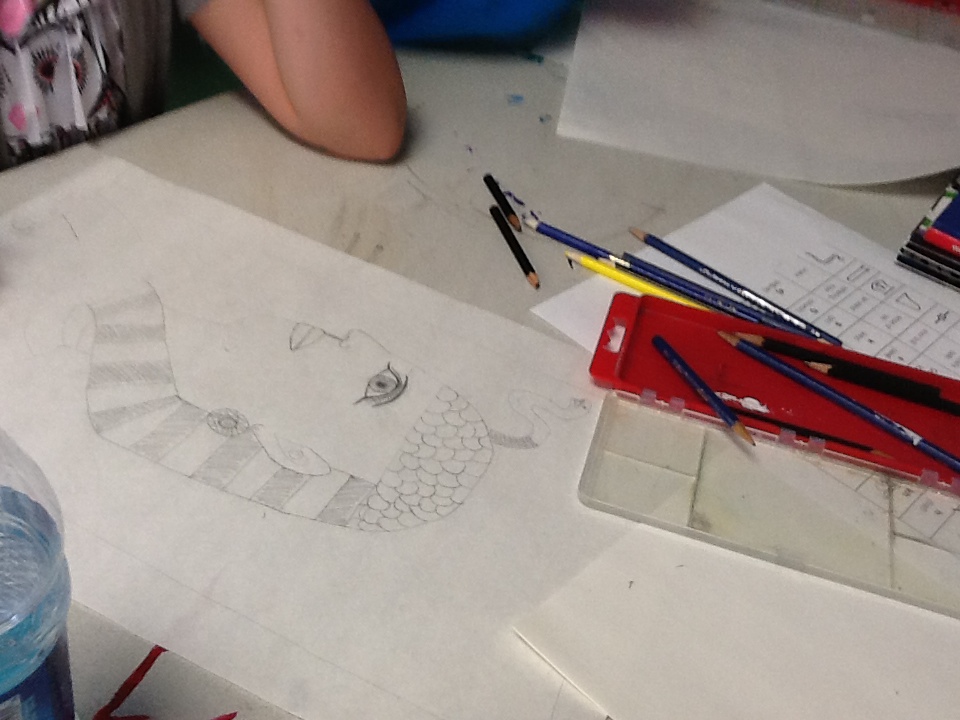
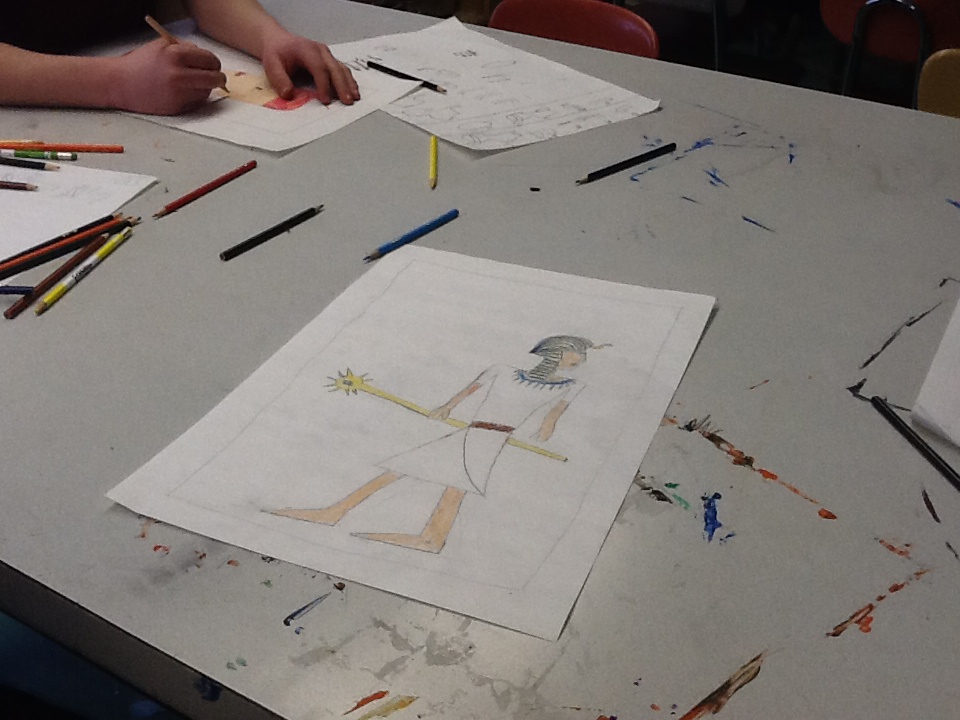
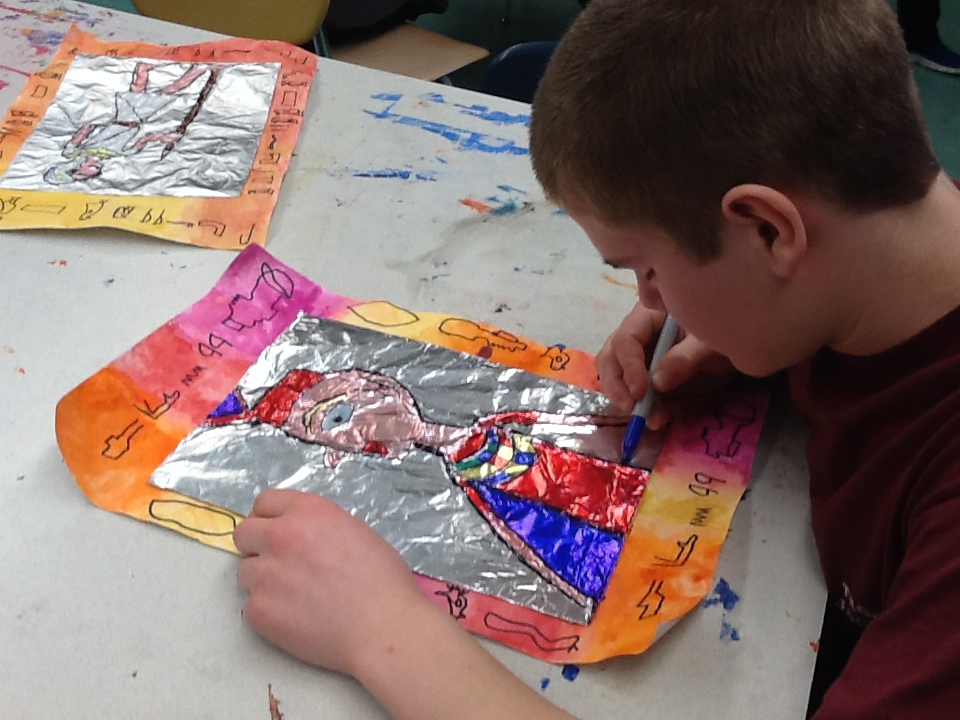
ART 7 will be traveling back to ancient Egypt for our next project. They will create ancient Egyptian portraits on a special medium that often isn't used in the art room, but can be found on a daily basis around homes- you'll have to check back to see what it is :) Detailed will be done in Sharpie and watercolor to create a colorful relief portraits in that ancient signature style.
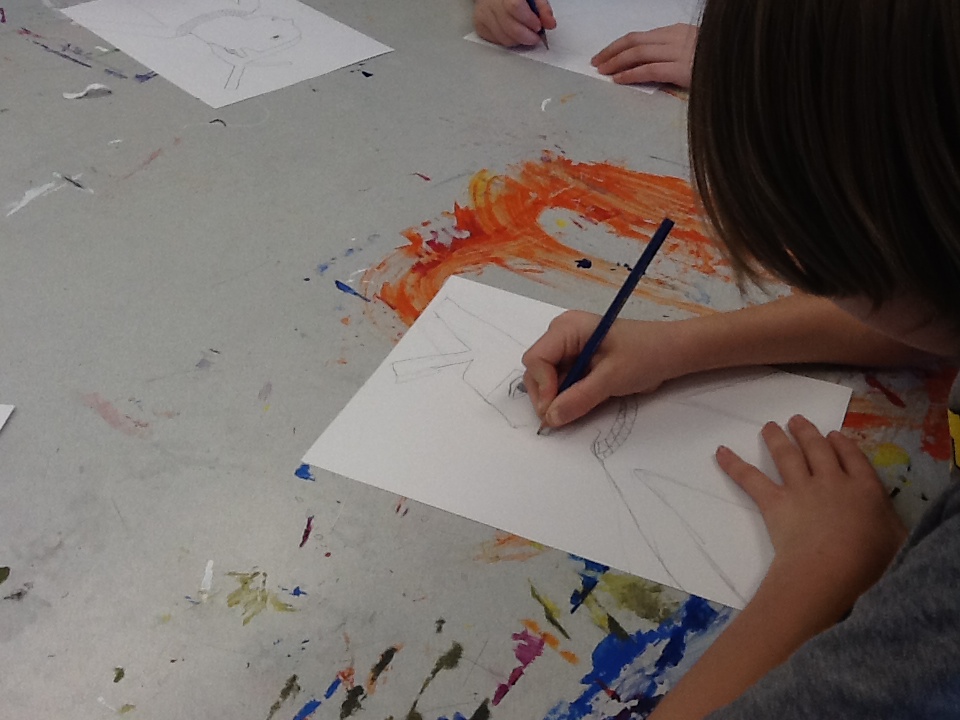
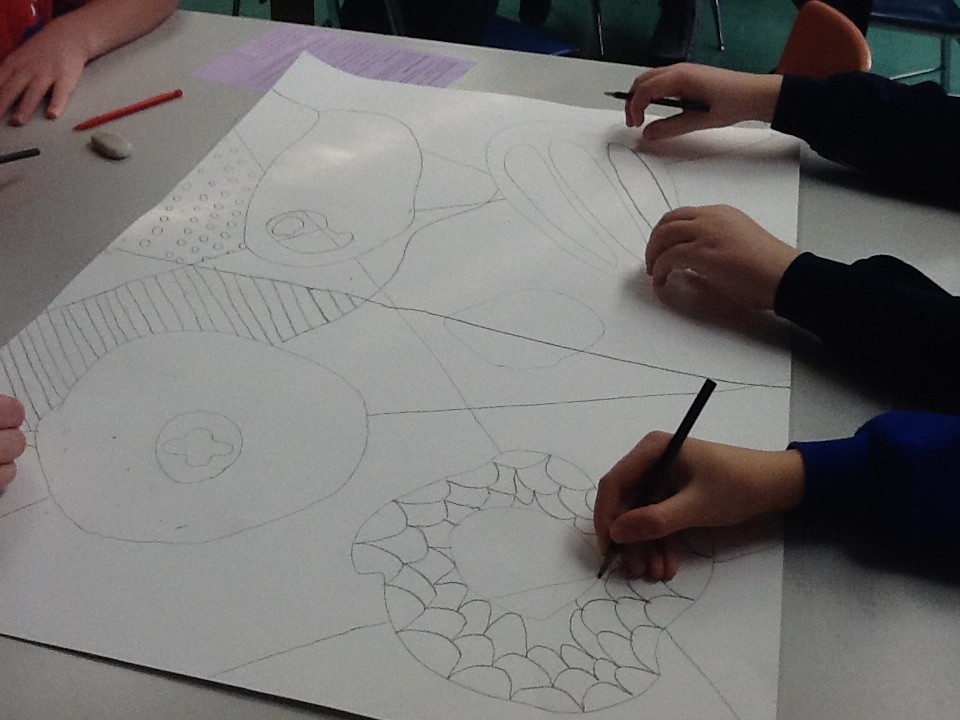
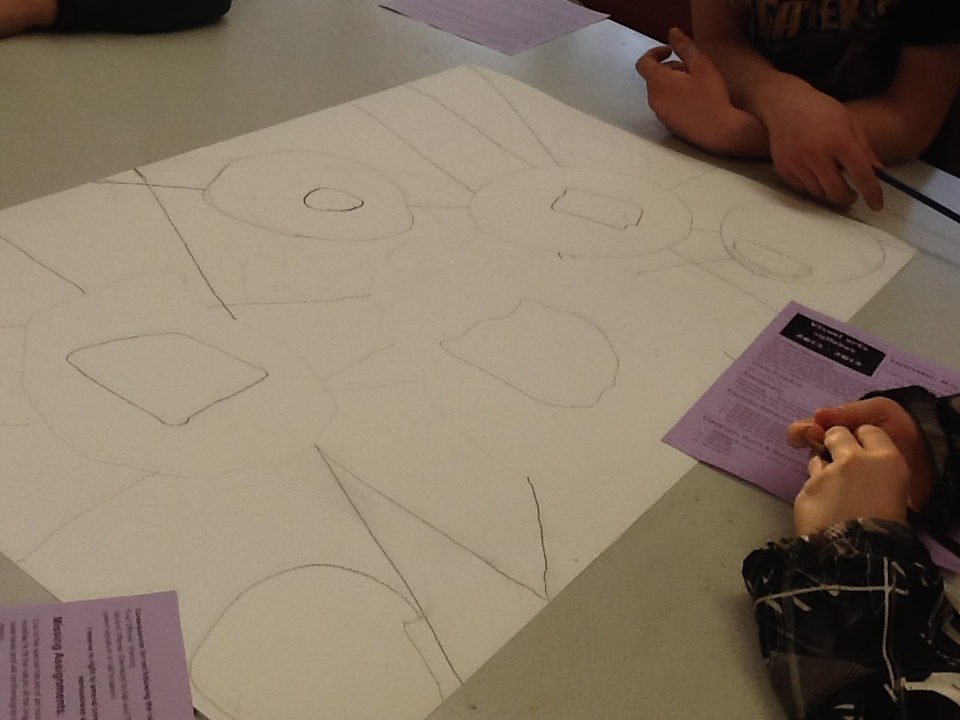
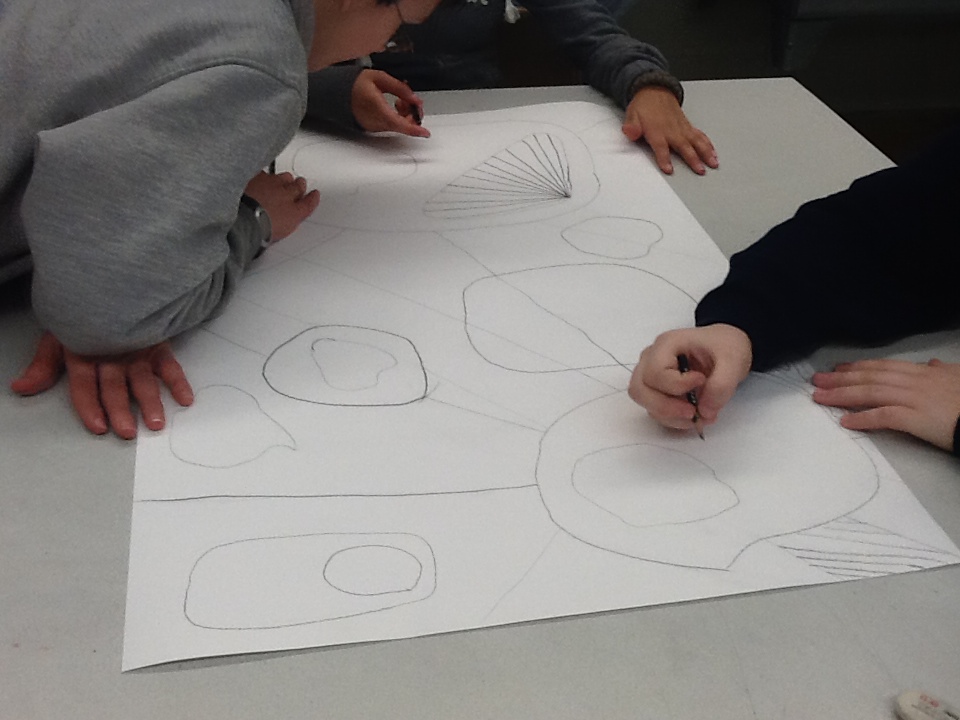
day one and two: introduction and sketches
After an introduction to tomb statue sculpture and relief sculpture via PowerPoint, it was time to practice our hand at hieroglyphics. Students had fun writing their name in hieroglyphics once they figured out that they must write it based on sound alone. The next day brought rough sketches of our portrait ideas. Students had access to the art room iPads, an Egyptian crowns image and multiple student examples from the web to view while they got a few sketched under their belts.

days three and four:
watercolor borders and final practice sketches
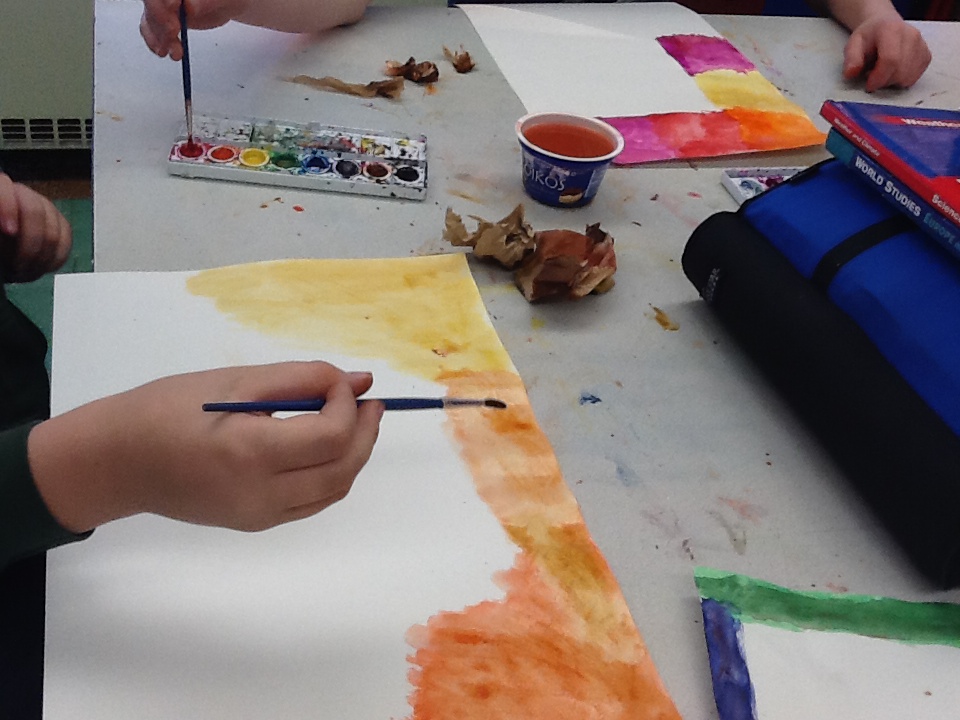
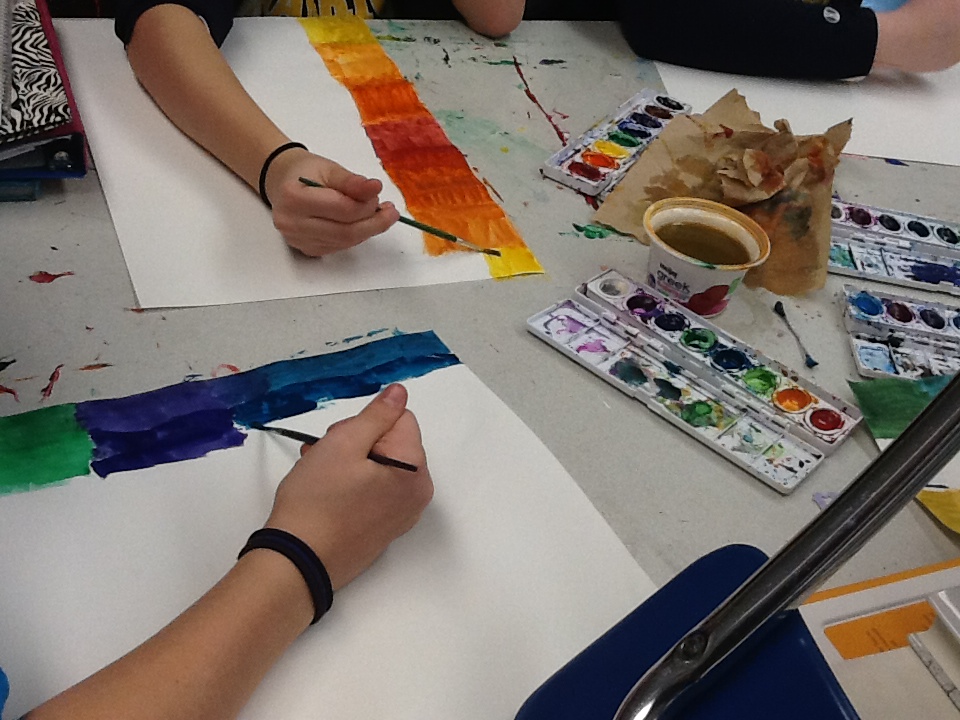
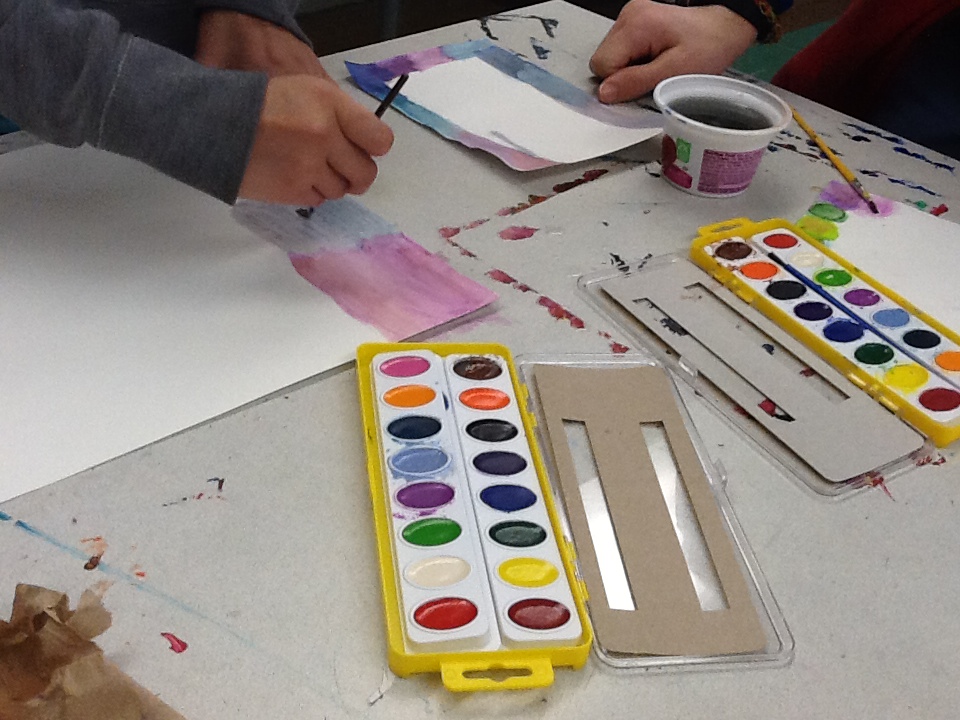
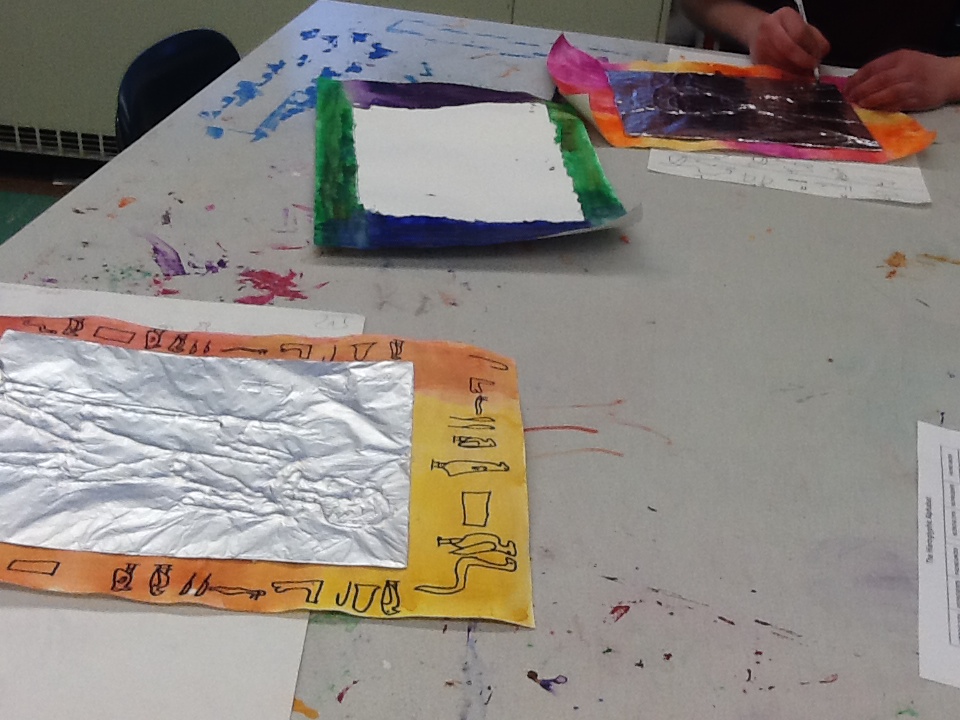
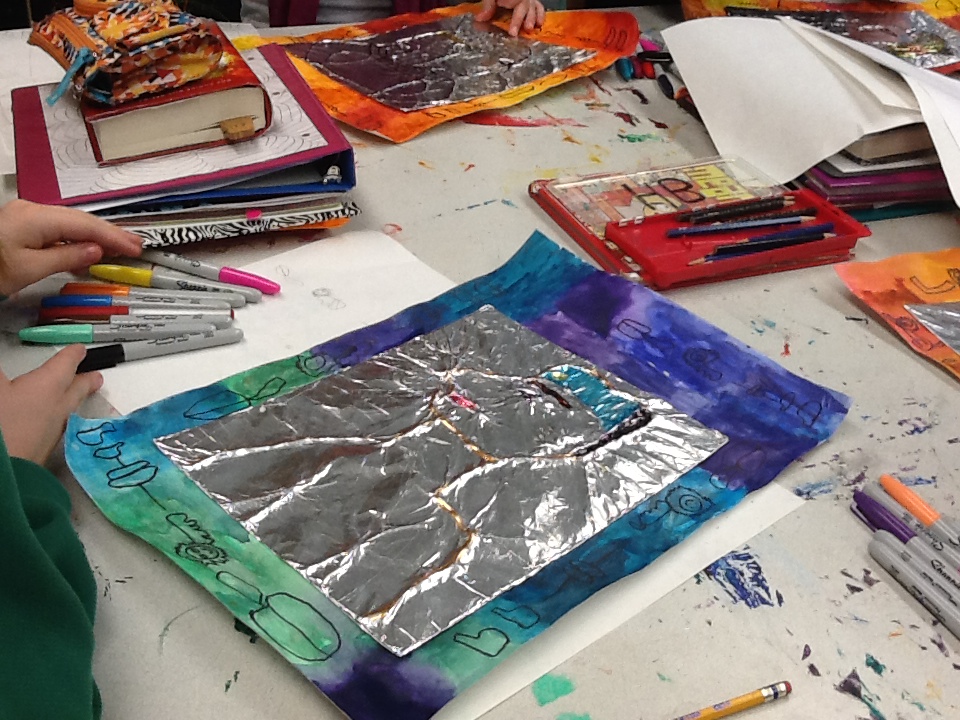
To create an easy but amazing looking border straight out of the tombs of Egypt, students used watercolor to choose a cool or warm color scheme. To give it an aged look, we added brown to our colors and blended each color into it neighbors. The will provide a background for our hieroglyph names and a frame for our Egyptian portraits.
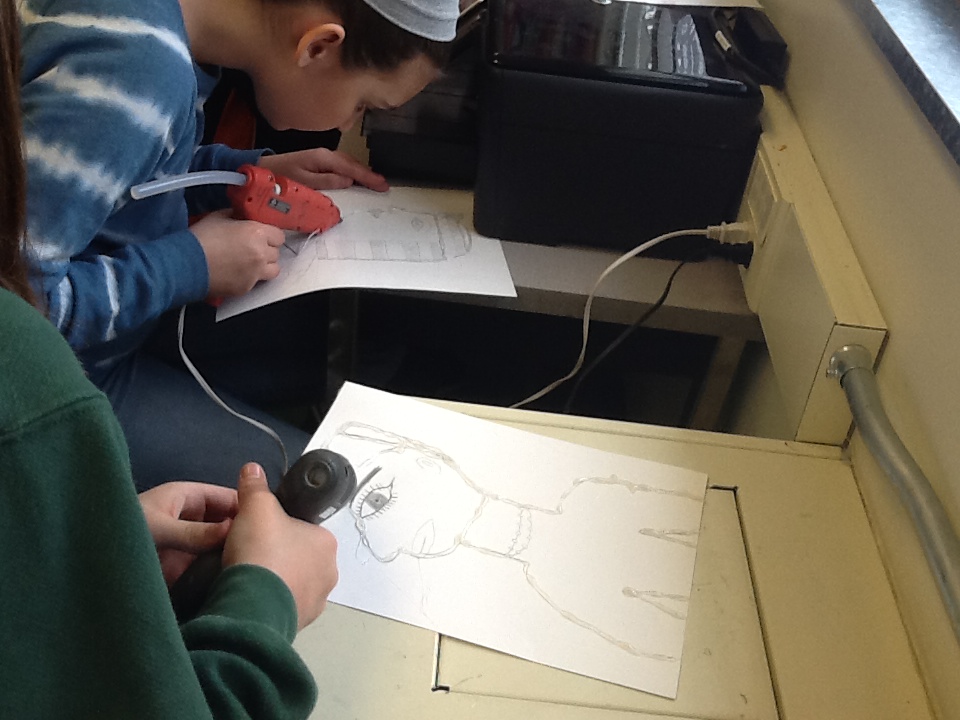
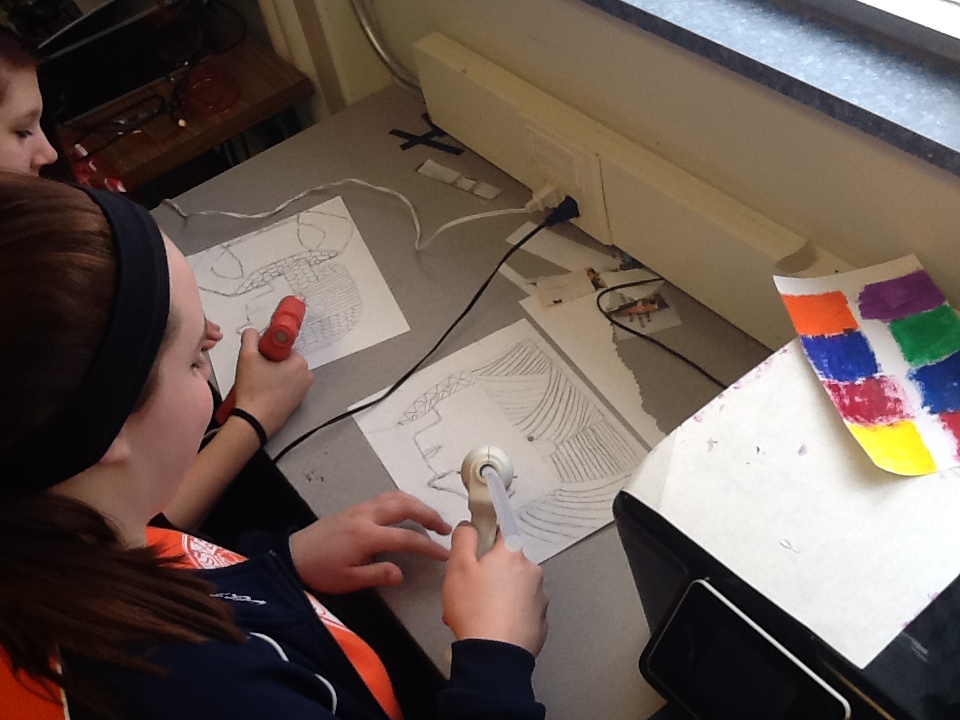
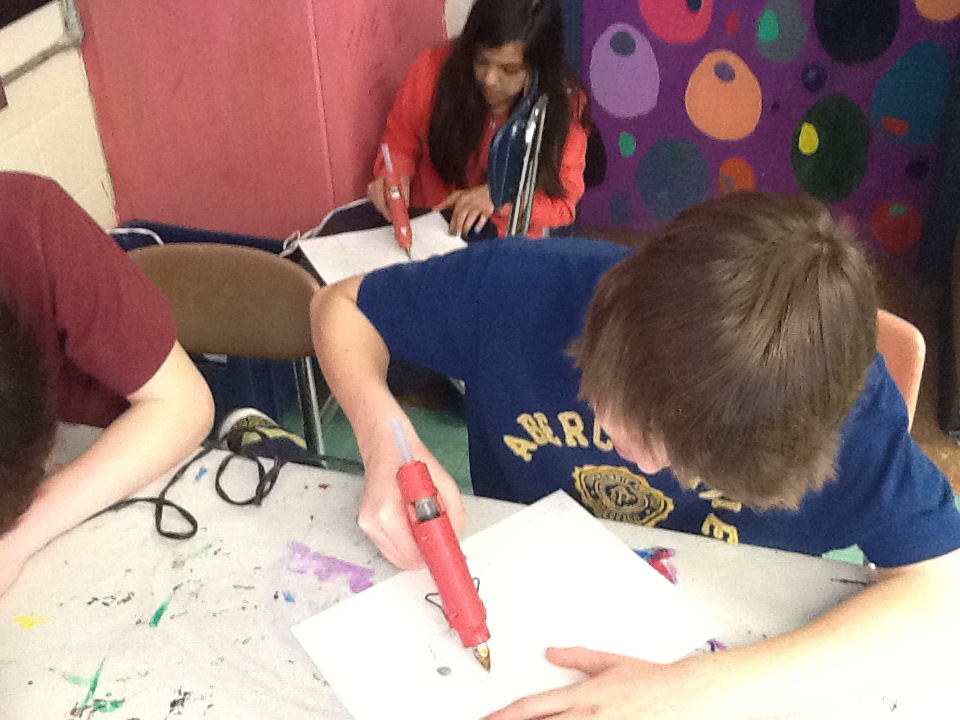
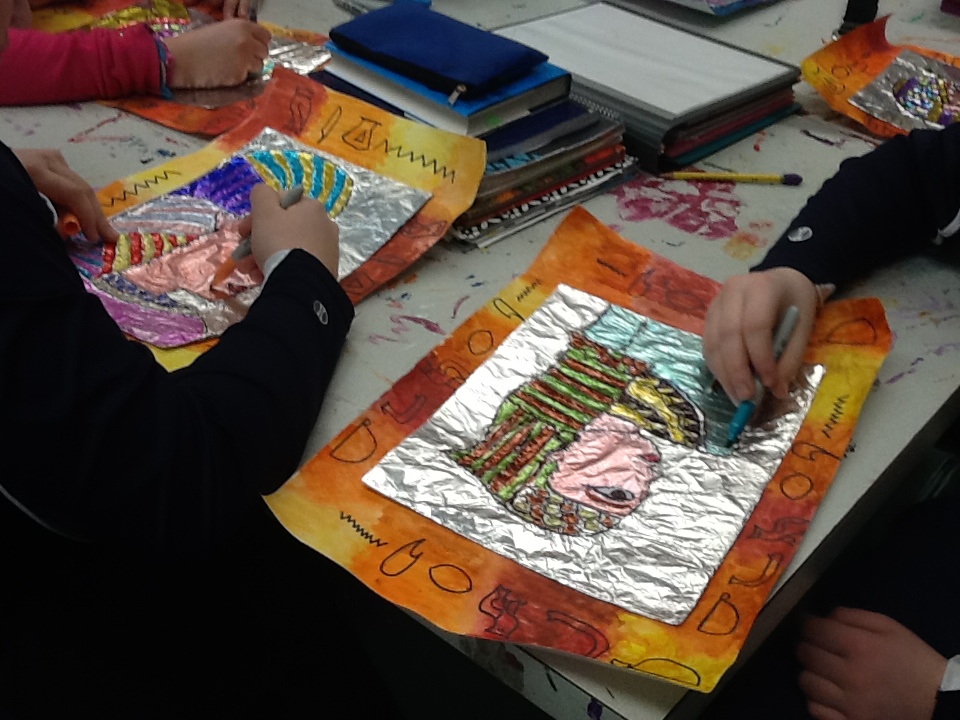
days five: hot glue relief-ing our sketches
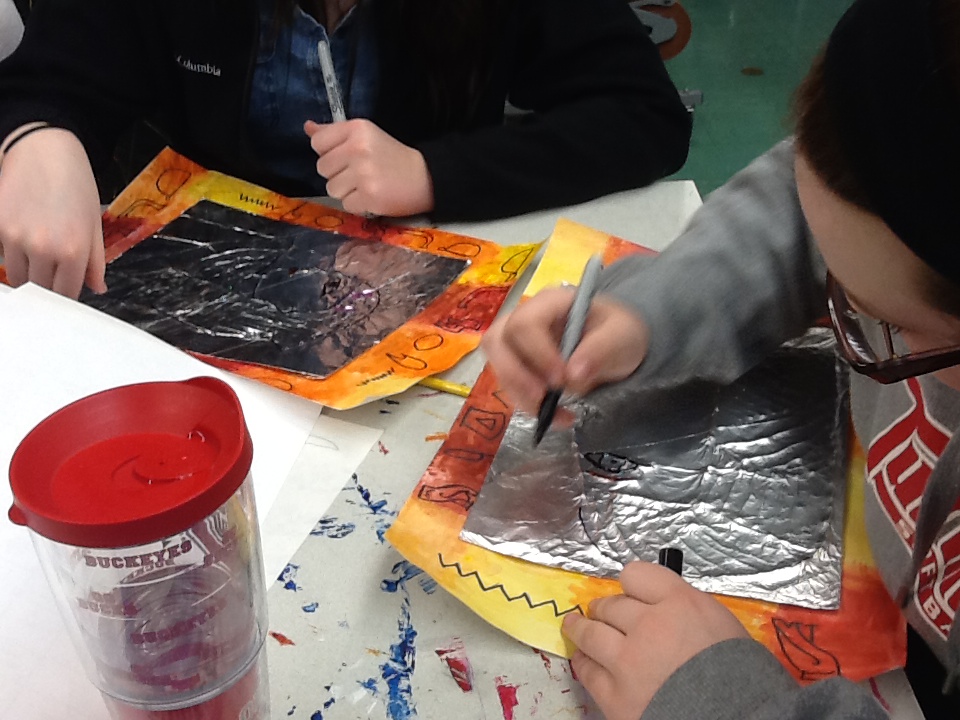
After completing final sketches, students used hot glue guns to trace over their sketches in order to raise major lines and facial features. The details that were not traced will be indented after covering our sketches tomorrow in aluminum foil.
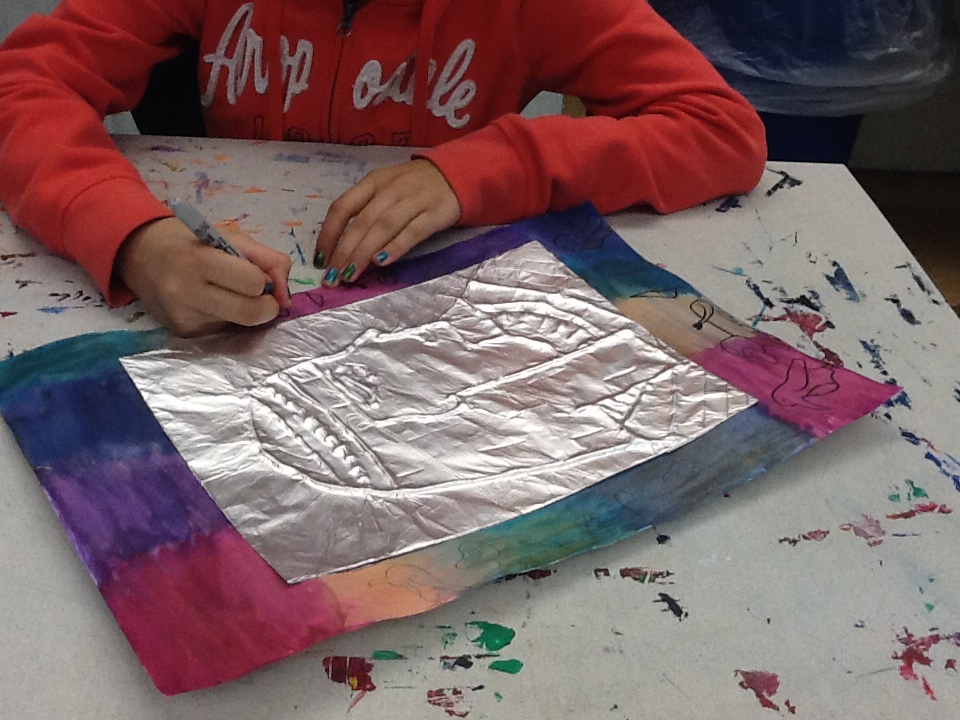
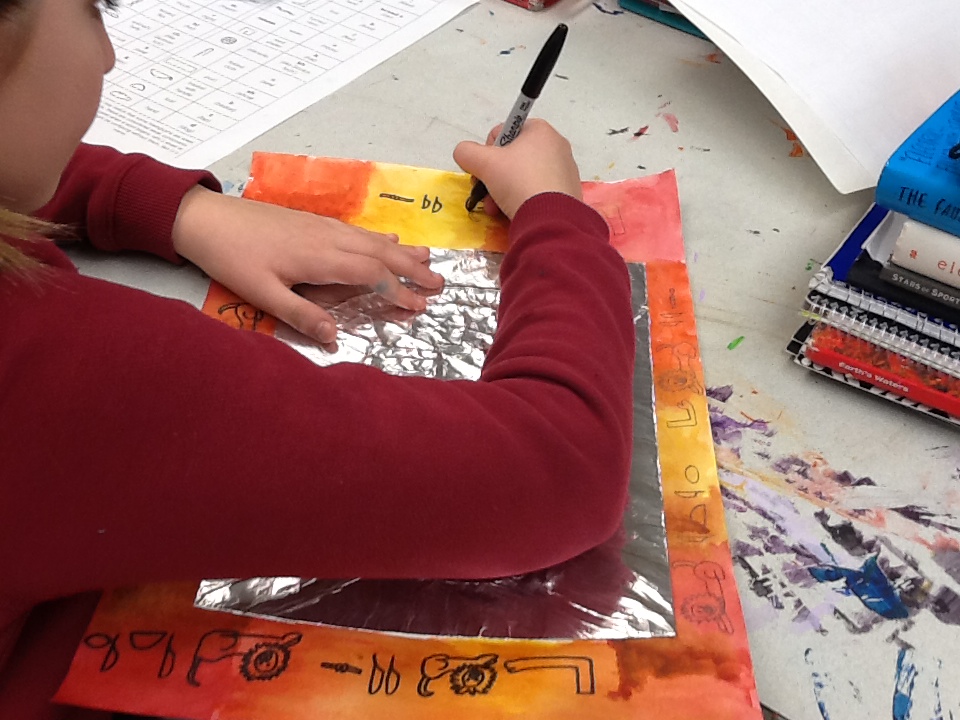
days six and seven: adding hieroglyphs and color
After covering our raised hot glue drawings with foil, students went back to hieroglyphics and wrote their names around the watercolor border they created. After that, we added color to our portraits with Sharpie marker. A teacher tip: the white Sharpie works wonderfully and really pops off the foil. Also- do not use the fine tip Sharpies, they tend to rip the foil. You can see all the finished portraits in the ART 7 Gallery starting Tuesday evening.
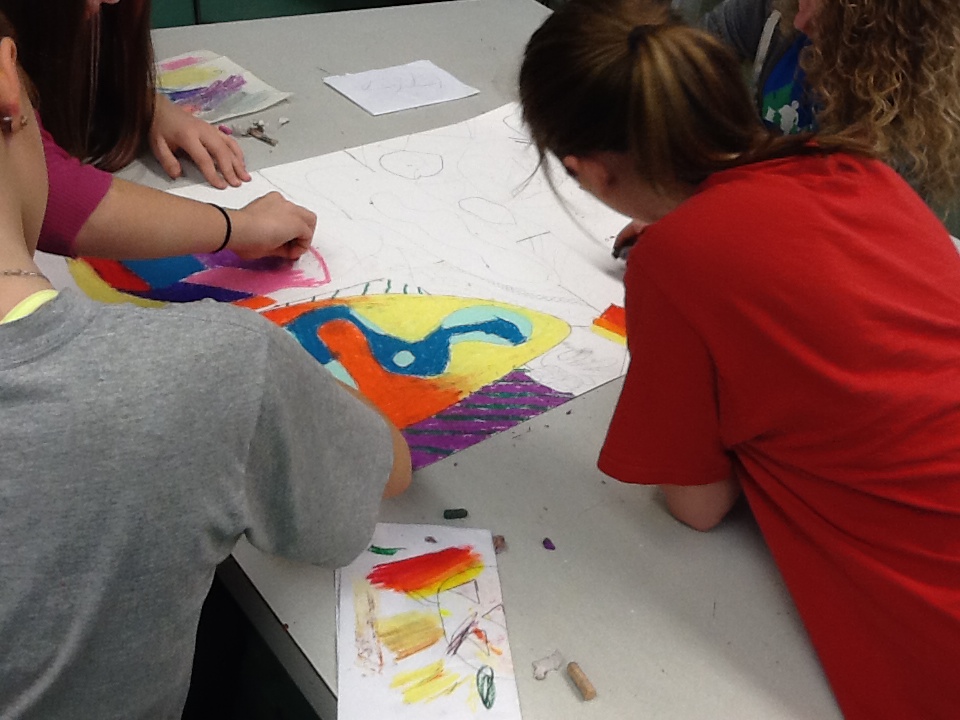
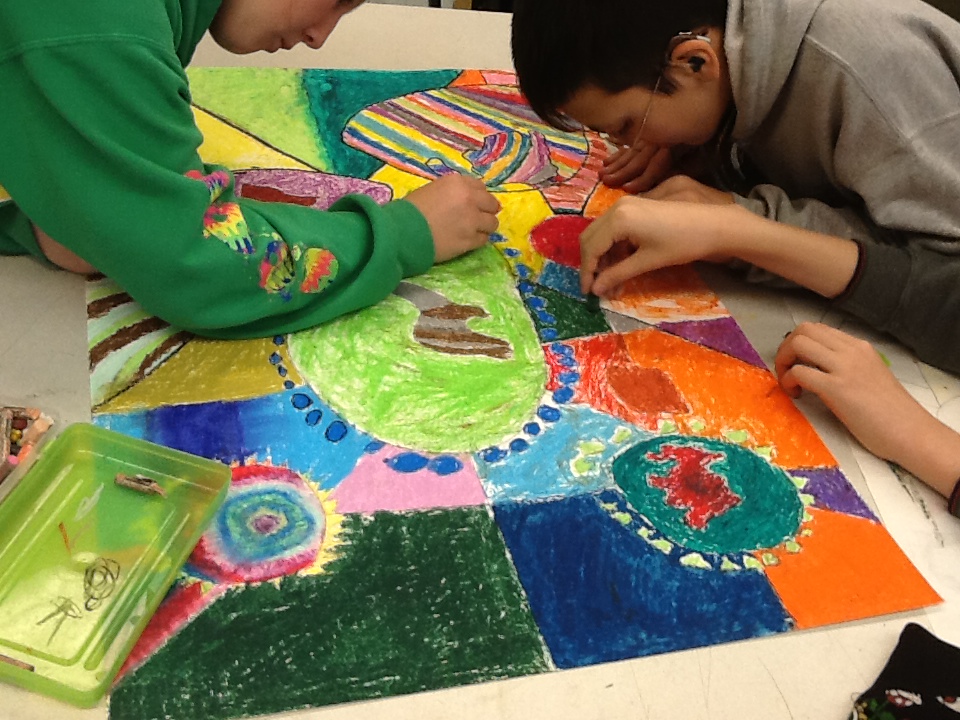
collaborative abstracts in oil pastel
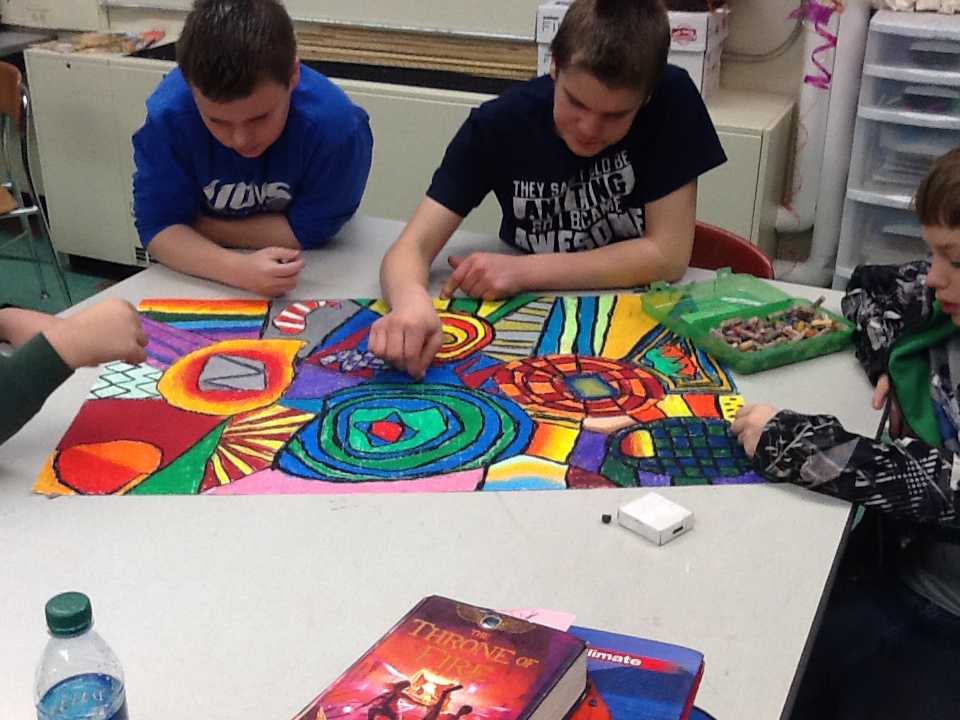
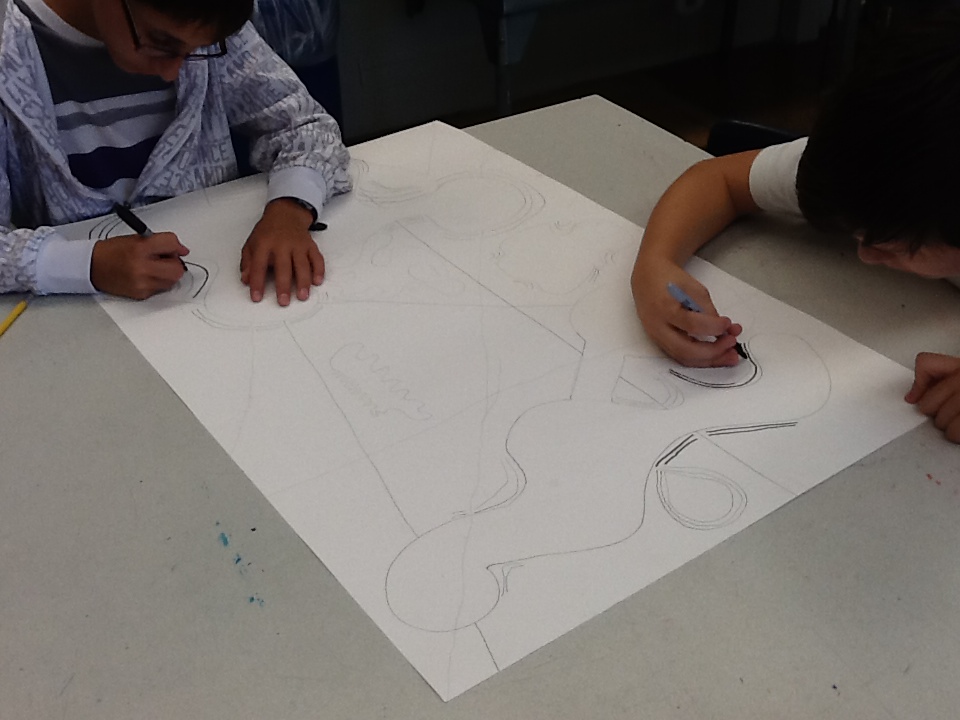
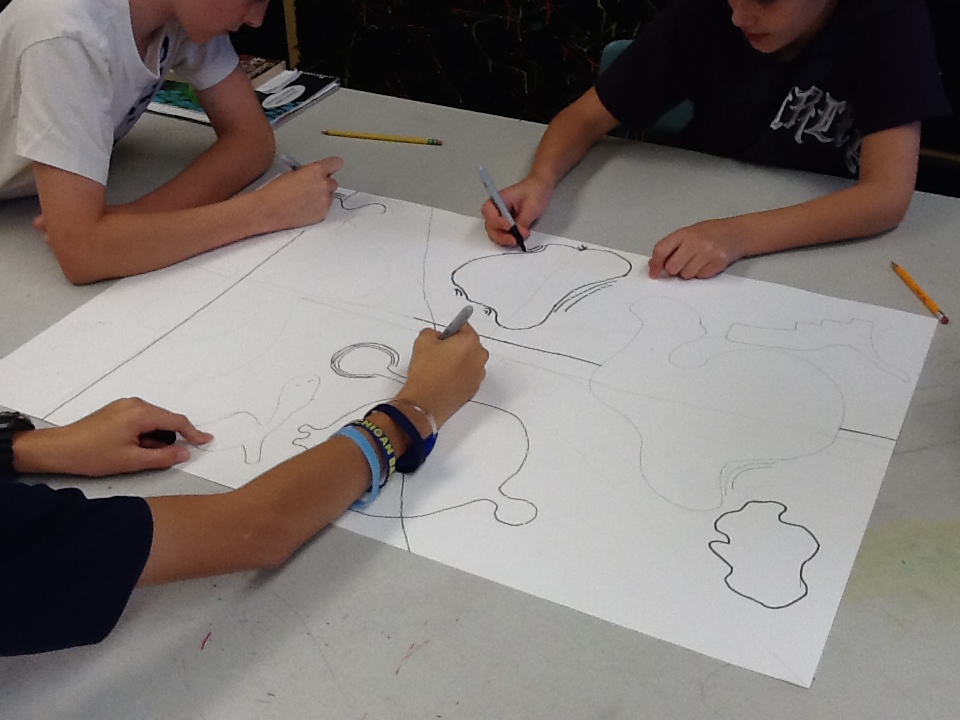
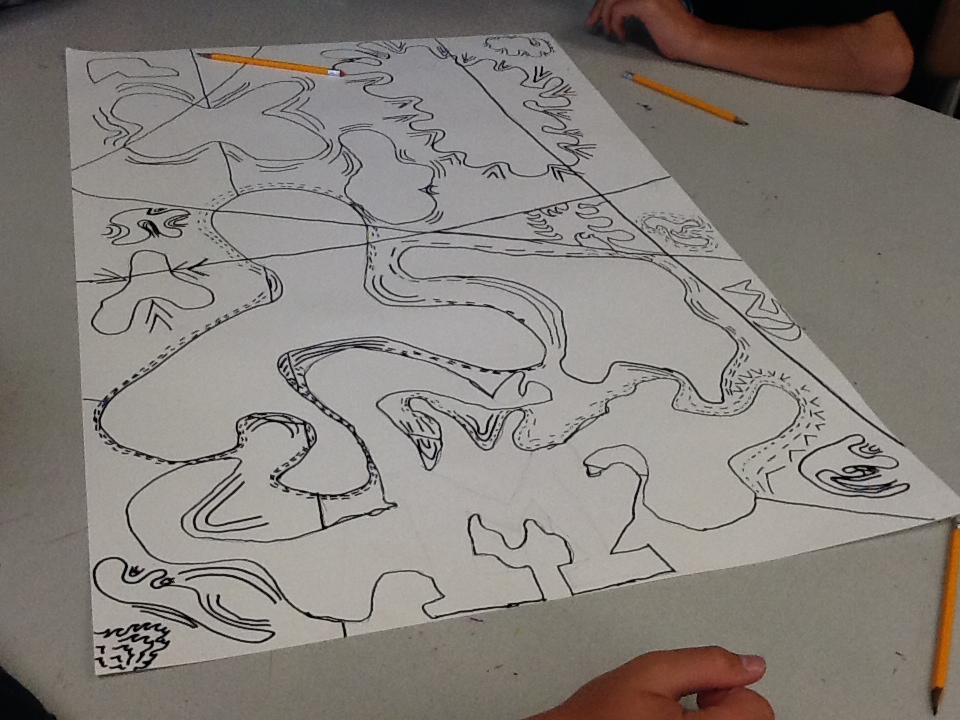
Our first project of the quarter is a collaborative one where each artist in the room will have a part in making each piece. This is a great way to break the ice of the new class and to get everyone working together toward a common goal-making a cool piece of art to show off!
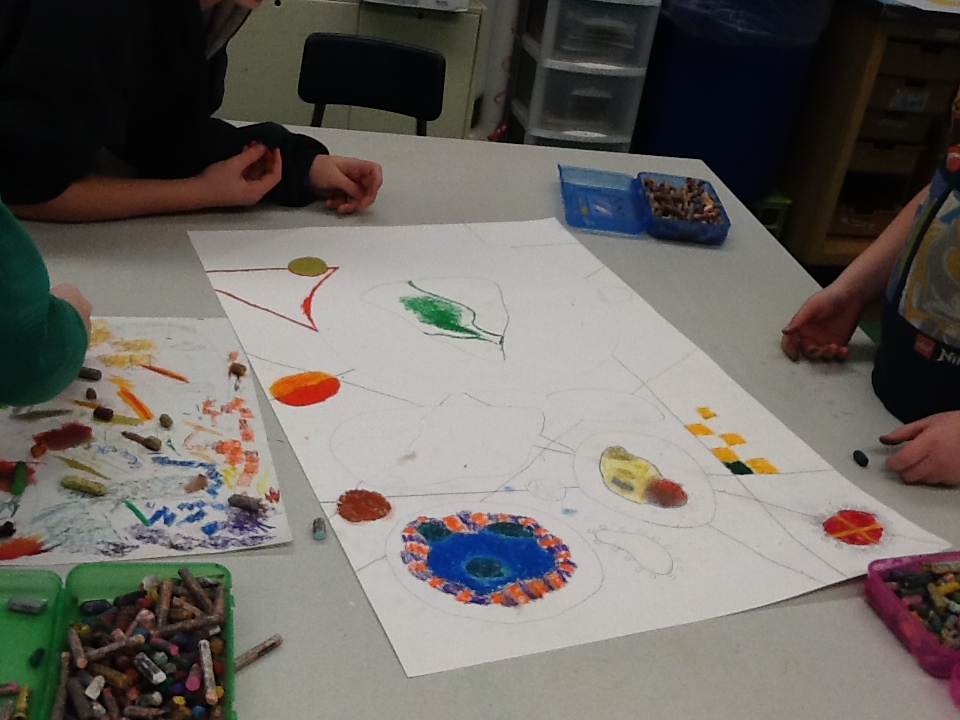
day one: composition rotation
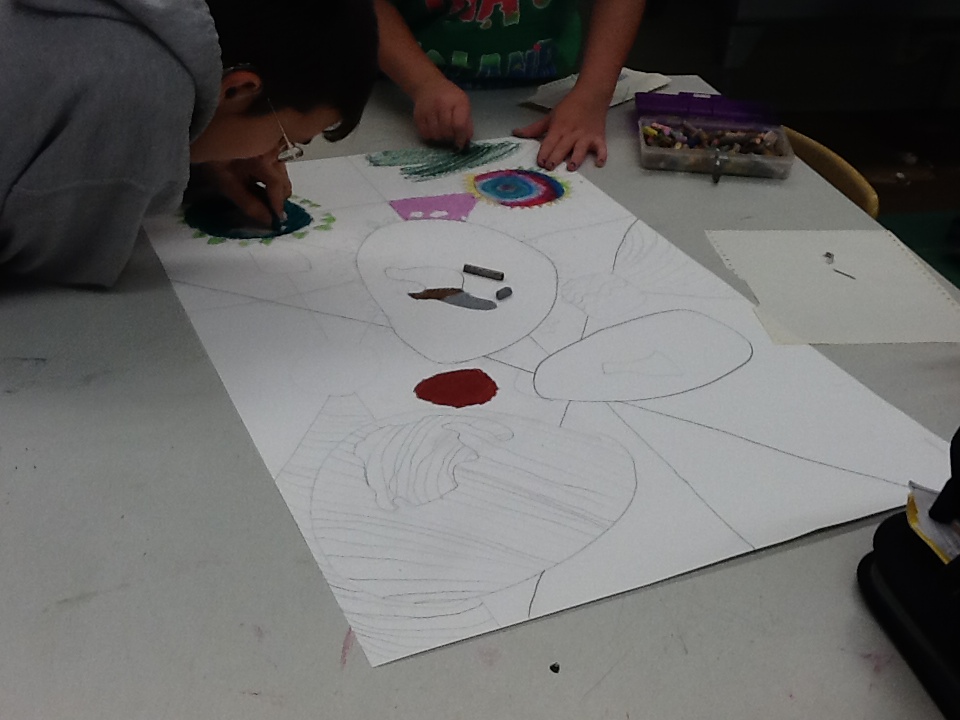
The first day is spent drawing in the elements of the pieces in a rotation. Each rotation requires a table to add specific shapes or lines to the pieces that come across their table.
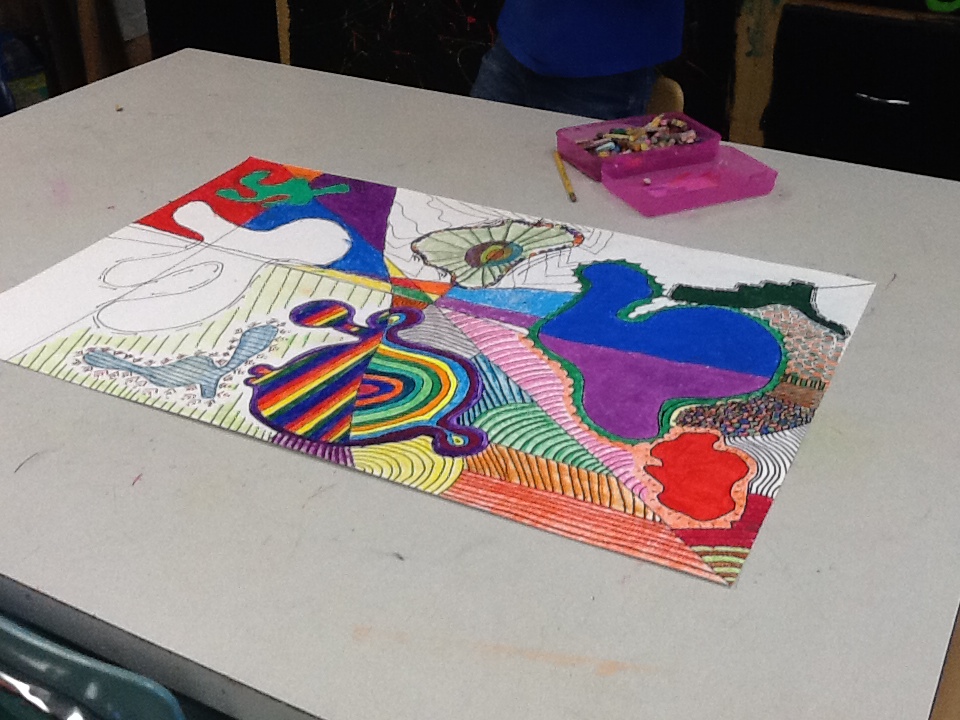
day two and three: coloring our compositions
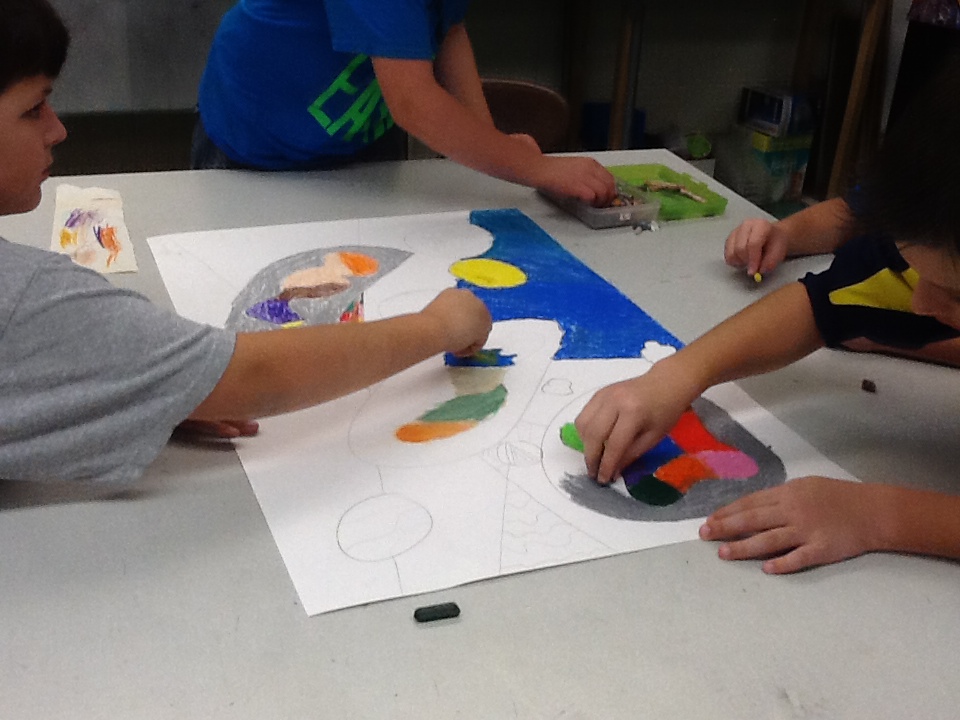
This day is dedicated to filling in all the spaces with color using oil pastel. The groups got a small start yesterday but today you can really see the pieces taking shape. The only requirement is that all spaces are filled and all spaces remain abstract.


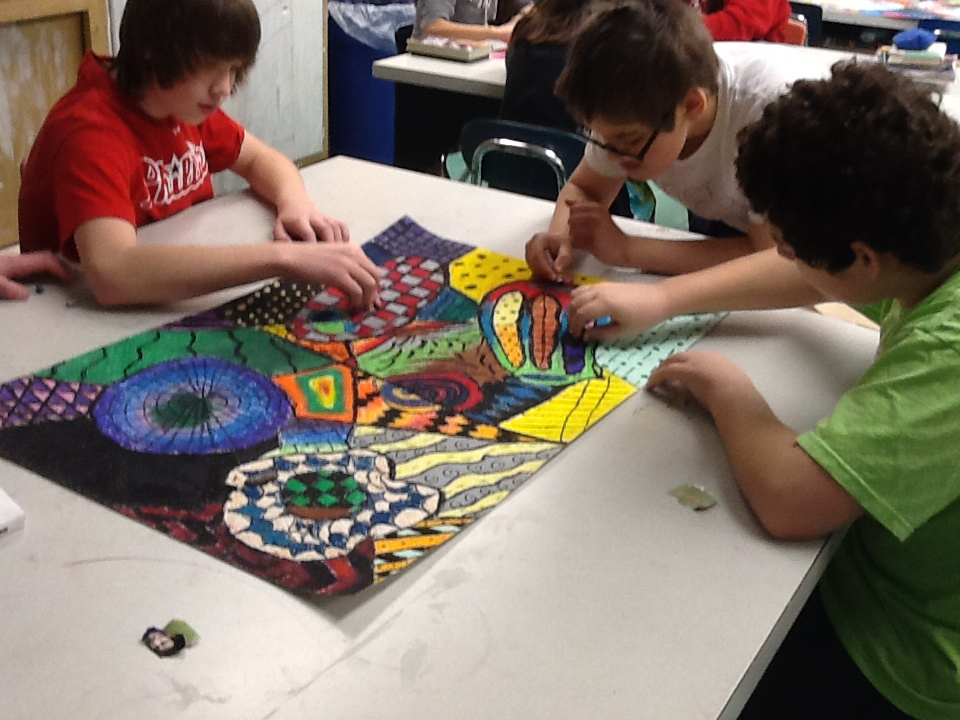
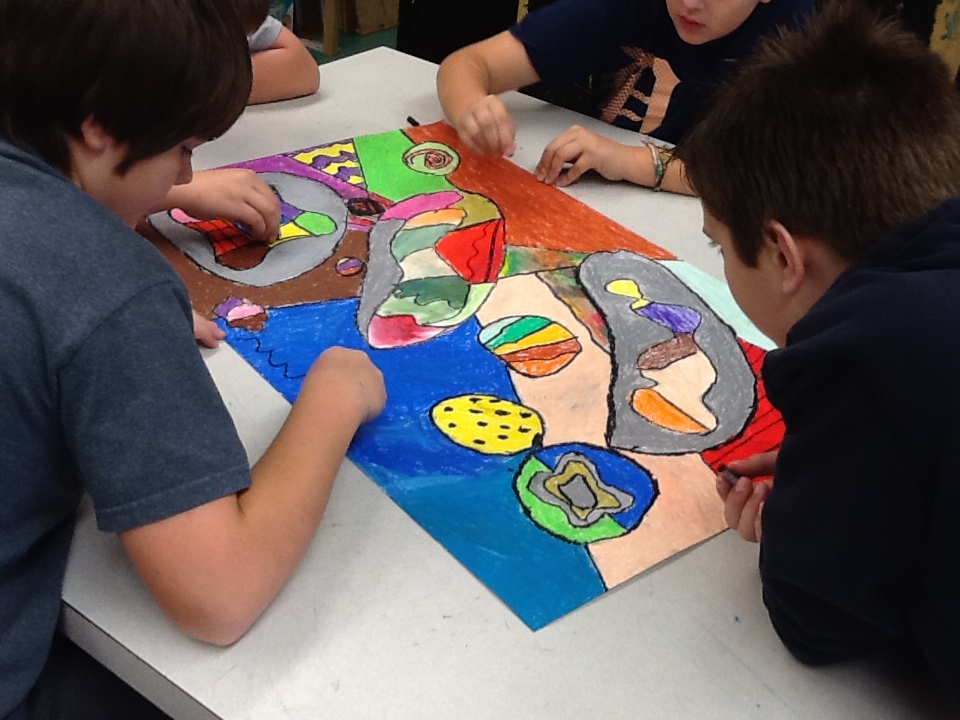
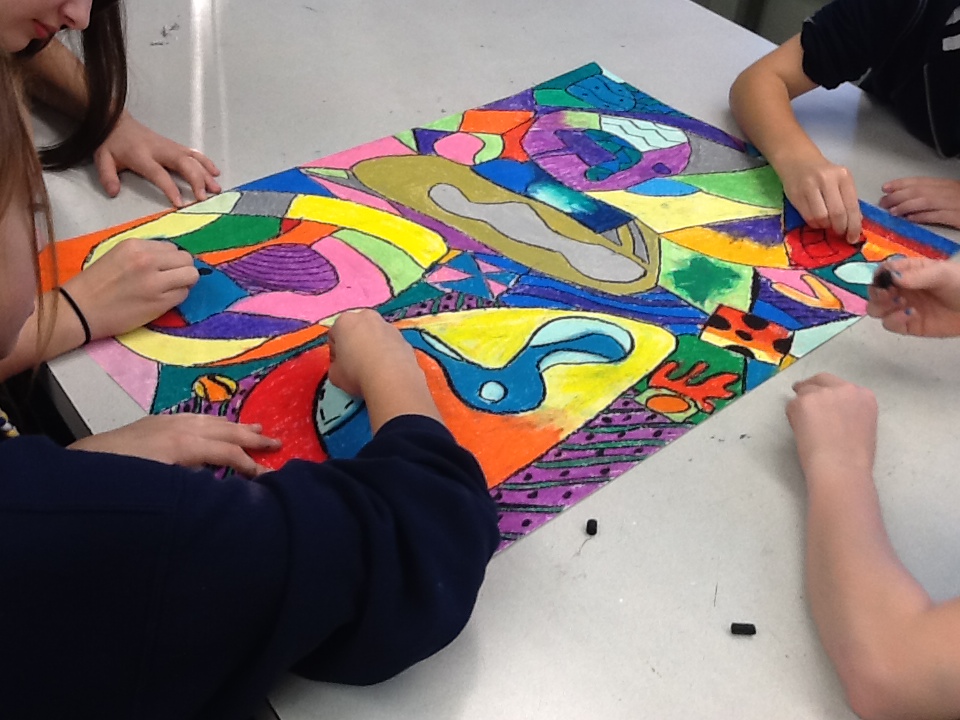
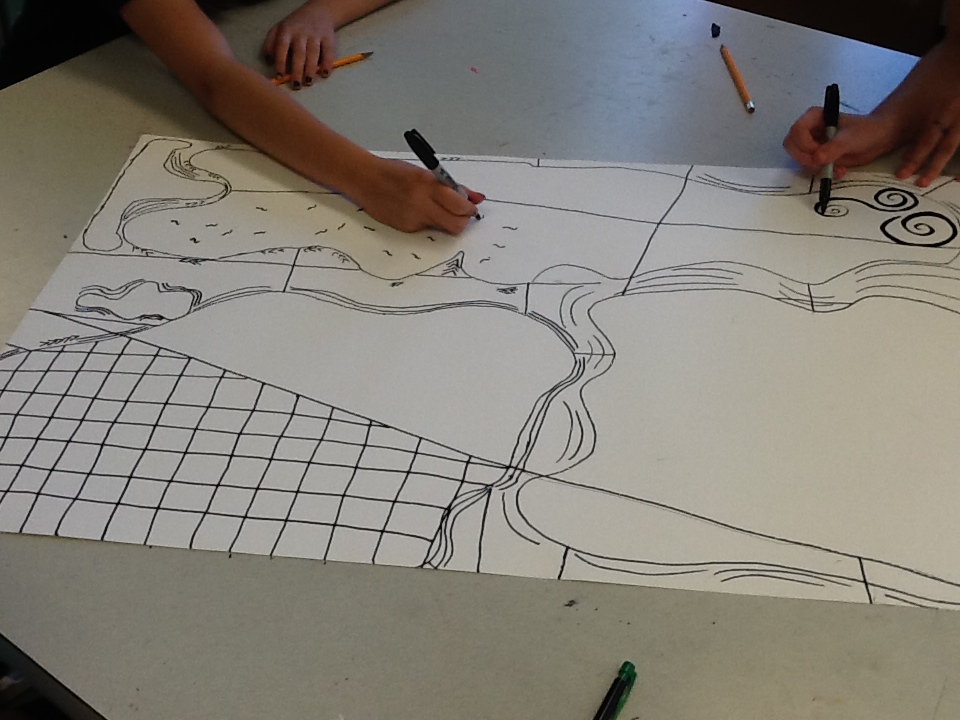
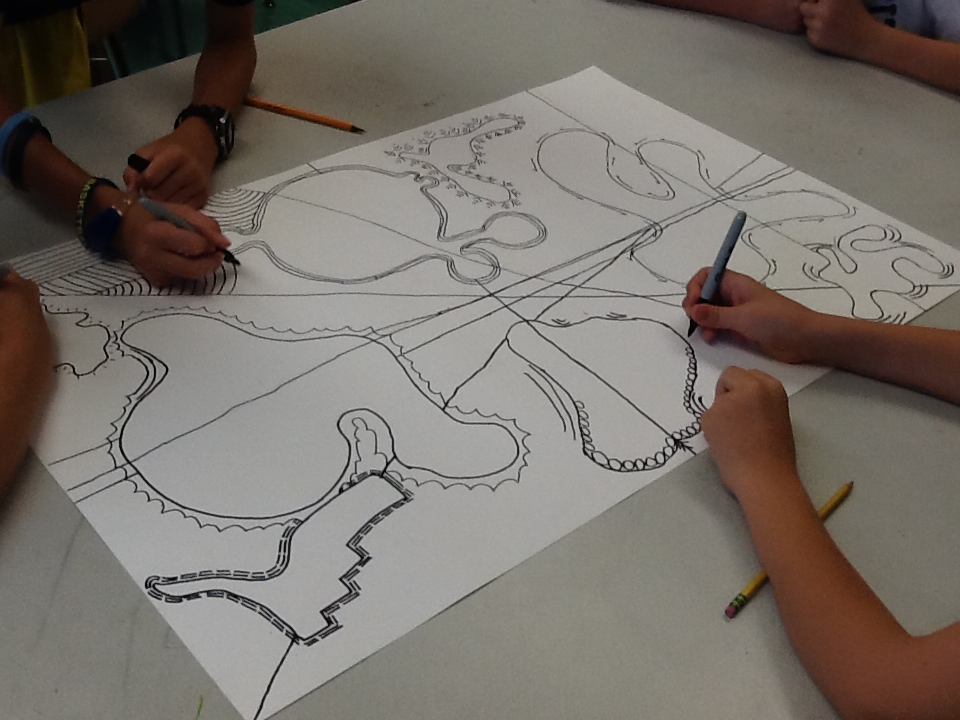
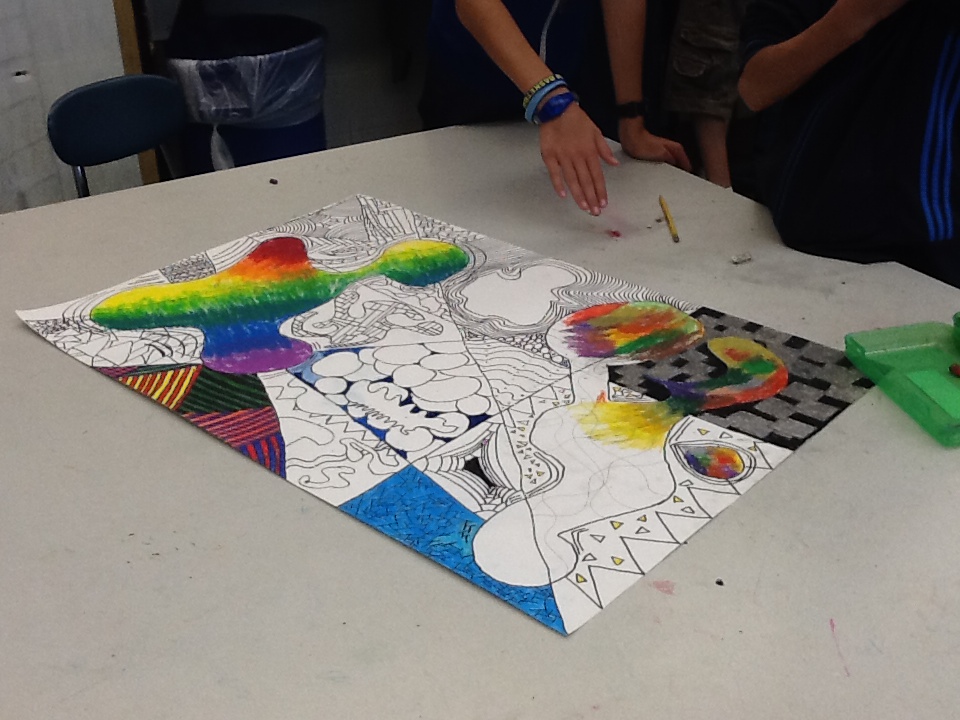
day four: outlining, adding texture and detail in black
Today was the last day for our collaborative abstracts. Students used black oil pastel to outline all colors and create borders where 2 colors meet. They also went over their colored spaces to create patterns differentiating each area from the next. They look phenomenal! The finished pieces are in the ART 7 Gallery. Make sure you check them out!

New quarter, new artists!
This super short 2-day week is the official beginning of the 3rd quarter. This quarter brings a brand new batch of ART 7 artists that are having art for the first time this school year. All posts below this one are for the 2nd quarter class and all new projects for this group will be above this post. Make sure to check back to see all the great things going on in the art room.
ClAYMATION STOP-MOTION VIDEOS
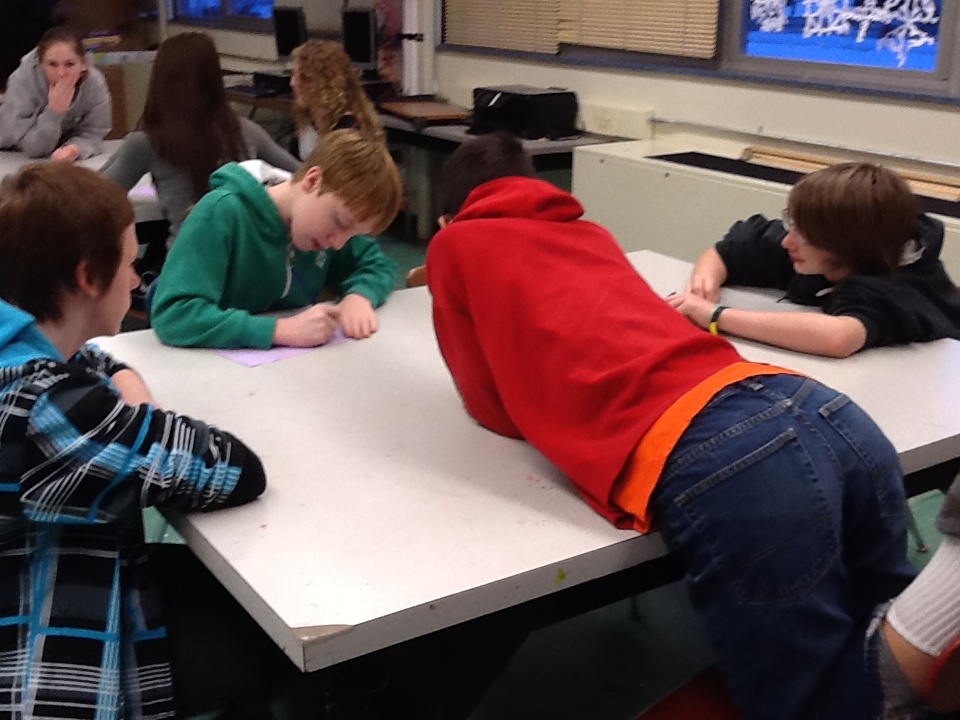
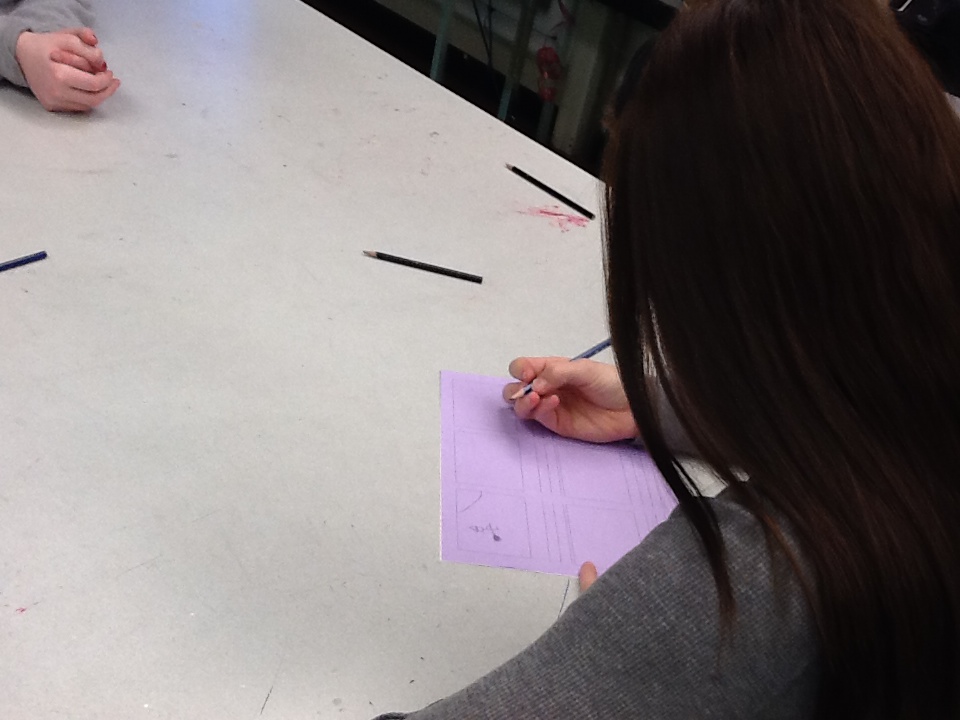
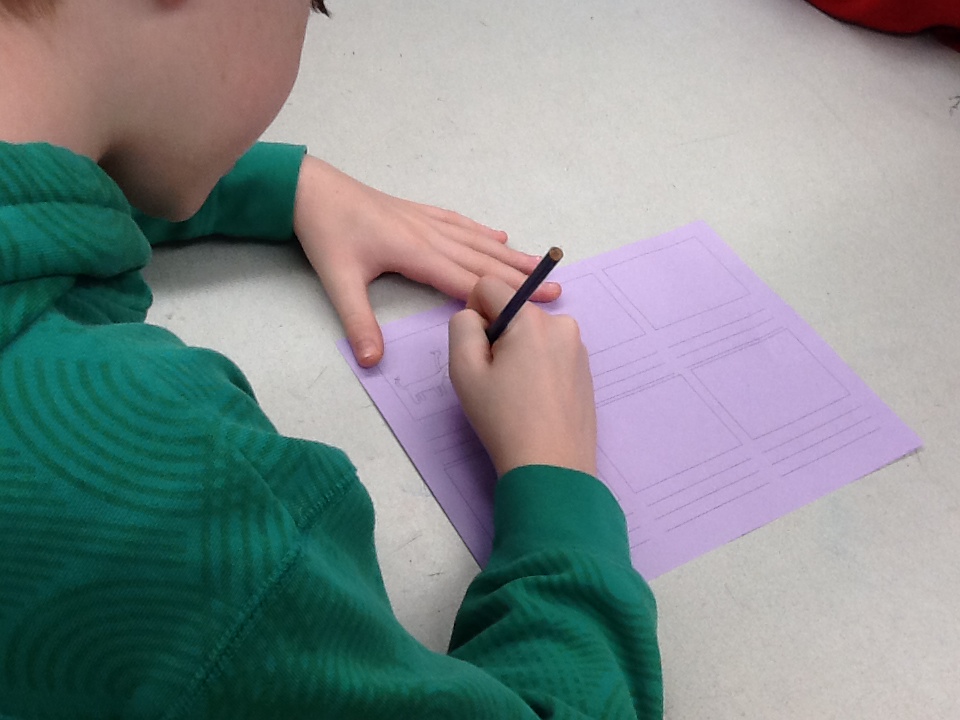
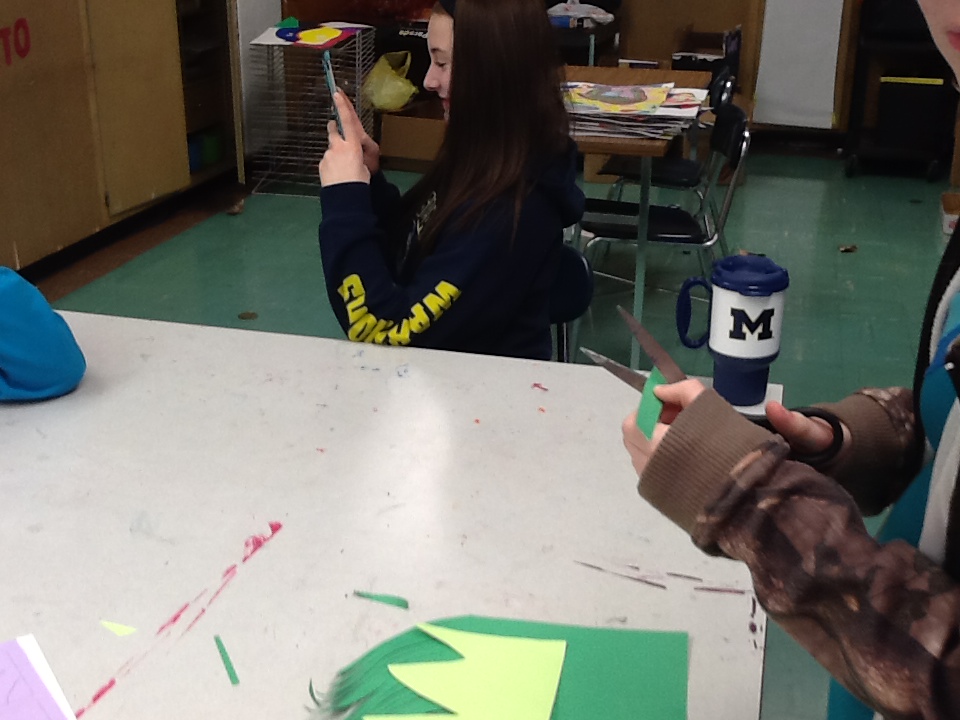
For our final project this quarter, ART 7 students (and myself) are going into uncharted territory of clay-mation and stop-motion animation. Students will create a video using a character of their choice. The next few days are all about planning, creating a storyboard and collaboration. Groups were given the freedon to choose the subject and characters of their video. Topics range from a hydra battle to martians or witches. The storyboards look amazing and any nervousness I had about doing this project quickly evaporated when I saw the student's enthusiasm...after they woke up ;) Keep checking back to see our progress!
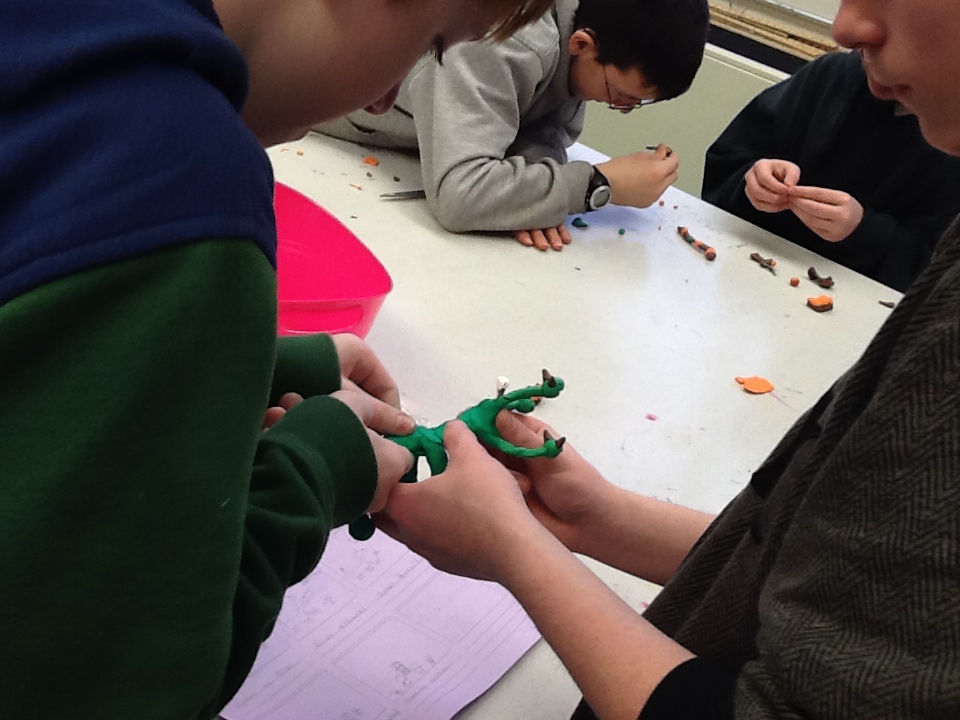
days one through four: storyboards, armatures and finally.....clay!
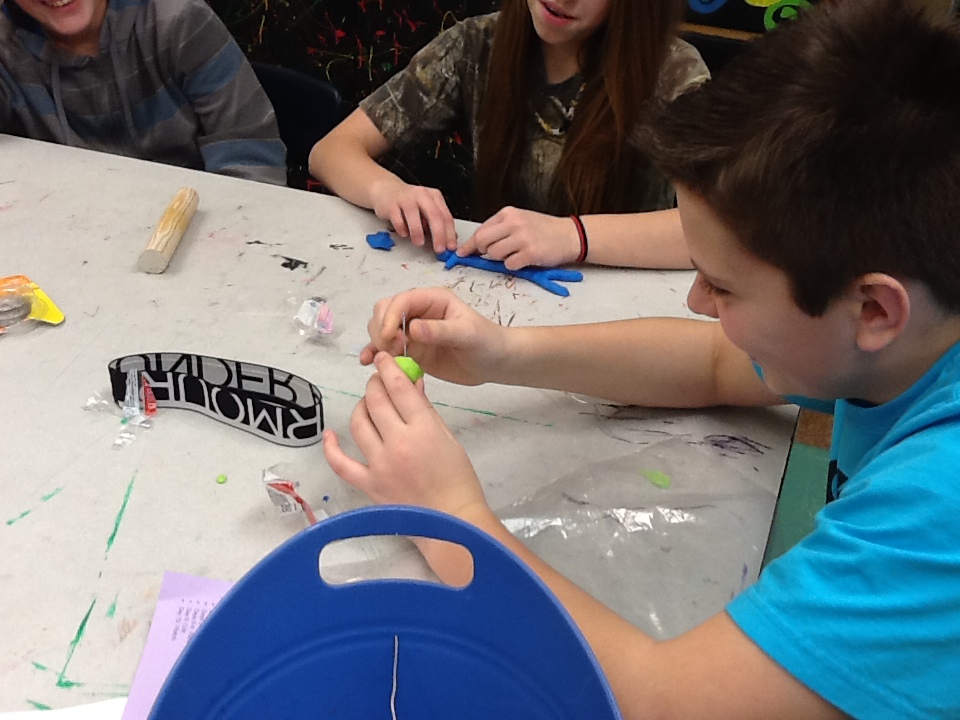
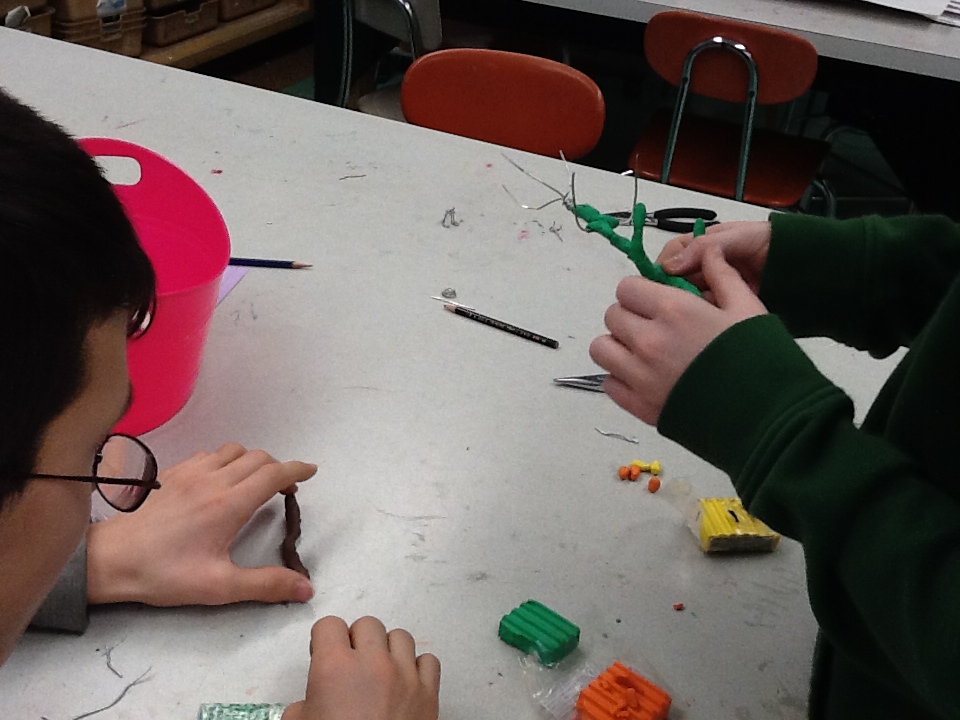
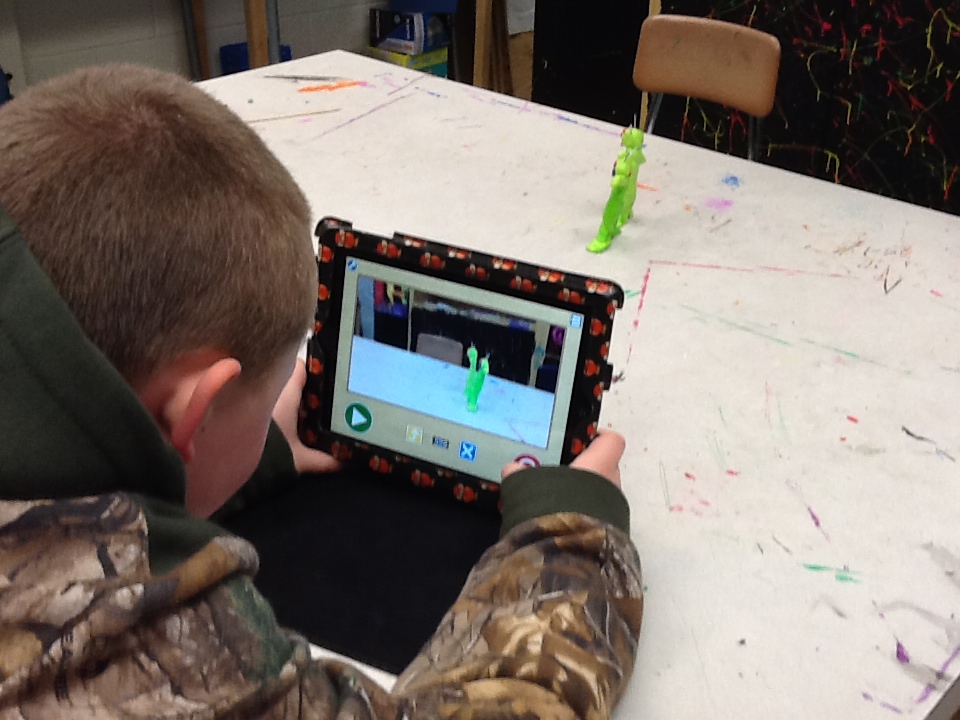
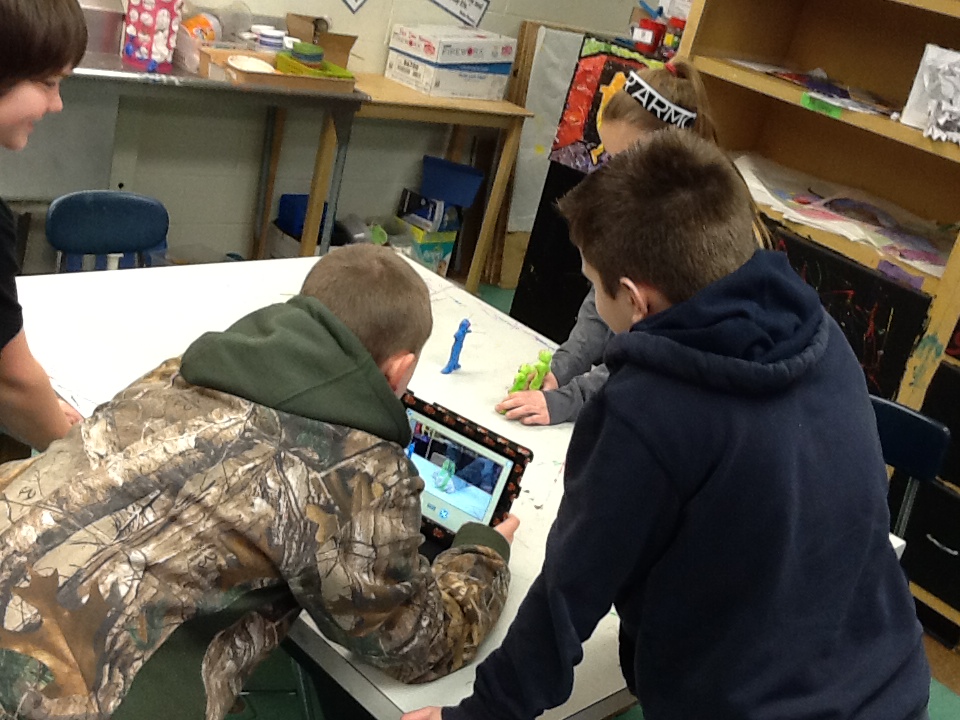
days five through eight: creating clay characters, exploring the apps and filming
To create our simple videos I gave students 2 fee apps to choose from- Koma Koma or OSnap Lite. I LOVE each! each one is simple enough for a quick 2 minute tutorial for the students. You can find the link for each below. Students had a chance to explore these apps on their own while they got an understanding for the video making process. By simply handing out the technology and purposely not becoming an expert on the apps myself, my kids were open to explore the apps and problem solve on their own. They have become experts and have enjoyed teaching me the process that works best for them through trial and error.

collage masterpieces
Monday is the deadline! The ART 7 Collage Masterpieces will be up in the ART 7 Gallery Monday evening! Thank you for being patient-this project takes a careful eye, planning and lots of time but I promise- they are worth it!!!
final sneak peek before they're complete
collage masterpieces
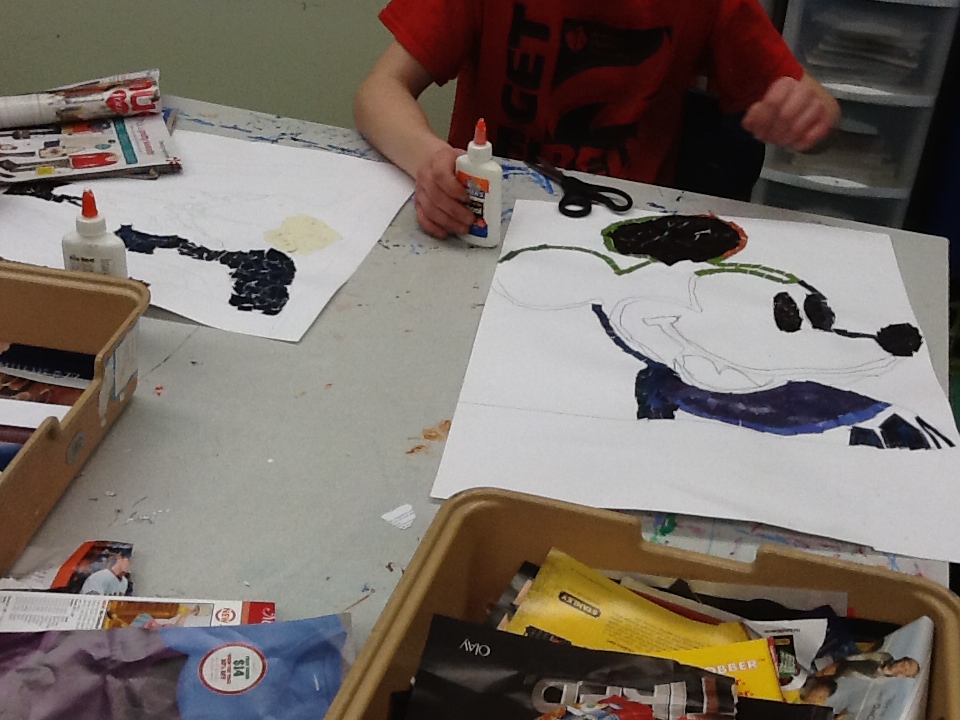
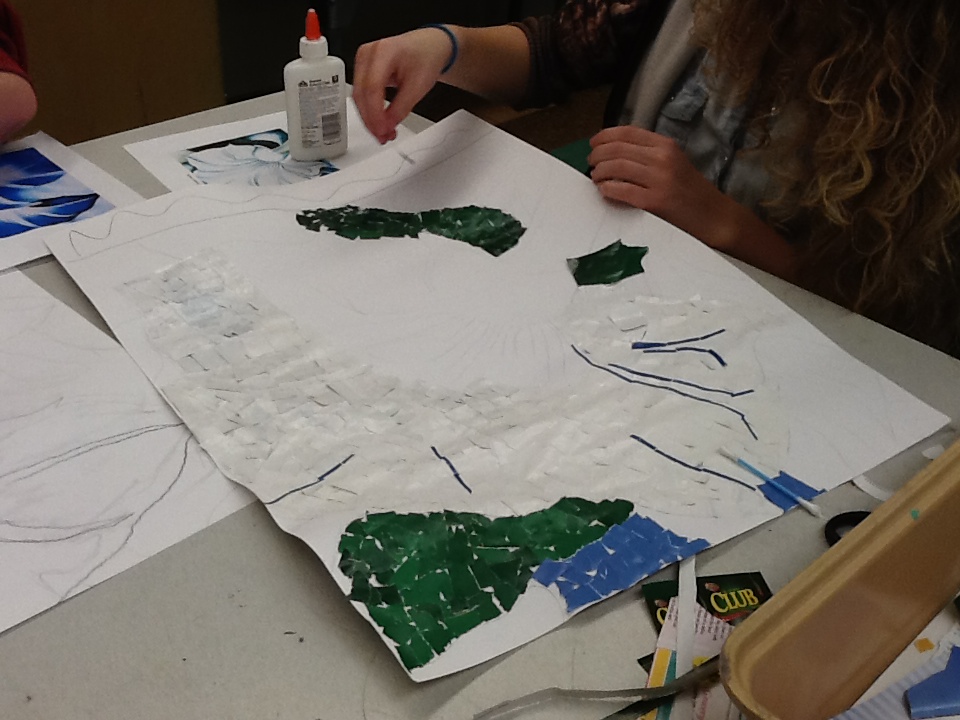
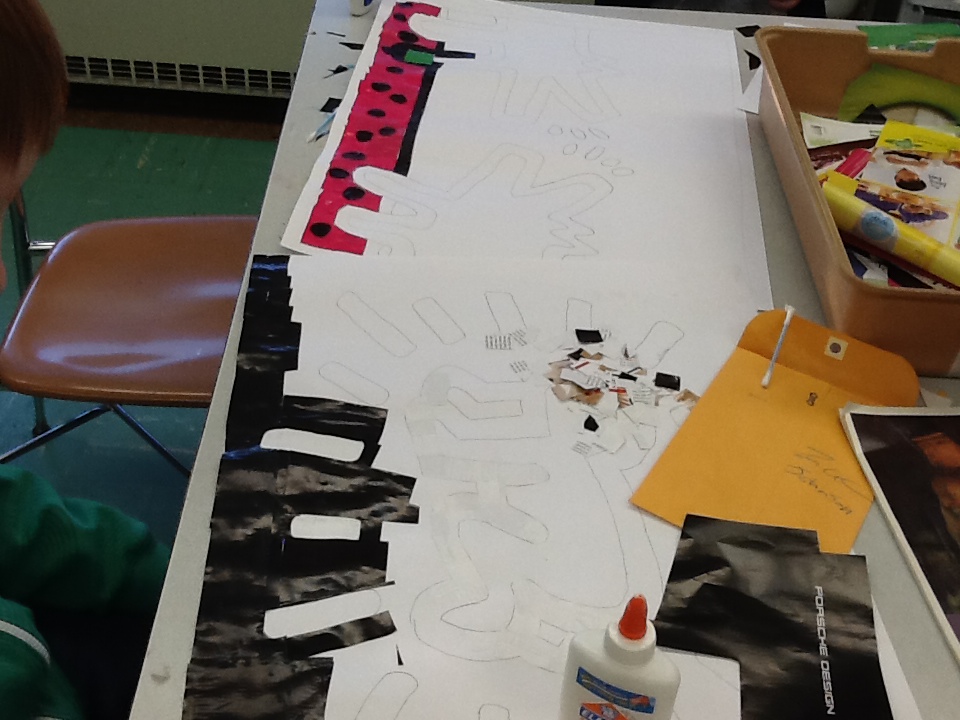
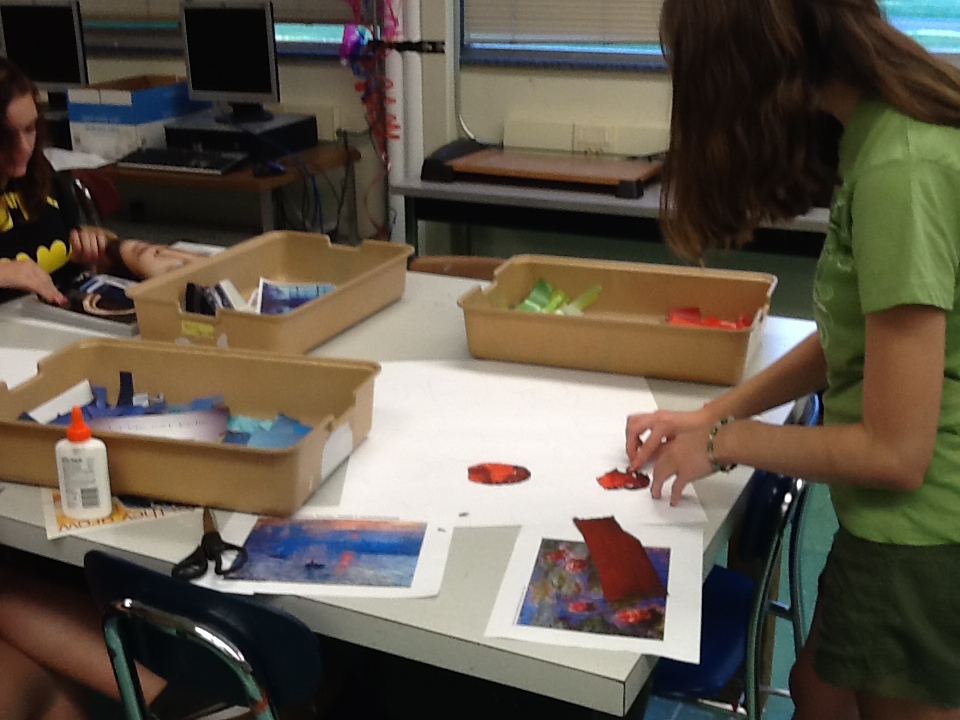
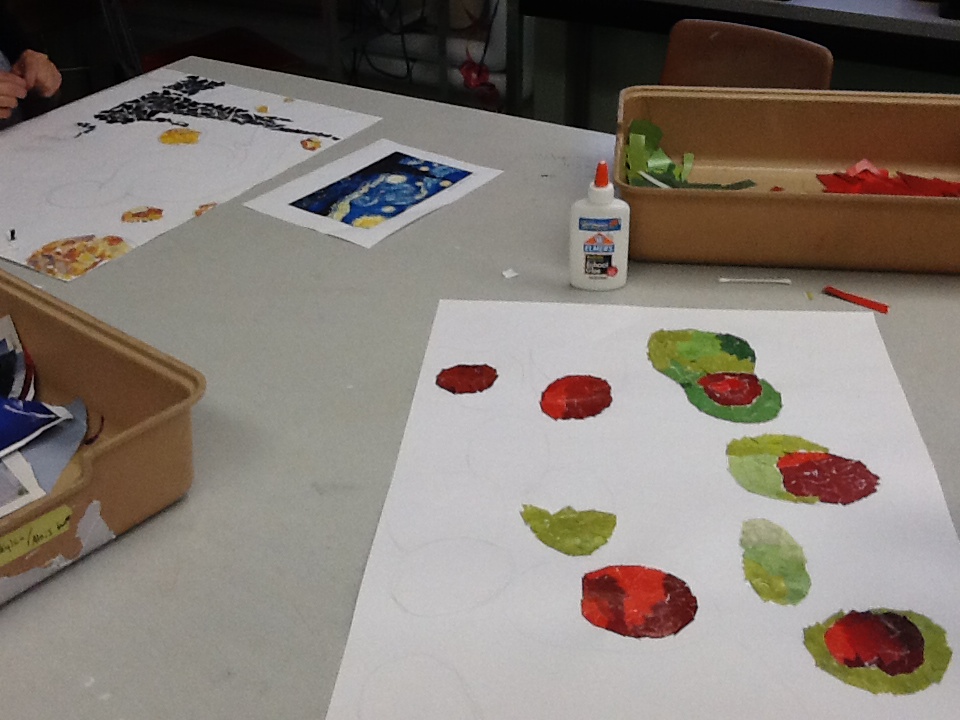
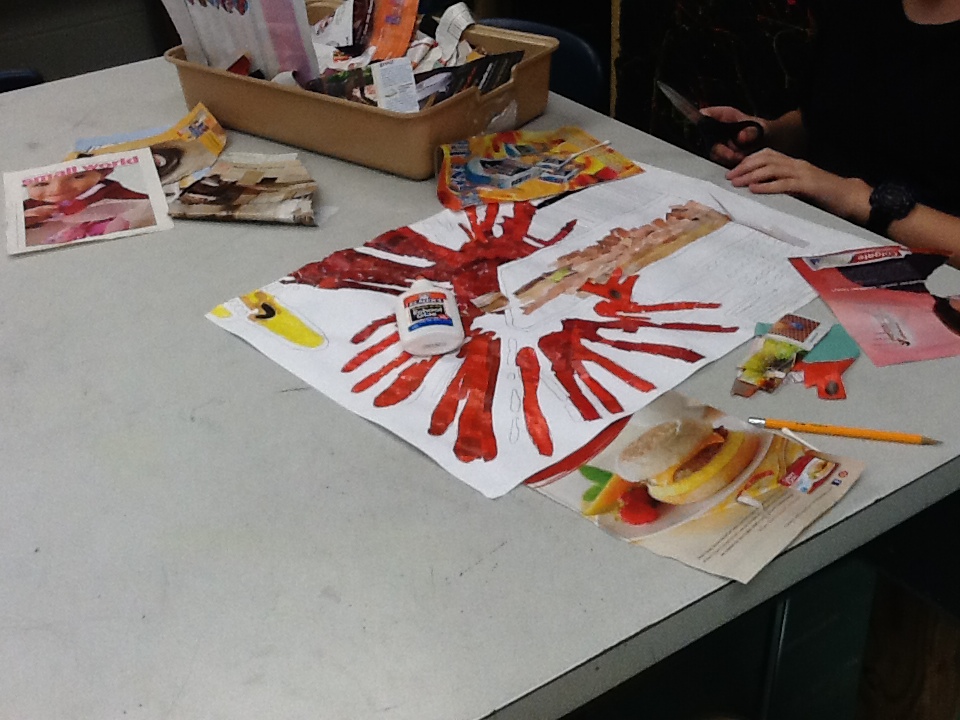
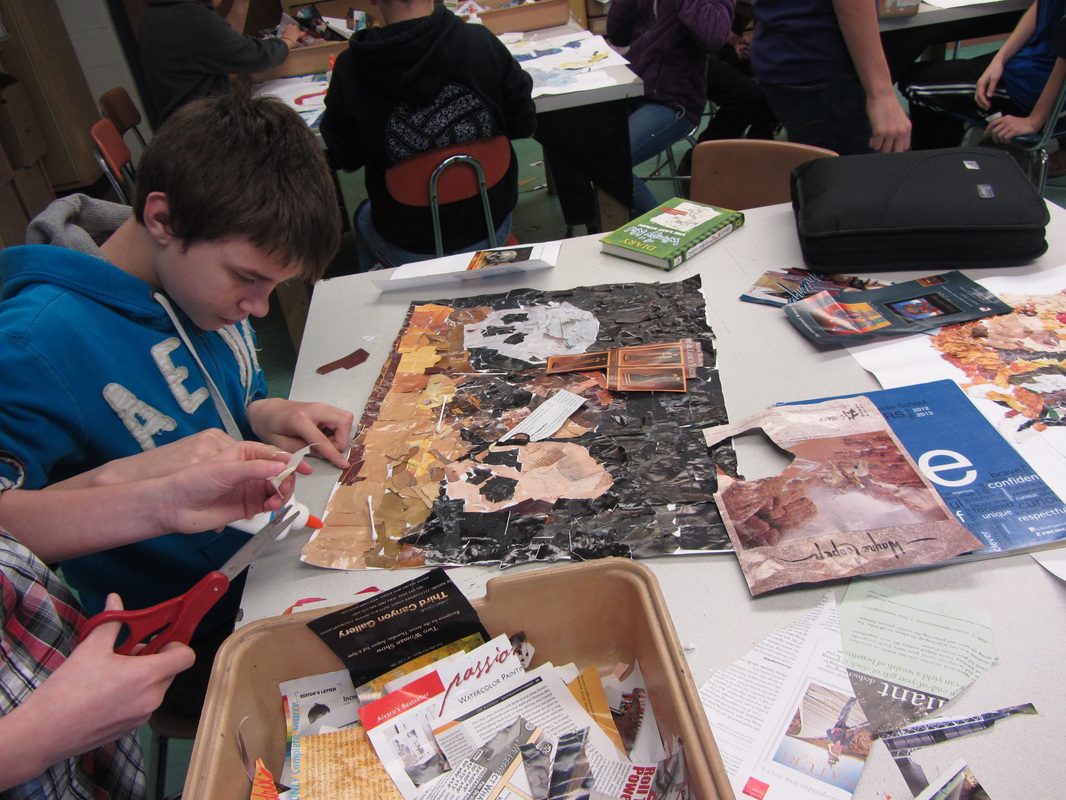
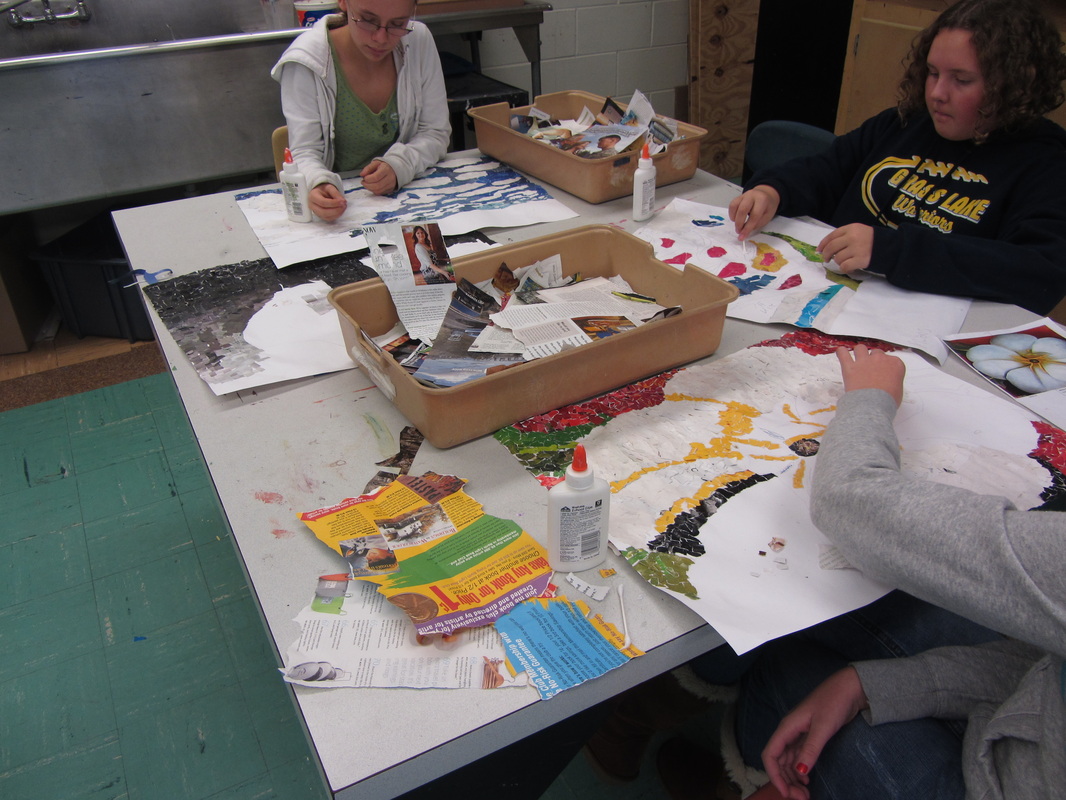
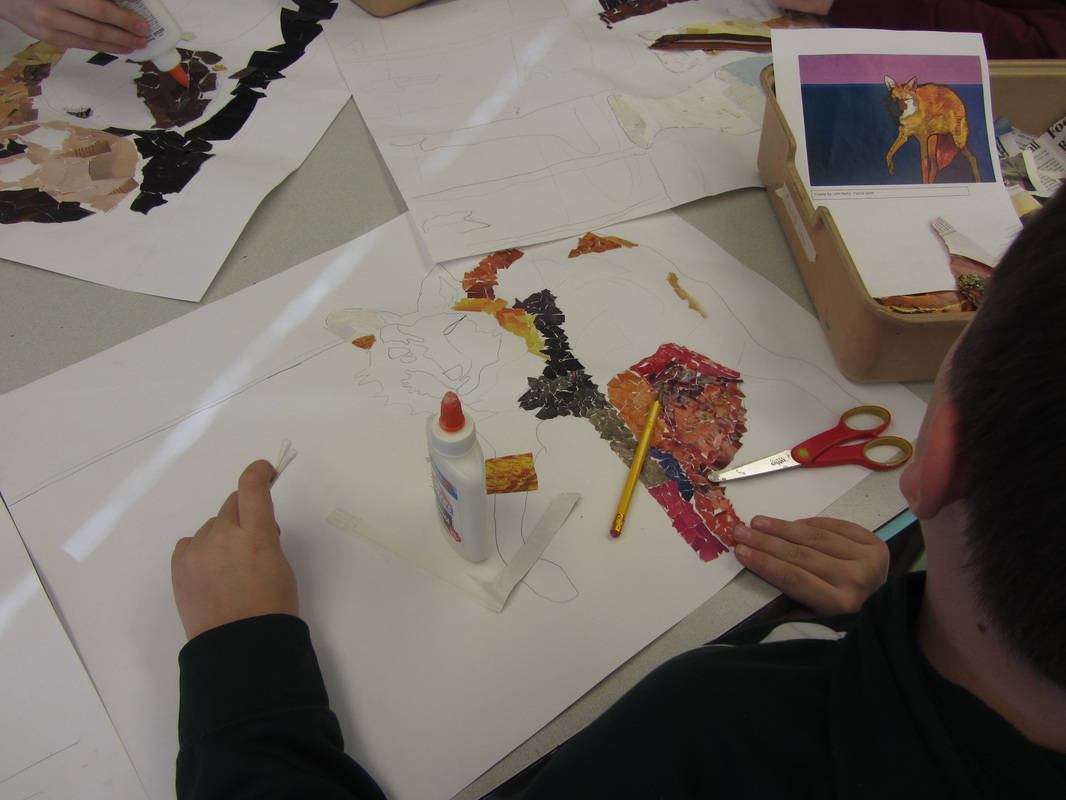
This week brought the start of our signature ART 7 project-collage masterpieces!! This project is a favorite of artists and viewers alike year after year. Though the process is a long and somewhat tedious one, the results are always spectacular! Below you can view our progress over the next few weeks. This project will take all of 3 weeks or even 4 but it is worth it!
days one, two & three: collecting color and transparency transfers
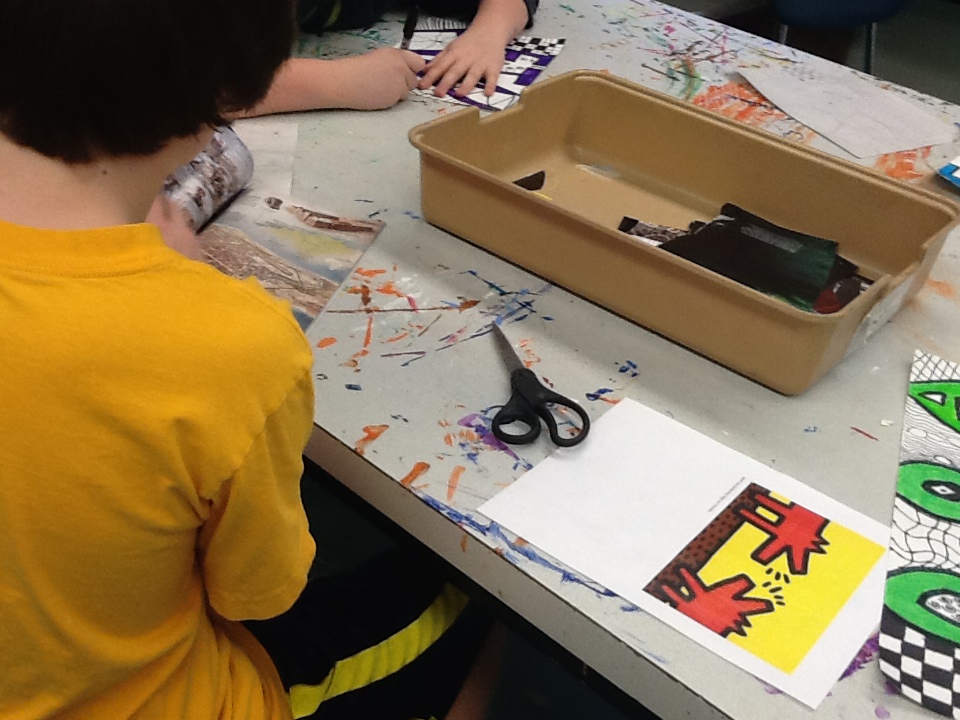
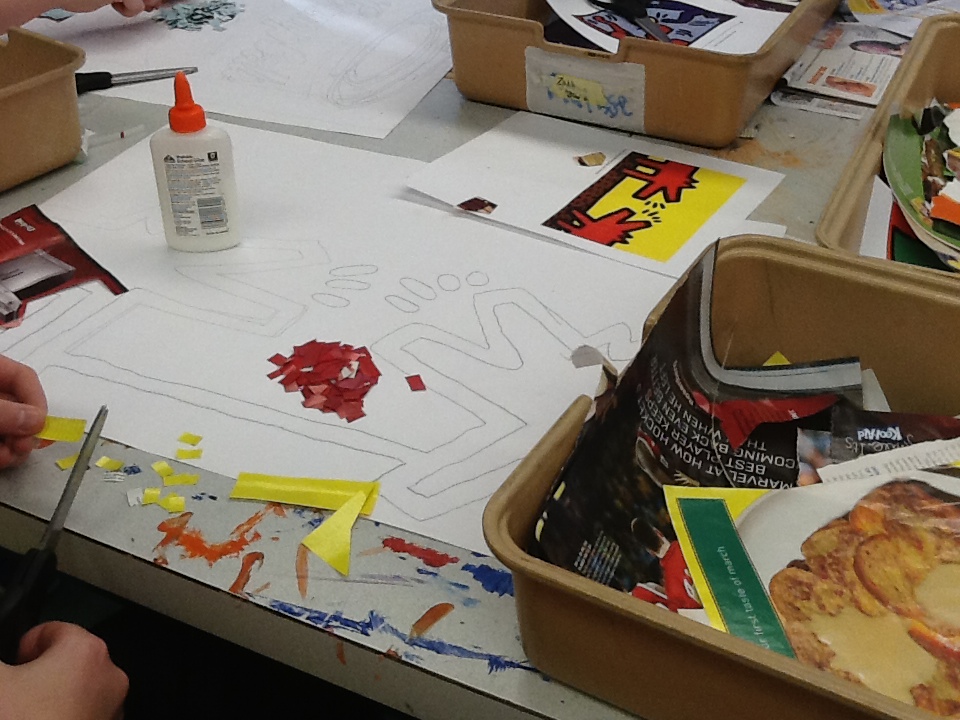
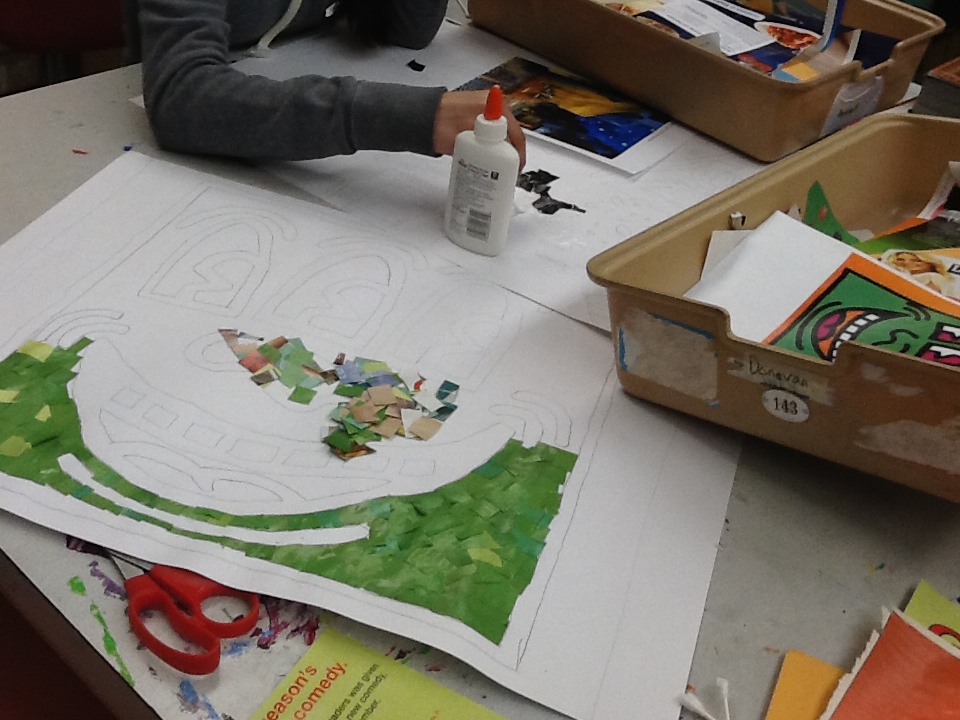
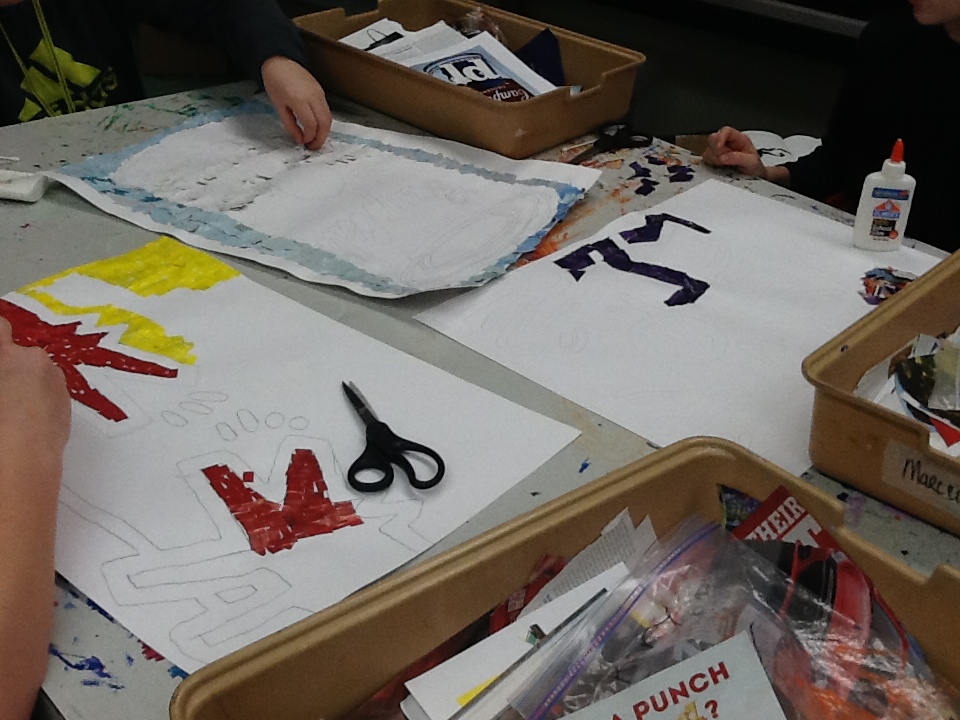
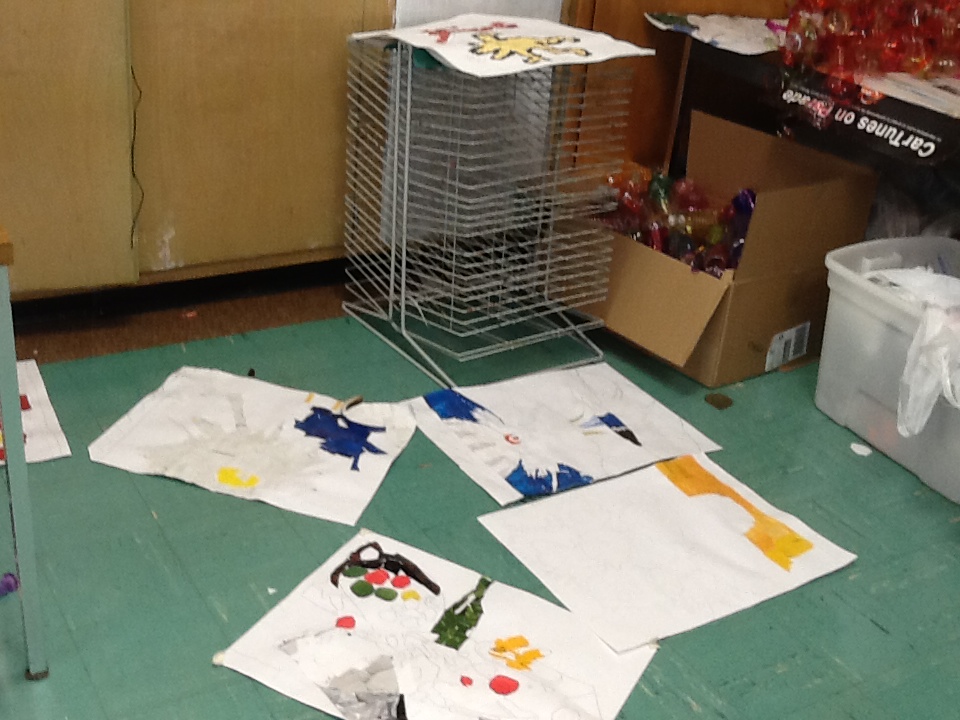
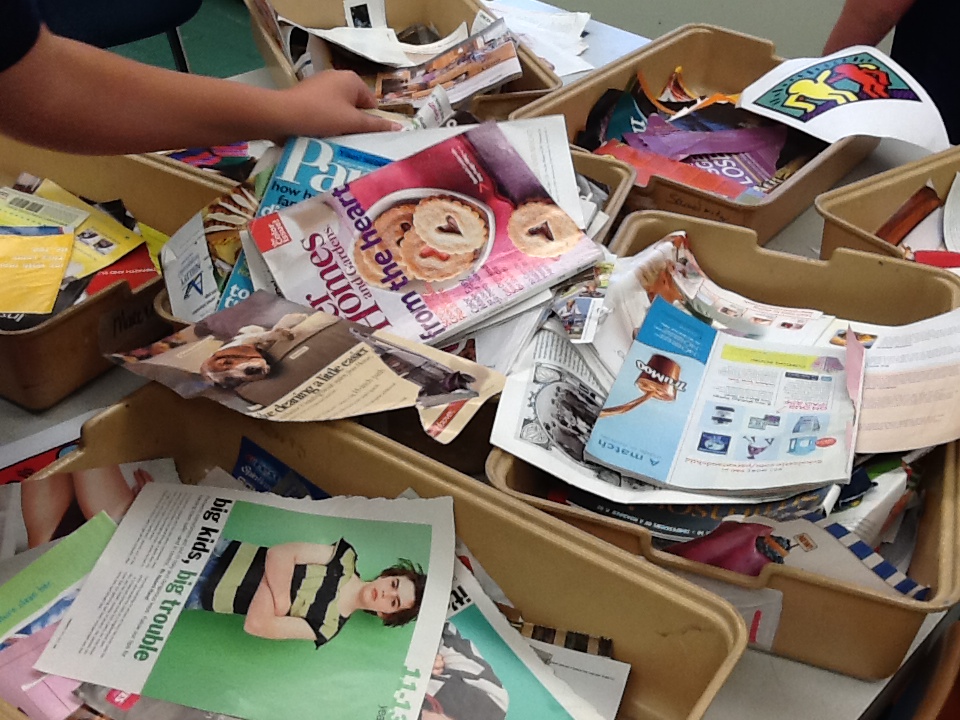
Students started by choosing their masterpiece to recreate and saved it to our Virtual Classroom Drive (GL's version of the Cloud). We did this a few weeks ago. Then I took each piece and printed it in color and as a transparency. Since this is a color exercise to expose students to thinking beyond ROY G BIV, students traced the major lines of their pieces from the transparency to the final paper. While waiting for their turn, students collected color pieces from magazines. Thanks to our awesome community, we have lots to choose from! While this is the most bring part of the project, it is crucial to the next few weeks.
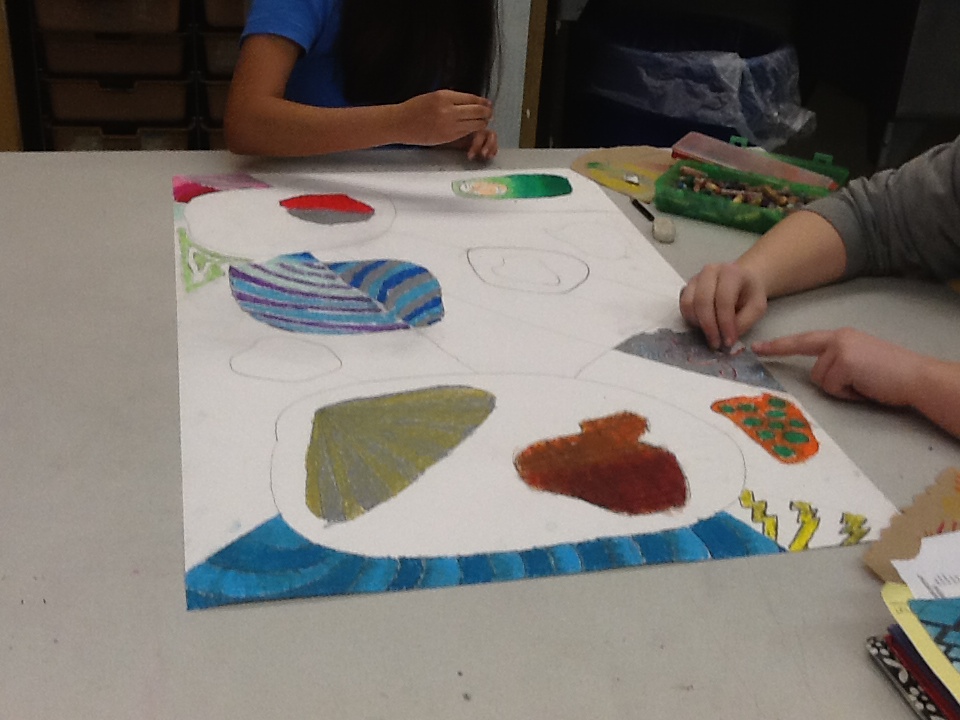
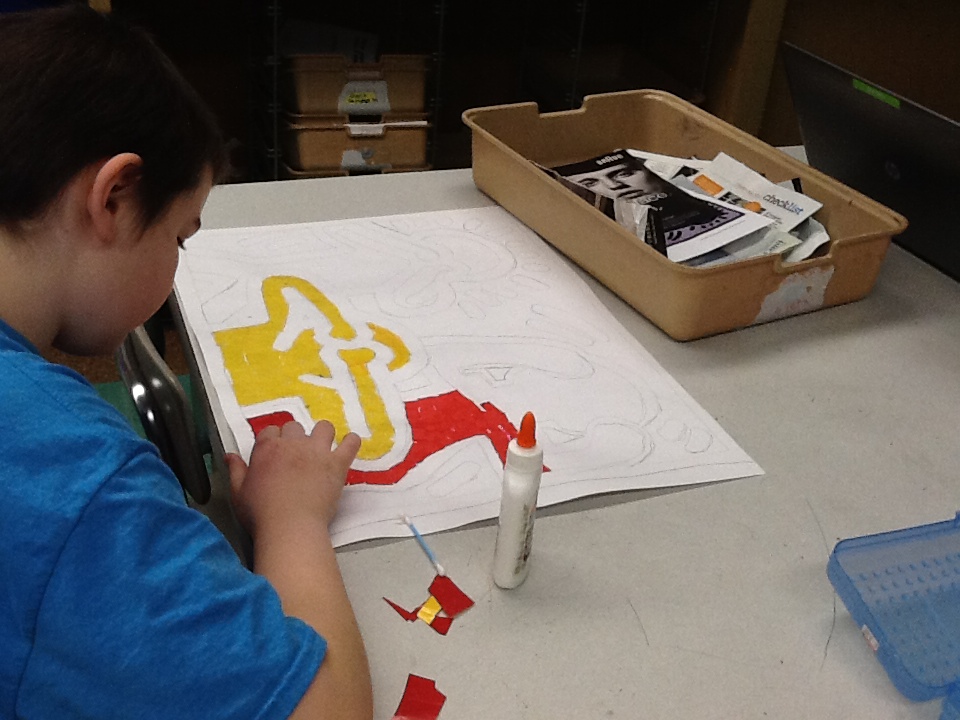
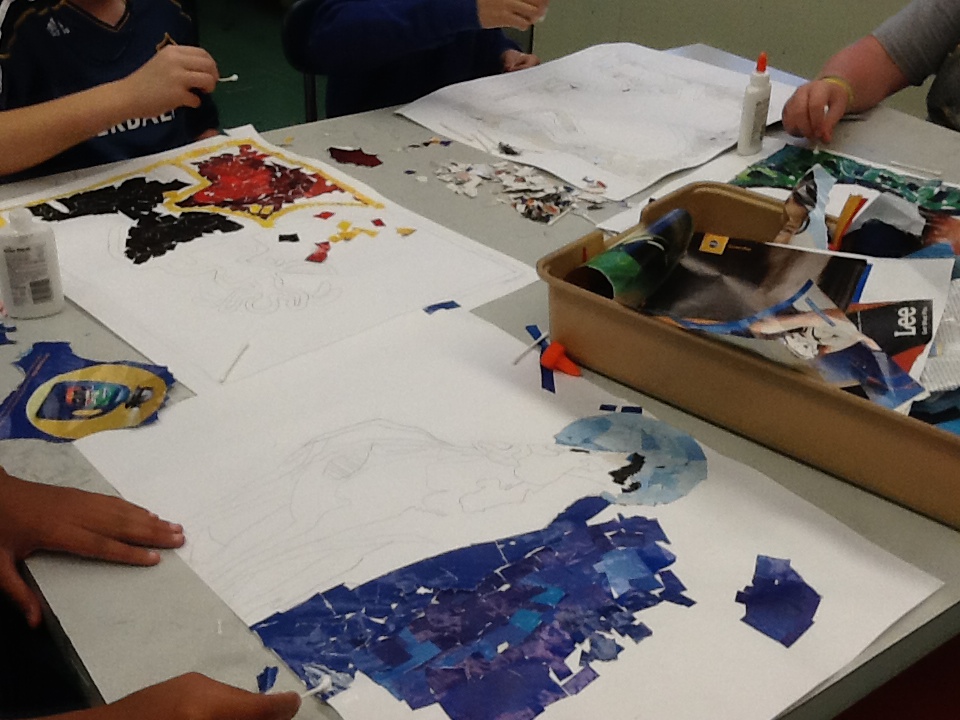
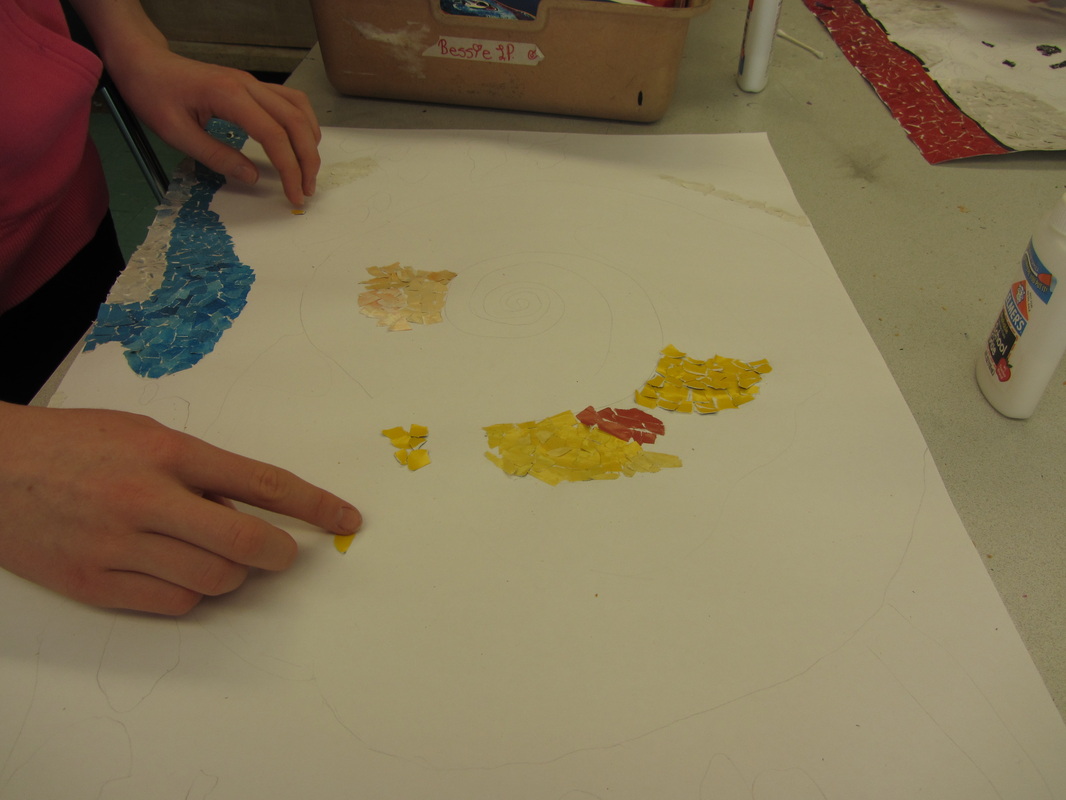
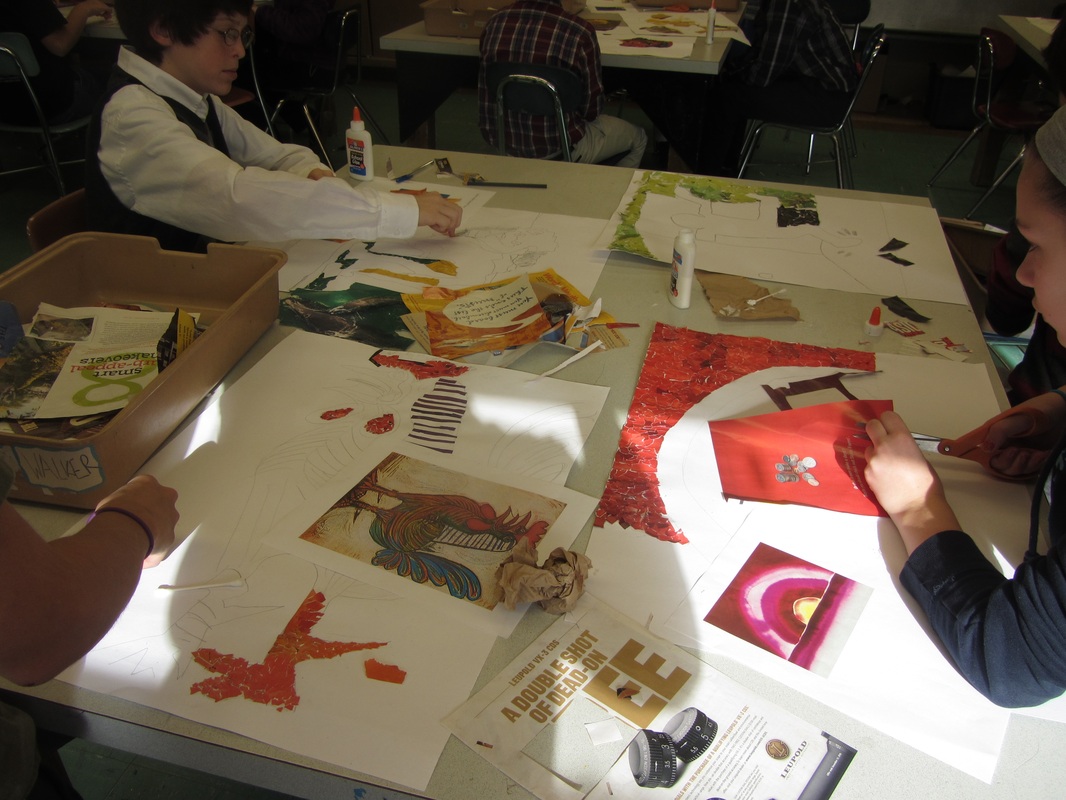
Week two: they are starting to take shape!
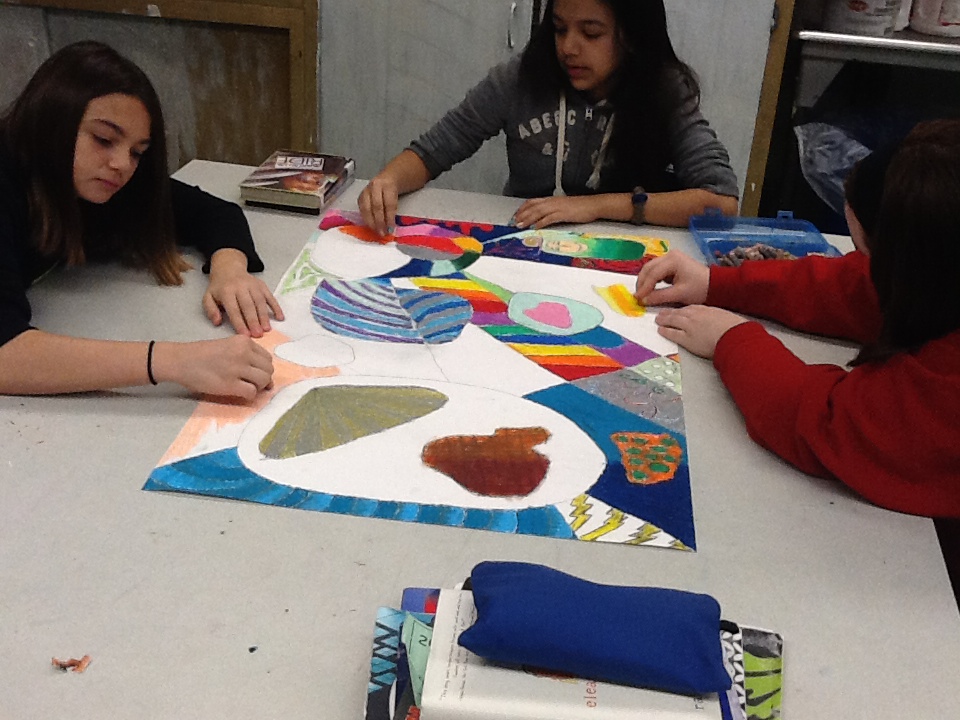
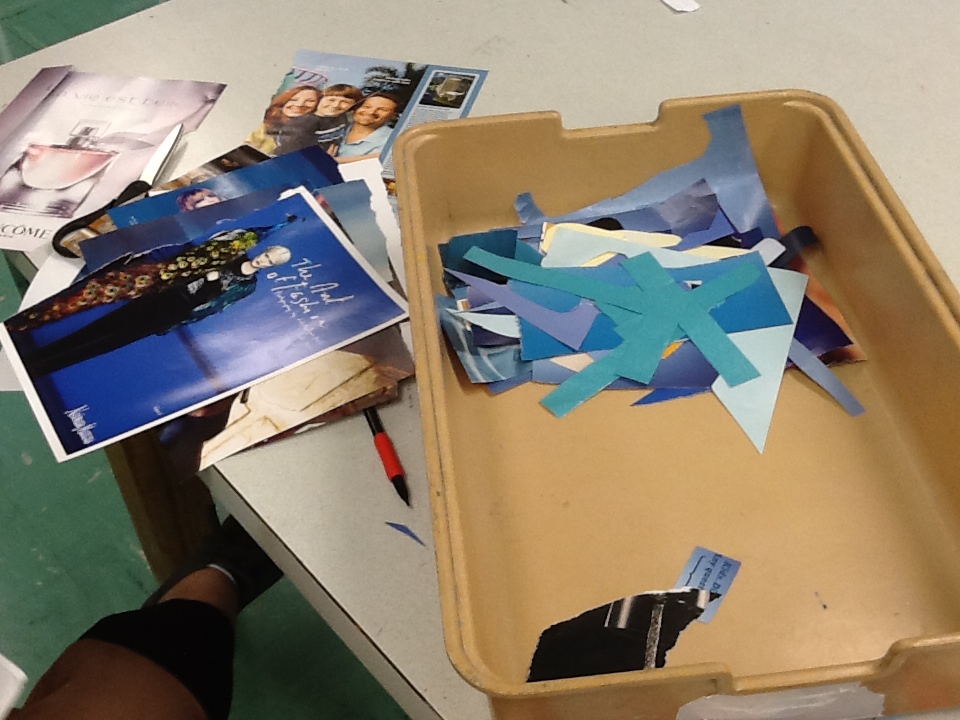
Students started gluing their color pieces onto their final papers this week! It will take a few days to see the resemblance of our original masterpieces but they are coming along great! It always amazes me how many times I hear comments like "I guess I never thought of how many different blues there are!" or "I need a brownish, yellowish green." This project is about color and seeing beyond the basic colors we immediately think of and these comments are proof that the point is being driven home.

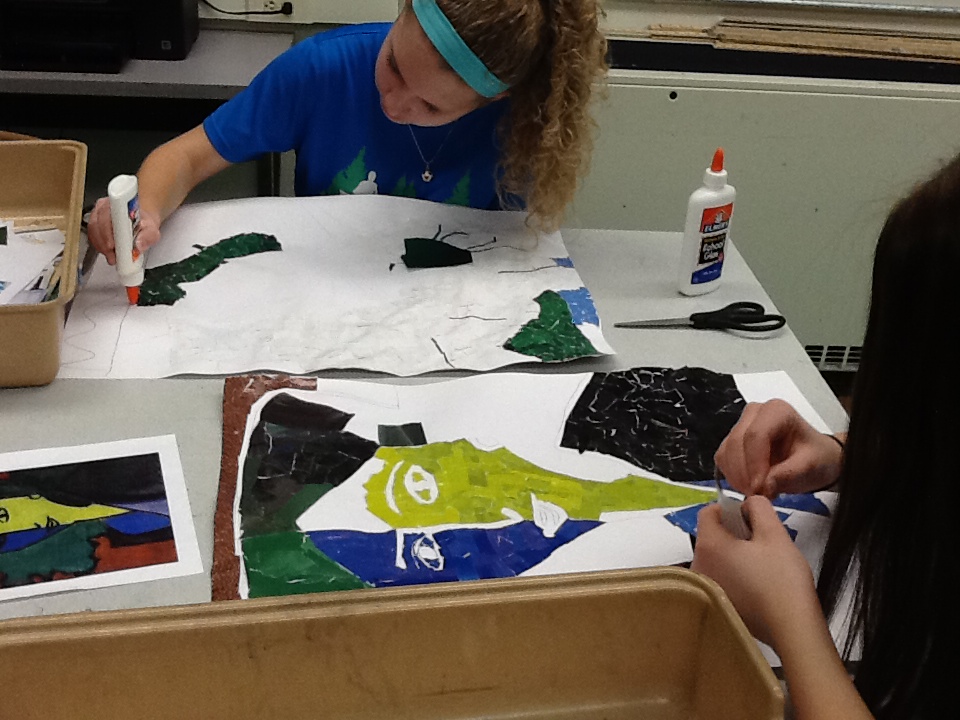
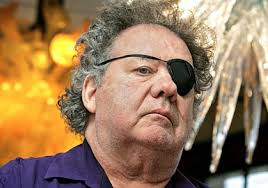
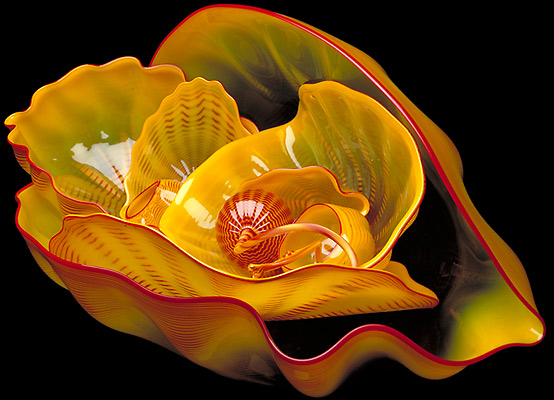
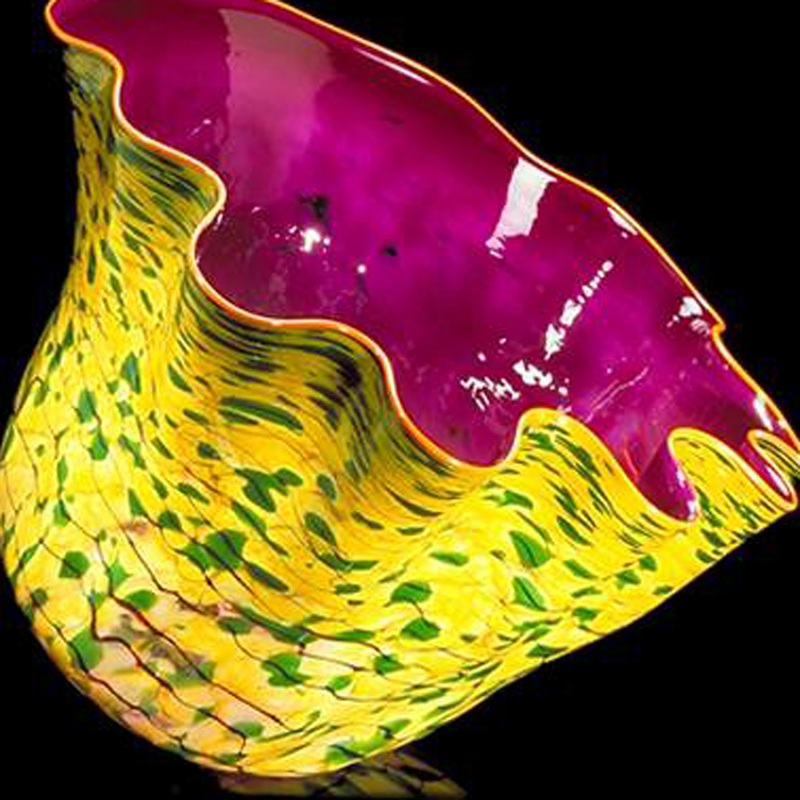
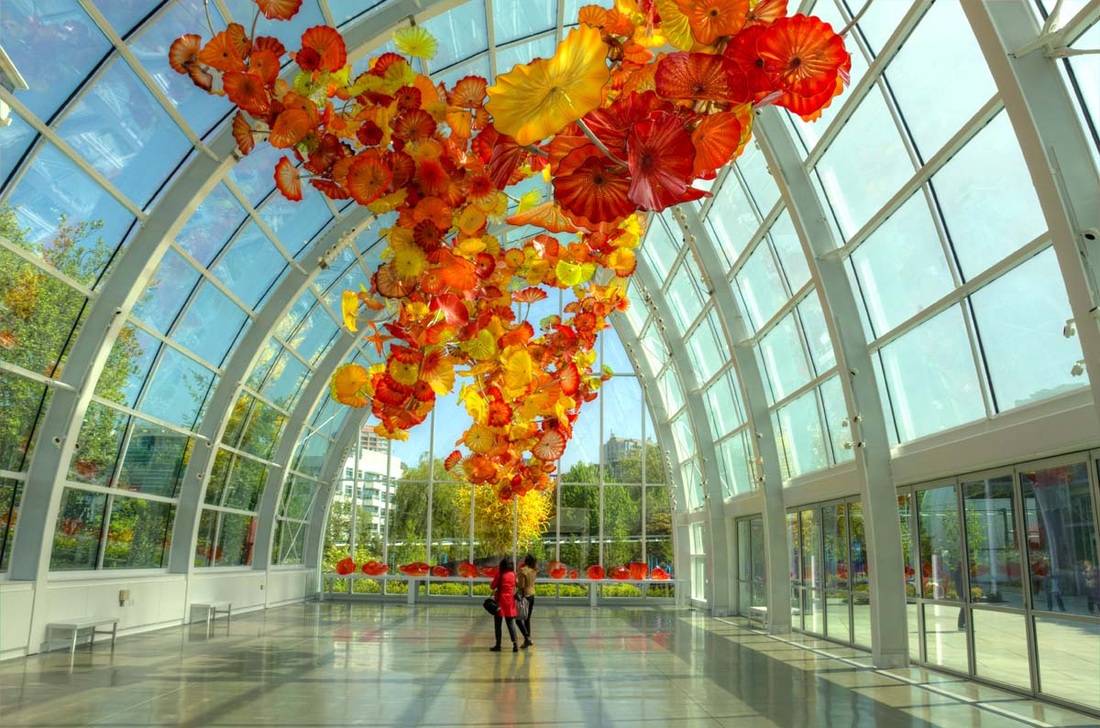
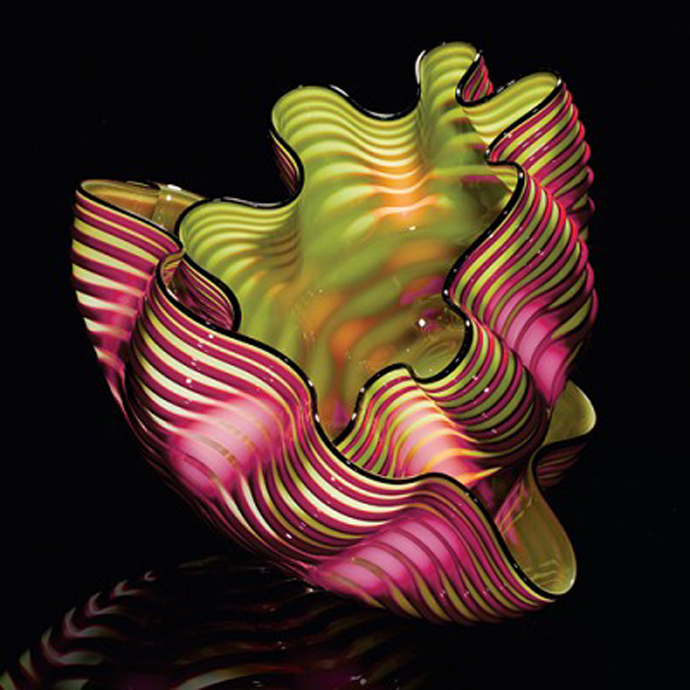
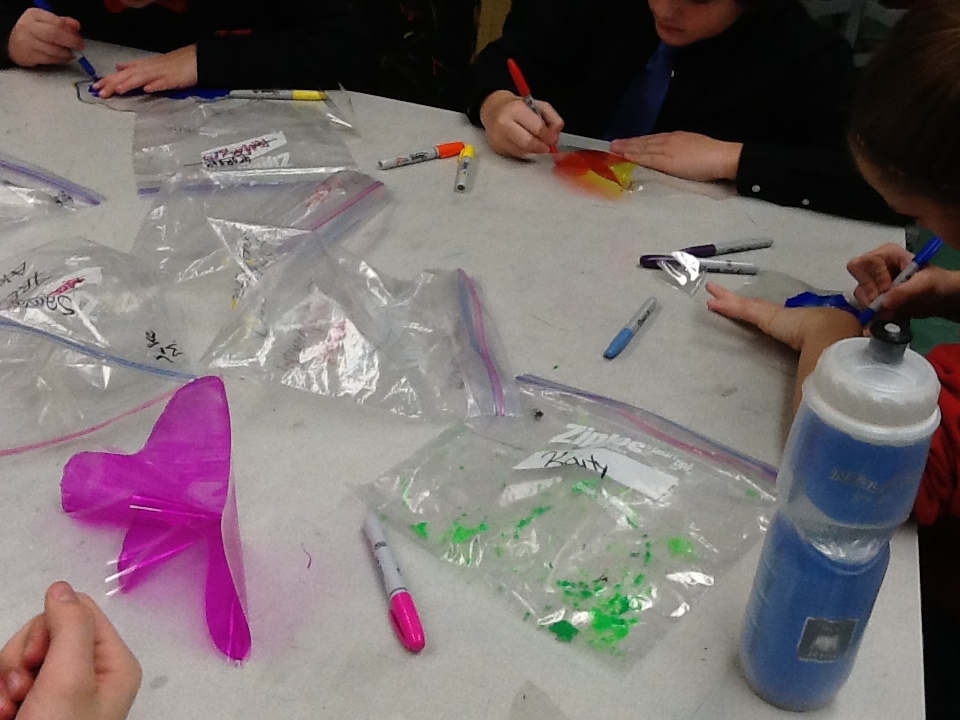
chihuly "glass" forms
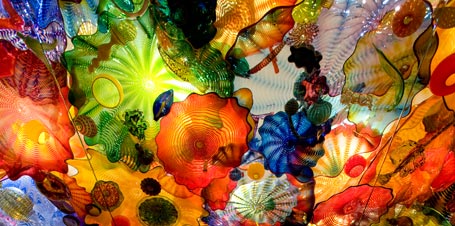
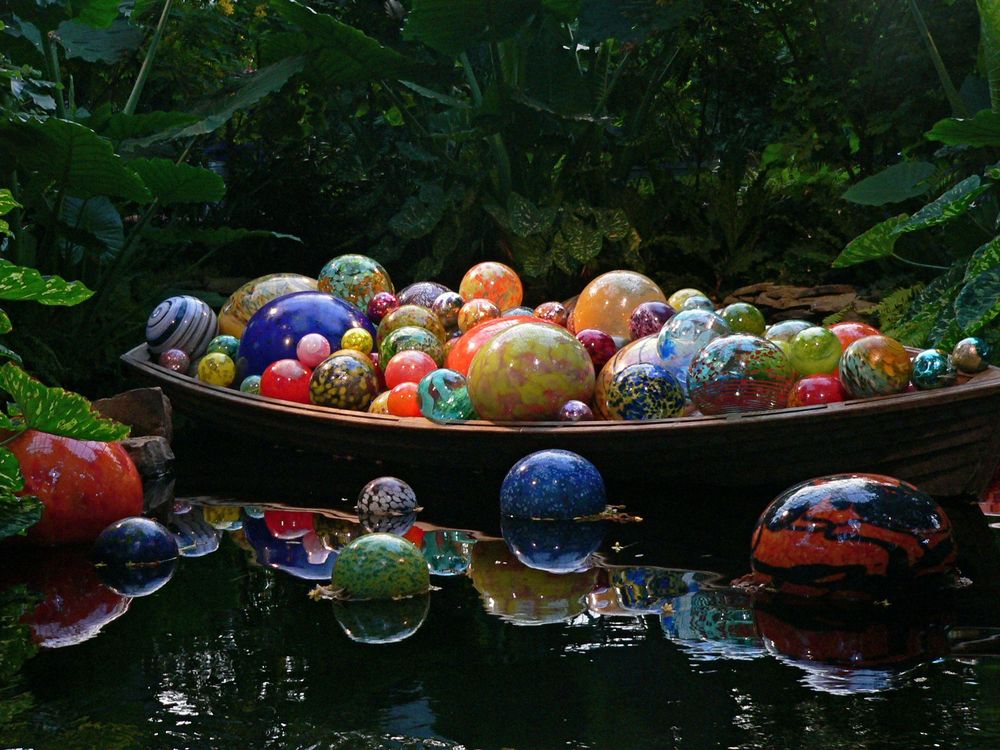
Dale Chihuly is a pioneer American glass artist. His glass sculptures go beyond "looking pretty" and extend into detailed art forms with complicated form, composition and structure. These are not your grandma's vases. Chihuly has many permanent exhibitions including the famous Bellagio hotel ceiling and lobby, as well as, many travelling installations. Many of these installations can be found in botanical gardens and museums. You can find Chihuly websites and videos in our Resources tab to the left. You can watch us make our glass bowls below.
pieces by dale chihuly
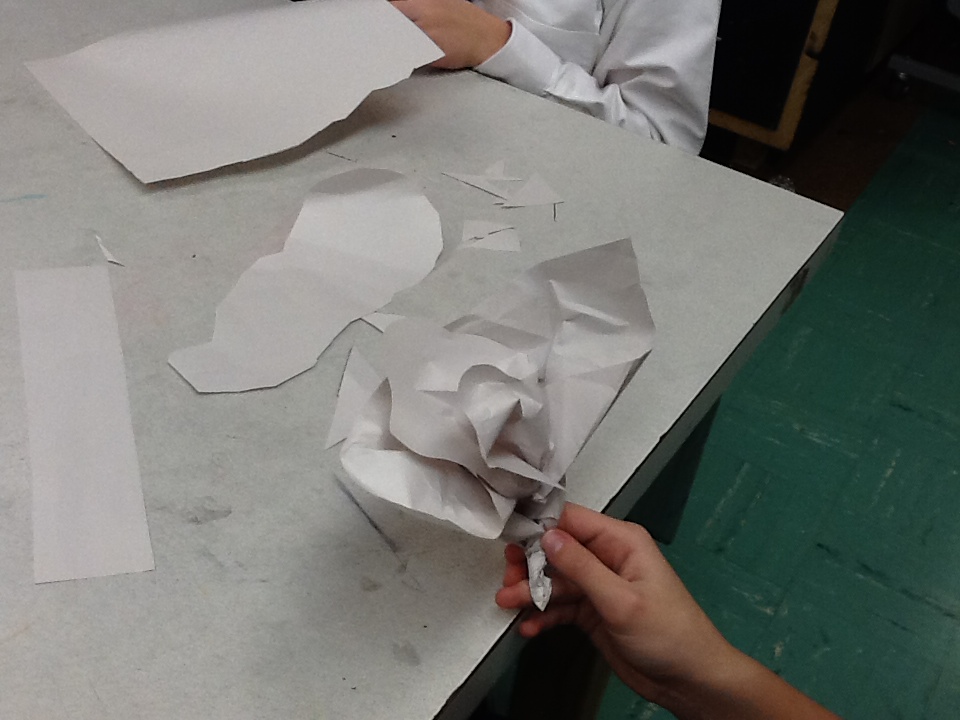
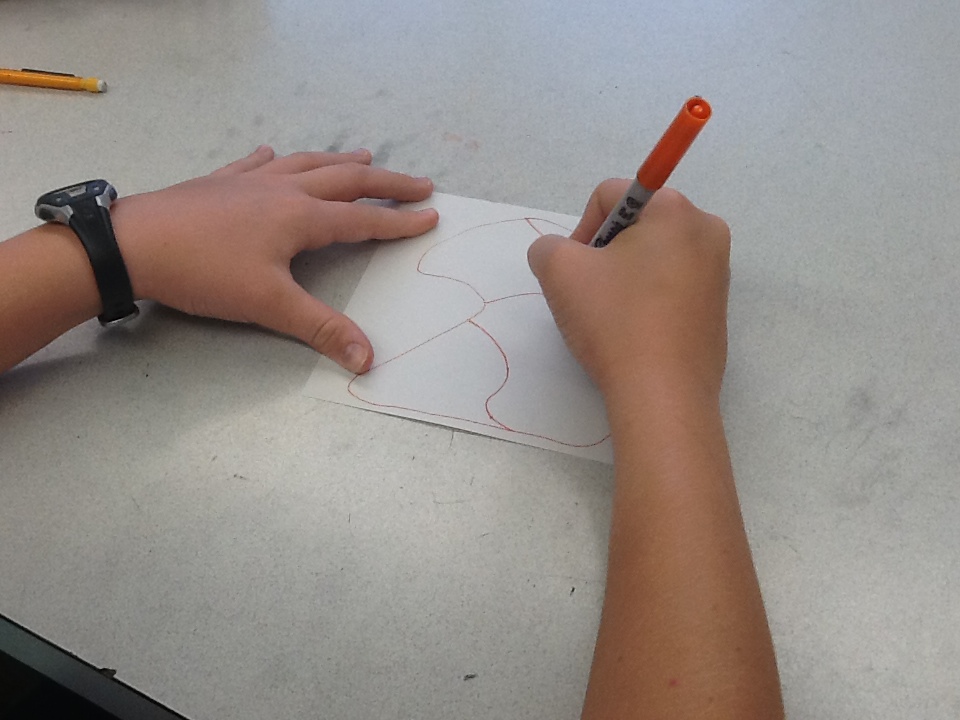
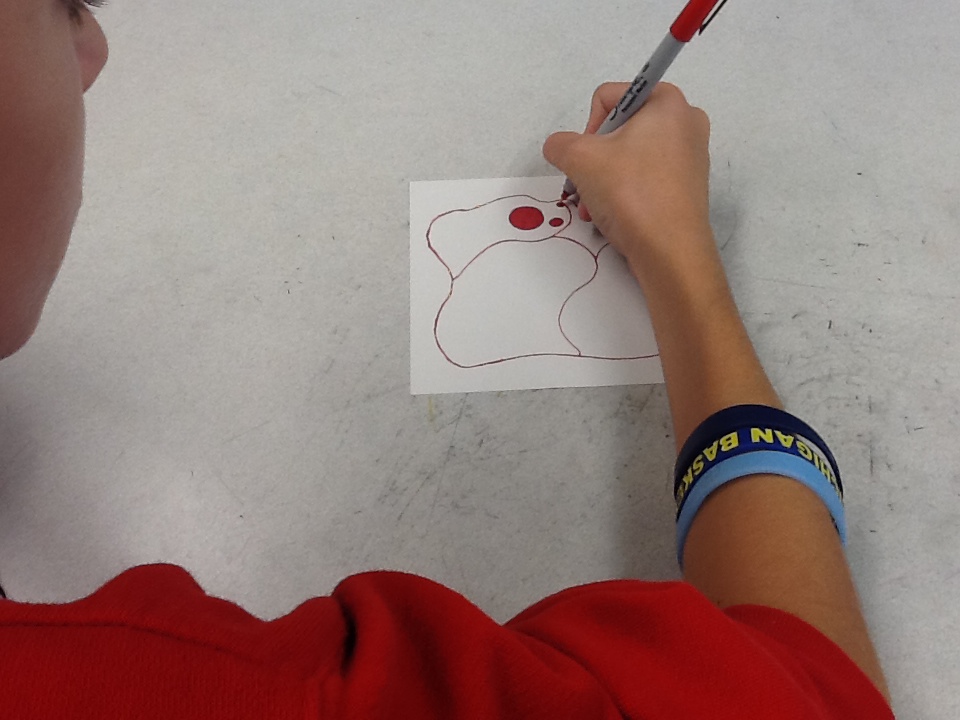
day one and two: making and shaping forms
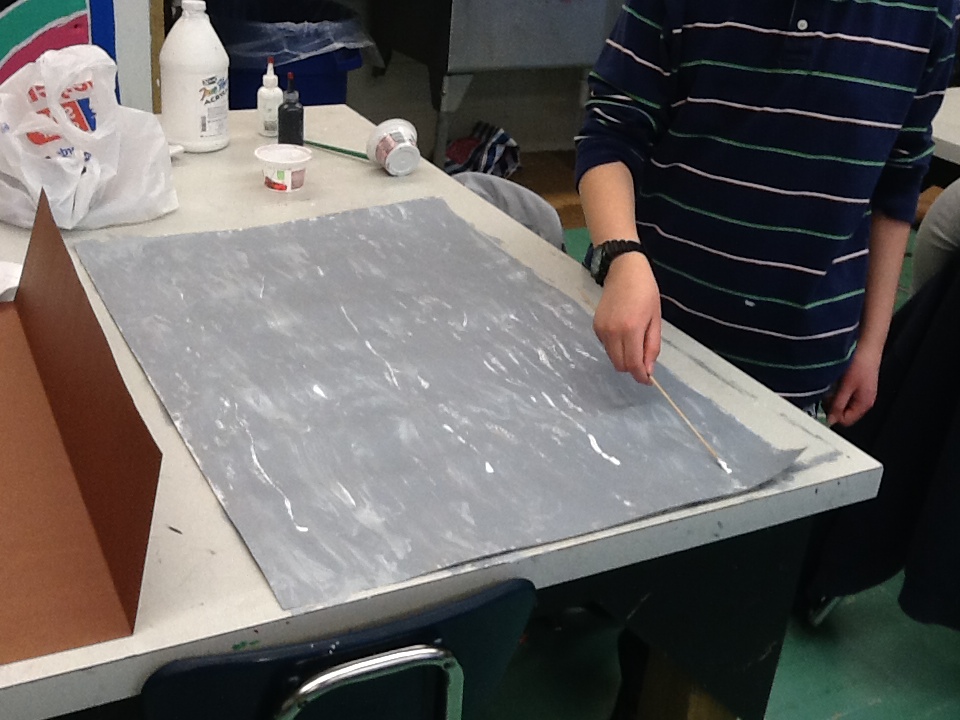
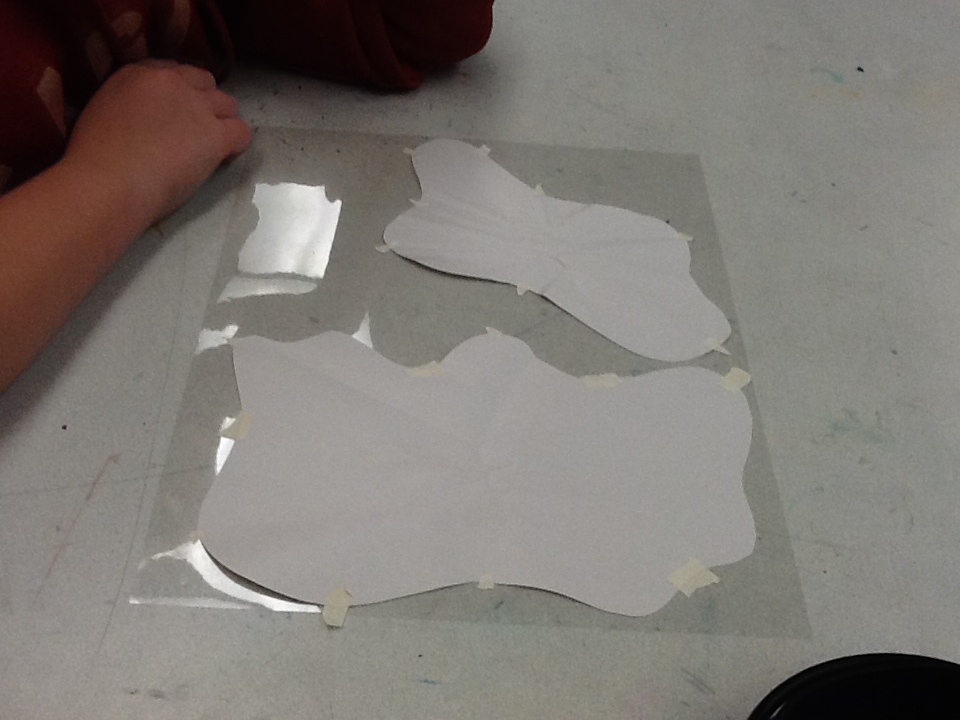
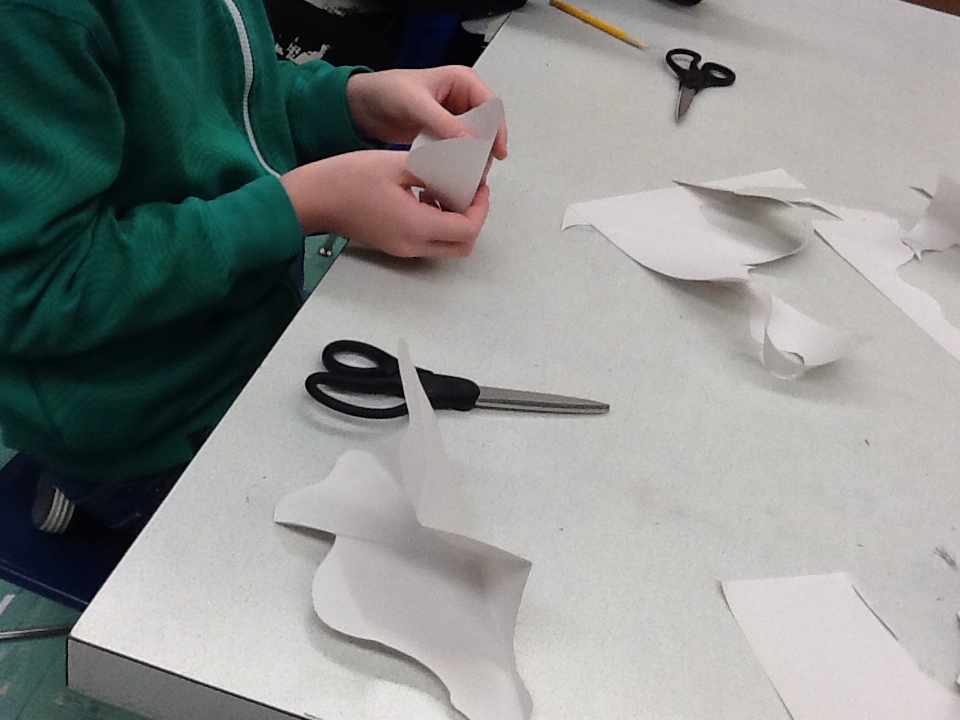
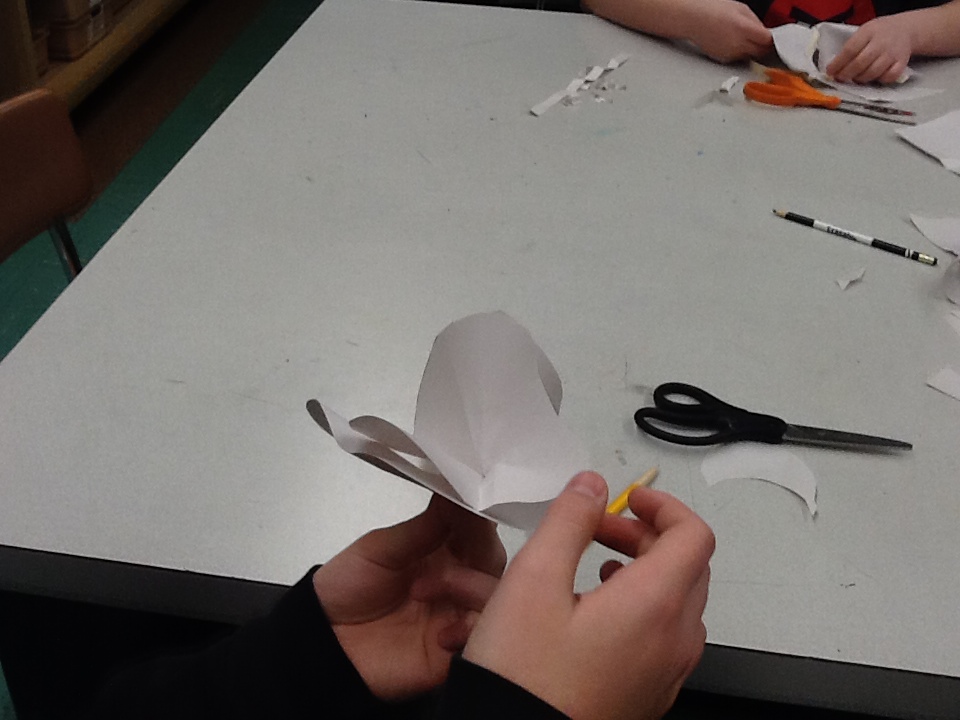
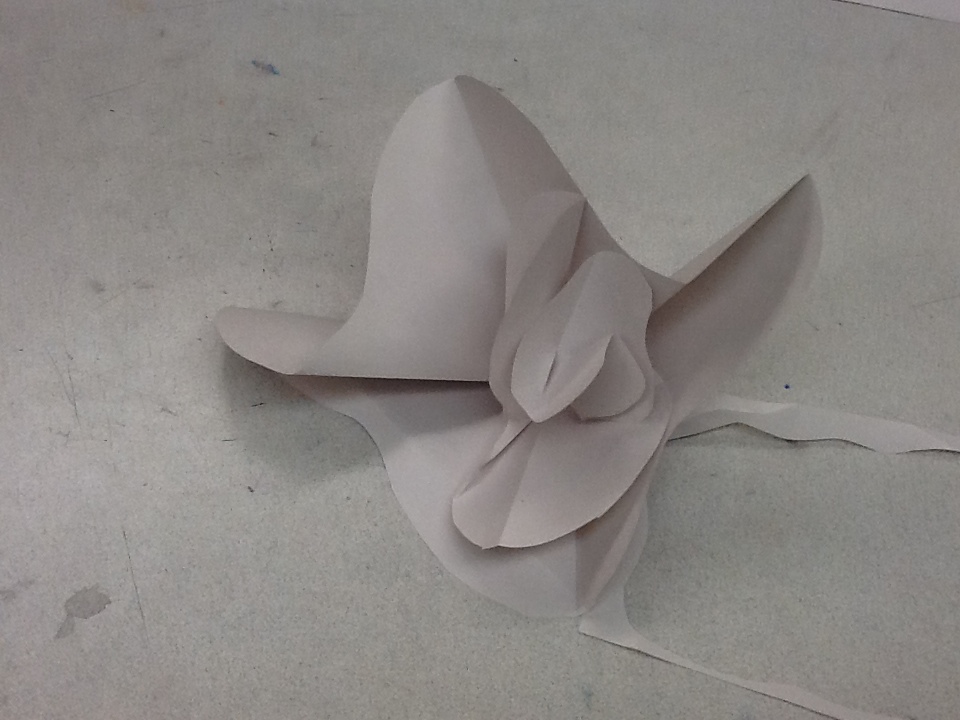
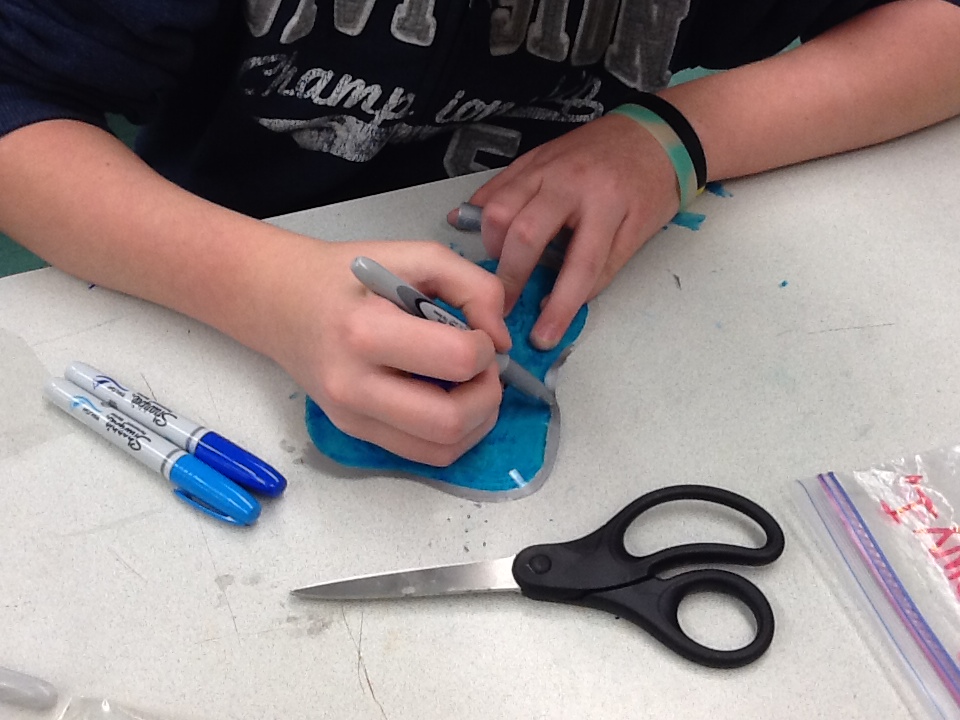
After our Chihuly introduction, students were given a piece of paper in the same size of our Dura-Lar to create their organic shapes that were the 2D representation of what will be their bowls. Then then folded, curled and bent their pieces to become a 3D paper version of their final Dura-Lar "glass" bowls. They then taped these down to the Dura-Lar and cut them out.


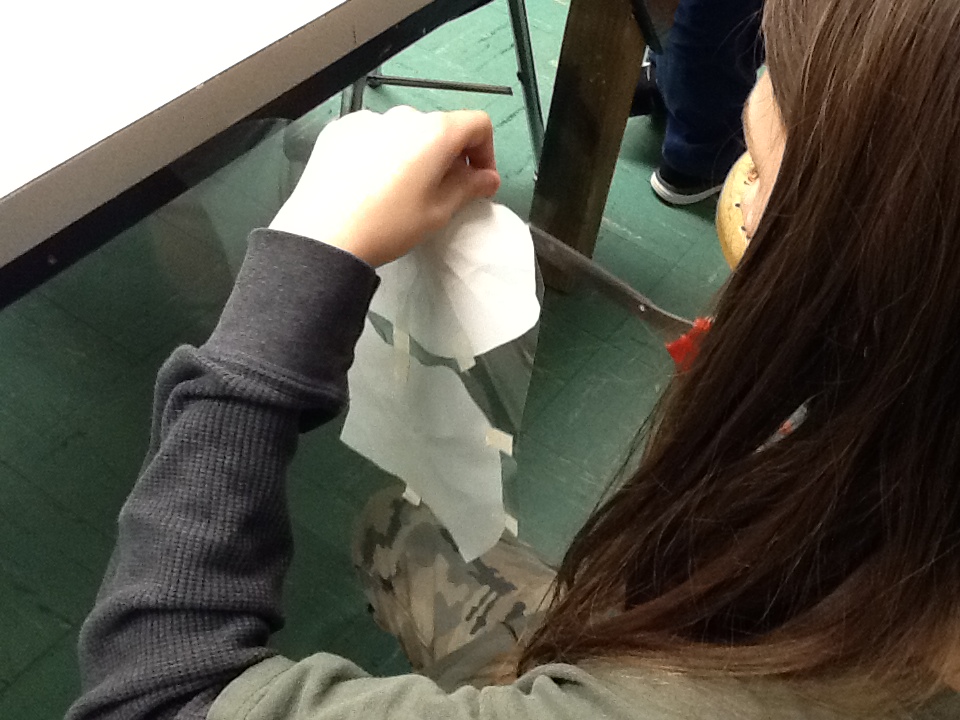
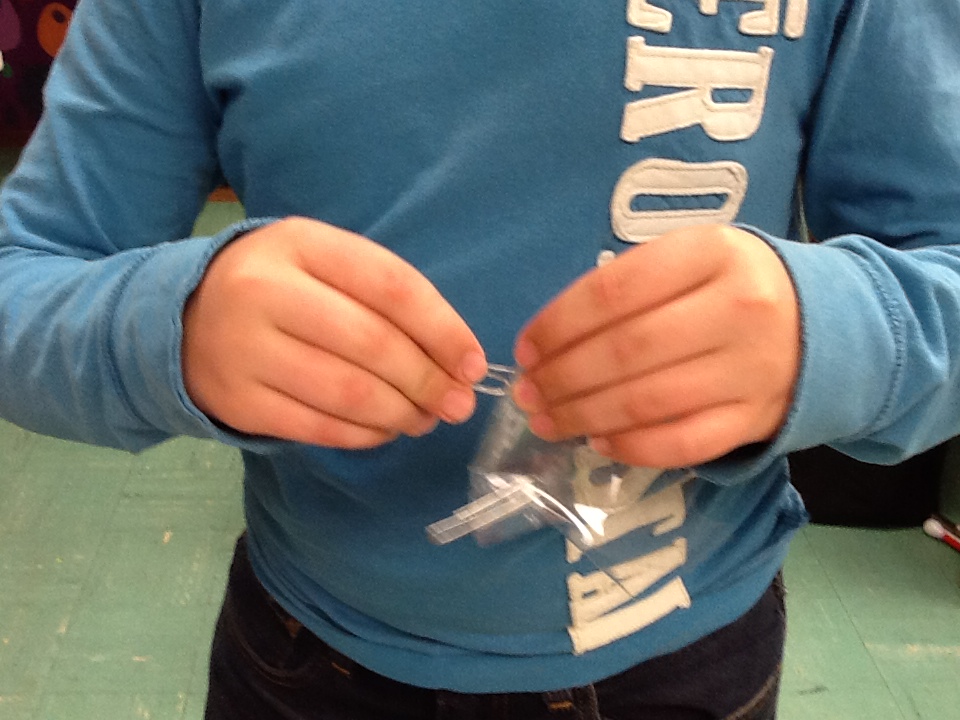
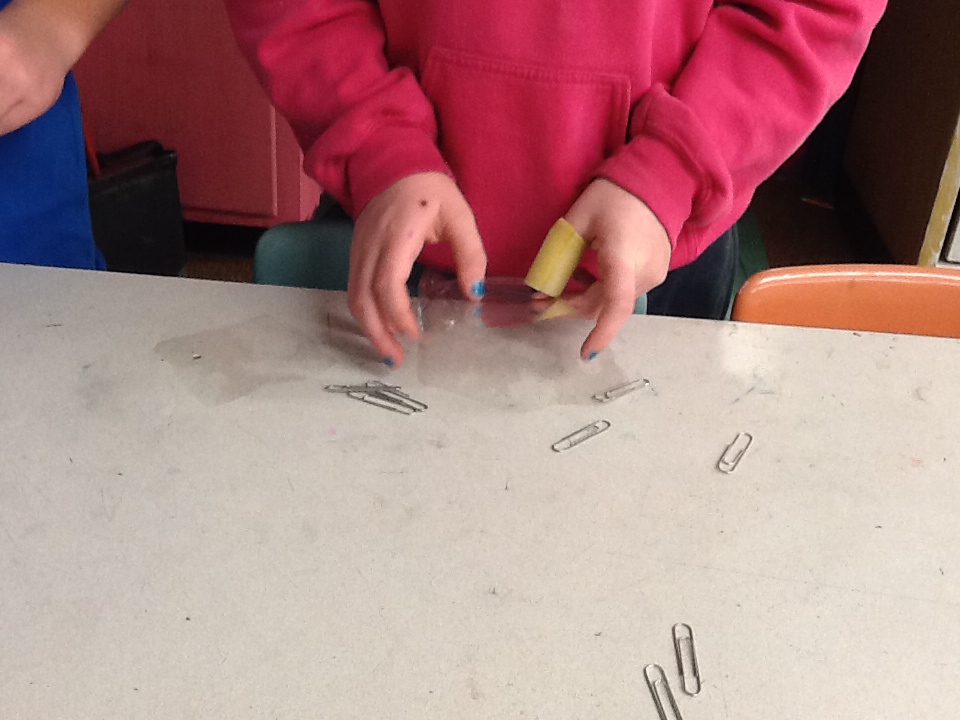
day three: forming the dura-lar
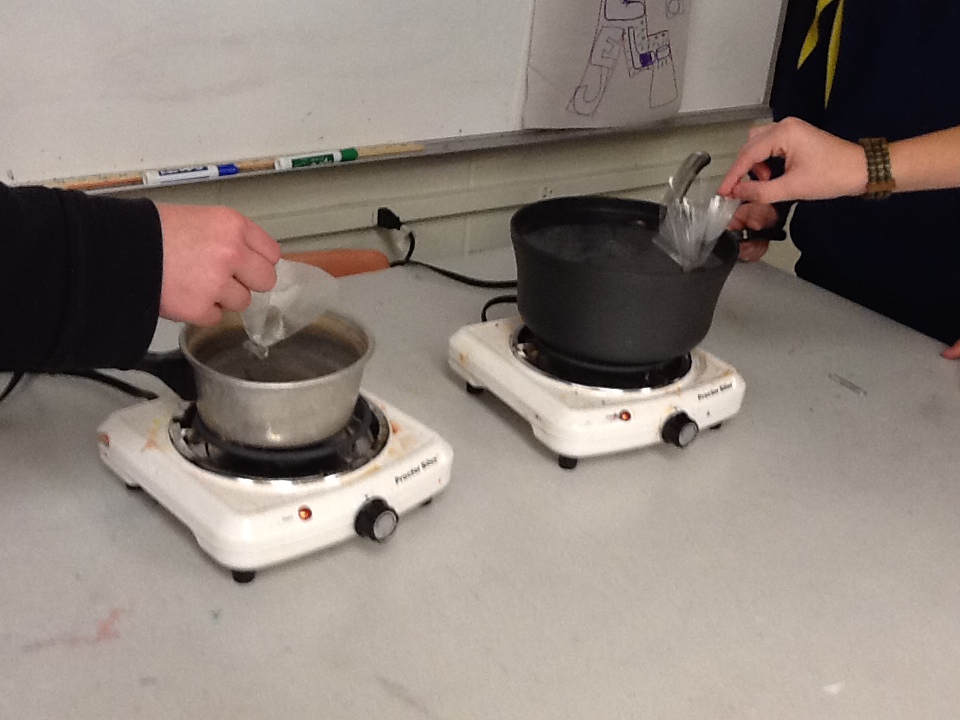
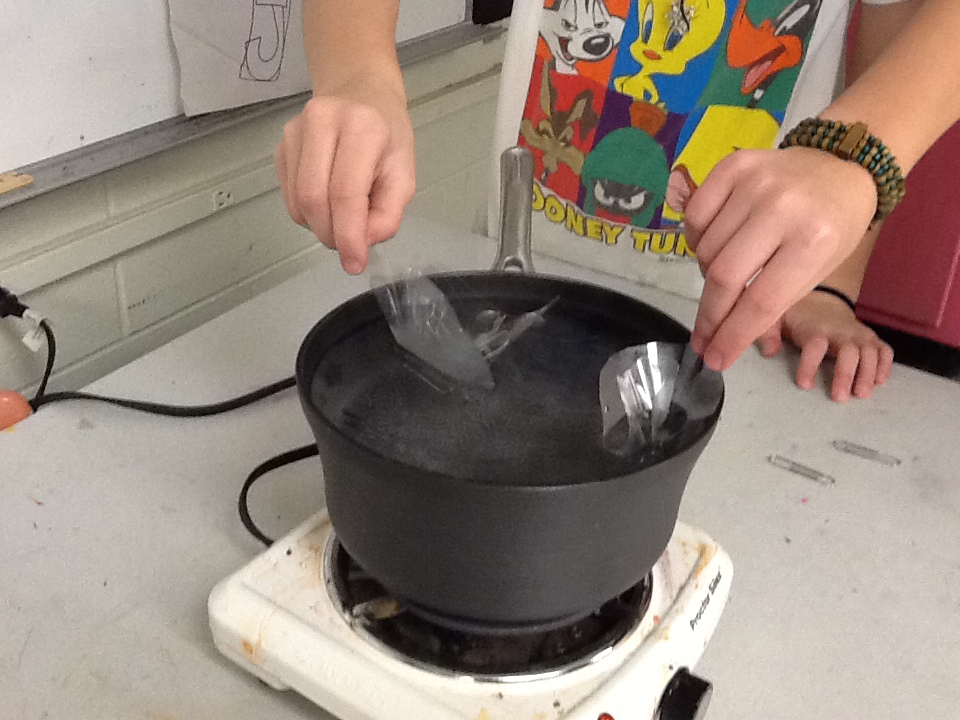
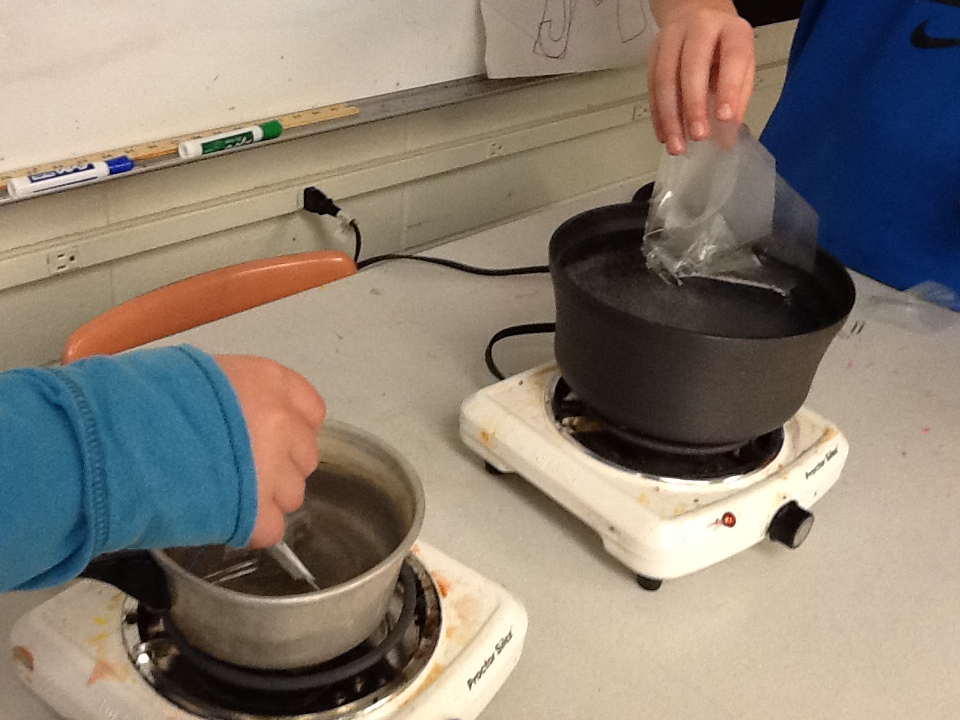
On this day, ART 7 students formed their Dura-Lar pieces into the 3D "glass" forms for their final piece. Students hand formed their pieces and held them together with paperclips. They then submerged the form into near boiling water to hold the form.
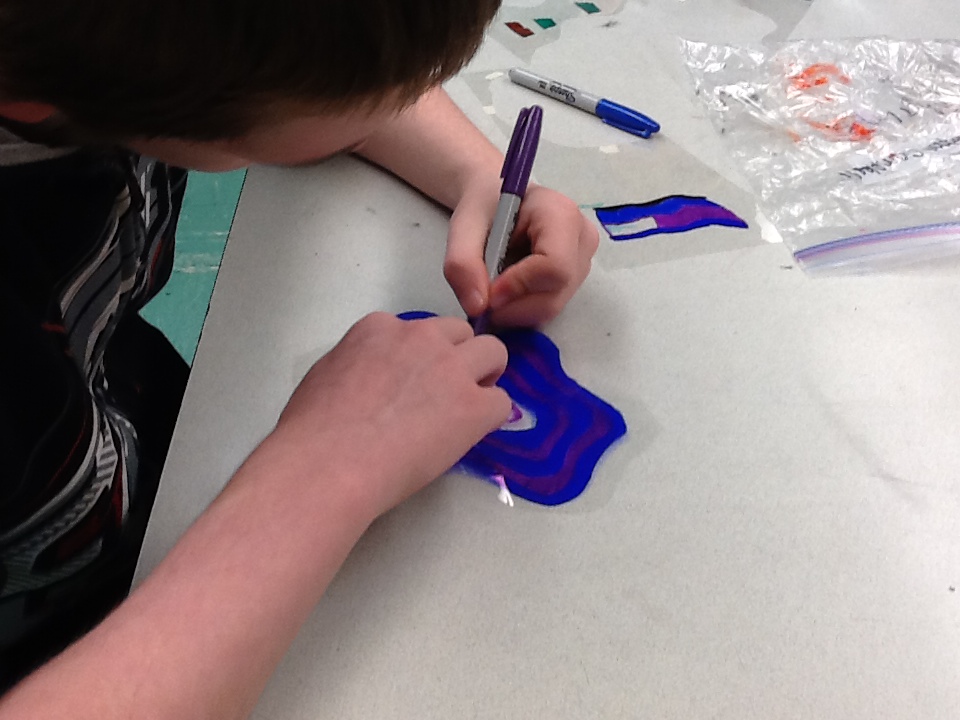
day four and five: making the "glass" come to life!
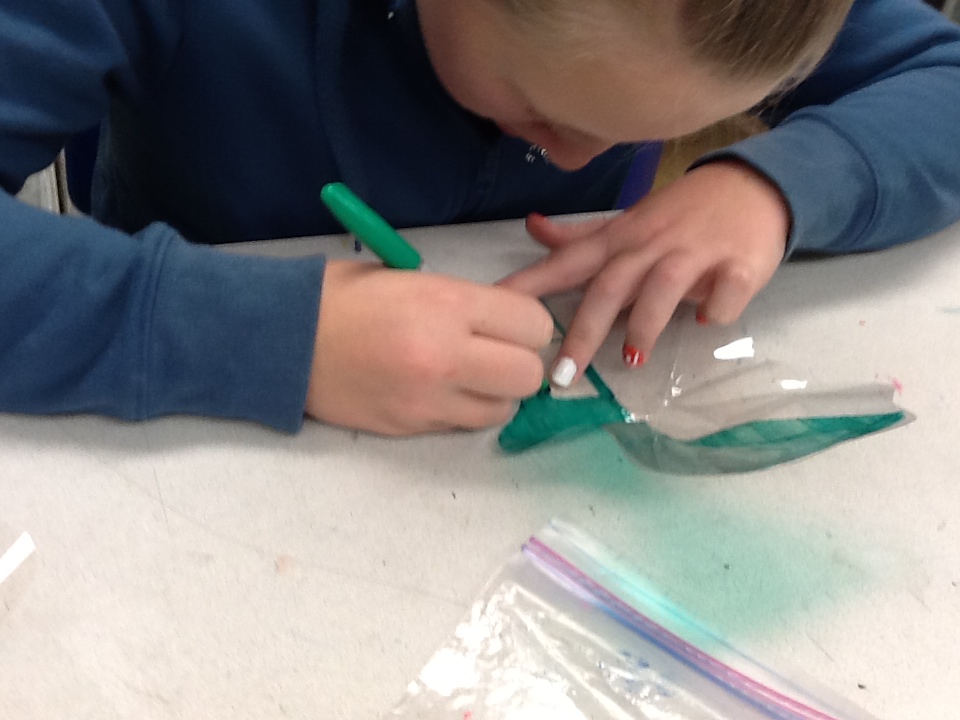
Our short 2 day week before Thanksgiving break was spent coloring in our "glass" Chihuly pieces with Sharpie to make the pieces come to life. Each student chose a color scheme, colored their pieces, leaving a small border along the top of each piece. This border was colored in a contrasting color, in the style of Chihuly's work. This draw attention to the positive and negative space and the form of the pieces.
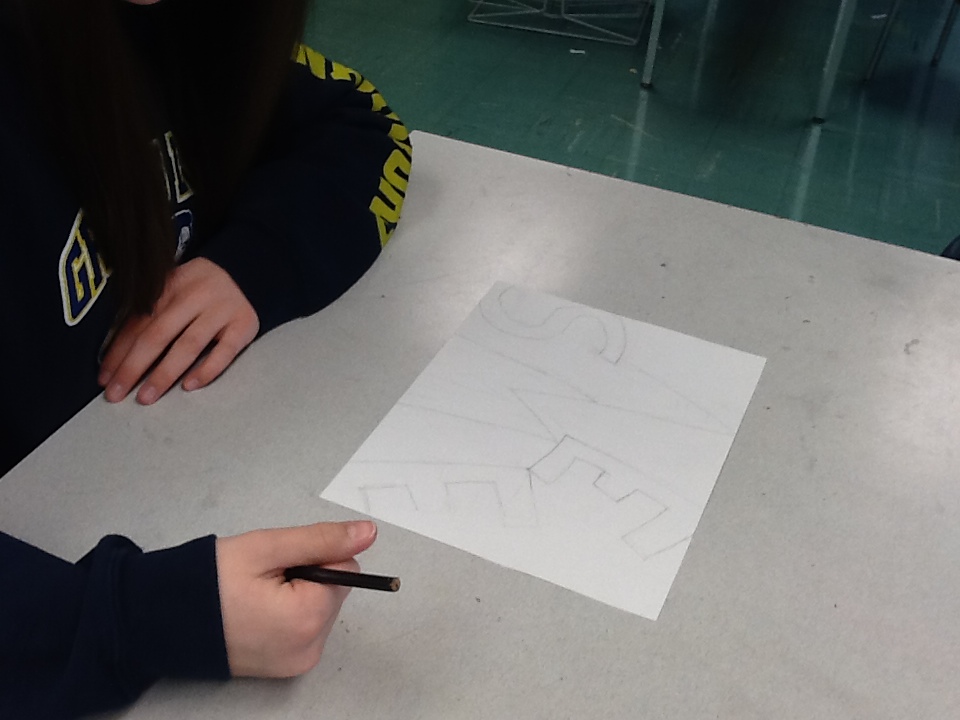
nametangles
Our next project is keeping with the Zentangle theme but mixing it up a bit! We are still using Zentangle patterning techniques but adding them as a background for our names. Follow our process and progress below! Final pieces are due Wednesday, so check our ART 7 Gallery on Thursday to see our creations!
days one and two: sketching names and coloring in
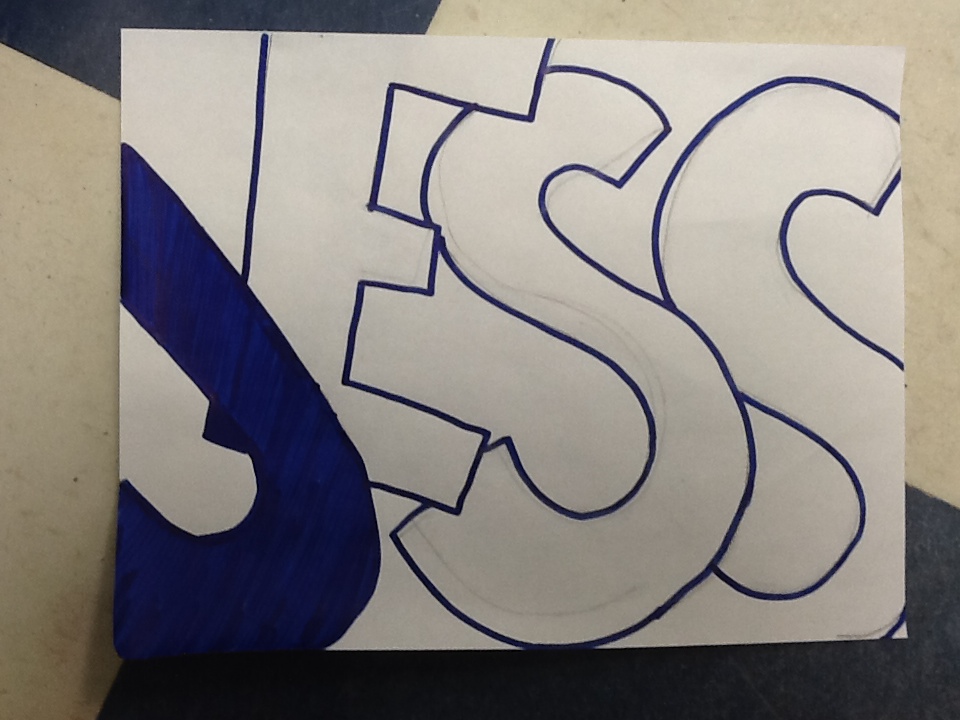
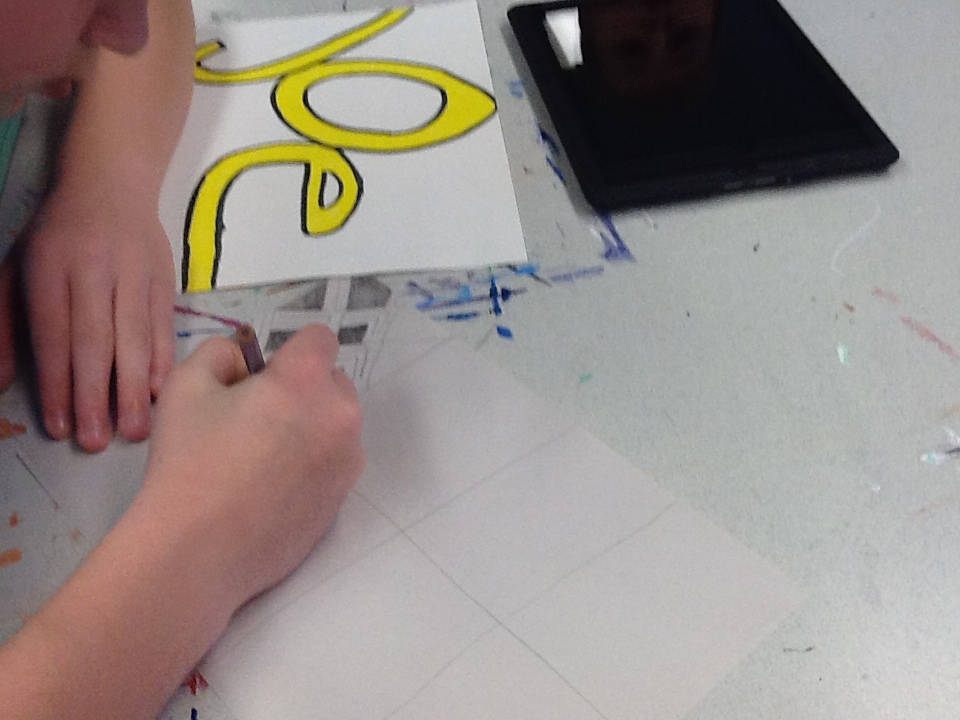
Each student sketched their name onto our paper in a specific fashion in order to create individual spaces for our Zentangle patterns. Each name was done in bubble lettering, in all capital with an alternating up and down sequence. Once they were finished, students chose any color they liked to color in their names.

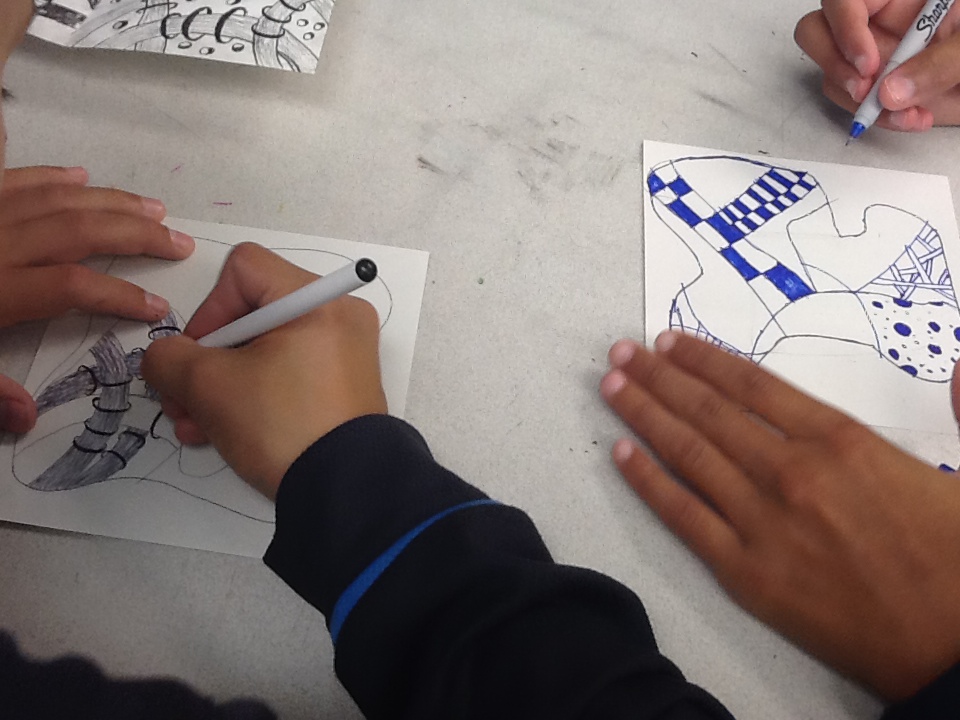
day three: starting the zentangle background
Next each student started their final pieces by adding Zentangle patterning into the background spaces in Sharpie. Some opted to sketch in pencil first then trace in Sharpie, other dove right in. The only requirements were that students needed a different Zentangle in each space and to keep like Zentangles away from each other to create an interesting composition for the viewer. They were also asked to make sure the positive and negative spaces (amount of black versus white) was balanced.
day four: finishing it up
Students finished up their Nametangles by continuing to fill their spaces with pattern and then some opted to outline their letters in black Sharpie as well. You can see our finished pieces in the ART 7 Gallery! I will add pieces as kids finish.
zentangle minis
Zentangles!
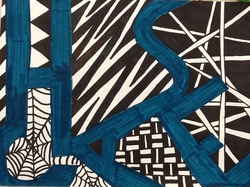
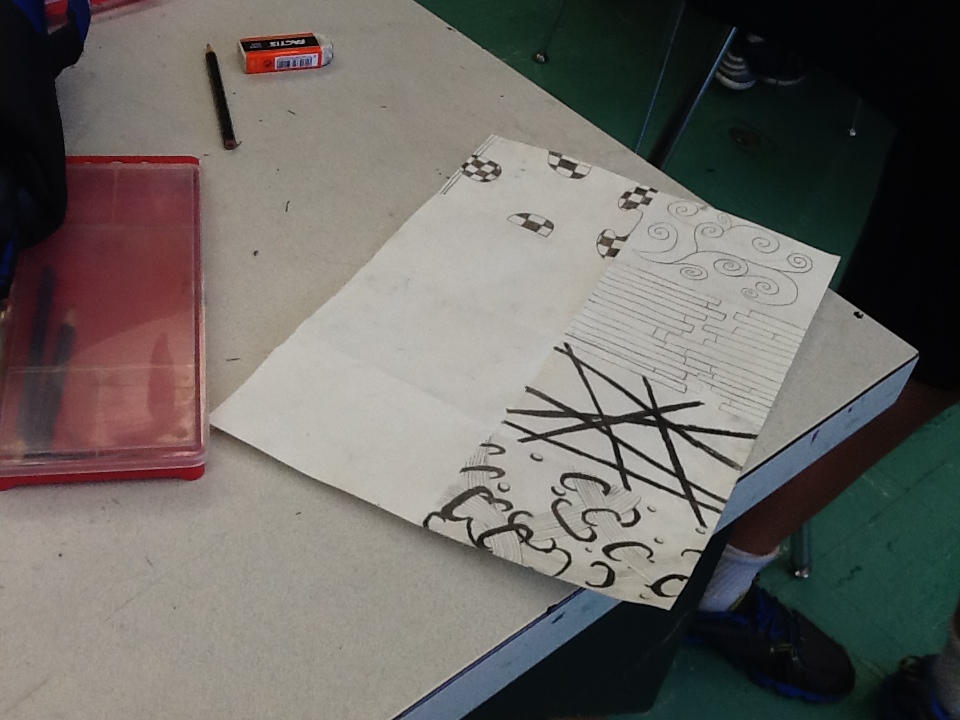
Zentangles are an art style that consists of unplanned, abstract doodles and designs incorporated into a larger piece. Each finished piece is unique. Creating a zentangle is super easy and quite relaxing to do. Below you will find my Powerpoint presentation on how to create a simple zentangle. Zentangles can be viewed from any angle, are usually done in black and white (for high contrast) or white and another single color (which our kids did) and can consist of any design you can imagine. Our ART 7 students started by watching a Powerpoint on zentangles and by trying their hand out at creating different zentangles designs and doodles. These practice sheets (of 16 different designs) were our go-to inspiration as they created mini zentangles for a class collage. We will then merge our zentangle learning with another aspect of drawing to create another project next week! You can see our progress on our practice designs and our mini-tangles below. See our Resources tab for more Zentangle resources.
days one and two: Zentangle Intro and practice
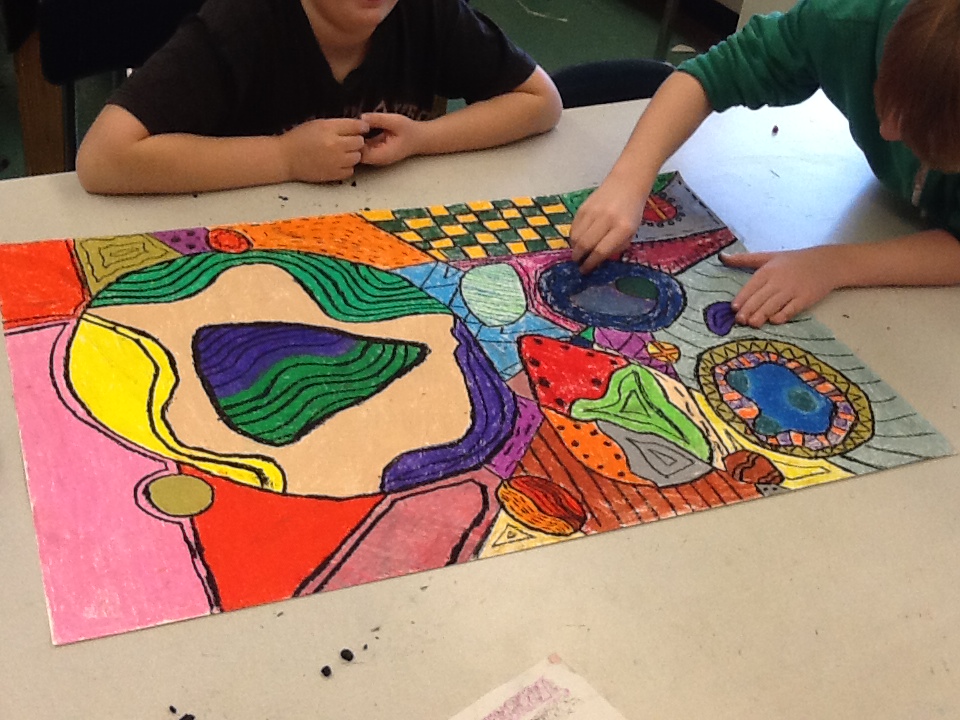
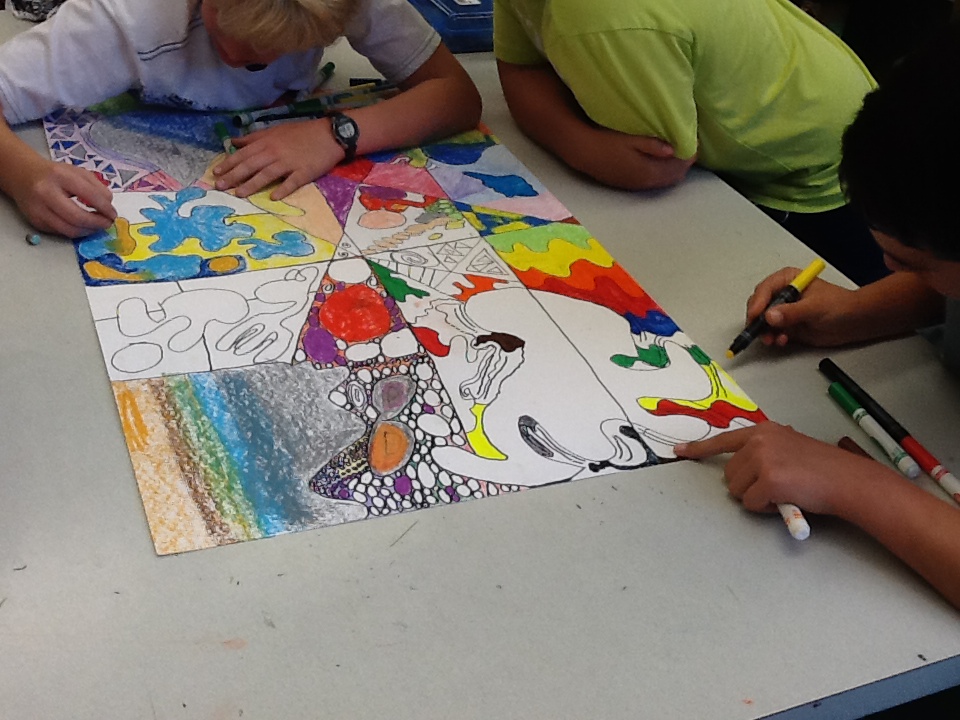
collaborative abstracts
ART 7 students are starting the quarter by collaborating with one another to create abstract pieces in oil pastel. Each piece "belongs" to a table but has the mark of every student in class as well. We started this project with a series of rotations where each student made a shape, line or pattern on each piece. After the paper made its way around the classroom, it went back to where it started. Each table is in charge of adding color and black detail to finish their piece. Students got to create a unique piece by working together, learning oil pastel technique and exploring abstract concepts. You can see our first project in progress below.
abstracts days one and two- creating and coloring
Day three: finish the color, add the detail
To see our finished pieces go to the ART 7 Gallery!
new quarter, new artists!
I am so excited to welcome my new group of artists to our art room at GLMS! If your student is leaving art, we will see you again mid-January, but you can still view our quarter's happenings below this post. If your student is new to art this quarter, all their classwork will be above this post starting next week.
los dias de los muertos calveras
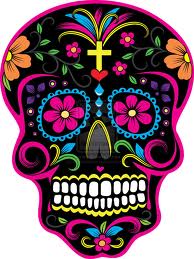 image from deviantart.com
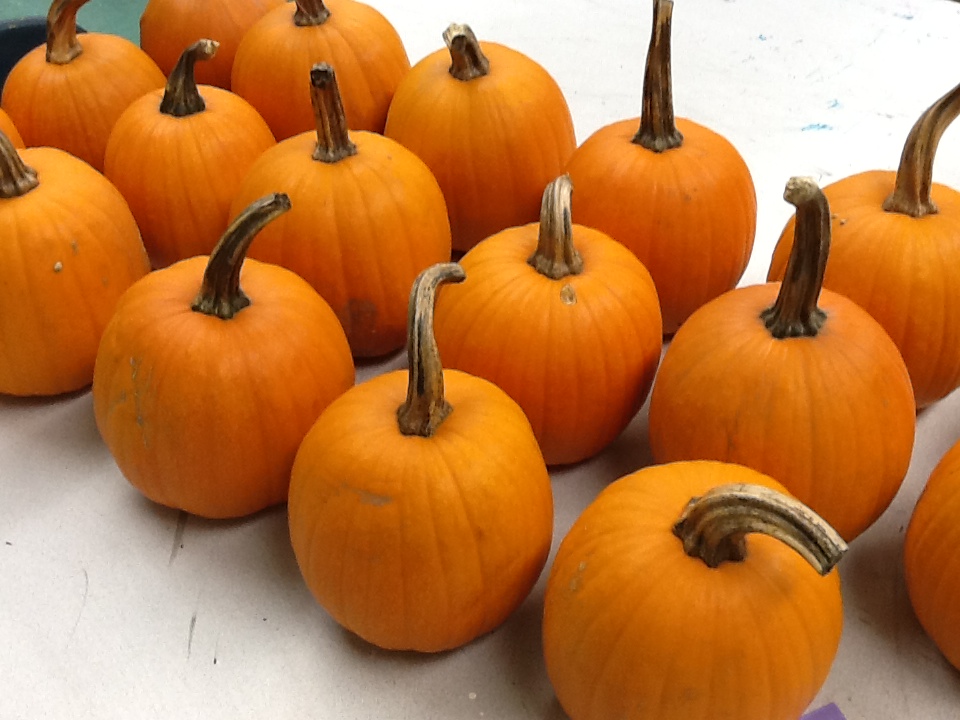
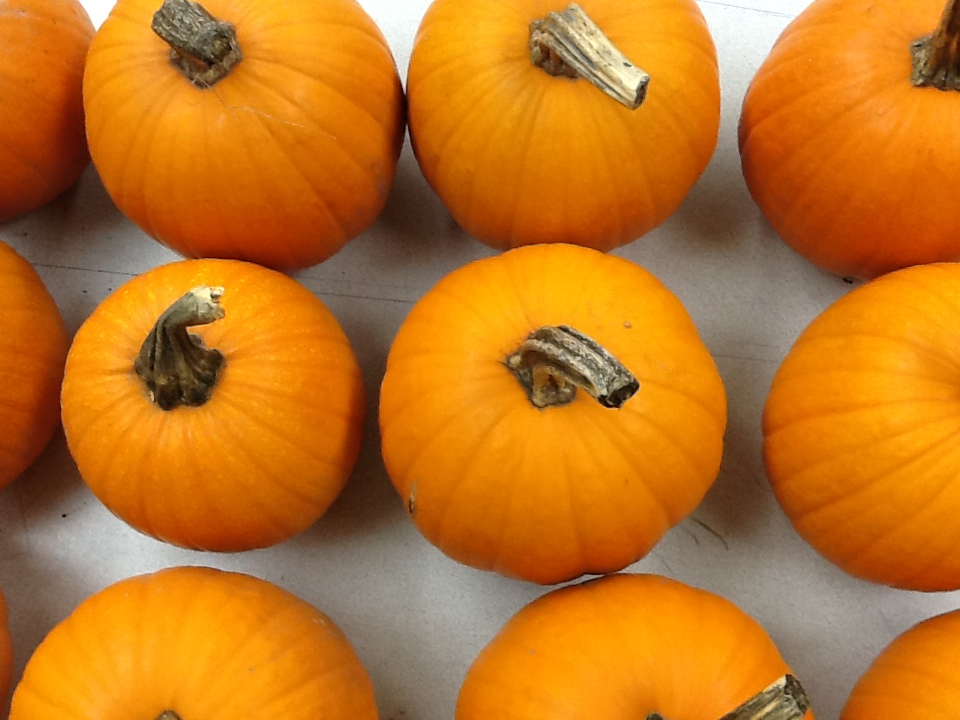
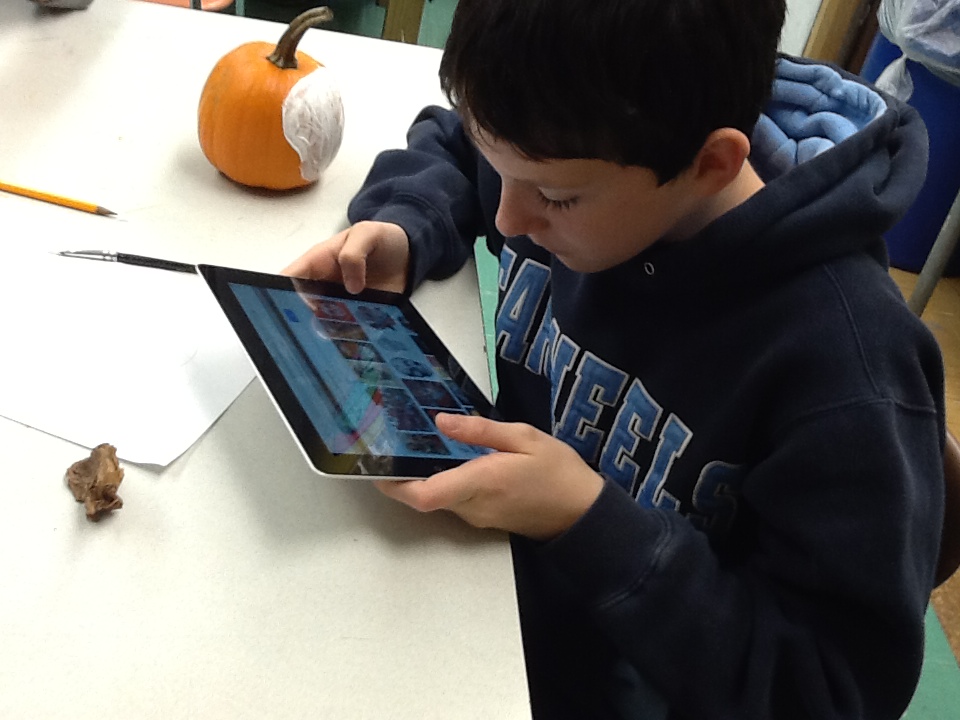
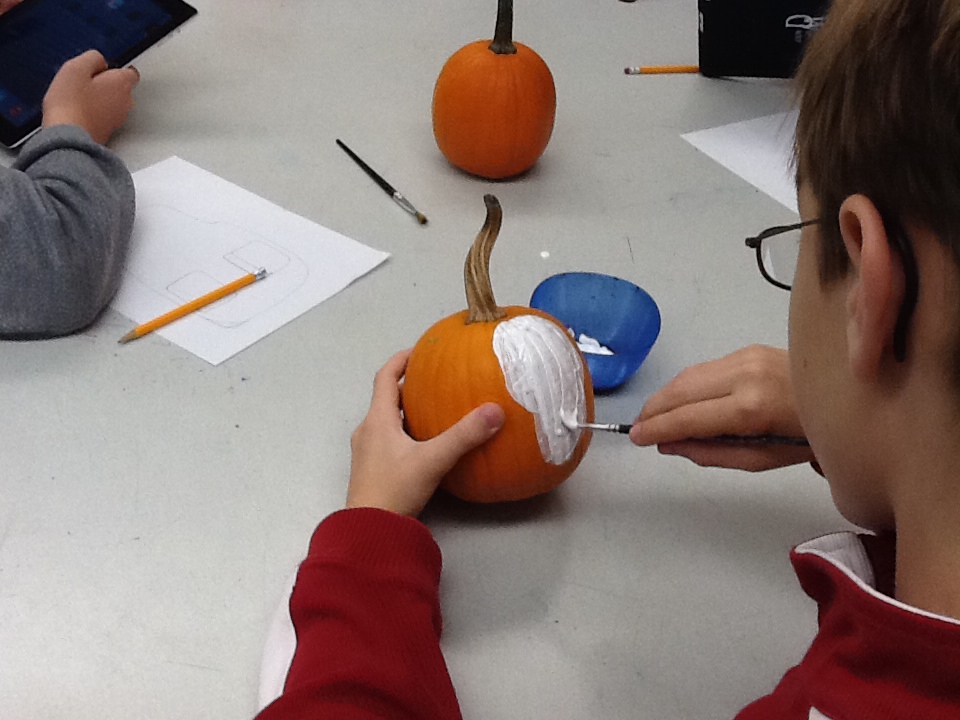
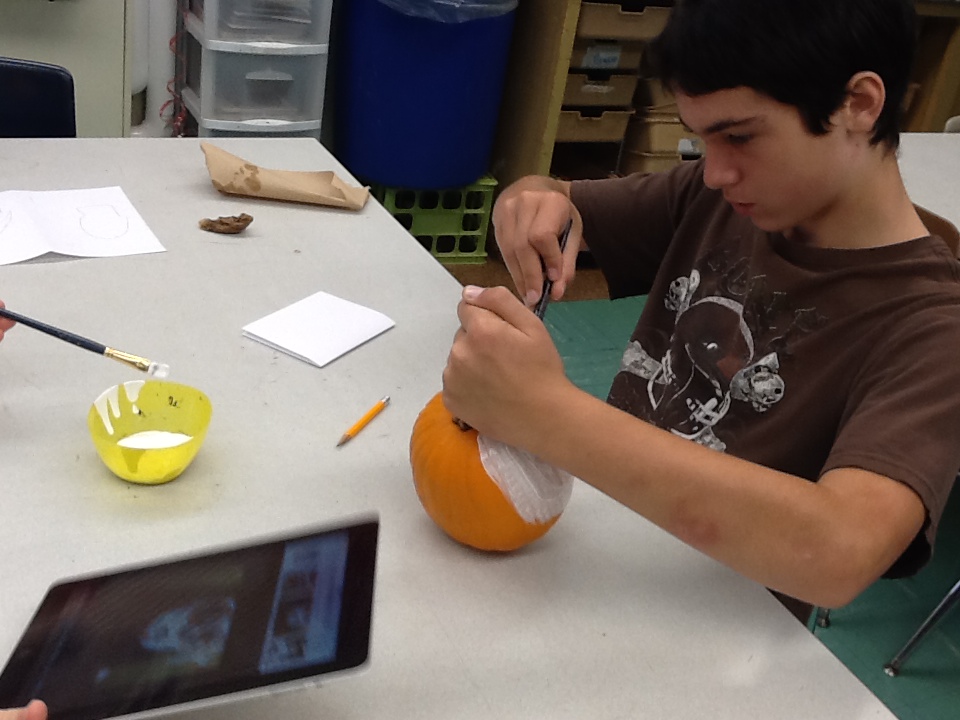
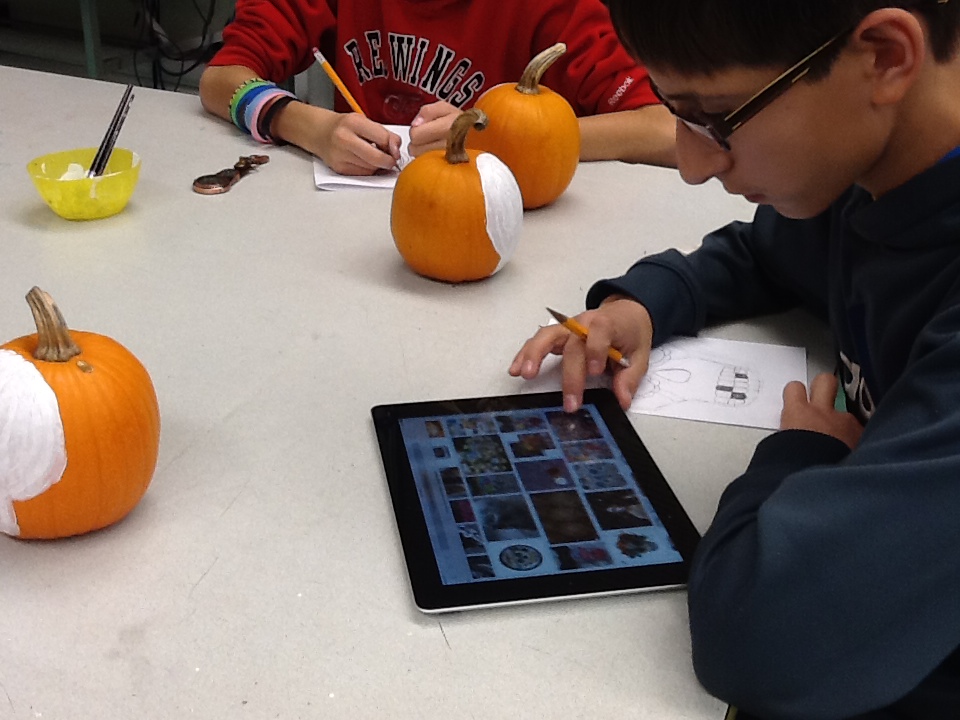
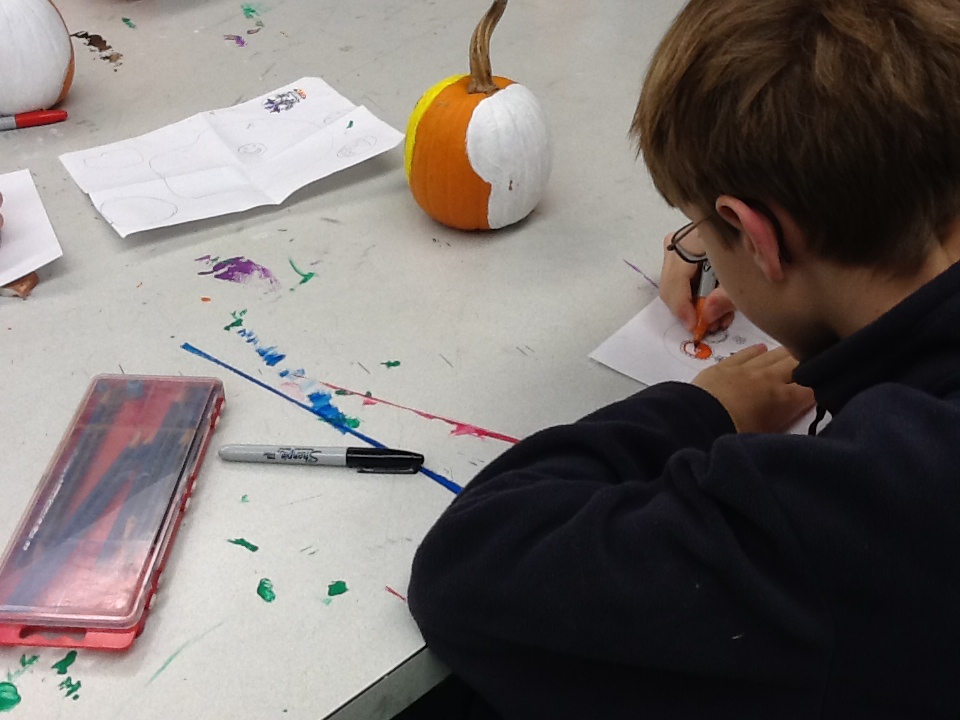
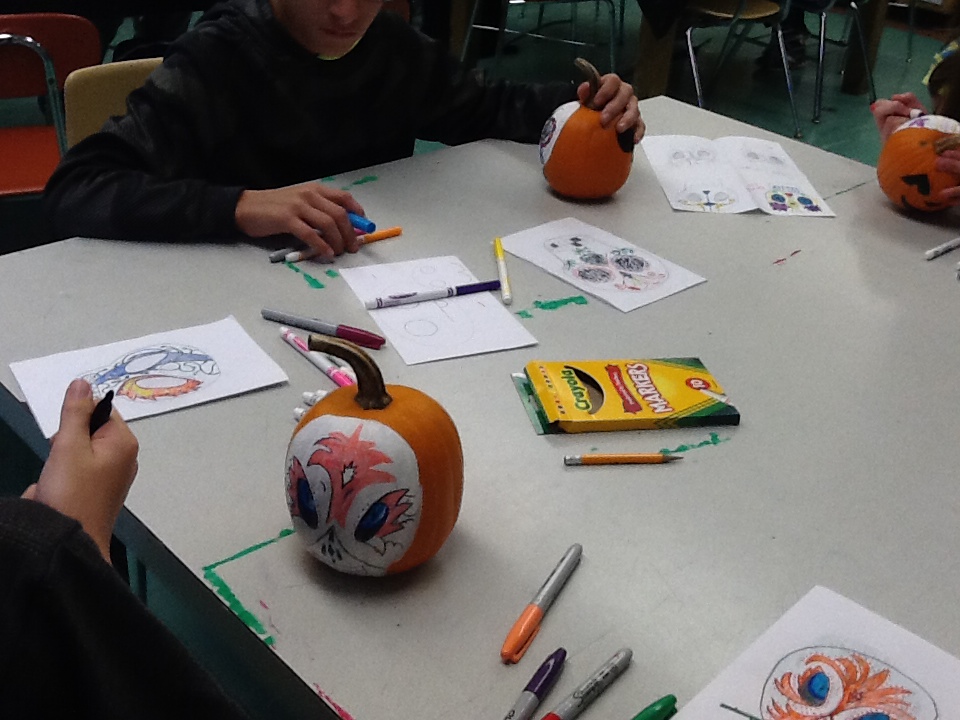
ART 7 is diving into the Mexican holiday of Los Dias De Los Muertos for our next project! Los Dias De Los Muertos, or Days of the Dead is a Mexican holiday celebrating the returning souls of our departed loved ones. It is a joyous celebration, not anything like our scary American Halloween. Traditions include putting up offrendas (altars) in your home with a picture and favorite items of your loved one, lighting candles to let the souls know you are welcoming them, parades, cemetery celebrations where grave sites are cleaned and decorated with marigolds papel picado (extremely detailed tissue paper banners) and painting your face as a calvera or skull. ART 7 students are going to mesh the American holiday of Halloween with Los Dias De Los Muertos in this unique project. Each student was given a small baking pumpkin- one side will contain a traditional American Jack-O-Lantern and the other will be painted with a traditional Mexican calvera celebrating Los Dias De Los Muertos. Below you can see our day by day process with a brief description of what we did that day. Check back next week to see our final pieces in the ART 7 Gallery!
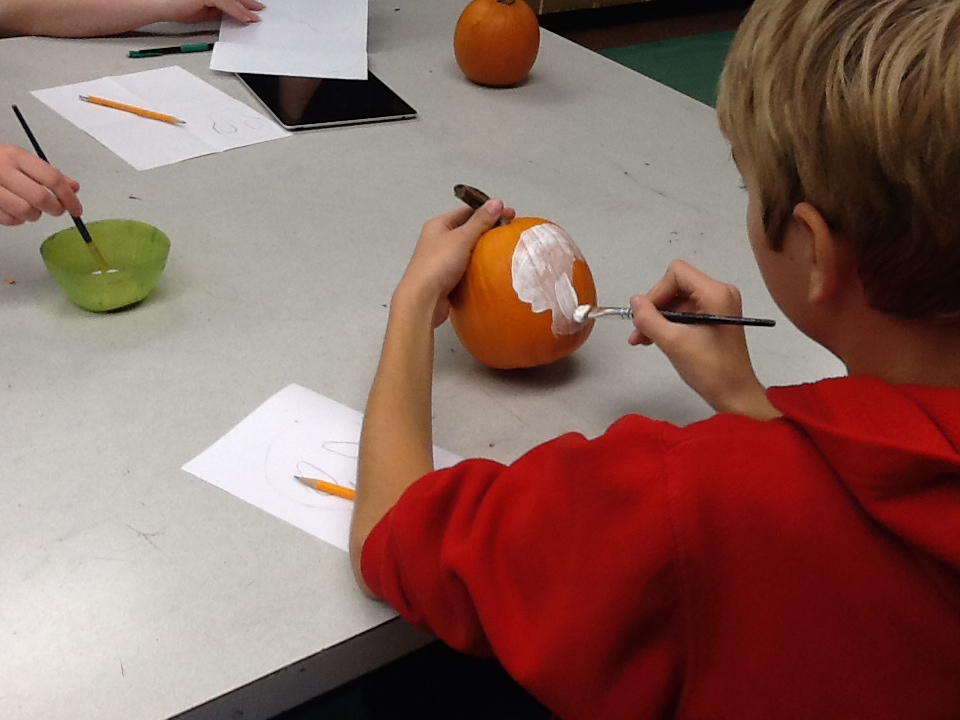
Day one: painting and planning
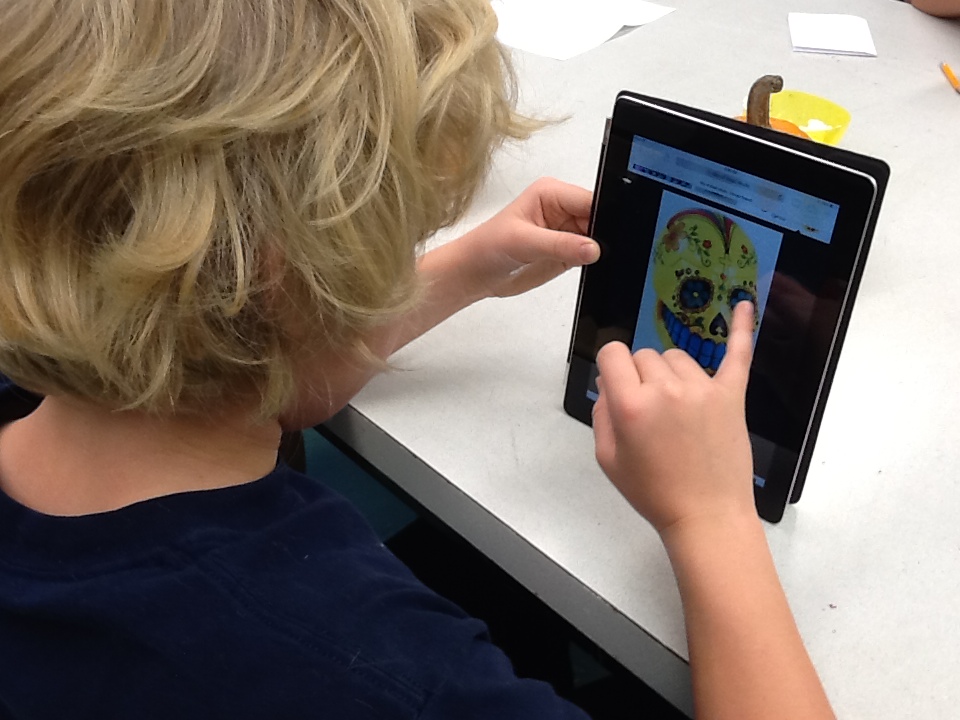
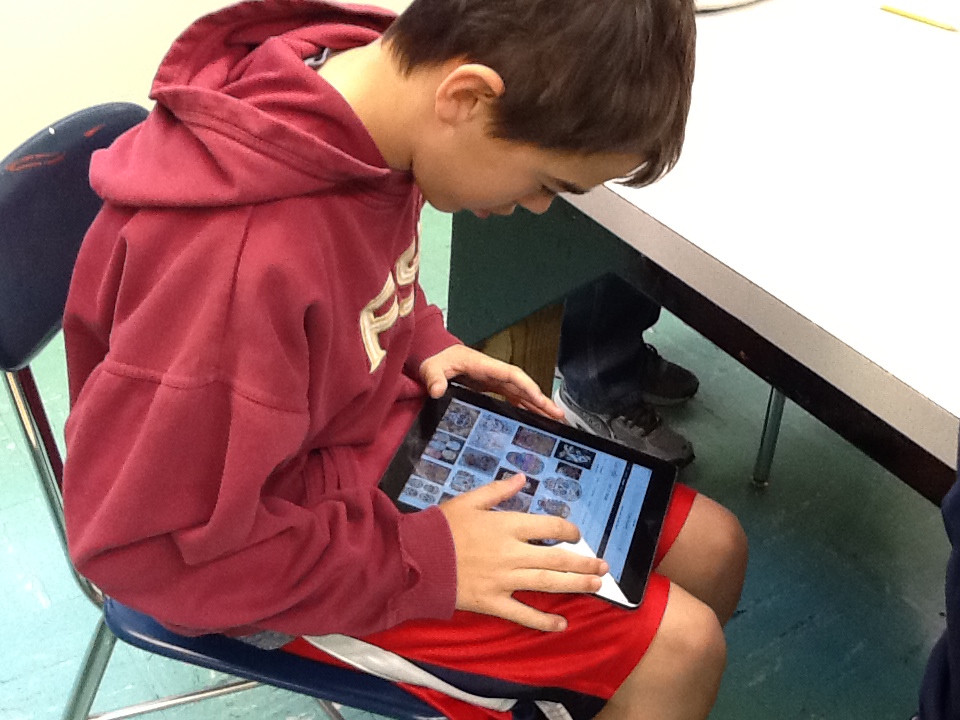
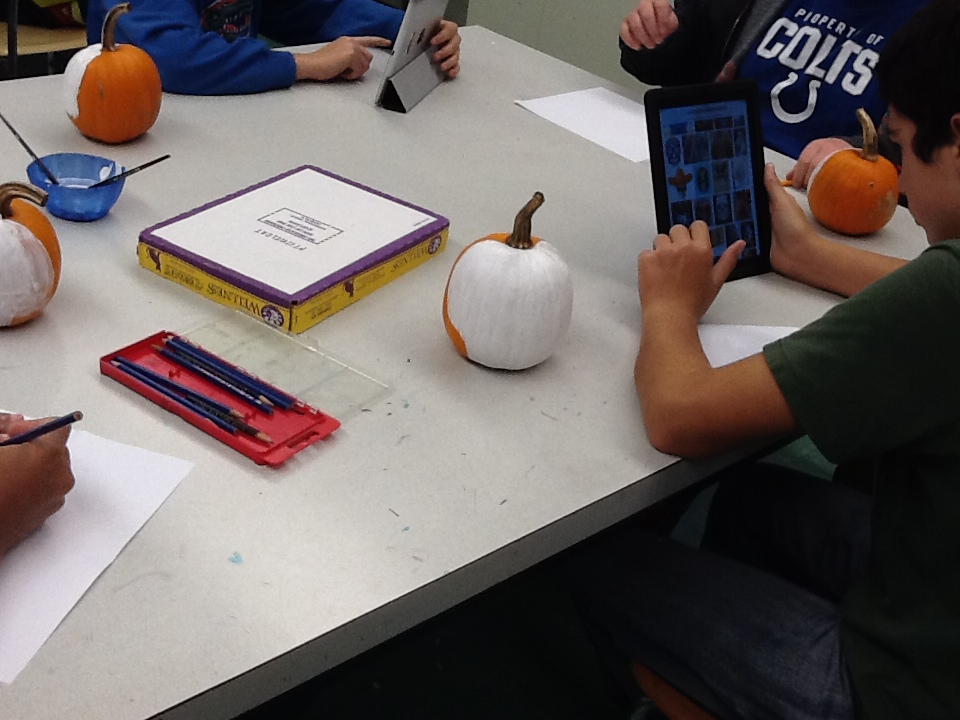
Day 1 was all about picking the perfect pumpkin, get a few layers of white paint in a skull shape on it and research using the IPads from JCF! Students researched different design ideas for their calveras using Google images when their paint was drying.
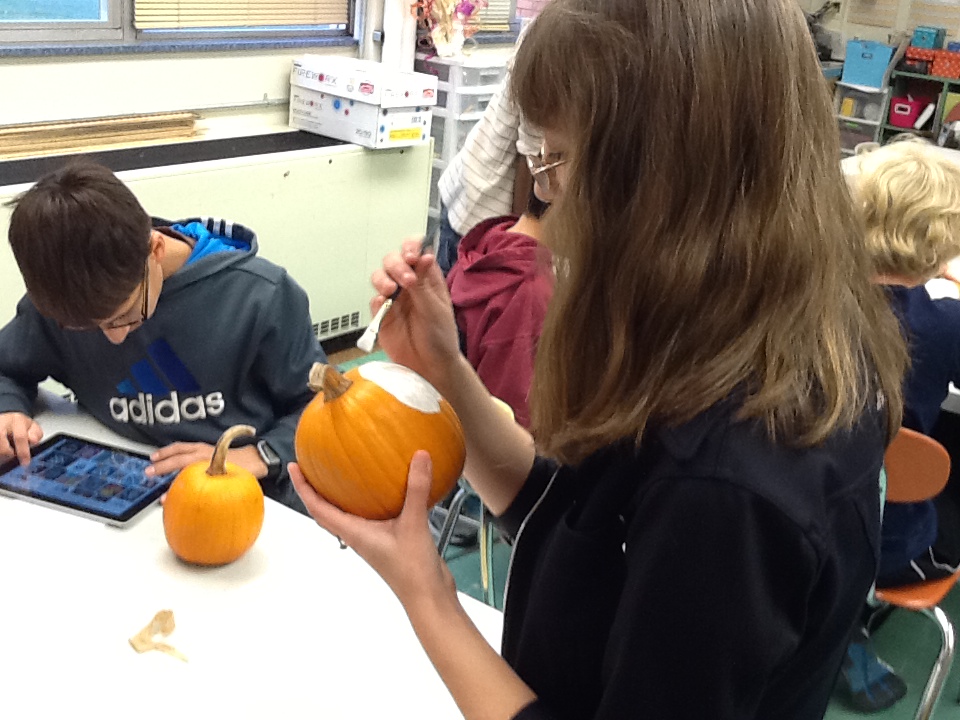
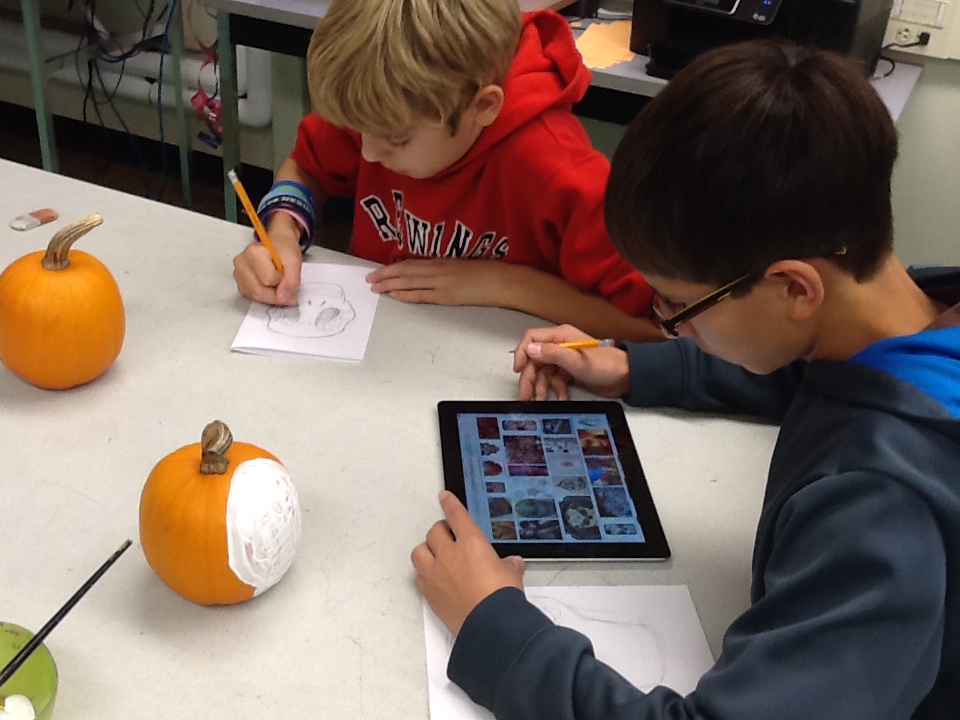

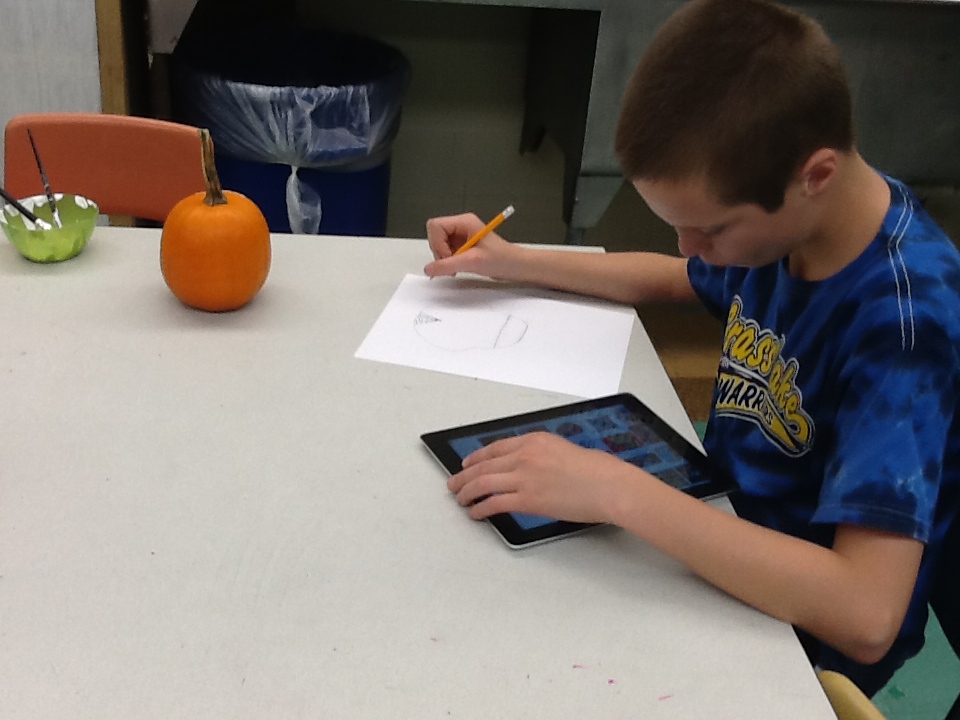
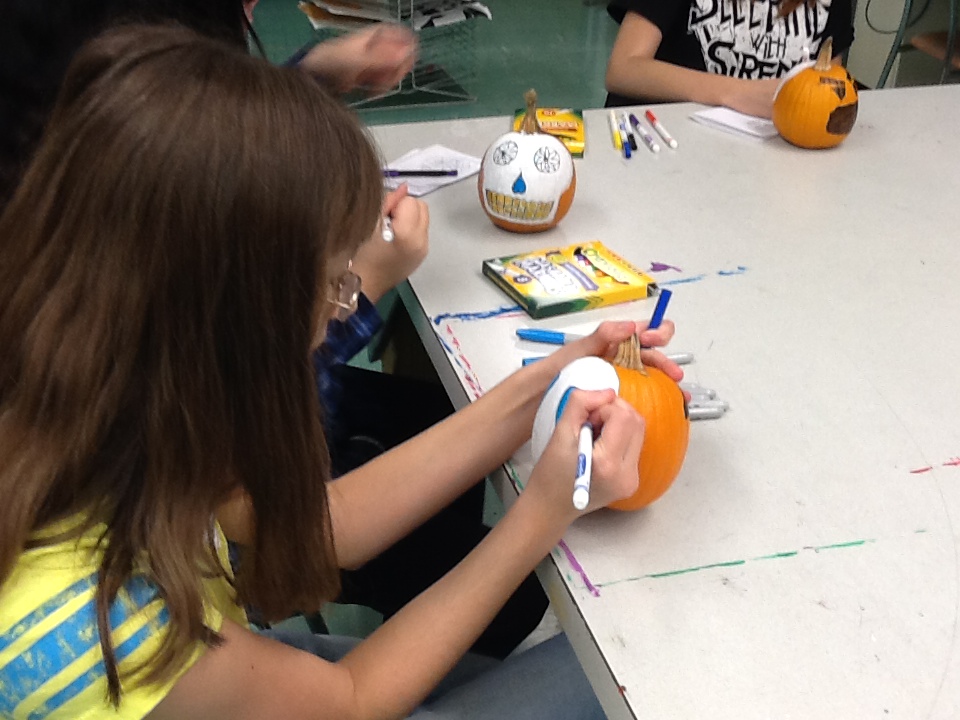
days two & three: more paint layers and research
Students added additional coats of white and refined their skull shapes. They also continued to do research to create 3 different sketches of their calveras. From these 3 they will chose the elements they like the most about each and combine them to make their final calvera.
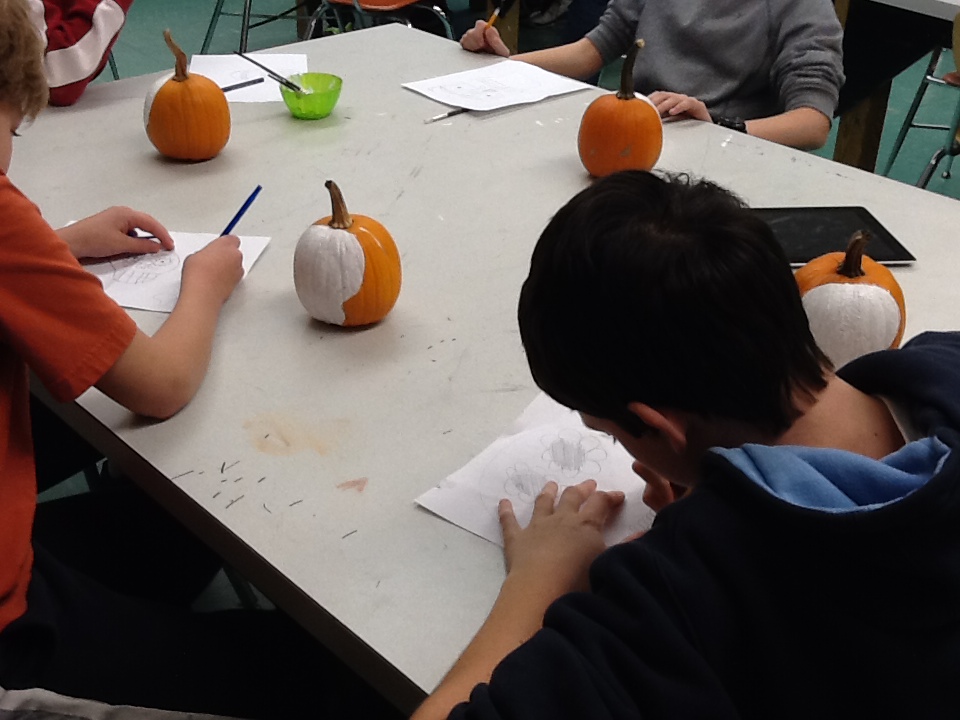
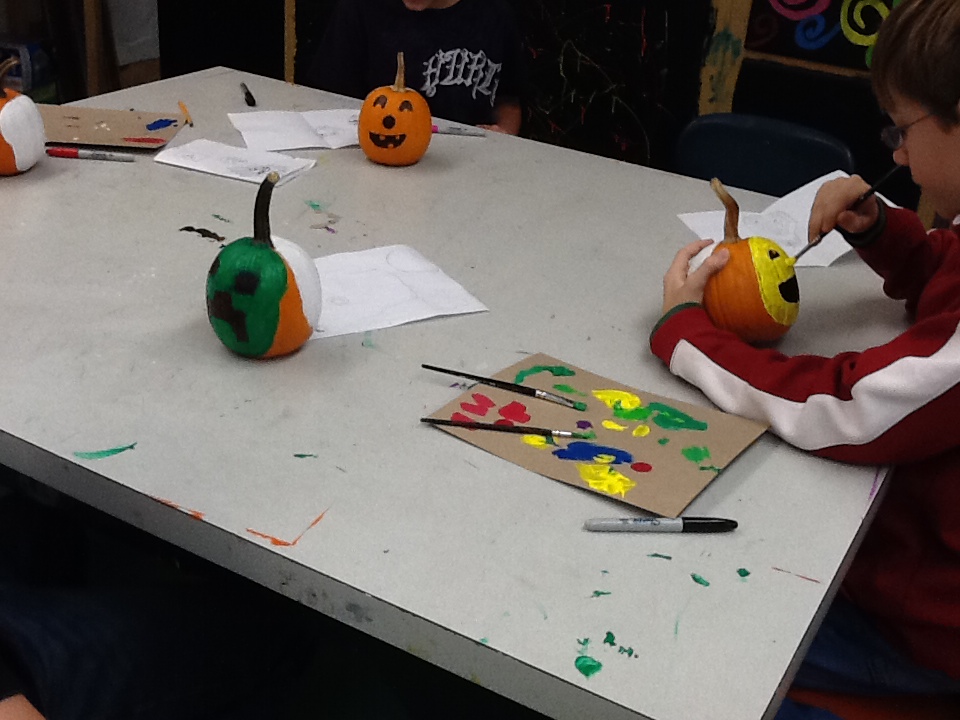
day four: jack-o-lanterns and coloring sketches
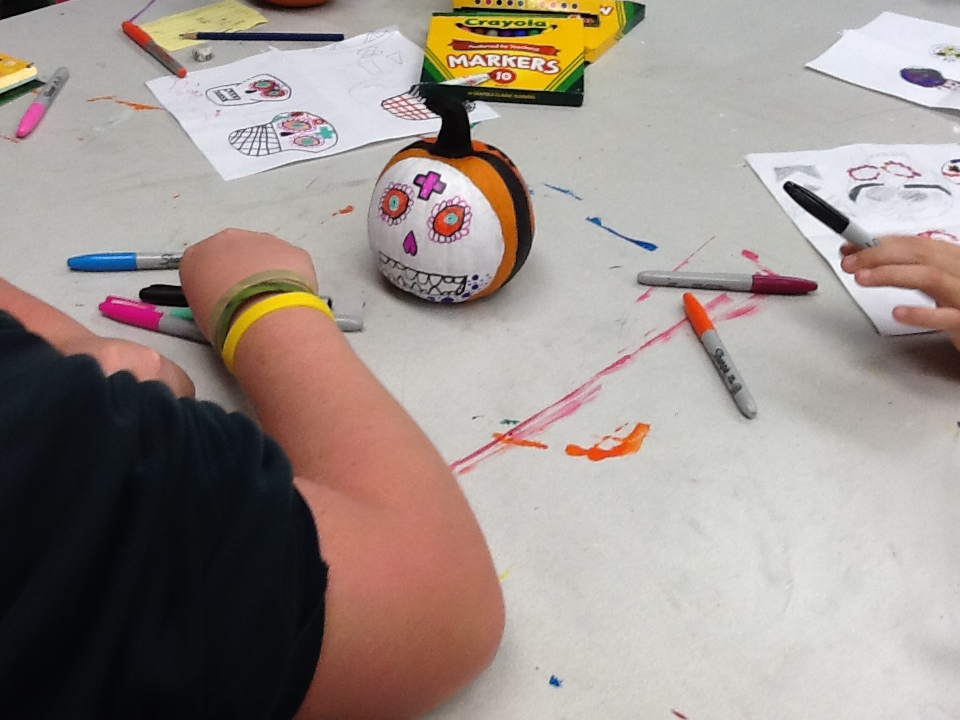
Students painted the American side of their pumpkins today with their jack-o-lanterns. They also repaired any chips in their calveras and colored in their final sketches they decided upon. Tomorrow, we start to Sharpie the final calveras!
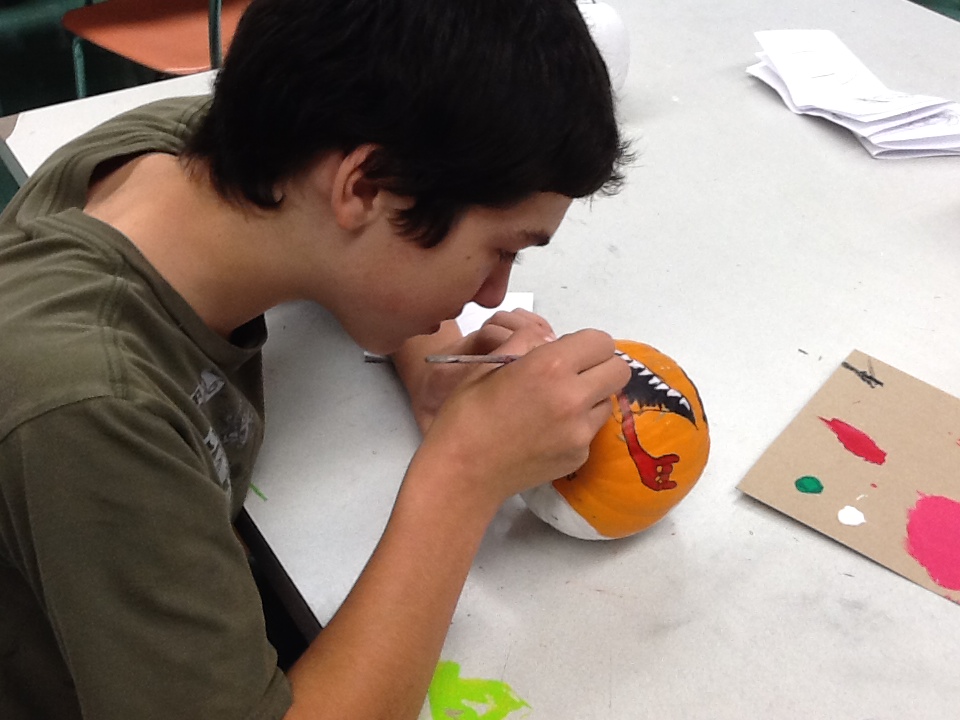
days five and six: detailing the calveras
collage masterpieces
|
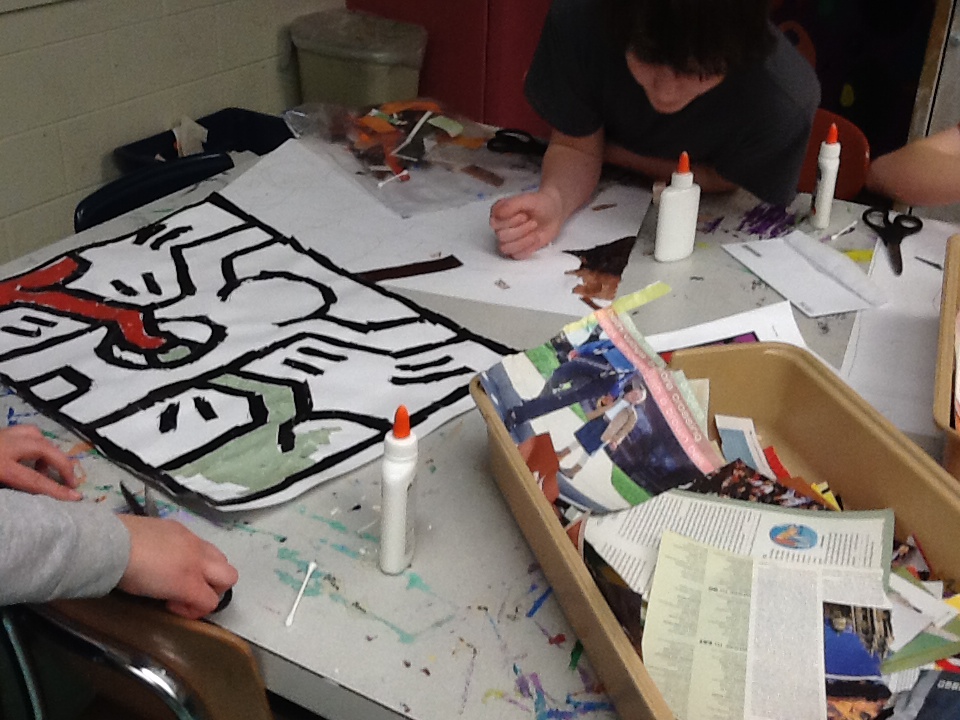
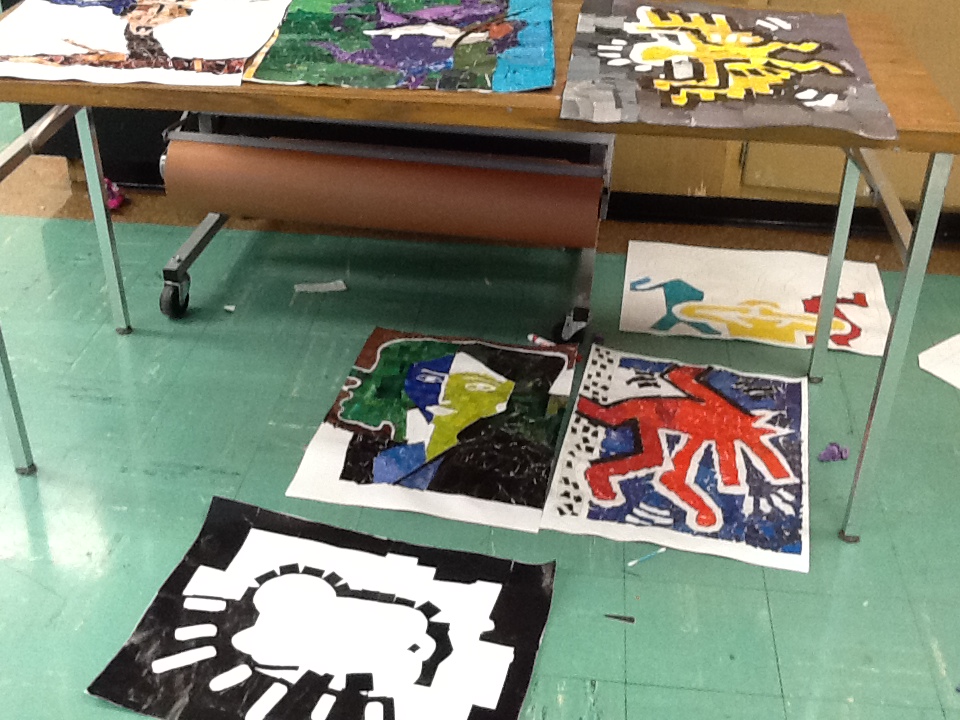
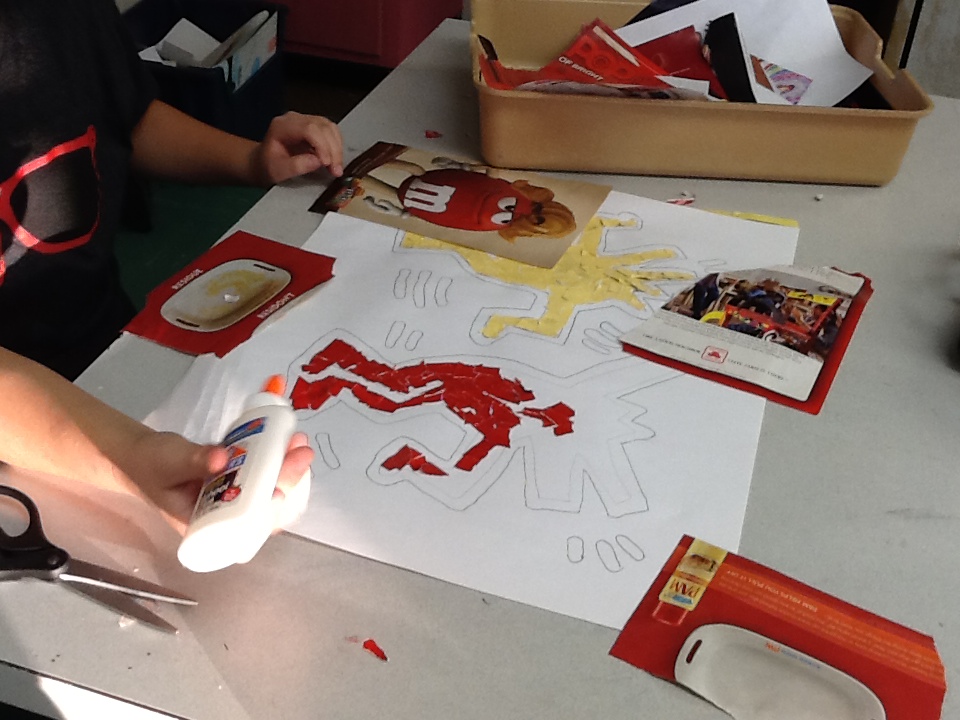
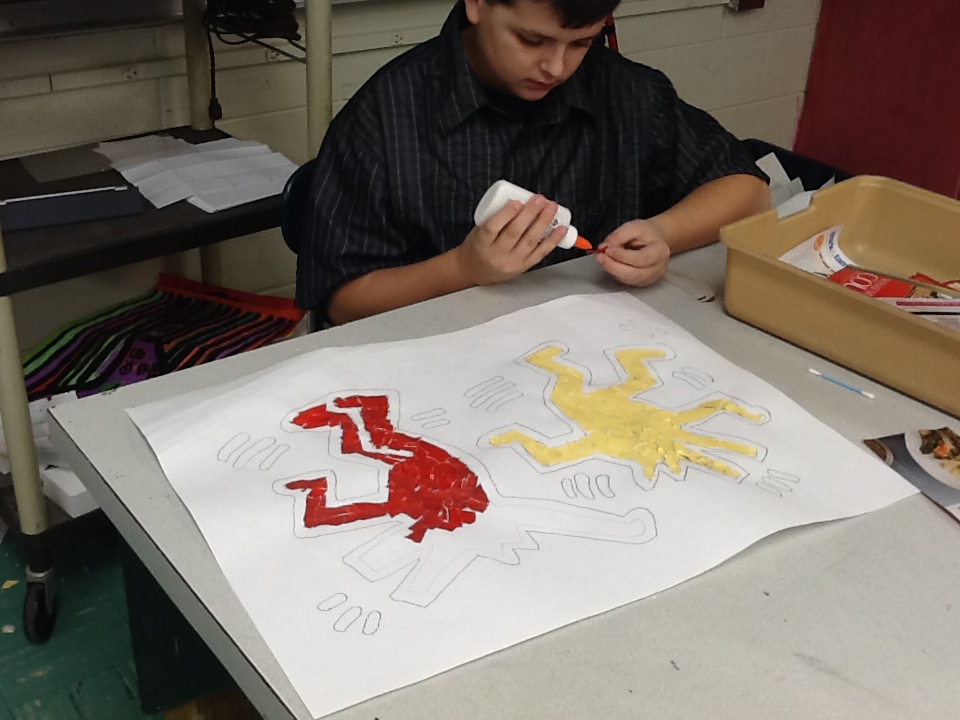
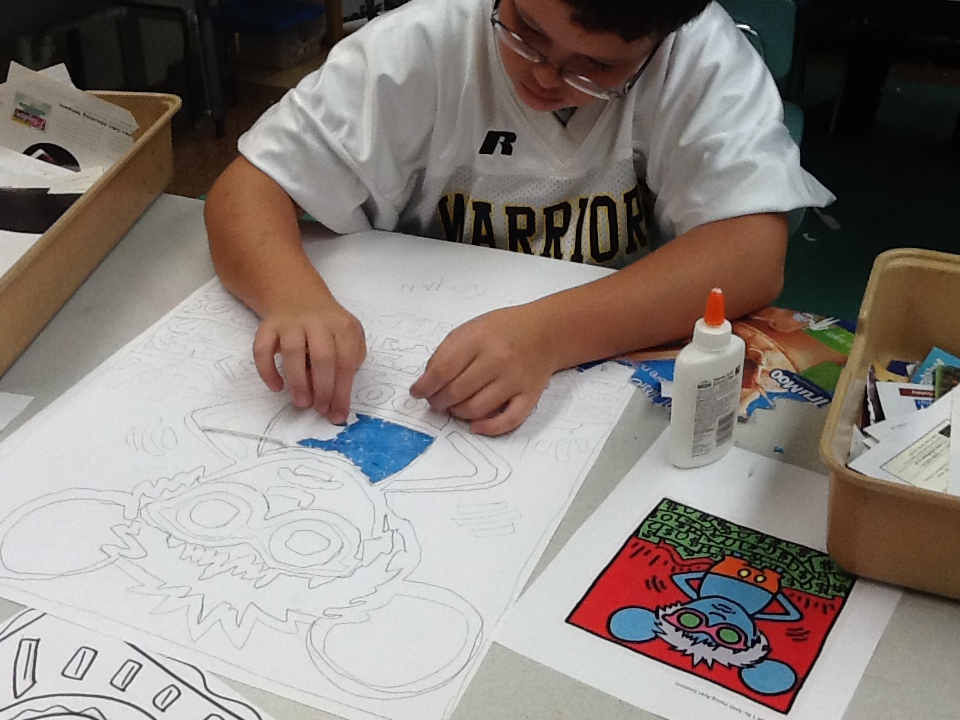
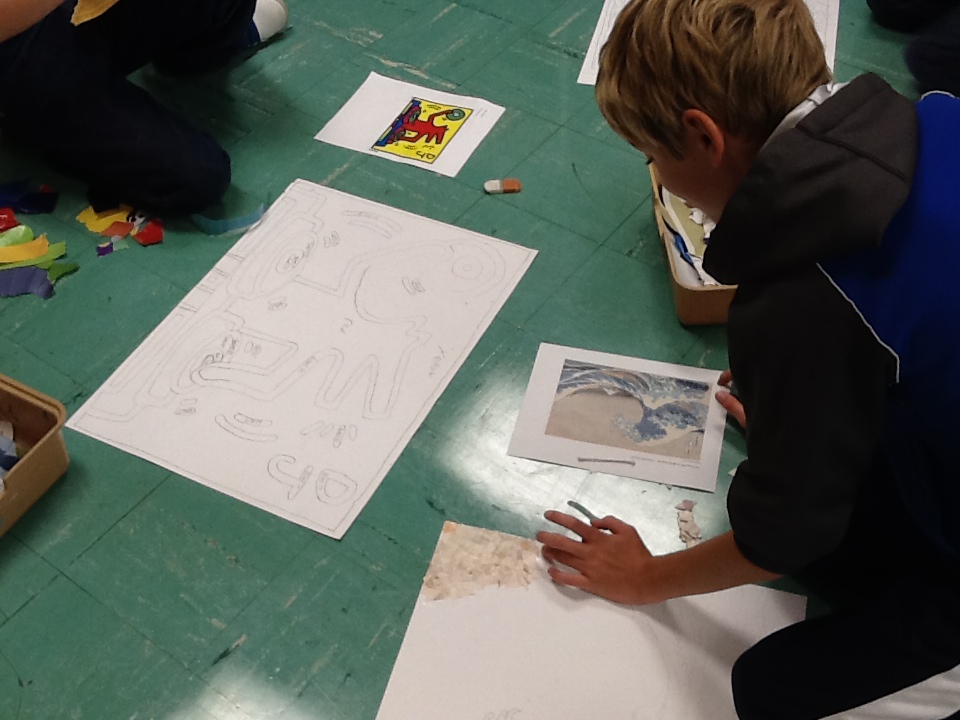
ART 7 students are completing a color exercise for our next project. We are recreating works of art from master artists throughout time. Each student spent time looking up images and art styles of master artists like Picasso, Matisse, Haring, Nieto and Monet, then chose a work they wanted to recreate. To expedite the process a bit, students created rough sketches of the pieces using overhead projectors. Next, we spent a few days gathering color samples from magazines that would match our masterpieces. From there, students will apply the color pieces in a mosaic style to recreate their chosen artist's piece of work. Although these projects take us almost 4 weeks to complete, they are the visual stunning works that quickly become the favorites of our building. Check back to the right to see our progress through this project! Our final pieces will be in the ART 7 Gallery as students finish.
|
|


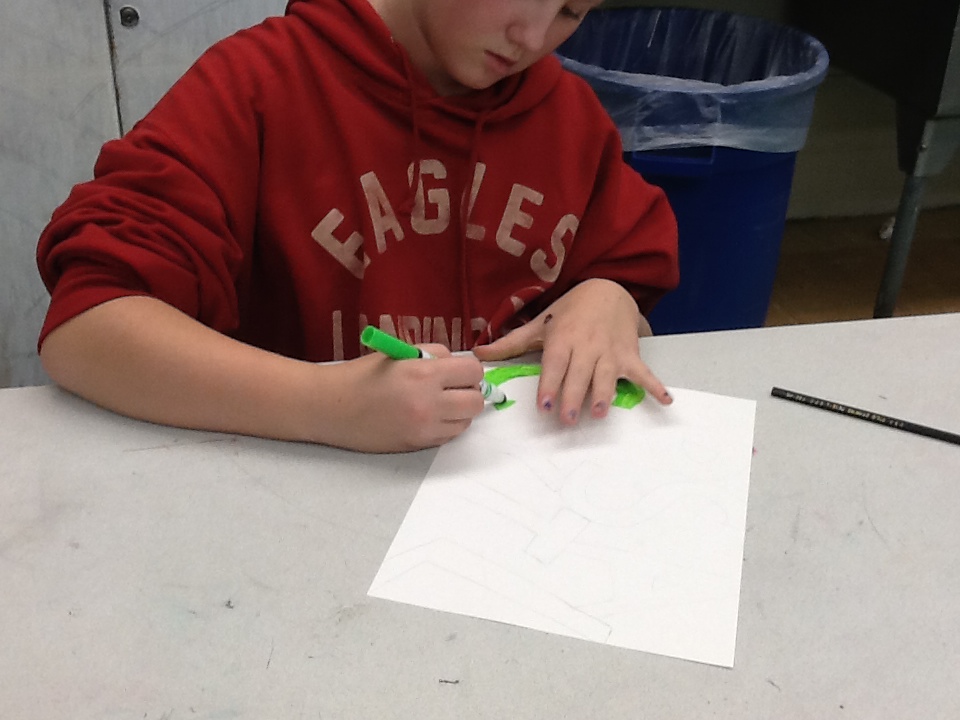
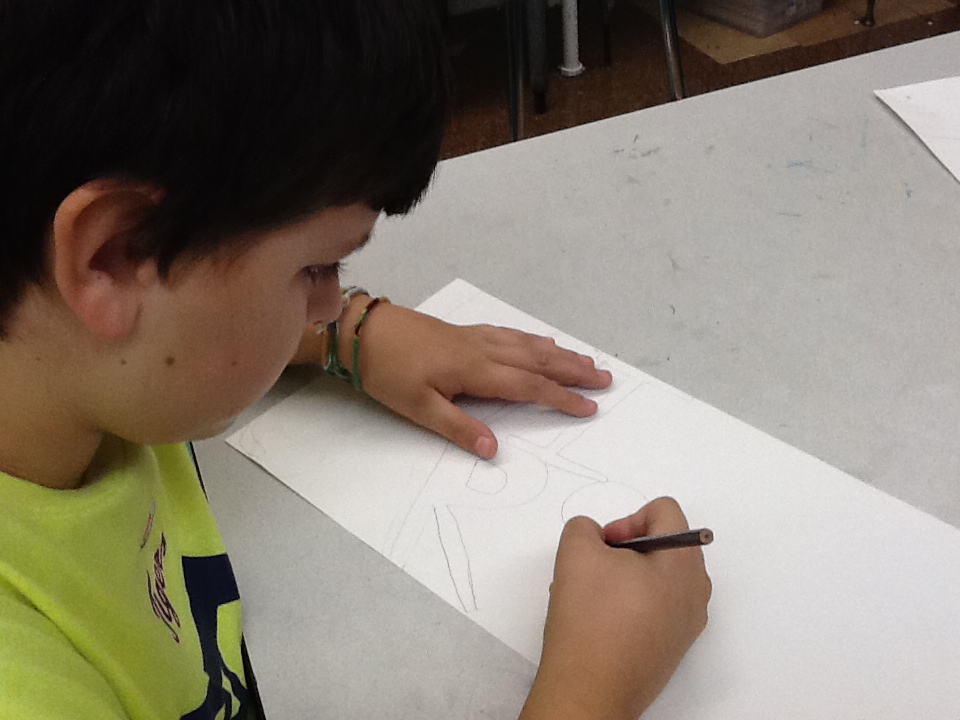
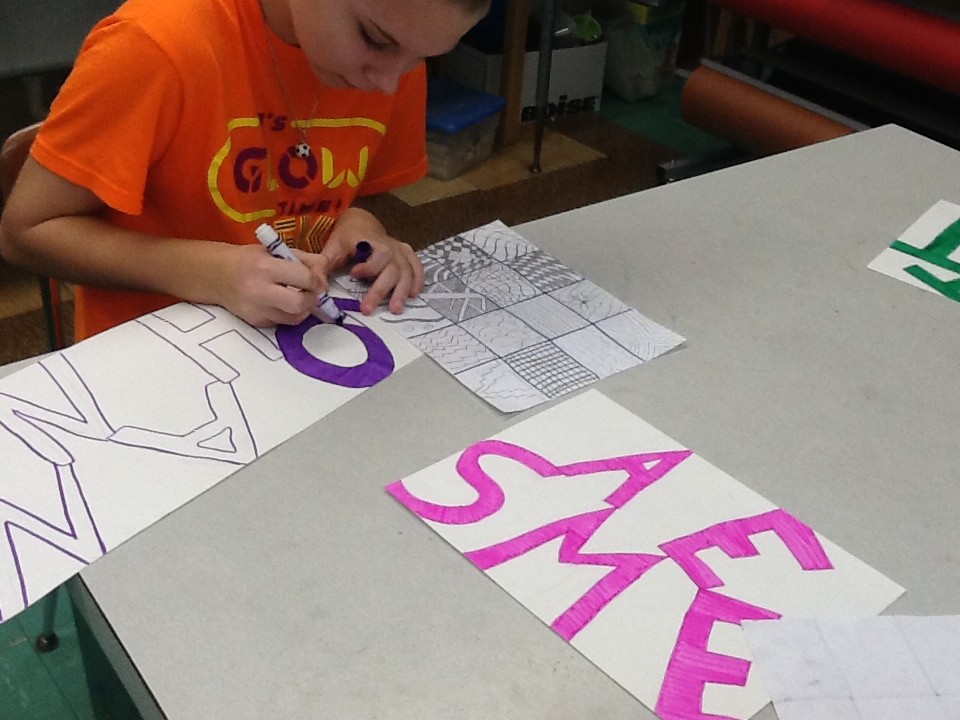
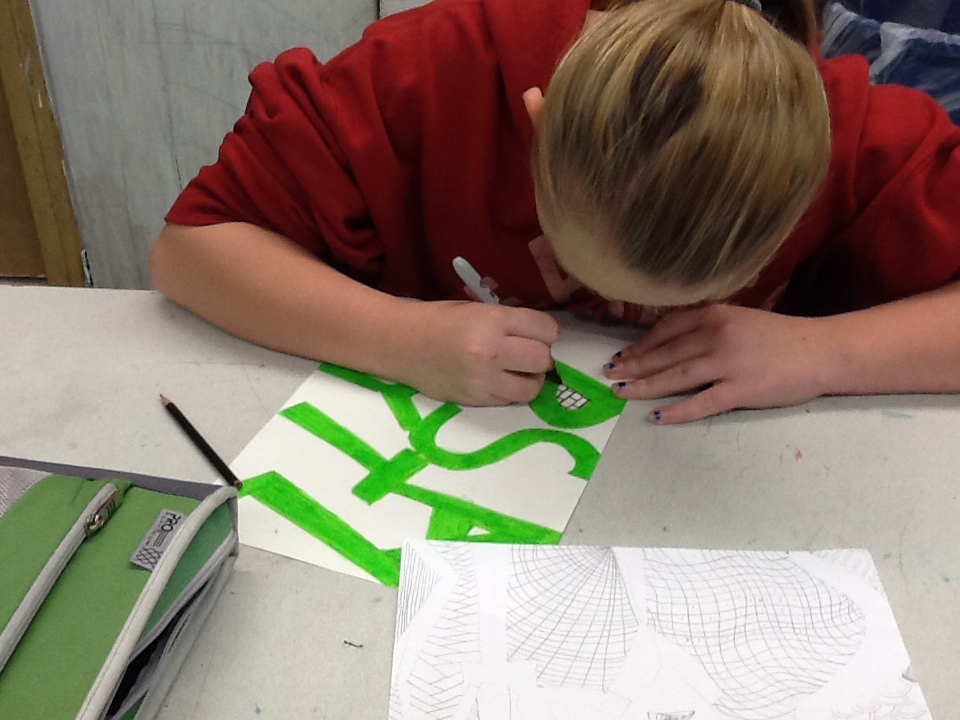
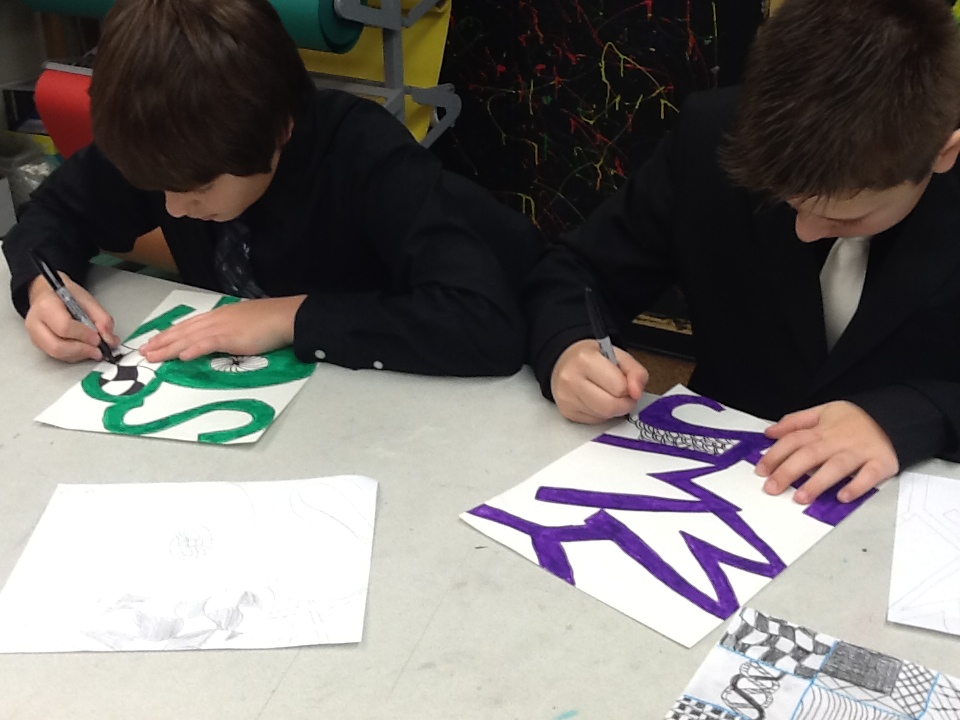
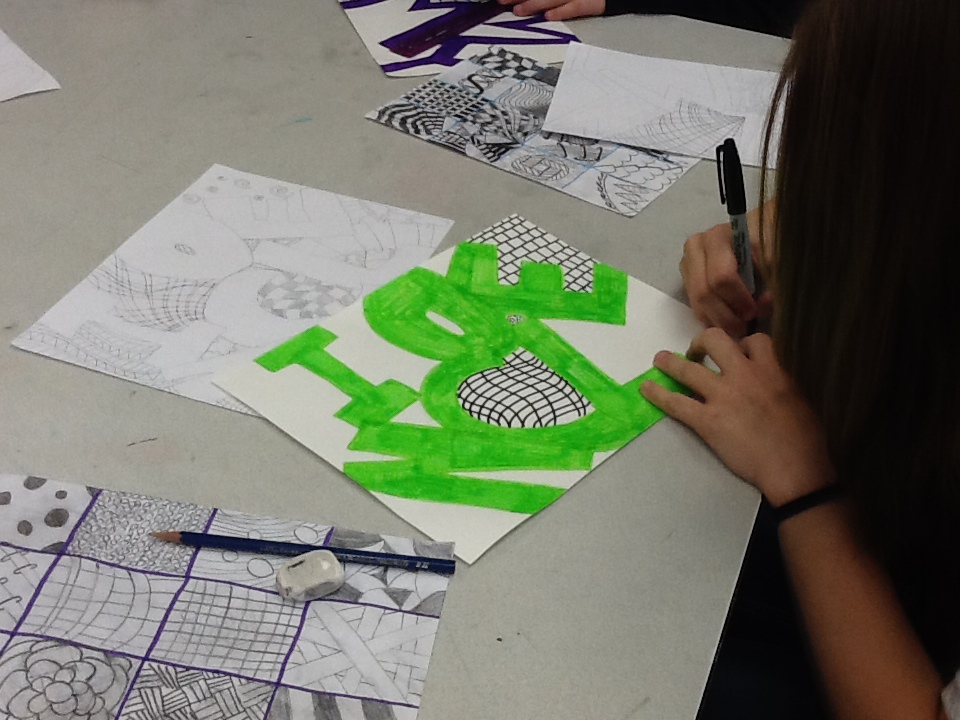
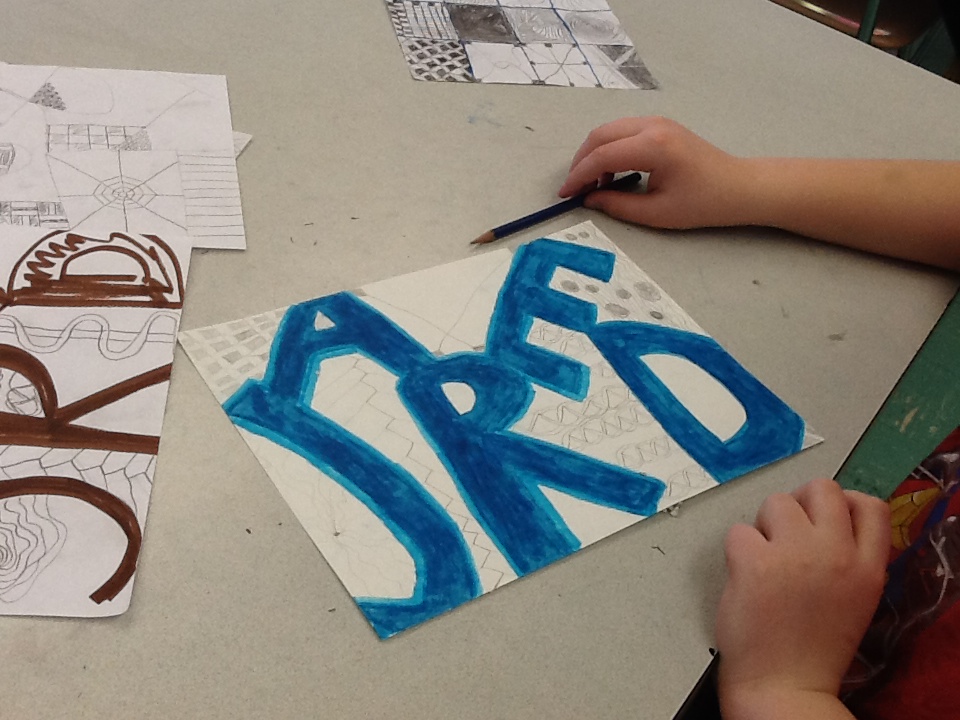
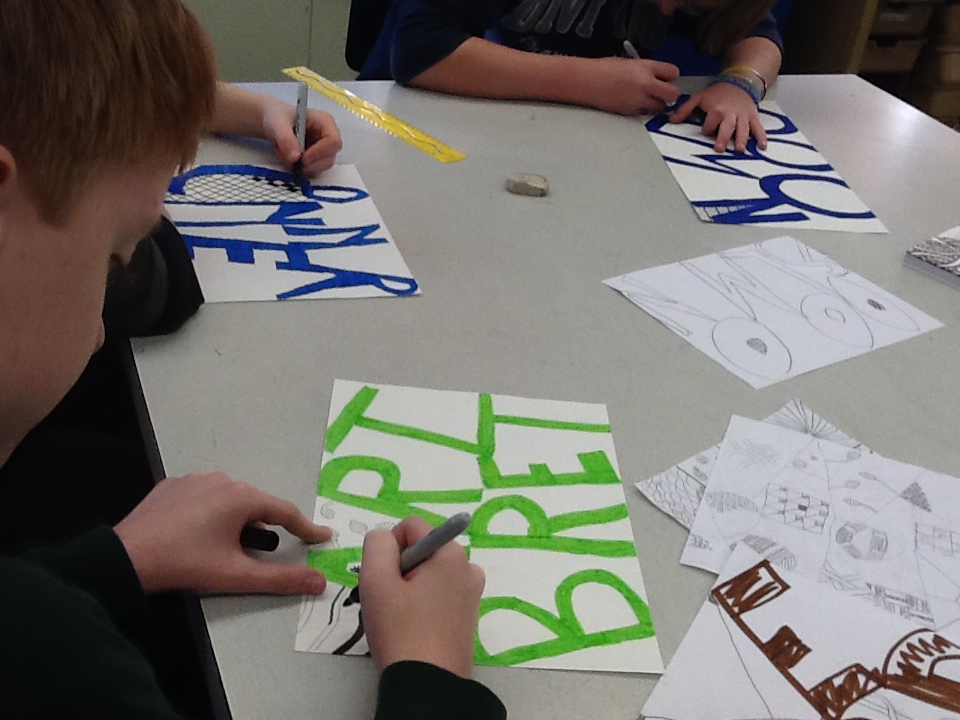
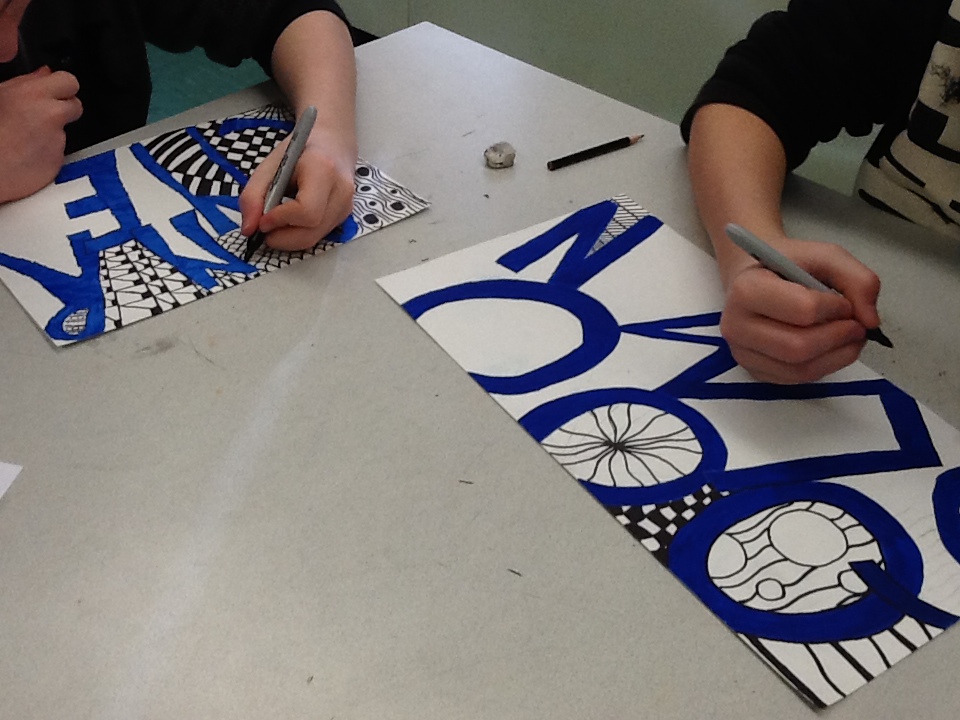
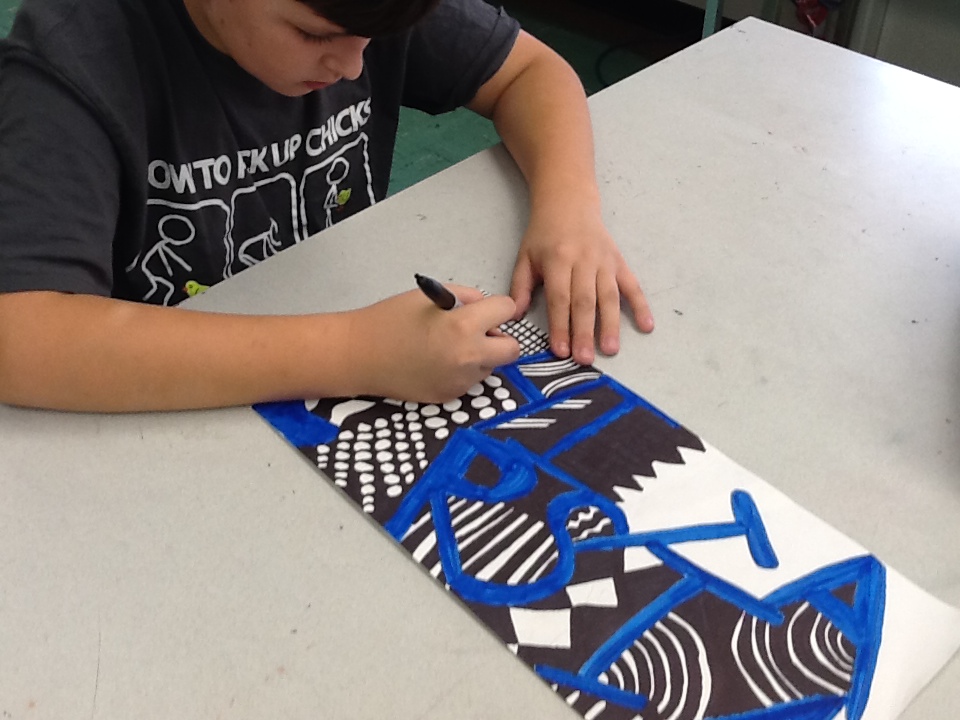
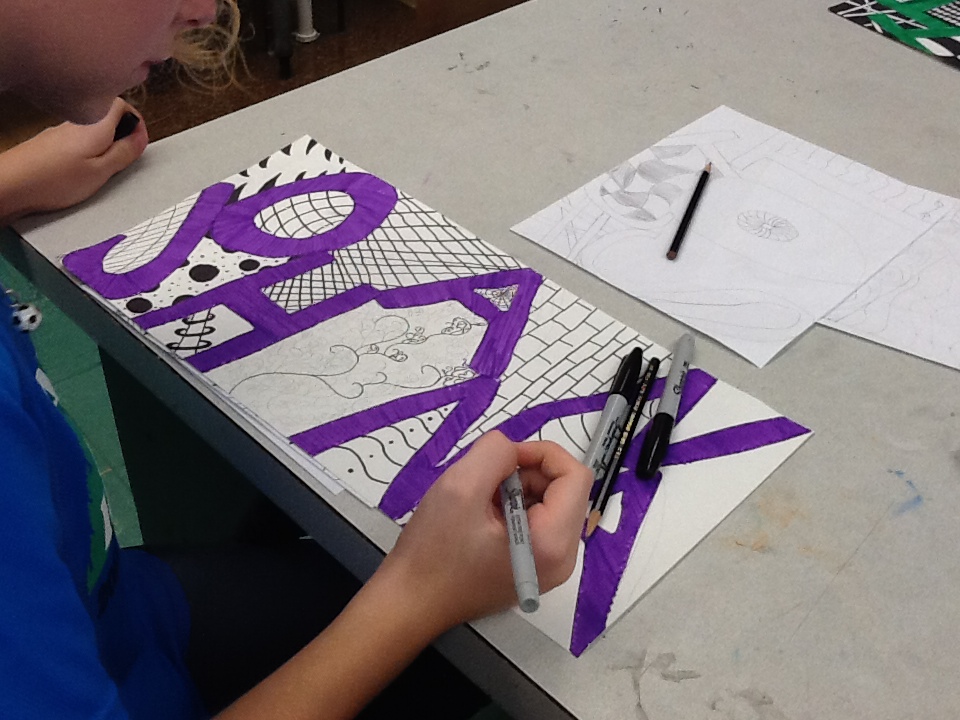
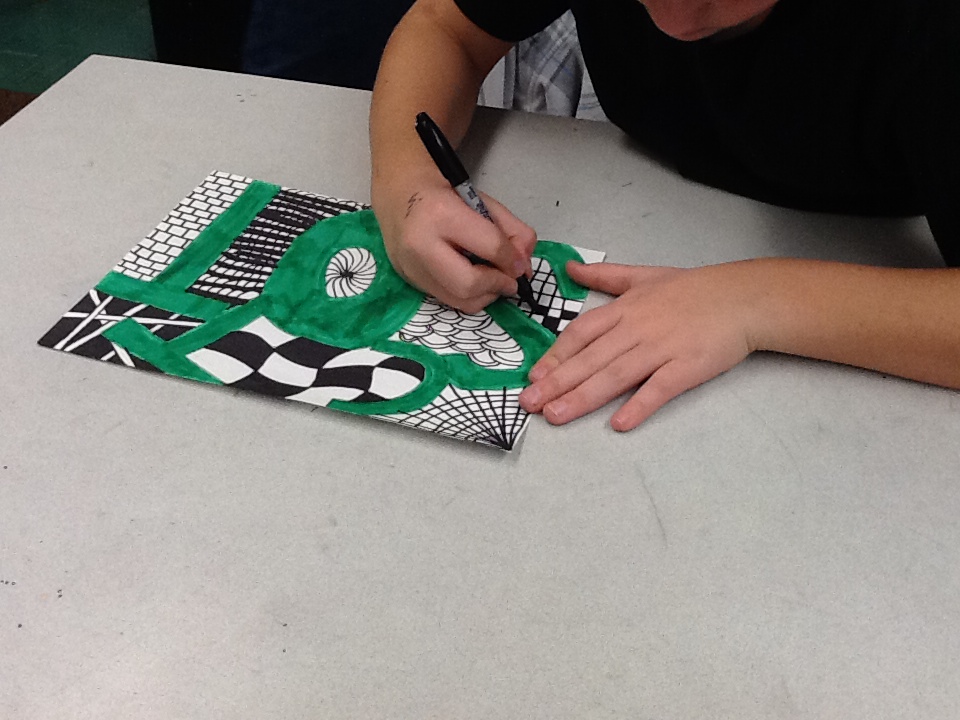
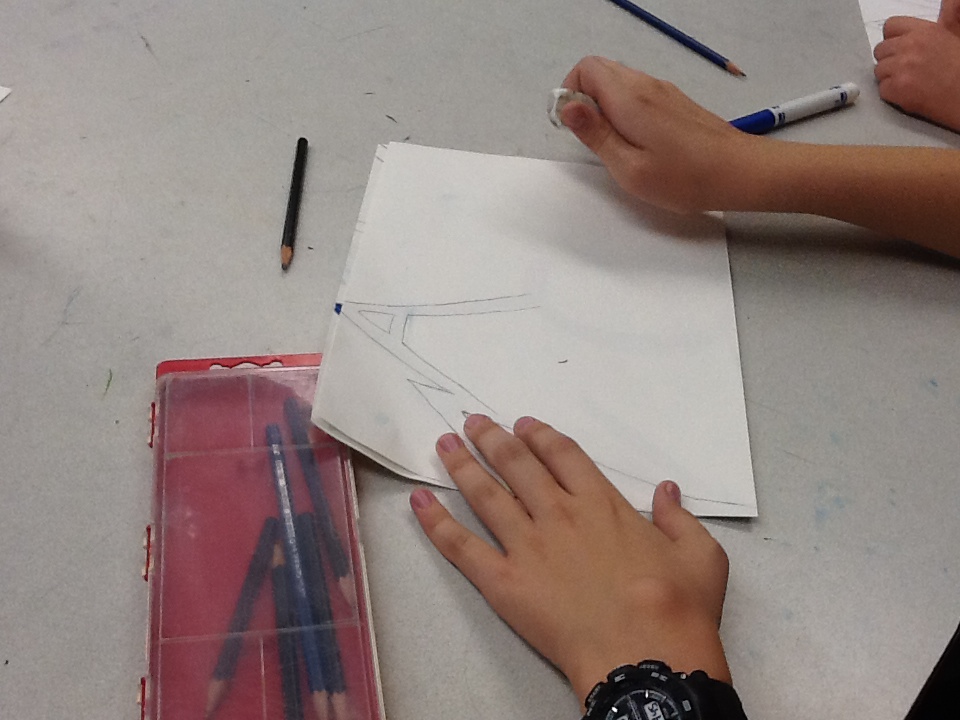
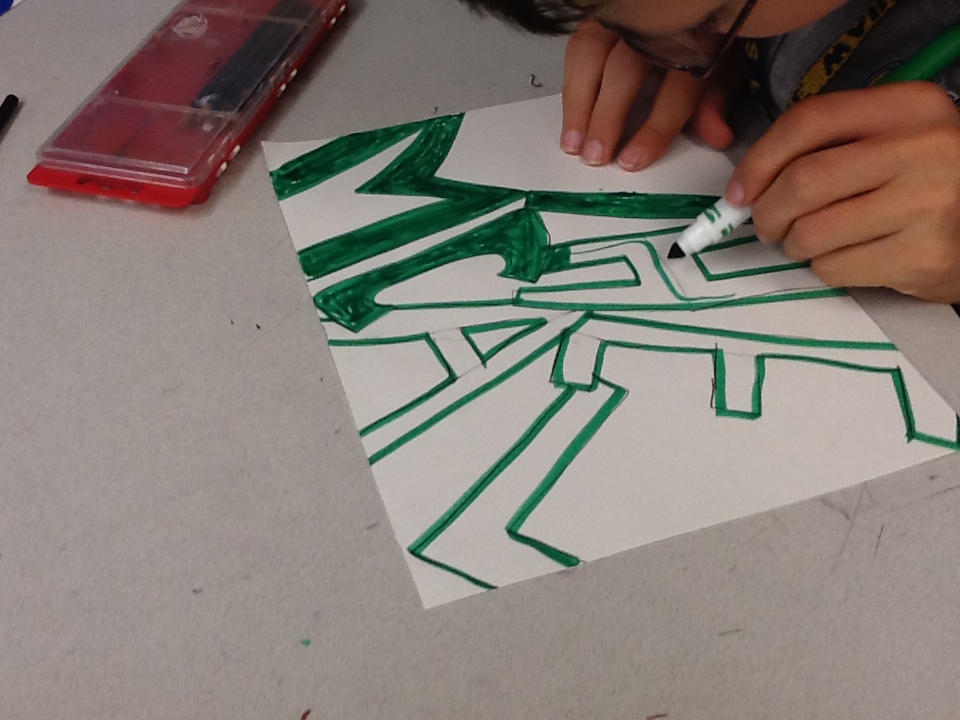
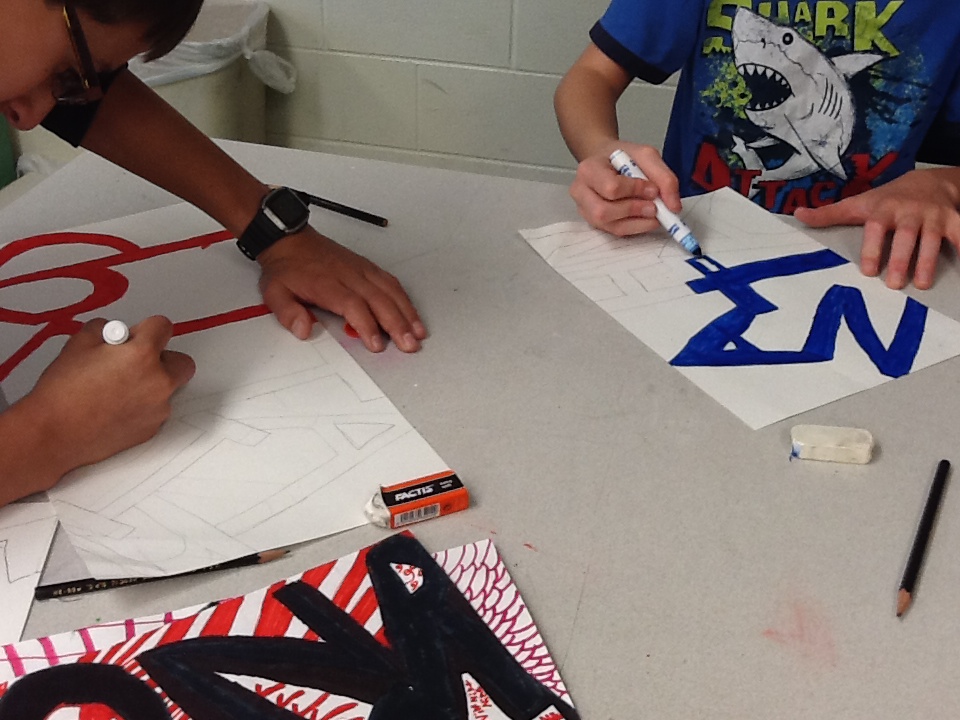
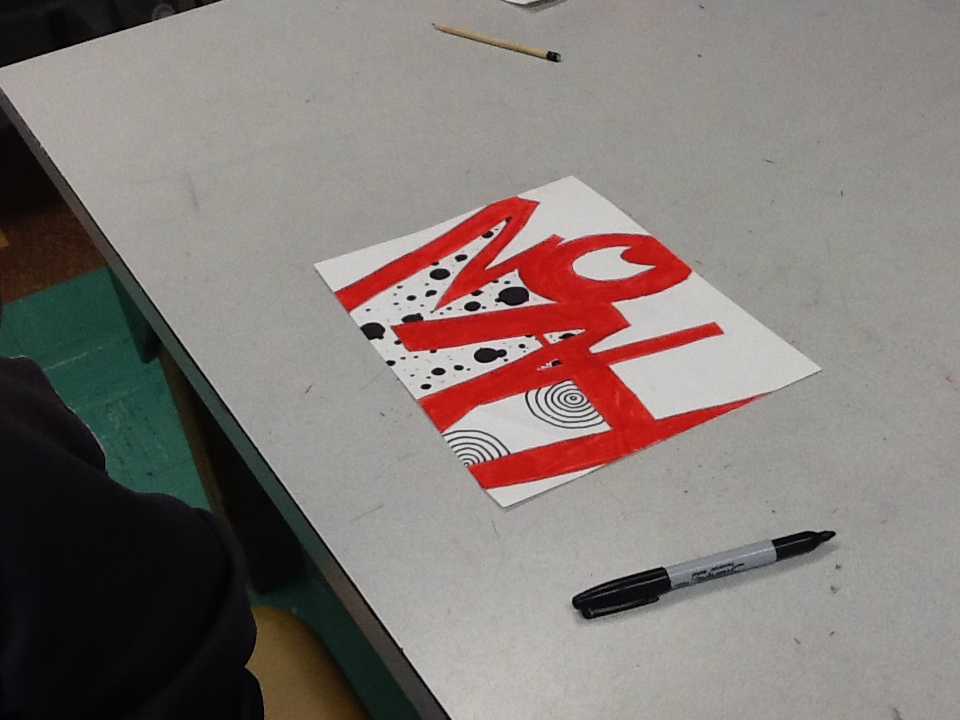
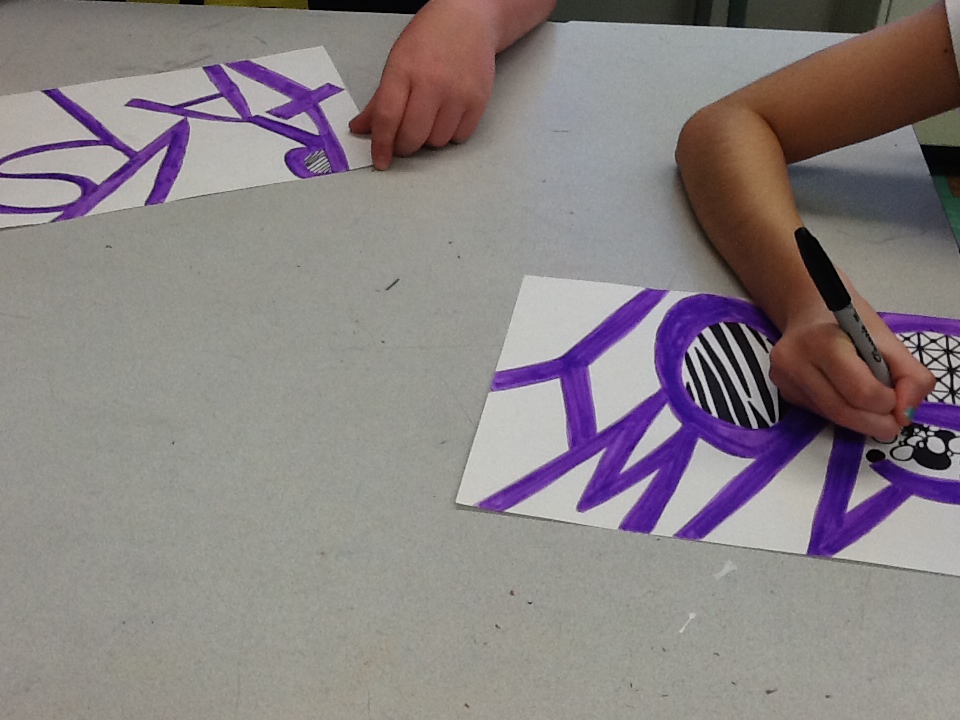
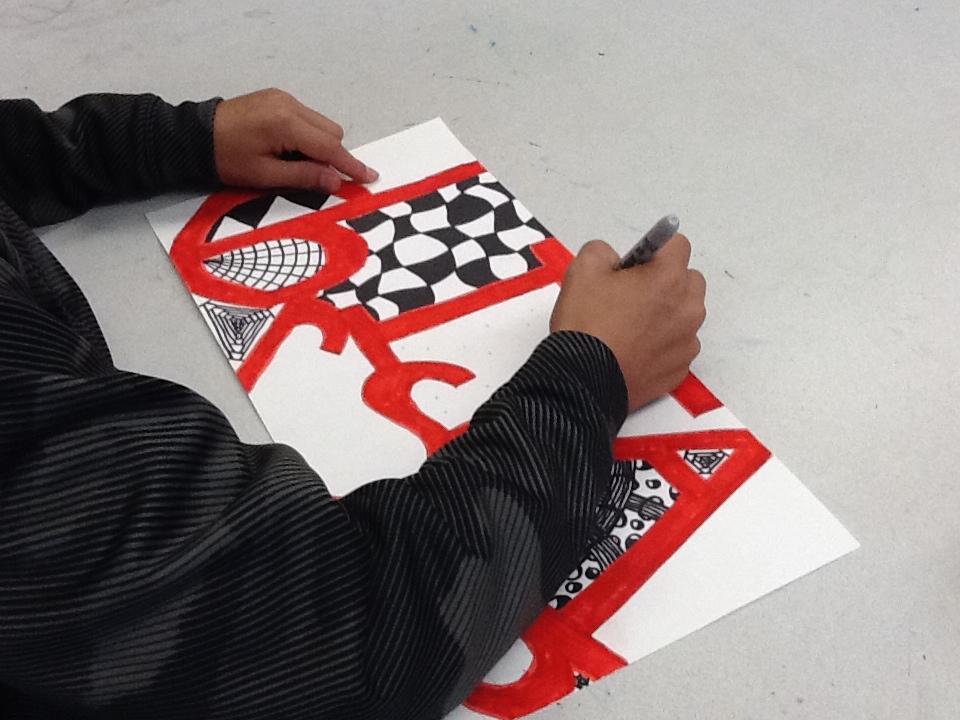
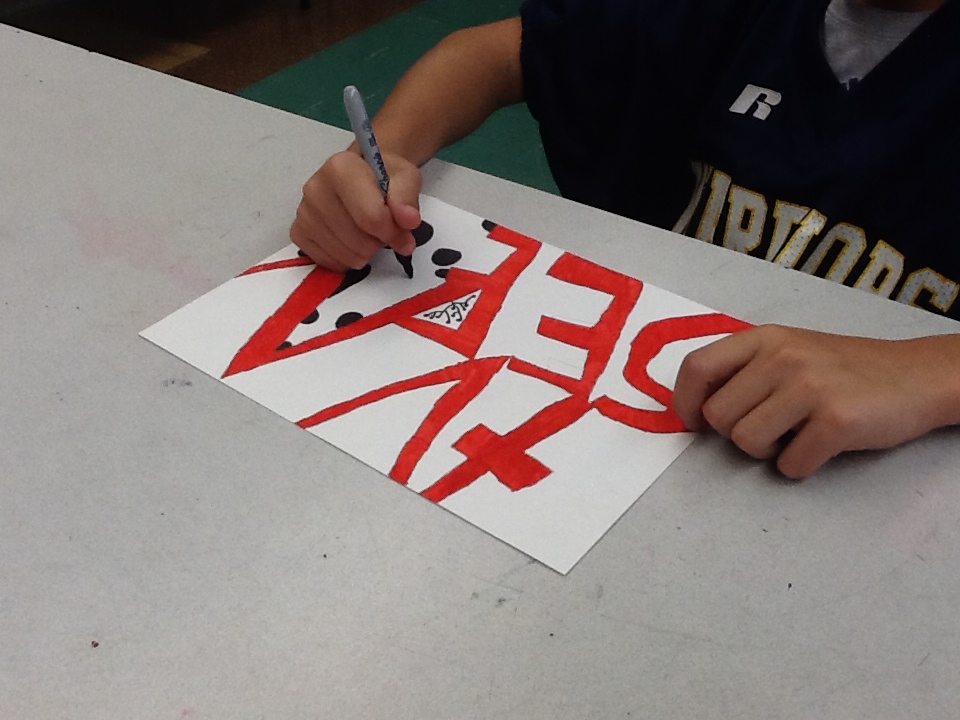
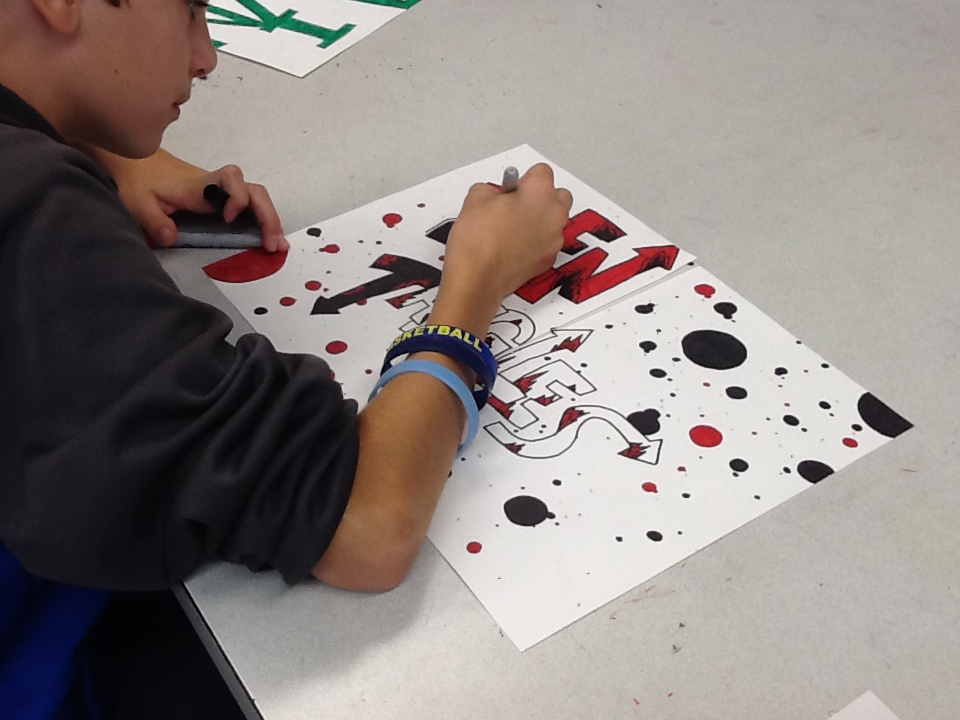
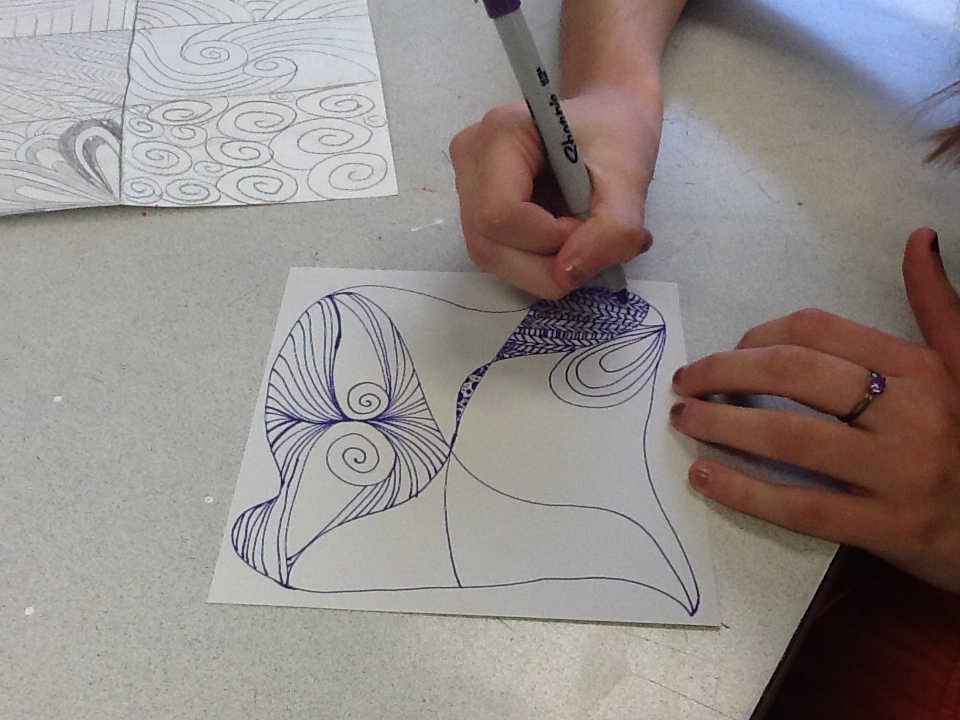
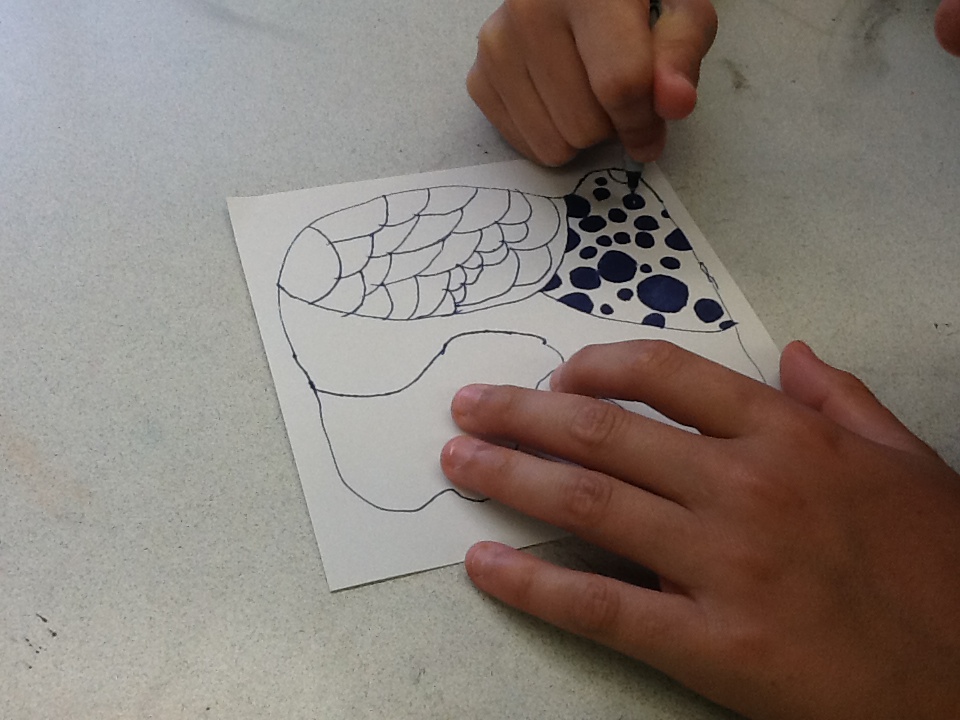
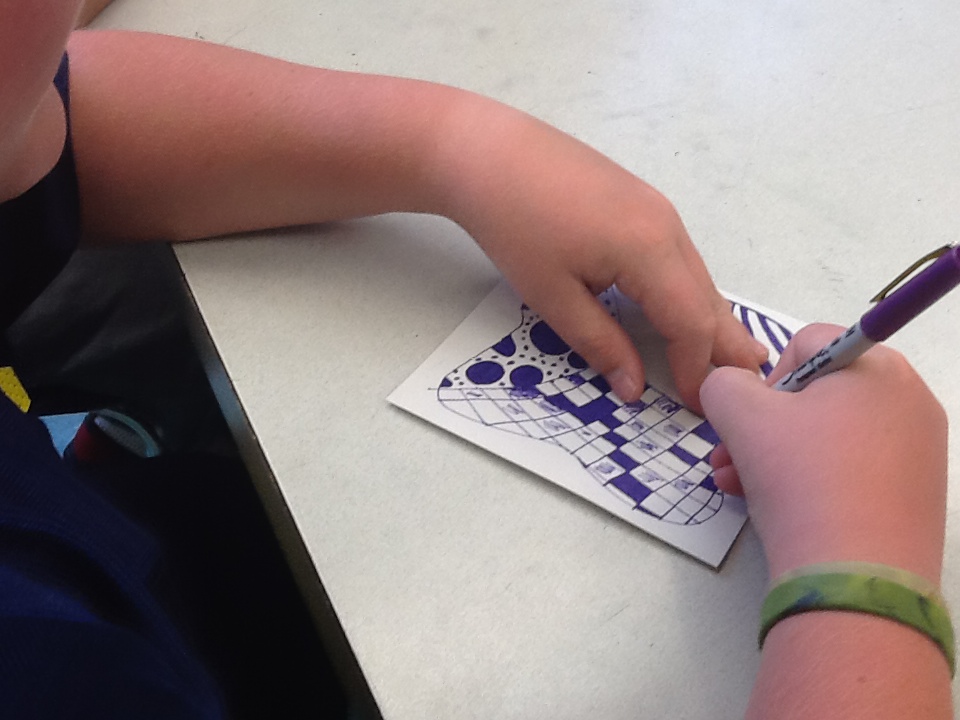
nametangles
 By Chase, former GLMS student
ART 7 students are using their zentangle expertise to create unique zentangle pieces that incorporate their names- Nametangles. On Monday, students wrote their names in a stick block fashion in a zig-zag manner across their paper. Then they chose a color they liked and filled in their name. After filling it in completely and making borders solid and straight, they filled each individual are with a different zentangle pattern. Our final pieces should be finished by Thursday- make sure to check them out in the ART 7 Gallery this weekend! These pieces always turn out great for every student! If you happen to be in the school- make sure you look above the lockers for these pieces! They add a dash of color to our hallways and the kids are proud to show them off!
nametangles in progress

zentangles
Zentangles are an art style that consists of unplanned, abstract doodles and designs incorporated into a larger piece. Each finished piece is unique. Creating a zentangle is super easy and quite relaxing to do. Below you will find my Powerpoint presentation on how to create a simple zentangle. Zentangles can be viewed from any angle, are usually done in black and white (for high contrast) or white and another single color (which our kids did) and can consist of any design you can imagine. Our ART 7 students started by watching a Powerpoint on zentangles and by trying their hand out at creating different zentangles designs and doodles. These practice sheets (of 16 different designs) were our go-to inspiration as they created mini zentangles for a class collage. We will then merge our zentangle learning with another aspect of drawing to create another project next week! You can see our progress on our practice designs and our mini-tangles below. See our Resources tab for more Zentangle resources.
zentangles step by step powerpoint
| zentangles_step_by_step.pptx |
zentangle practice and mini-tangles in progress
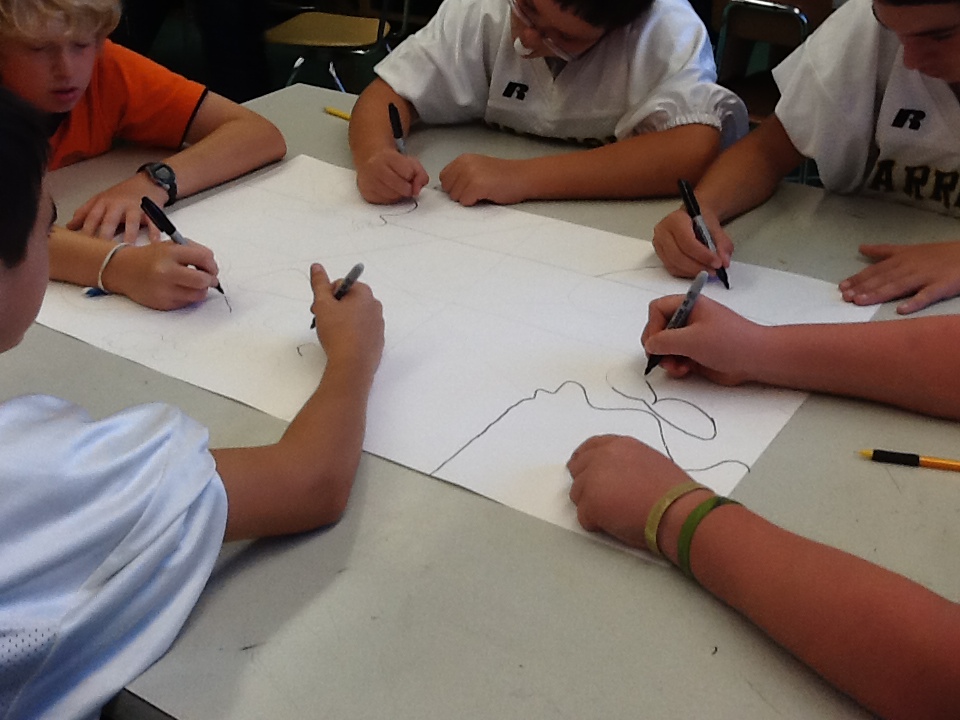
festival of tables collaborative pieces
Wednesday ART 7 started abstract pieces for the silent auction at the GLEF Festival of Tables. These pieces are collaborative whole class pieces that have a little part of each student on every piece. Students started by drawing a shape on their group piece then through a series of rotations through all group tables, we added smaller shapes, lines and accent lines. Students then traced over all lines and shapes with black Sharpie and added detail patterns, line and designs throughout their pieces. Tomorrow (Thursday) we will add color with marker, crayon, colored pencil and oil pastel. All pieces will be matted and framed and put up for sale at the Festival.
welcome back art 7!
I am glad to see you back again for another year of awesome art at GLMS! Our first two weeks have been full of art projects already! WE are busy creating collaborative pieces for our annual GLEF Festival of Tables in October. Our pieces will be up for auction during the Festival's silent auction event. We are excited to provide these pieces for the community to bid on while at the same time, helping to raise money for the GLEF (Grass Lake Educational Foundation) and our classroom. If you are attending the Festival, make sure to check out our pieces and place a bid to own one :)
photovoice
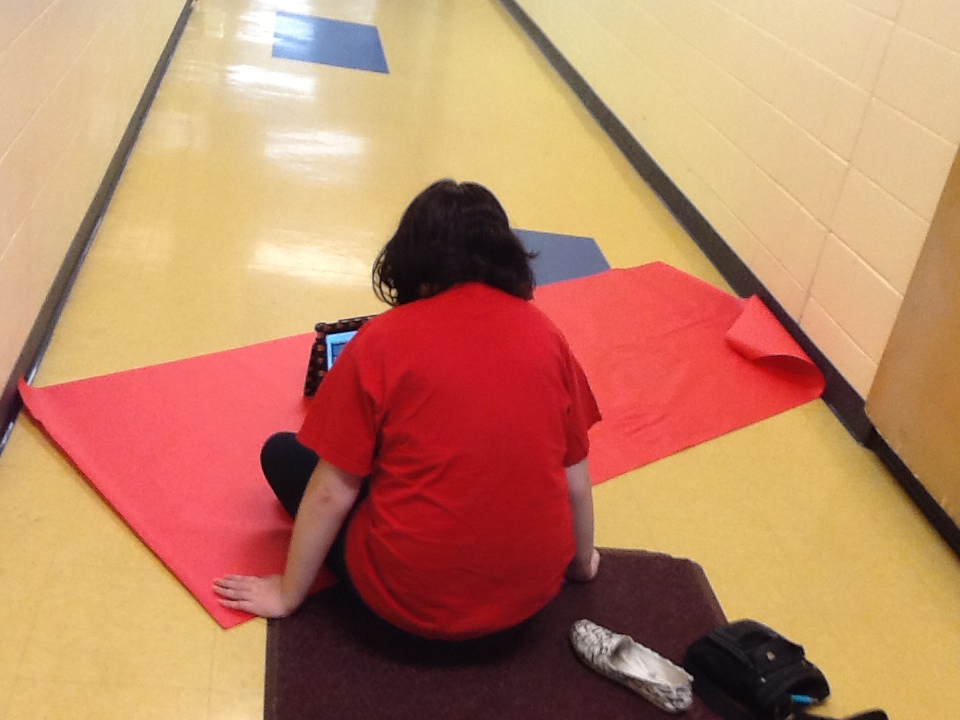
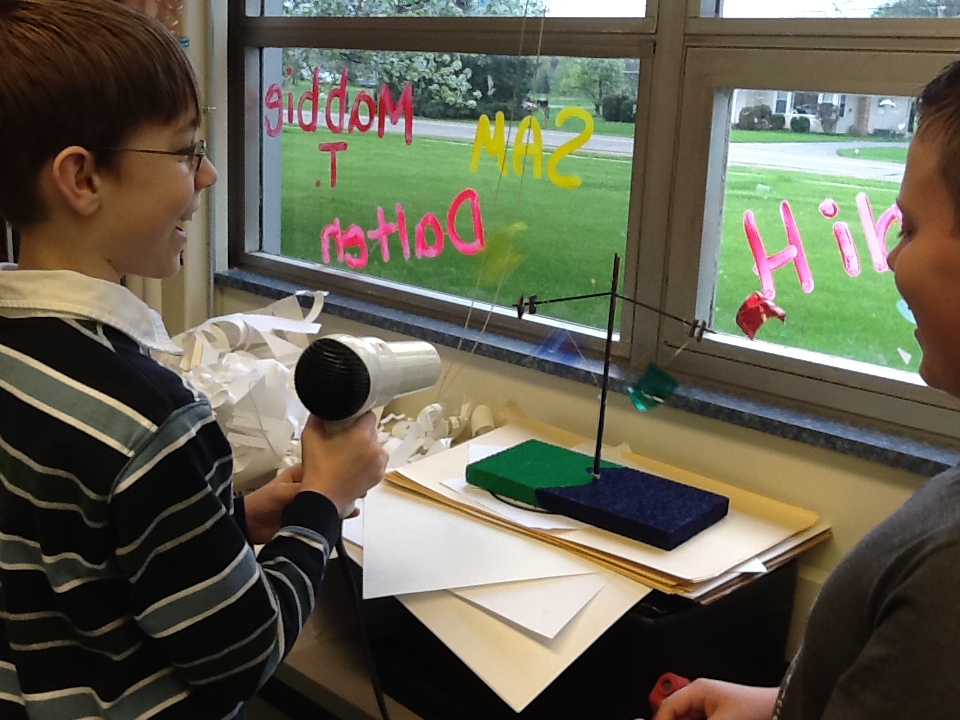
PhysArt students are beginning their major project this week- PhotoVoice! This project requires students to think beyond their world and choose a social issue to bring light and awareness to. They may choose one of the following topics that studies have shown affect teens- tobacco, alcohol, prescription drugs or marijuana. PhotoVoice gives students a chance to capture the images- positive and negative that influence them regarding these topics. For this project, we have guest speakers- Ms. Wendy from the Most Teens Don't program and Mr. Dale Fischer- Grass Lake's resident professional photographer. Ms. Wendy came in to speak with our students about Most Teens Don't and the PhotoVoice project objectives. Mr. Fischer came in to share some of his work and talk to students about how to take a good image. Students then will photograph 4 images that relate positively and negatively to the issue they choose. Positive images are images that influence them to steer clear from these illegal substances and keep themselves active and engaged in a substance-free lifestyle. They will also capture 2 negative images that society, television or advertising subject them to that may influence them to experiment or get involved with these substance or negative consequences that can come from the use of these substances.
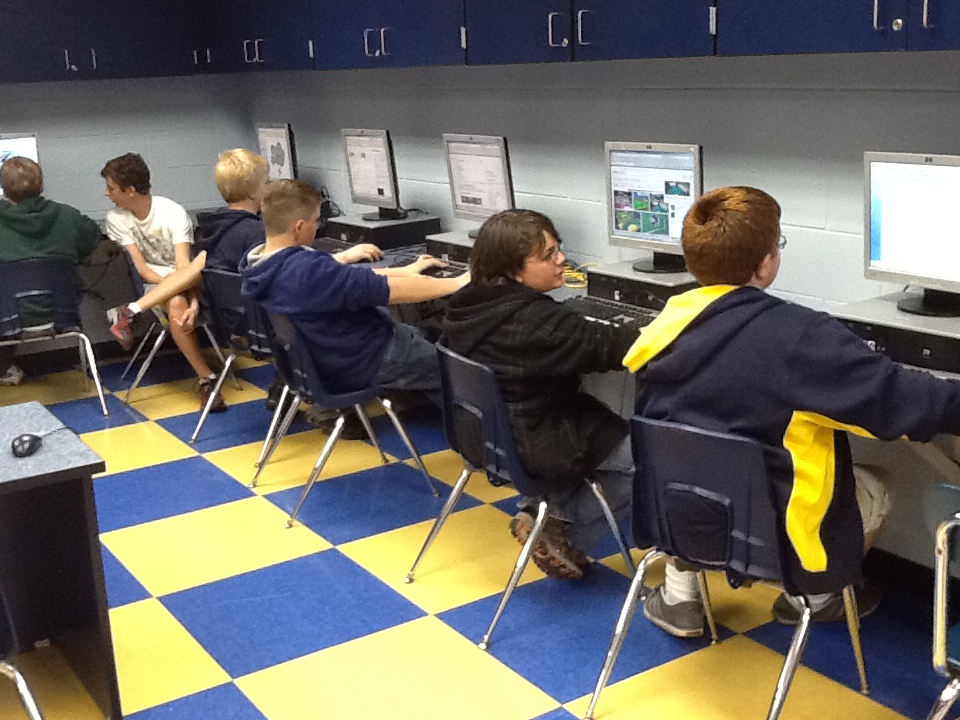
tagxedo sports images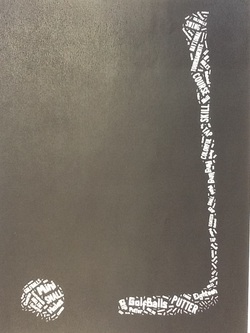
PhysArt students got to be tech savvy and create word art sports images using the free website Tagxedo.com. Each student chose a sport, no sport was replicated...and with 44 students in our combined class we got some obscure sports represented :) Students brainstormed a list of words and phrases that described their sport, added the image they chose and their lists into the very cool Tagxedo website and created their images. Make sure to visit Tagxedo to create your own word art!!
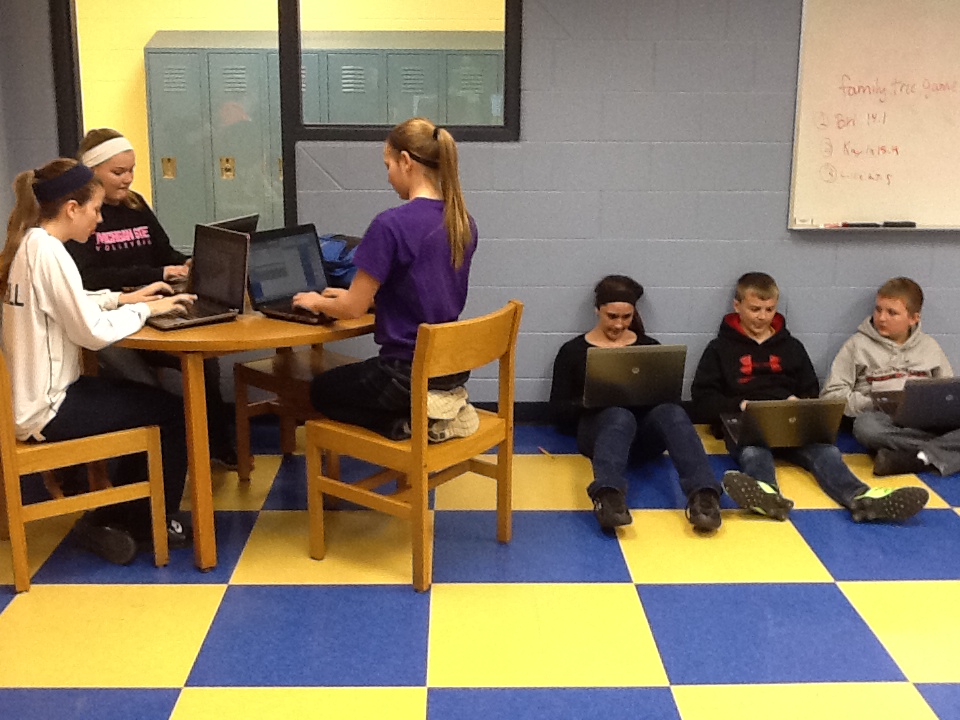
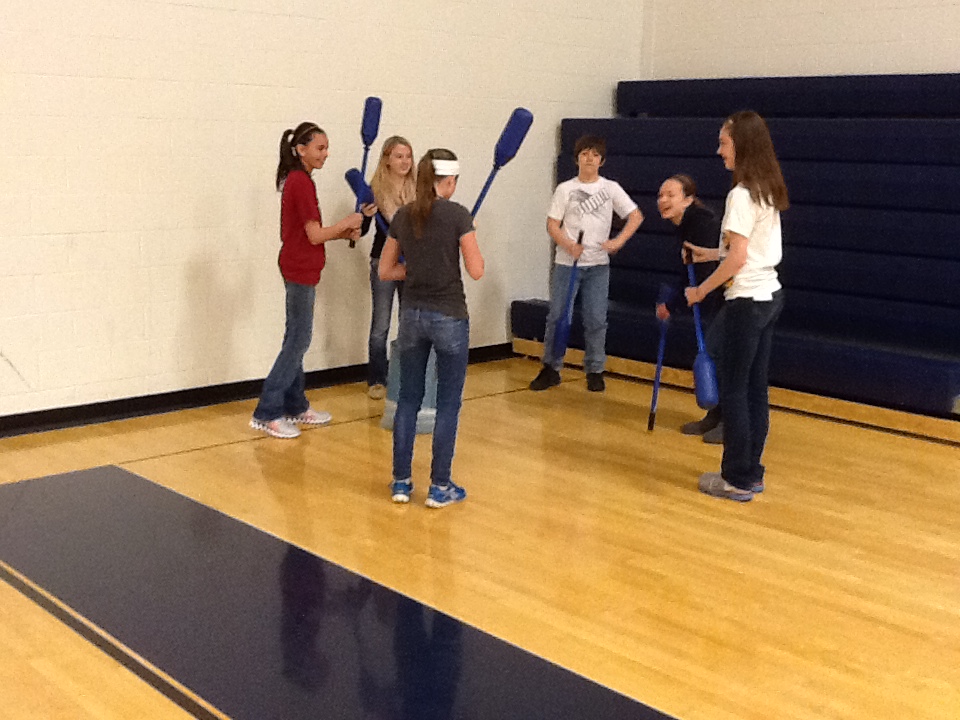
www.tagxedo.com stomp routines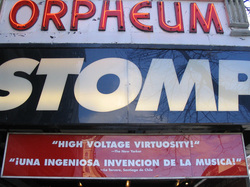
PhysArt students recreated the hit Broadway show Stomp in class using PE, school and art equipment and supplies. Students spent two days watching Stomp to fully experience looking at everyday objects in a new light, seeing everyday tools as artistic medium and the blending of sounds to create a symphony of sound. After the viewing, students choose their own groups and got to work experimenting with sound and materials. After 4 days of planning, groups presented their 2 minute mini-Stomps for the class. You can access their videos on the locked PhysArt page (under the More tab) in the next few days. Please ask your student for the password.
|
tagxedos in labstomp practice |
~~~~welcome to physart~~~~
Our 4th quarter is an exciting end to the year for 7th graders in art and physical education at GLMS! Our awesome principal has given Mrs. Tiffany Finch (our phys.ed teacher) and I permission to combine classes to create a one-of-a-kind learning experience for our students! In our PhysArt class, students get the best of both worlds from movement and sport to creativity and fine art. PhysArt students will get to create movement and sport based pieces of art using dance, photography, digital design and some household materials, as well as, play competitive, team-based physical education games. As we enter our second year of co-teaching this unique class, we are excited about the possibilities for our projects and the pieces our students will create.
collage masterpiecesYou will not see a lot of action on the 7th grade page for
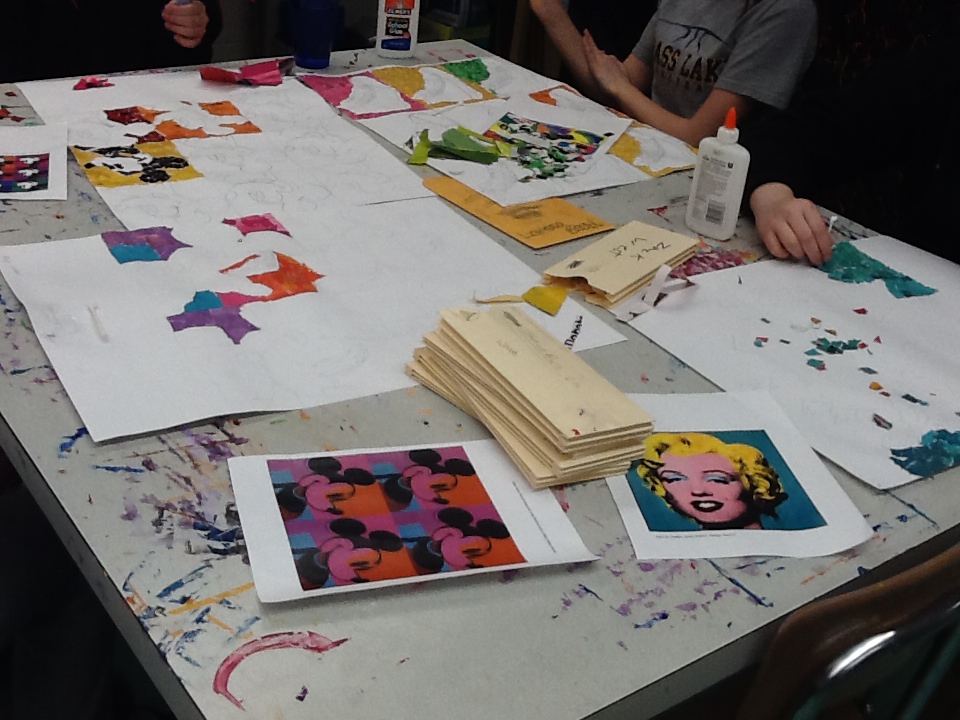
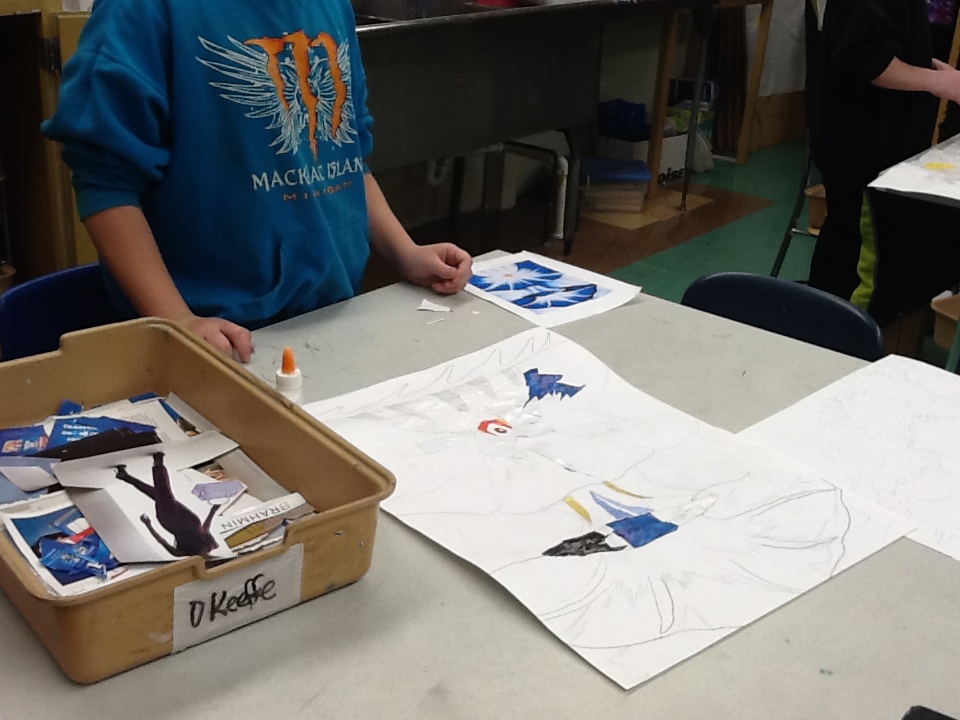
a few weeks. We are in the middle of constructing our signature ART 7 projects- Collage Masterpieces! Each student chose a piece of work by a master artist. We then sketched the basic forms of the piece onto paper and are creating a collage to match the composition and color of our chosen pieces. We are recreating these magnificent works using magazine color pieces. Our choices this marking period range from the Pop Art works of Andy Warhol to the colorful wildlife subjects of John Nieto, Monet's Waterlilies to Georgia O'Keeffe's flowers and seashells and Grant Wood's American Gothic! See our works in progress at the right and check out the ART 7 Gallery starting Friday, March 8 for final pieces! nametangles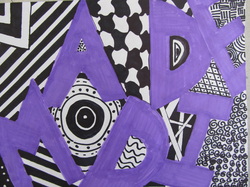
Our first project of the marking period was Nametangles. Nametangles are based on the current art movement of Zentangle design. Zentangles are repetitive patterns or doodles that are unplanned but always turn out great! This project is a great one to start with so that each student can feel successful in art! A special thanks to Mark Piotrowski on Pinterest for pinning the idea!!! Below you will find some Zentangle resources if you are thinking of trying this with your students.
Zentangle Resources http://www.zentangle.com/index.php http://tanglepatterns.com/ |
collage masterpieces in progressnametangles in progress 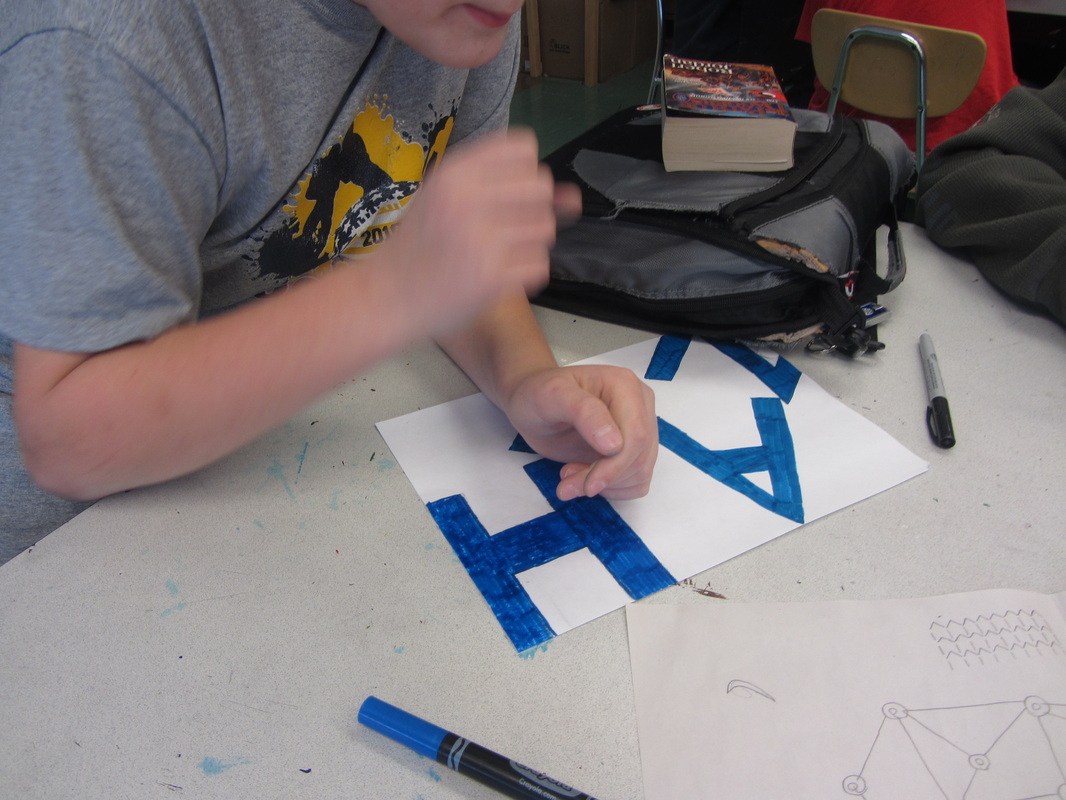 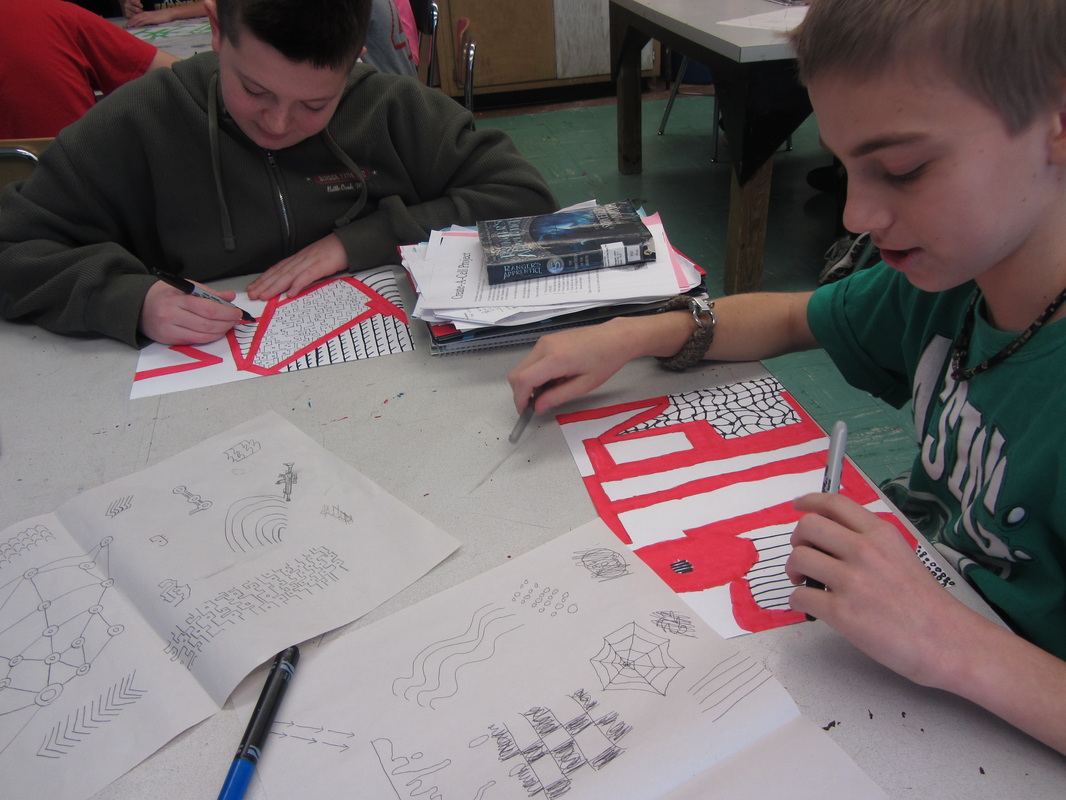 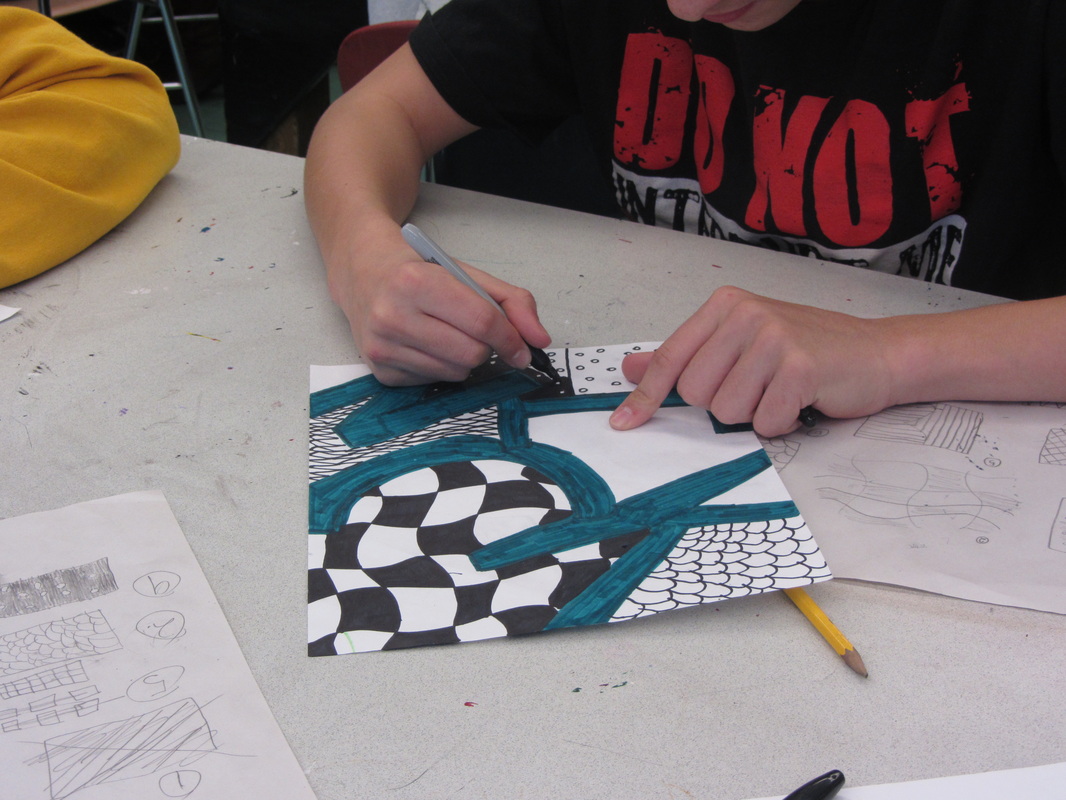 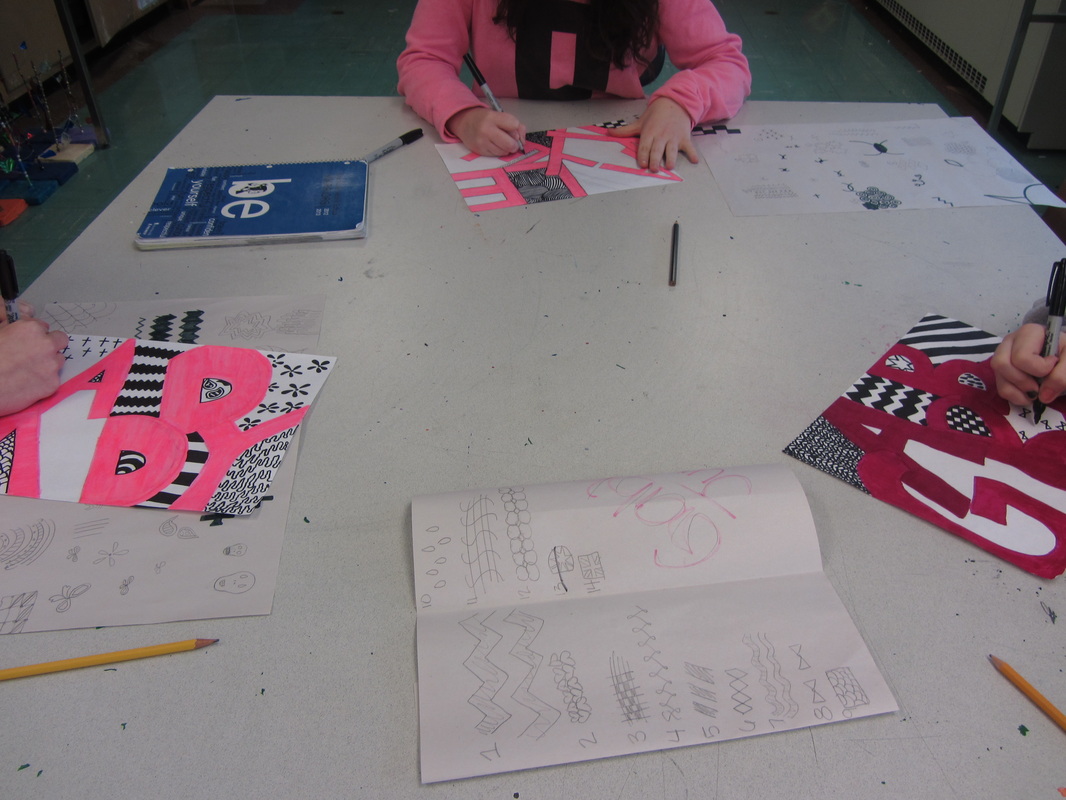 |

new quarter, new artists!
As of Monday, January, 28, we have our first quarter artists back! Everything below this announcement is from quarter 2 and all quarter 3 art projects and pieces will be posted above!
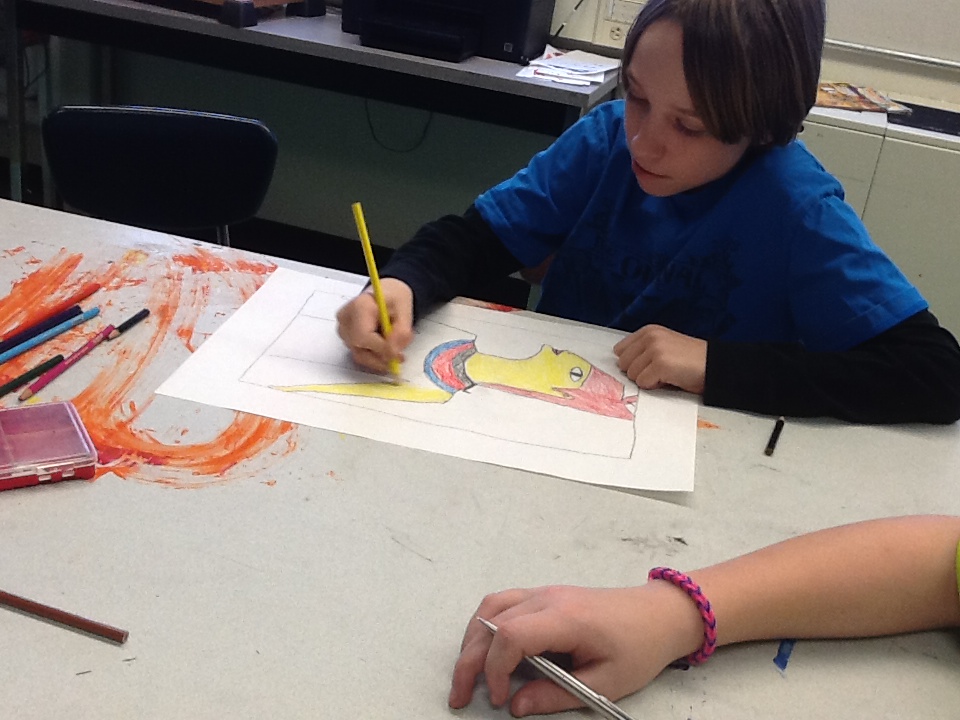
frank stella colorblock pieces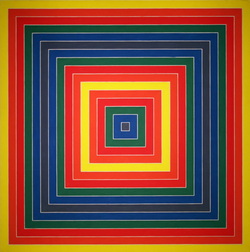
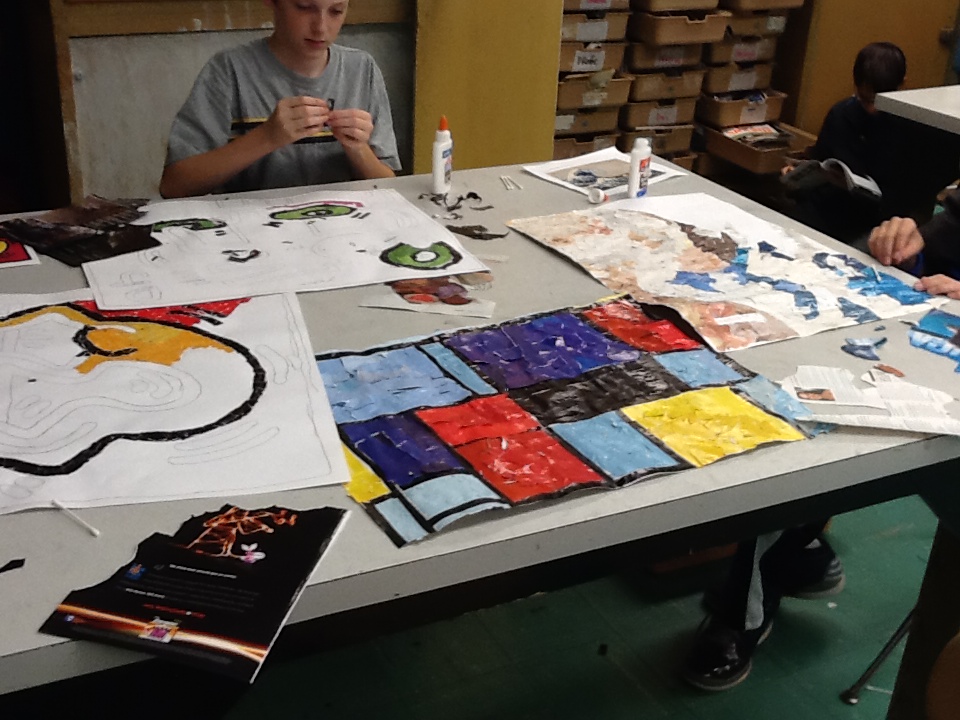
ART 7 and ART 8 students are both creating colorblock pieces in the style of Color Block and Minimalist artist, Frank Stella. Stella's work focused more on color theory than subject matter. The color interactions and relationships were the subject of this pieces. For this project, students had to choose a place, emotion or thing to use as a theme for their pieces. Sections ranged from a specific family vacation place to McDonalds. Students then planned their colors to convey their theme. They painted 50% scale practice pieces to ensure that their color relationships and selections worked. Then we moved onto painting our larger final pieces. Check out the process at the right and I will post an announcement when final pieces are in the galleries.
Nametangles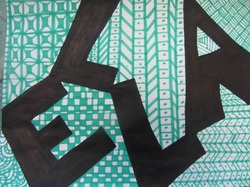
Our first project of the marking period was Nametangles. Nametangles are based on the current art movement of Zentangle design. Zentangles are repetitive patterns or doodles that are unplanned but always turn out great! This project is a great one to start with so that each student can feel successful in art! A special thanks to Mark Piotrowski on Pinterest for pinning the idea!!! Below you will find some Zentangle resources if you are thinking of trying this with your students.
Zentangle Resources http://www.zentangle.com/index.php http://tanglepatterns.com/ 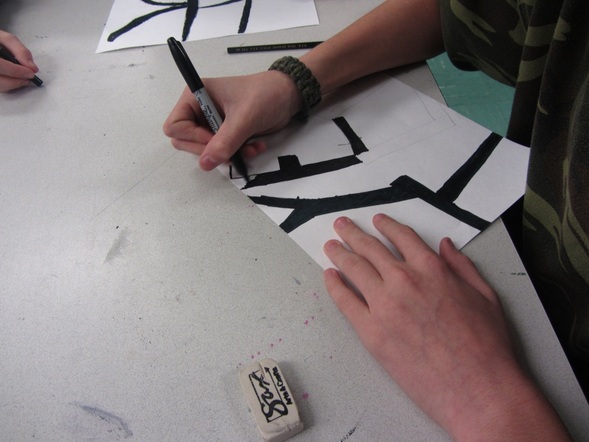
Filling in names
|
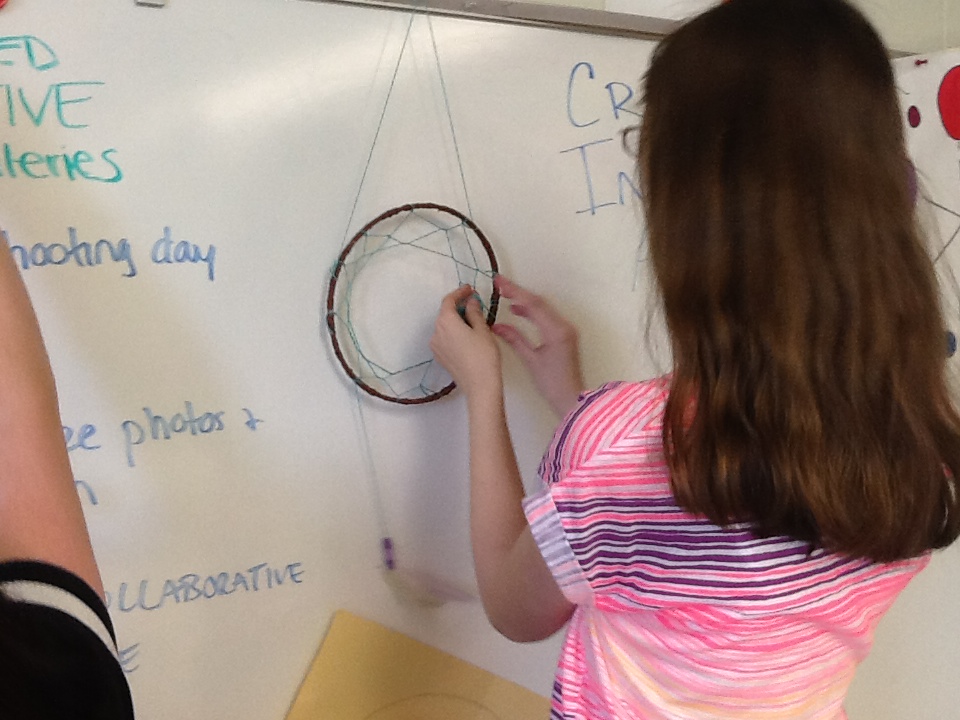
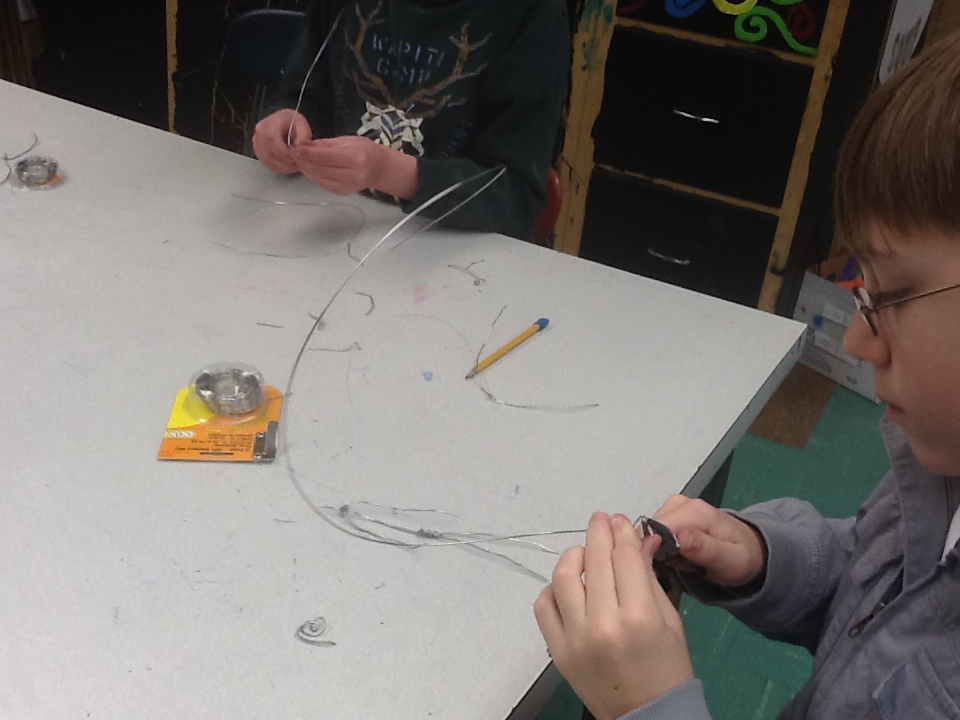
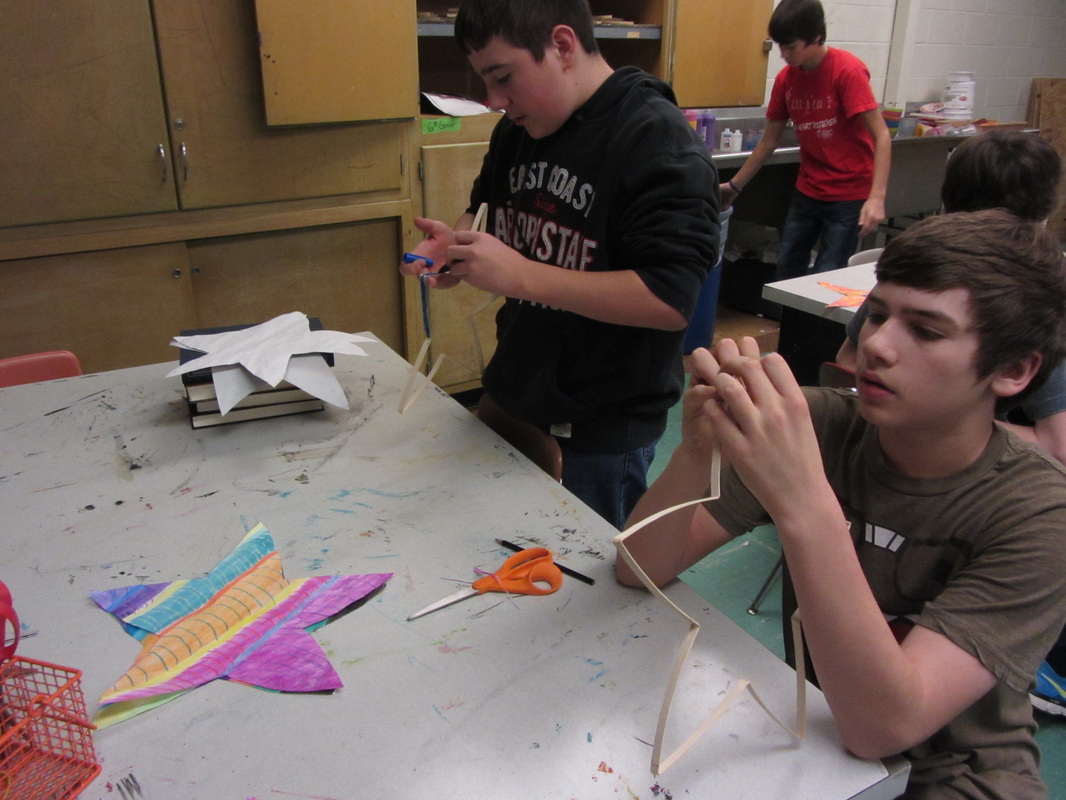
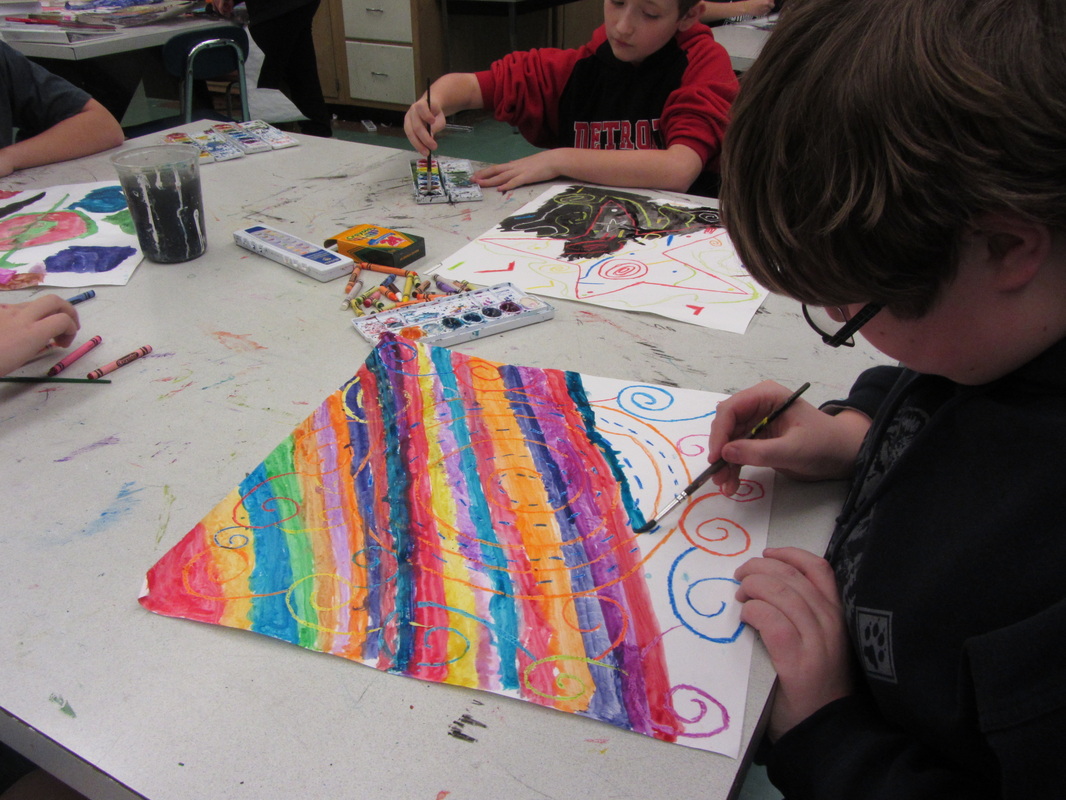
filipino parolsART 7 students took a page from the Philippines for their next art project. During the Festival of Lights, Filipinos hang traditional bamboo and rice paper star shaped lanterns throughout the villages. These lanterns symbolize the victory of light over darkness, hope and goodwill. The lanterns were originally inspired by the Chinese lanterns and Mexican pinatas brought to the Philippines by missionaries. Our ART 7 students recreated these lanterns using reed and watercolor paper. First, we soaked our reed, measured and folded and let it dry overnight. Then we shaped it into a star and decorated pieces of watercolor paper with abstract designs painted with either watercolor or with crayon and a watercolor wash. We attached our paper to the reed with Elmer's Glue and weighed them down with books from the room. To finish them off we colored to reed, attached a piece of fishing line and they now decorate our school's foyer to welcome our guests. Check out the photos in our ART 7 Gallery!
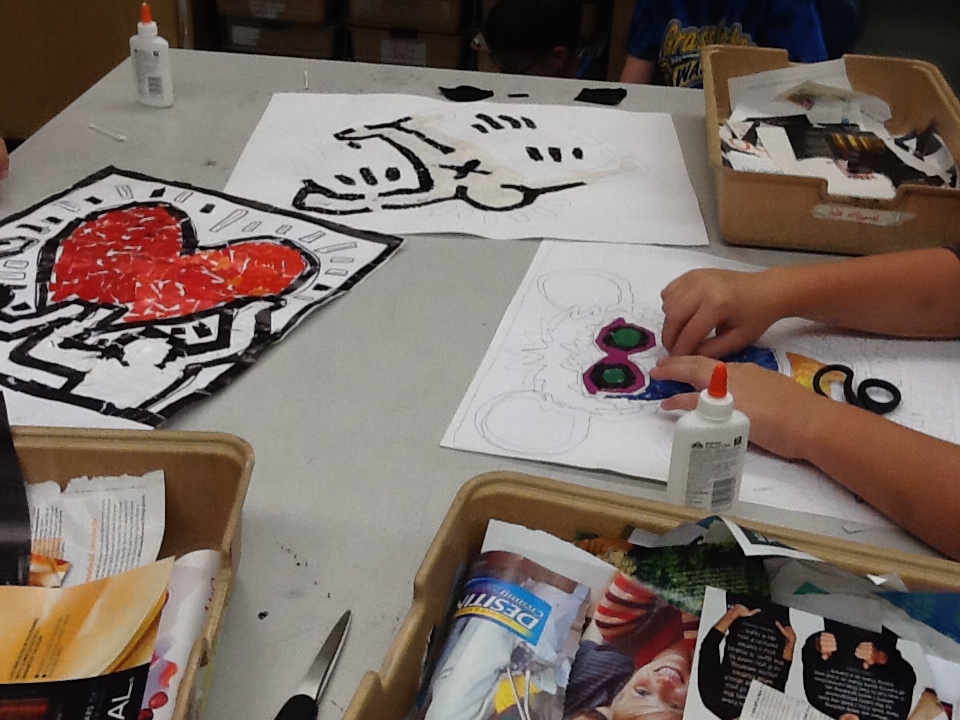
  Collage masterpiecesYou will not see a lot of action on the 7th grade page for a few weeks. We are in the middle of constructing our signature ART 7 projects- Collage Masterpieces! Each student chose a piece of work by a master artist. We then sketched the basic forms of the piece onto paper and are creating a collage to match the composition and color of our chosen pieces. We are recreating these magnificent works using magazine color pieces. Our choices this marking period range from the Pop Art works of Andy Warhol to the colorful wildlife subjects of John Nieto to Georgia O'Keefe and Keith Haring. We are excited to share these with you starting Monday, December 17! Look below to see how we are progressing!
           |
