painting our warhols!


color practice
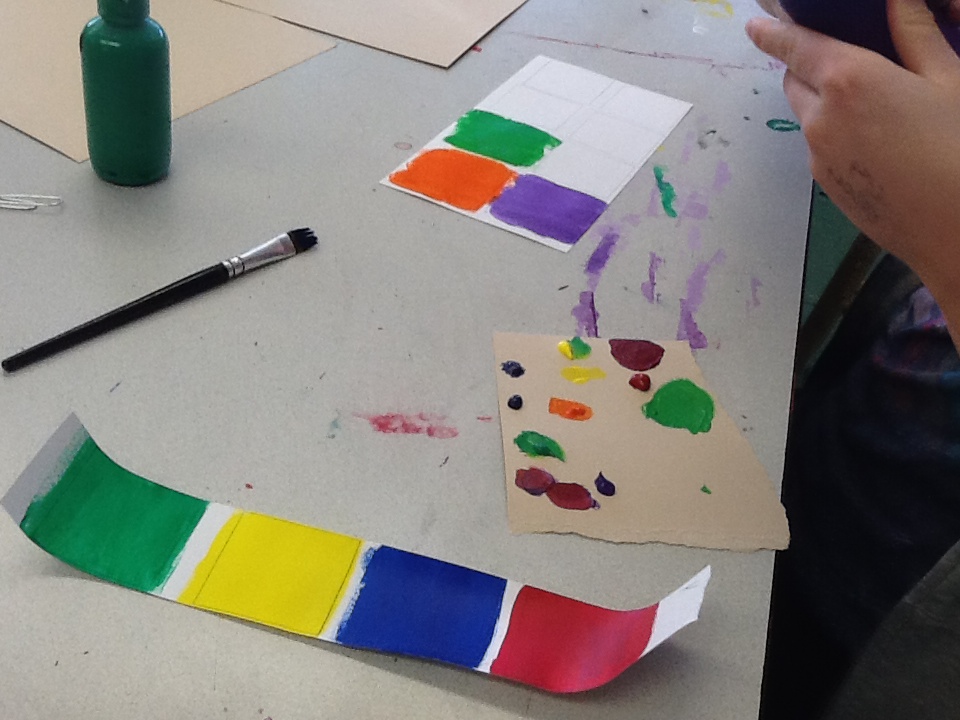
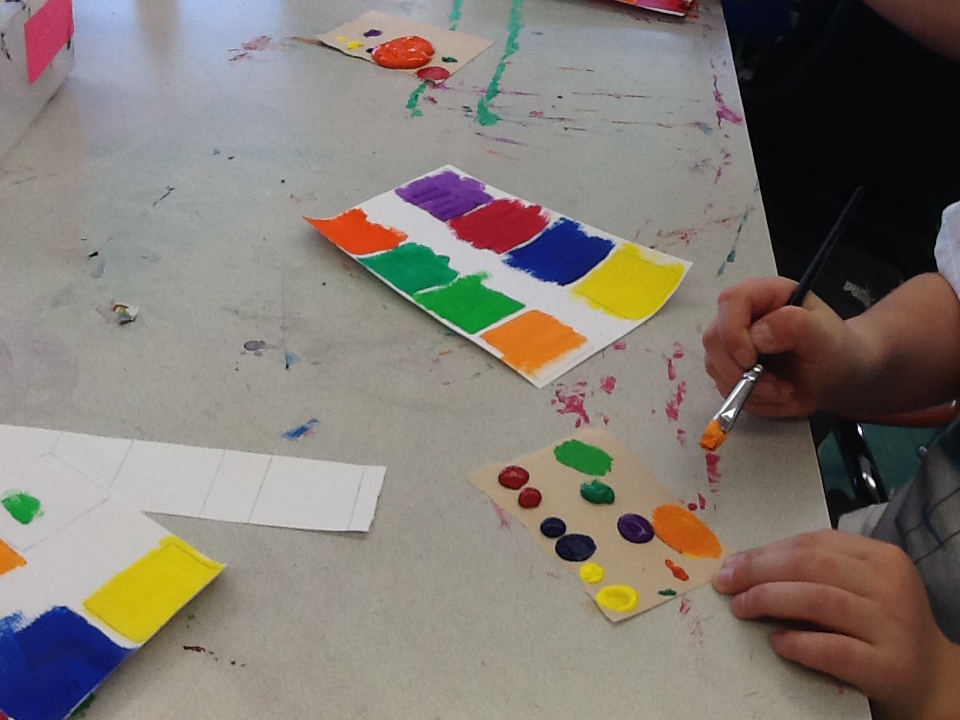
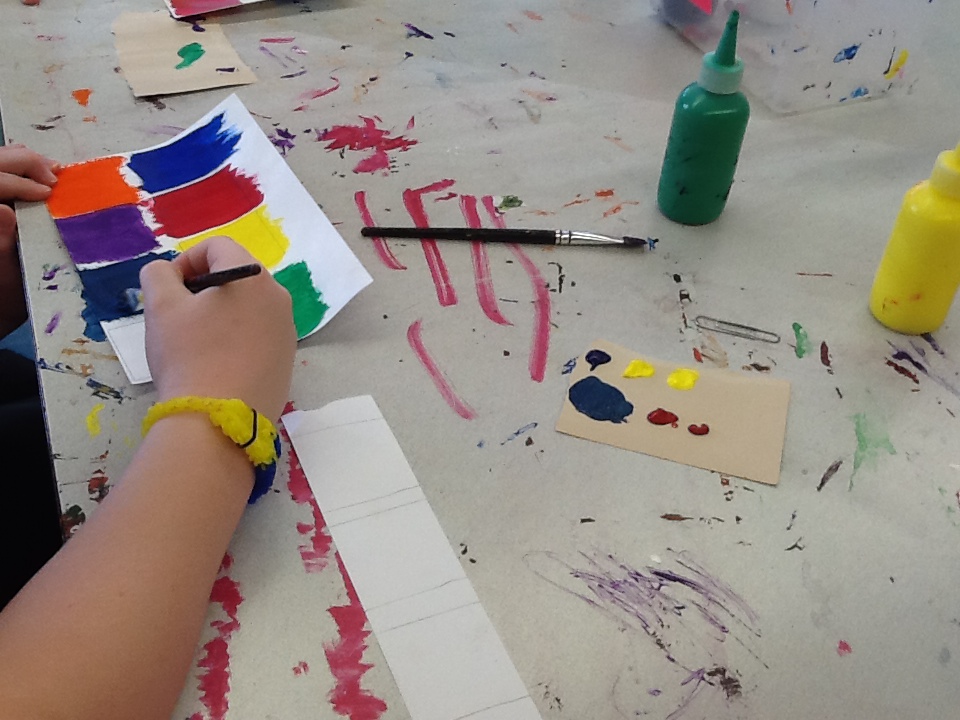
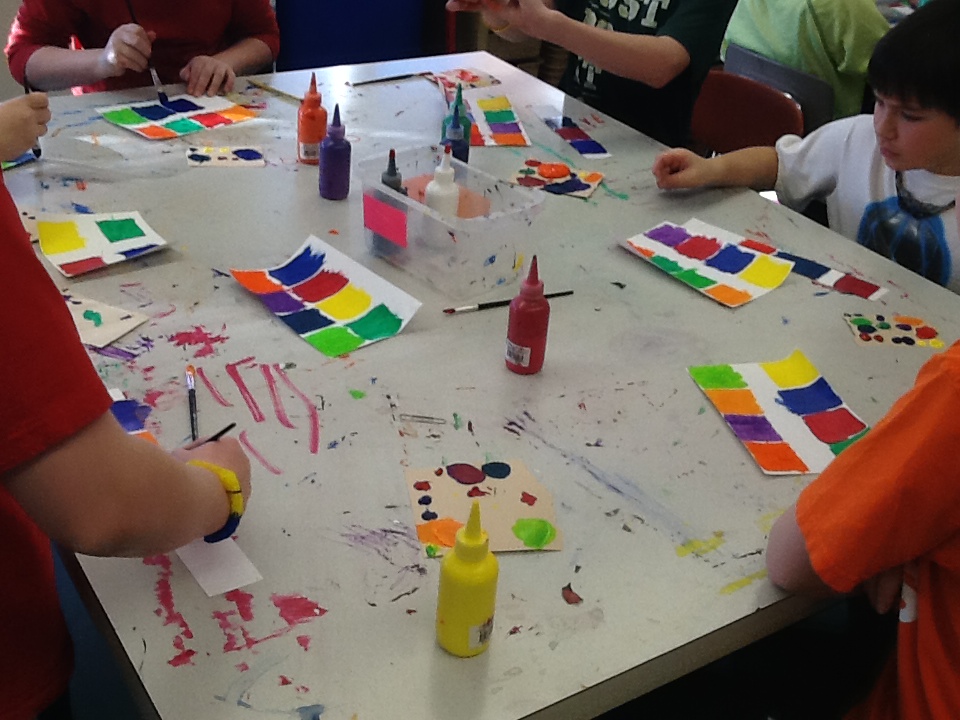
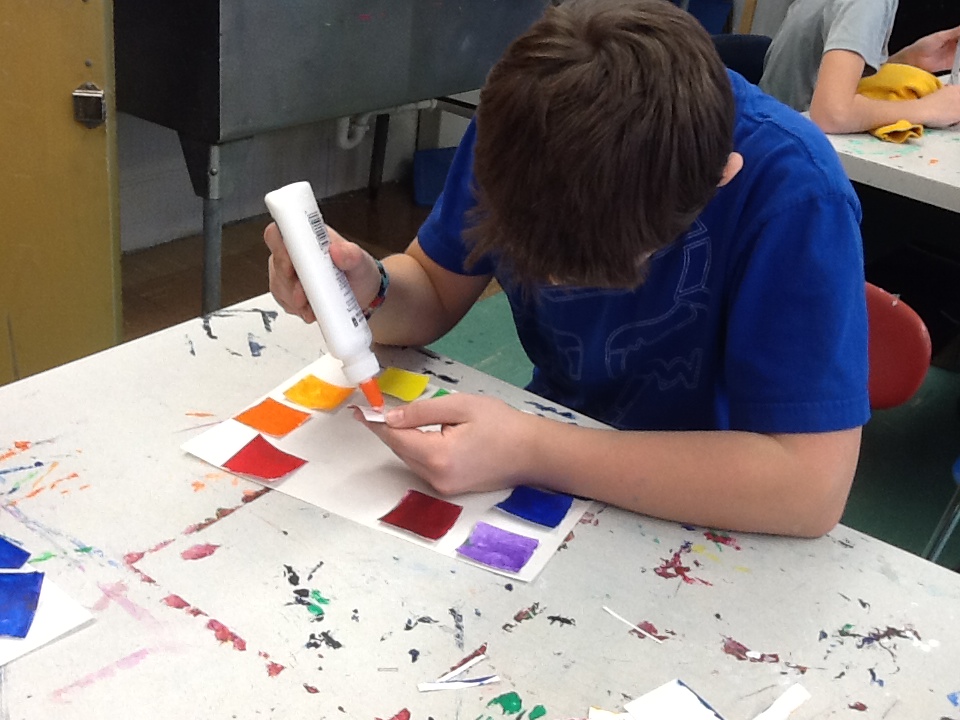
After completing our final grid drawings we took a few days to get some color mixing practice and to learn the painting etiquette expected of middle school art rooms. Students completed a tint ladder and a shade ladder with the color of their choice, as well as, a color wheel. Going over the basics of color mixing, using a paint brush correctly and how to care and clean for our brushes makes every subsequent painting piece for the next couple of years go so much smoother.
warhol pop pieces
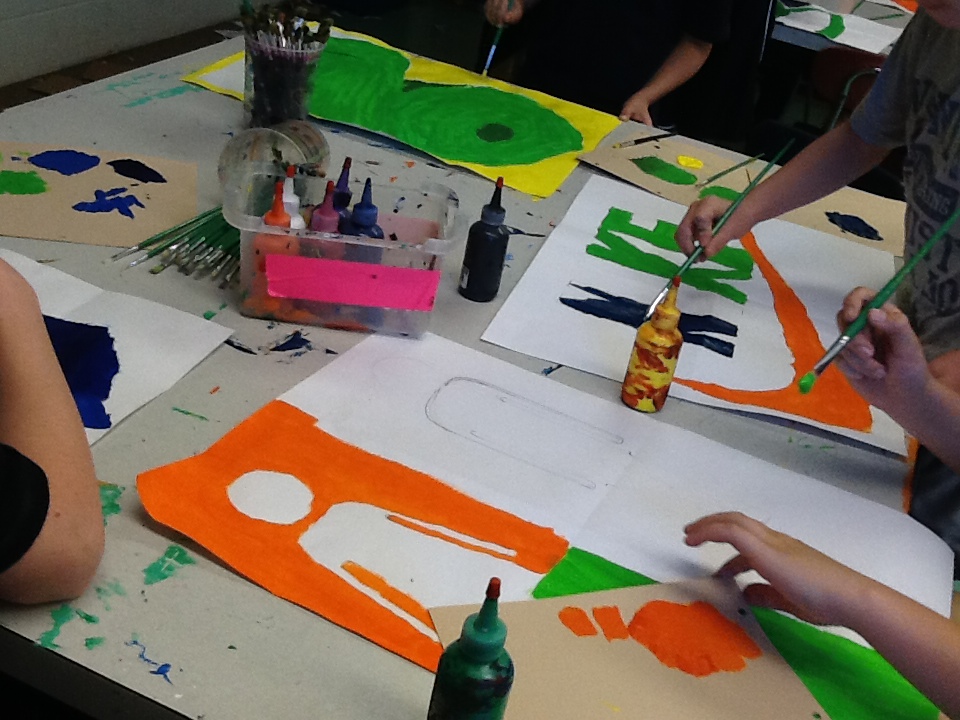
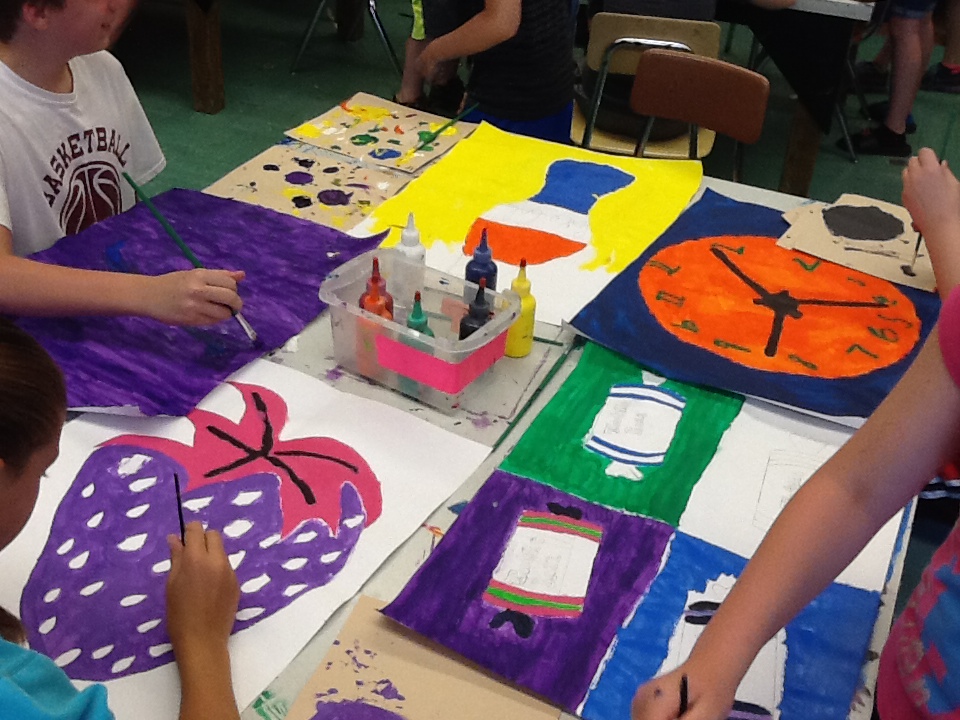
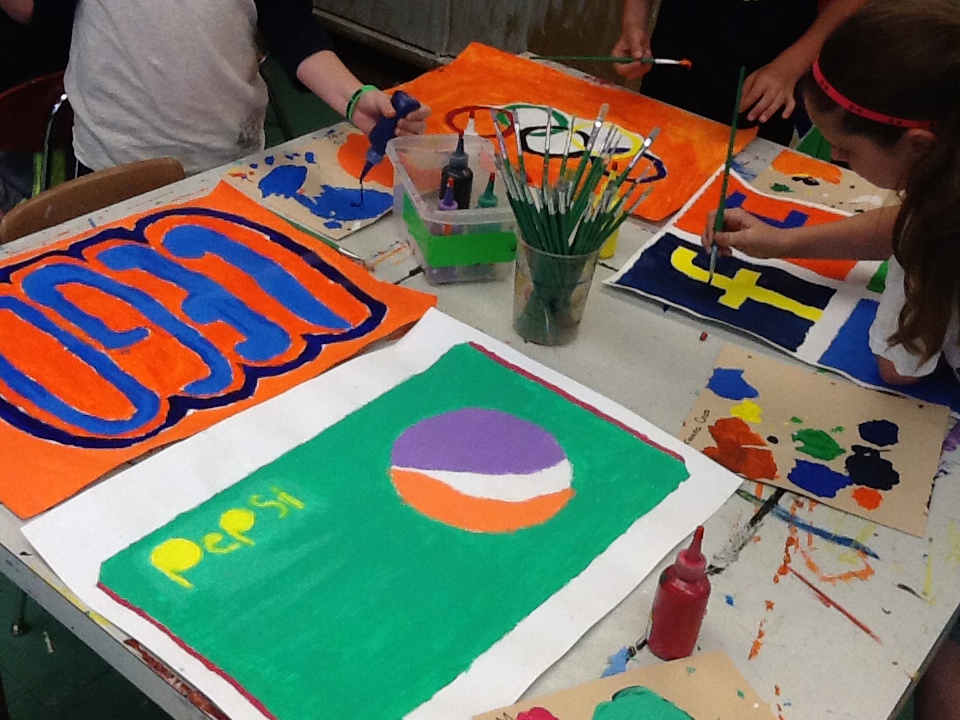
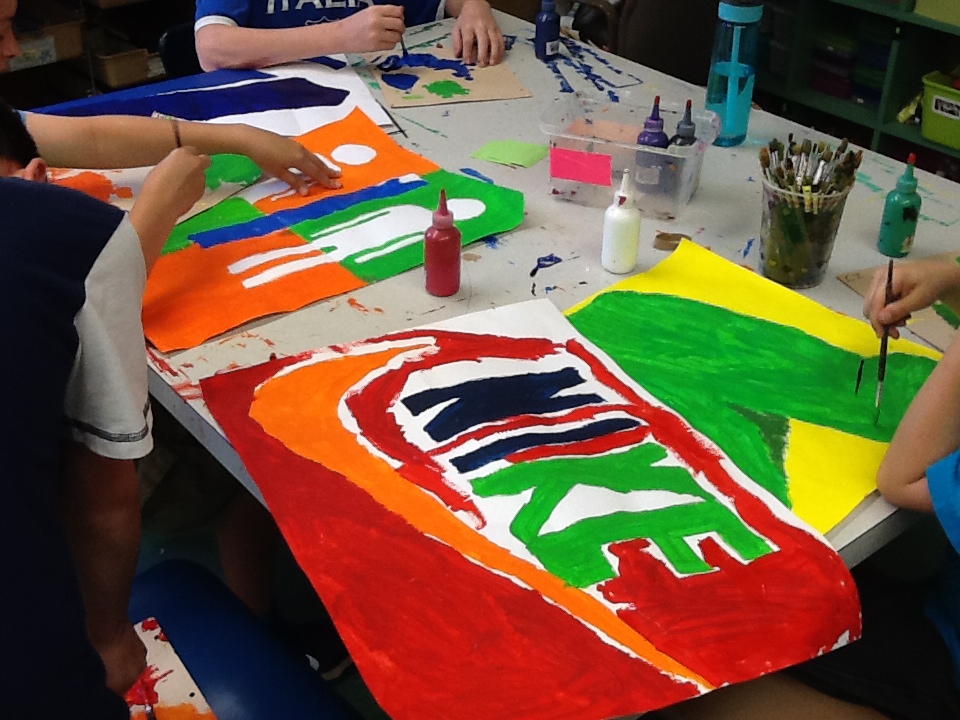
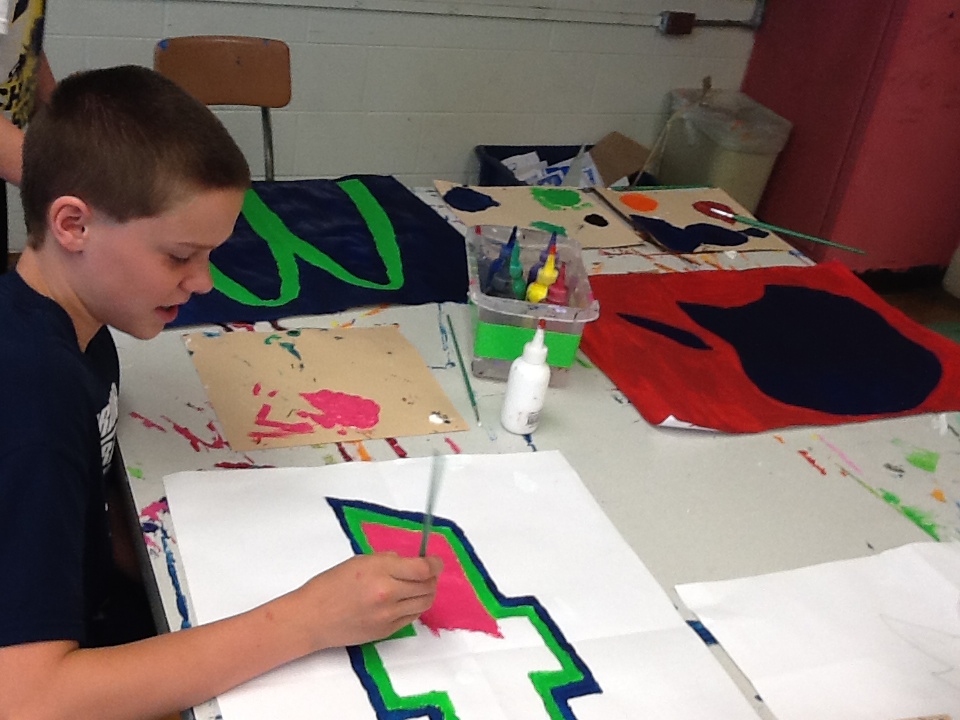
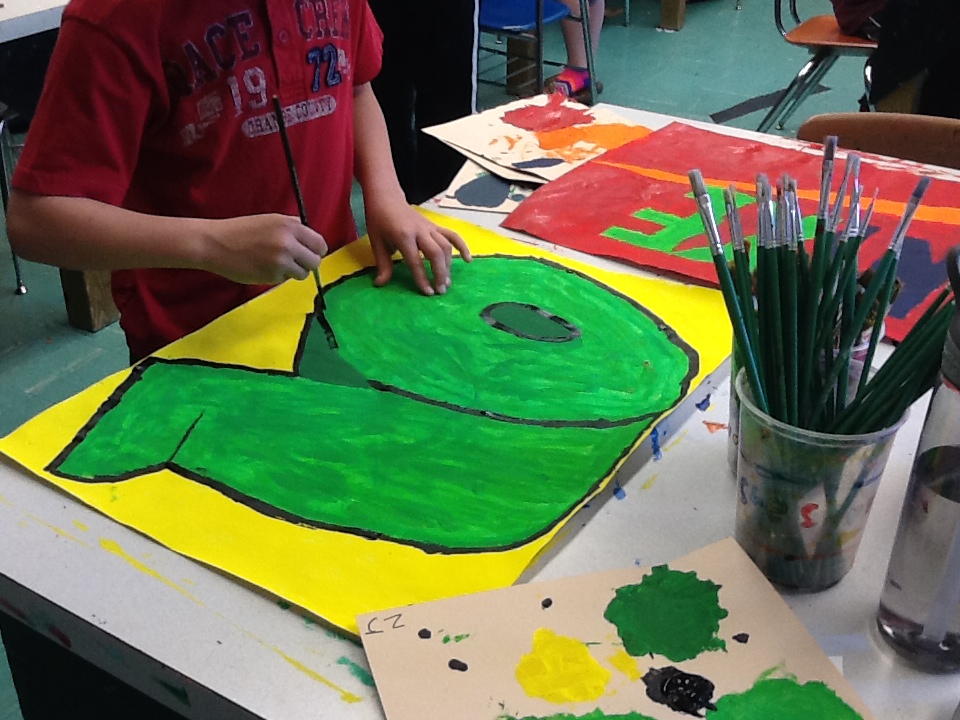
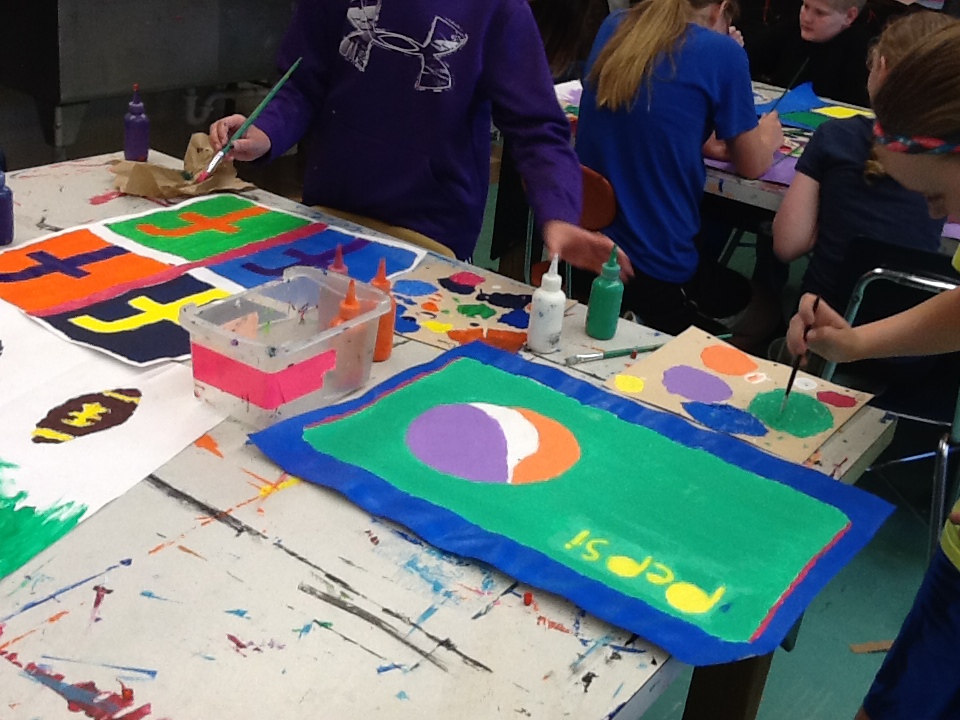
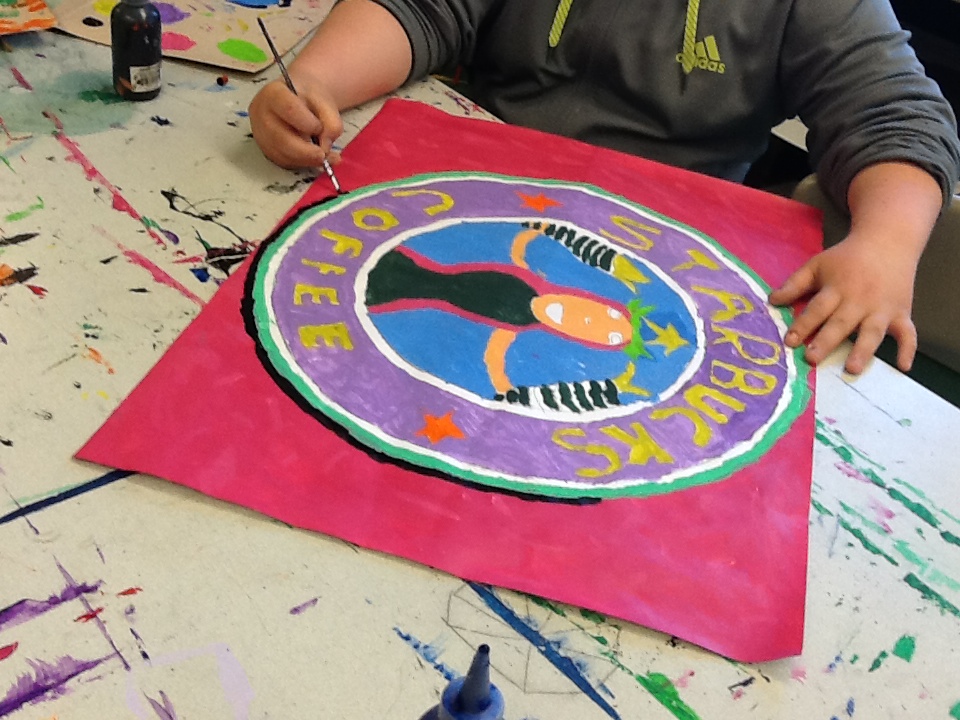
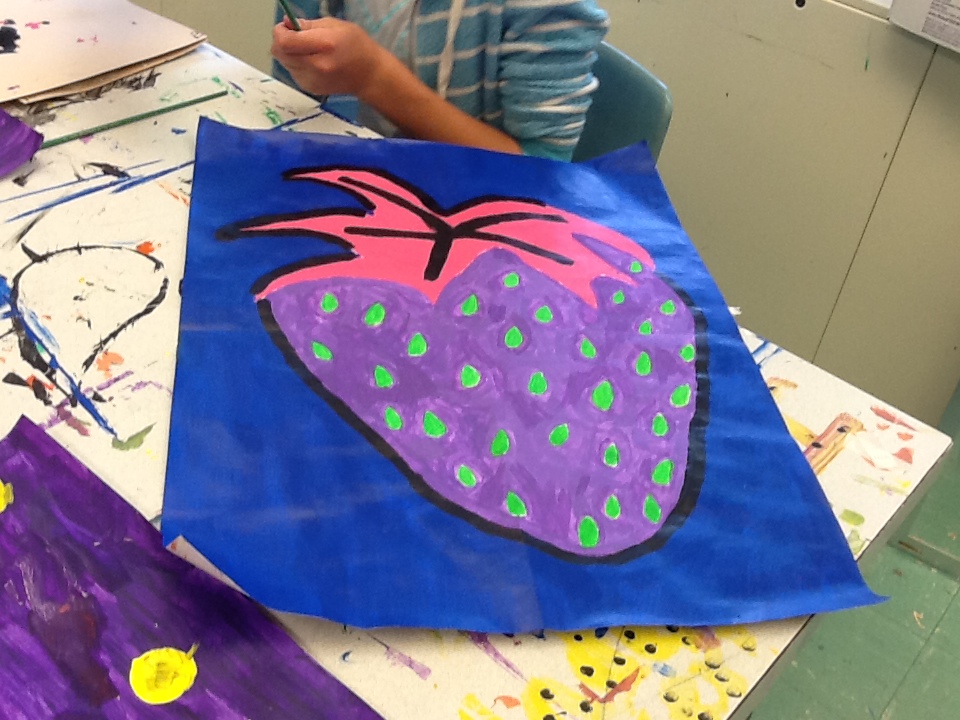
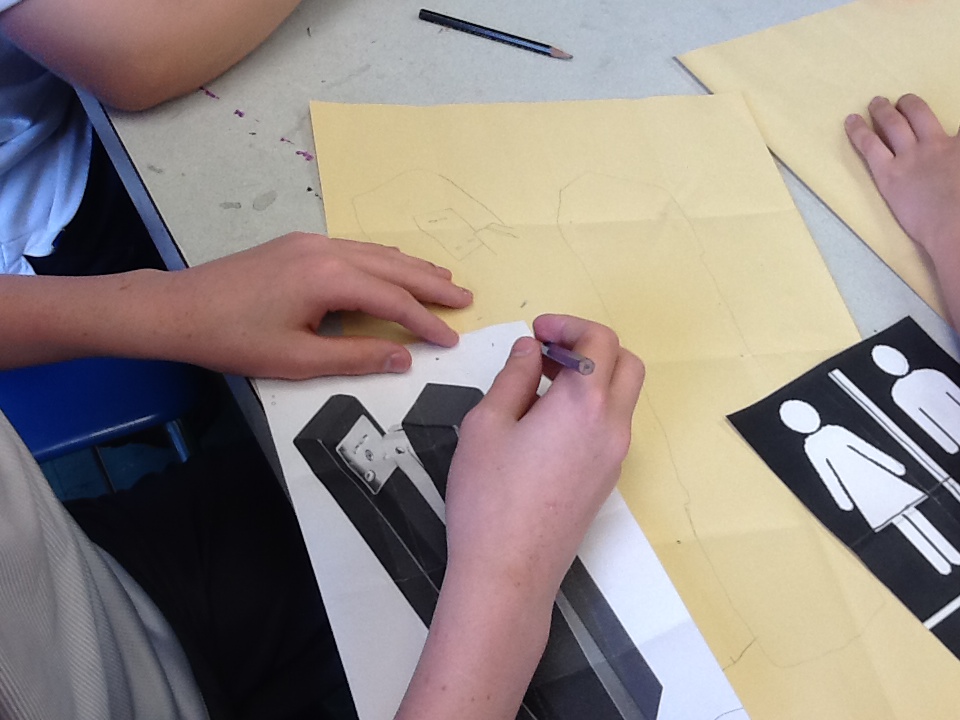
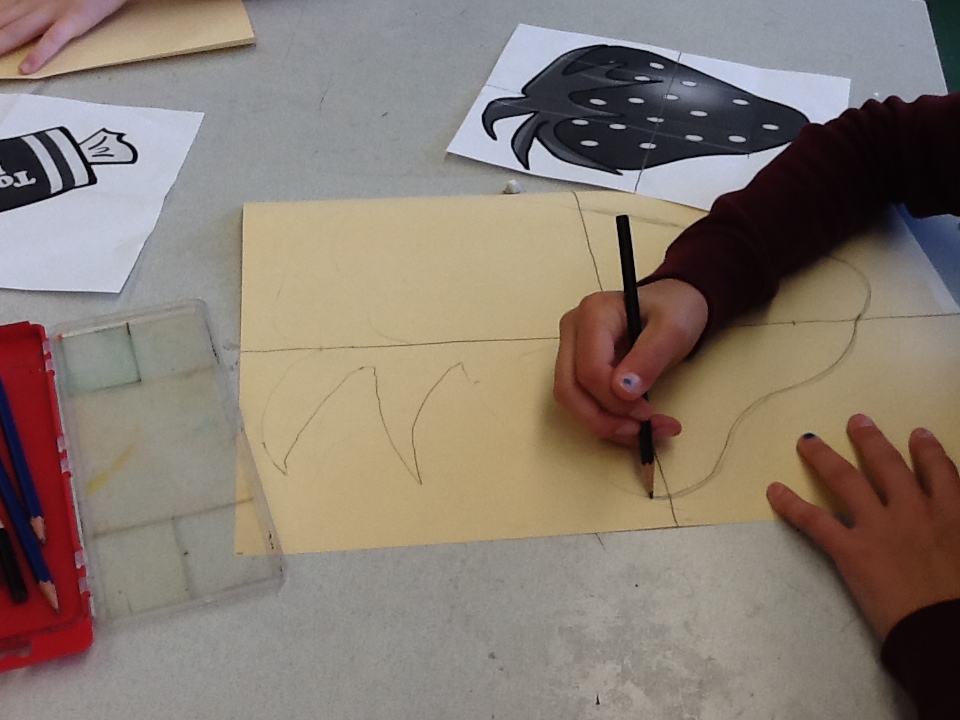
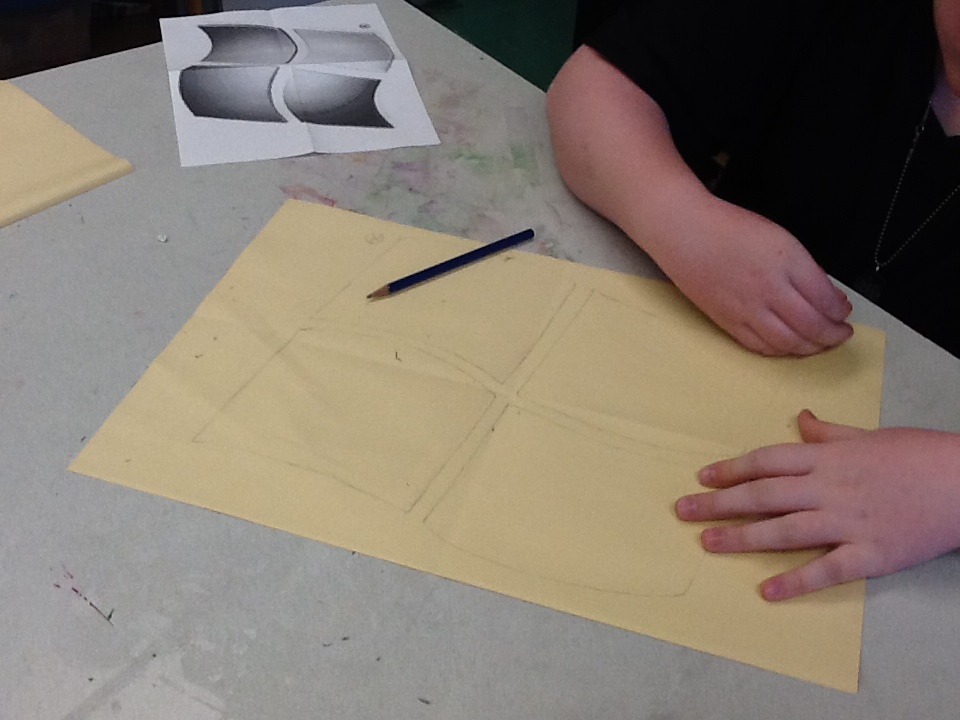
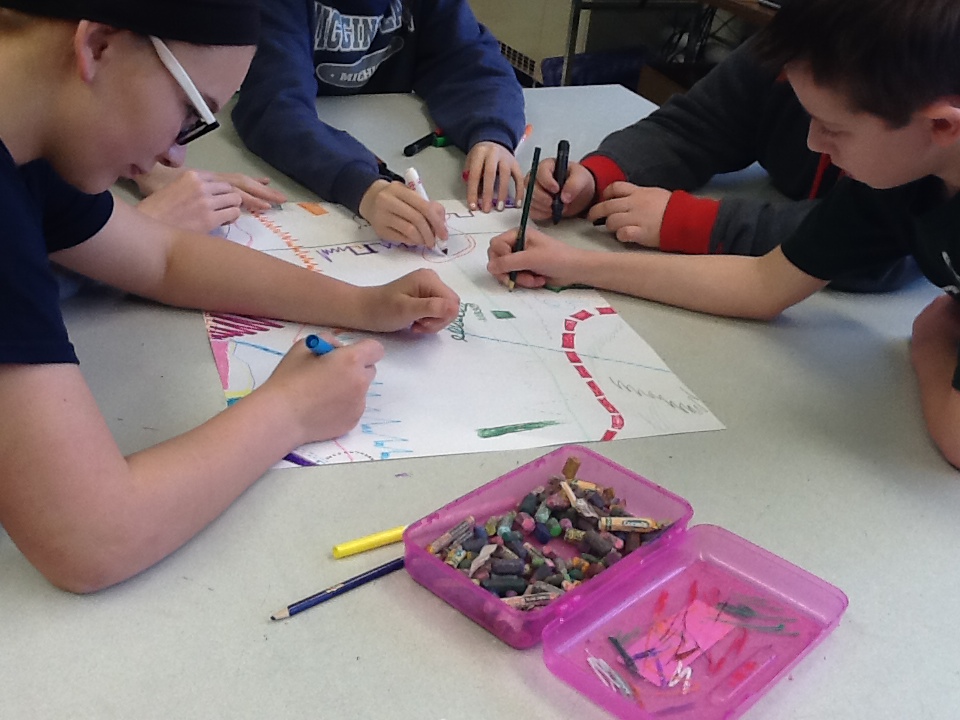
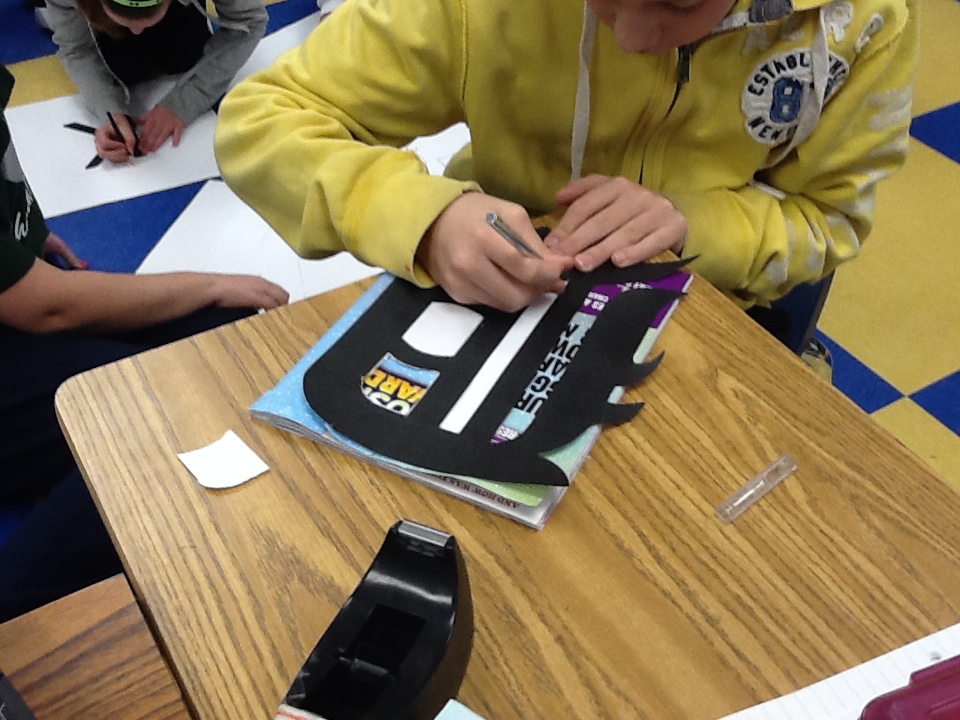
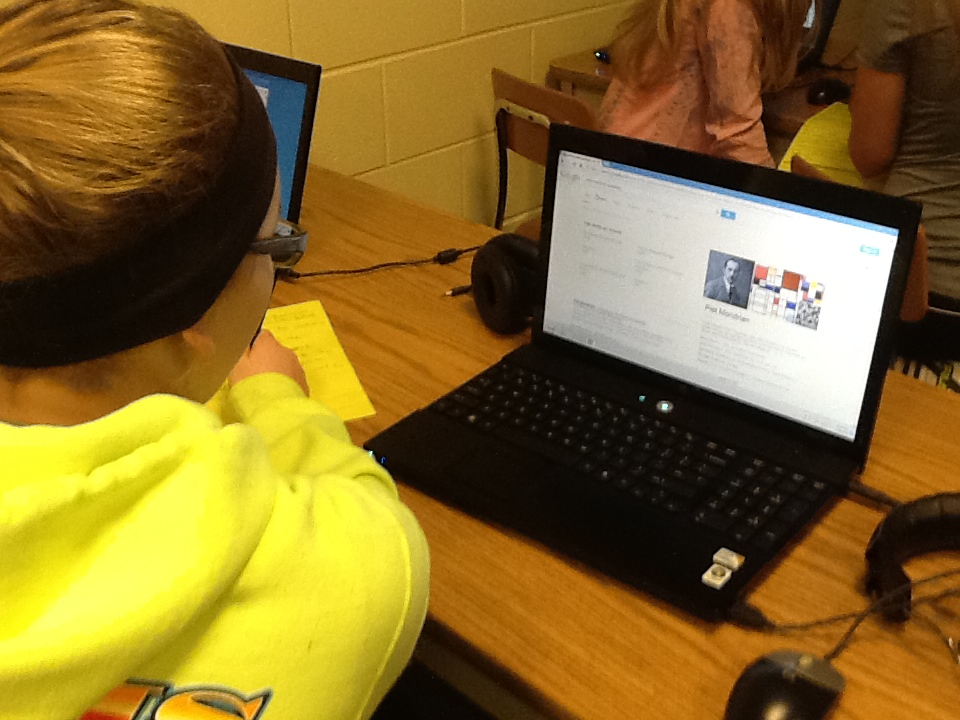
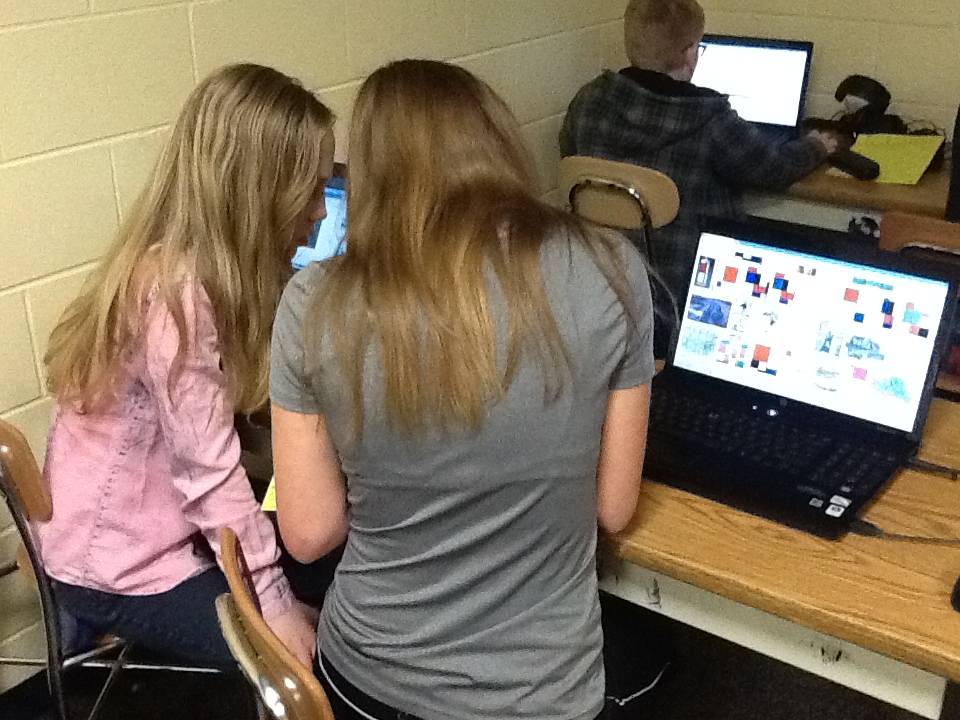
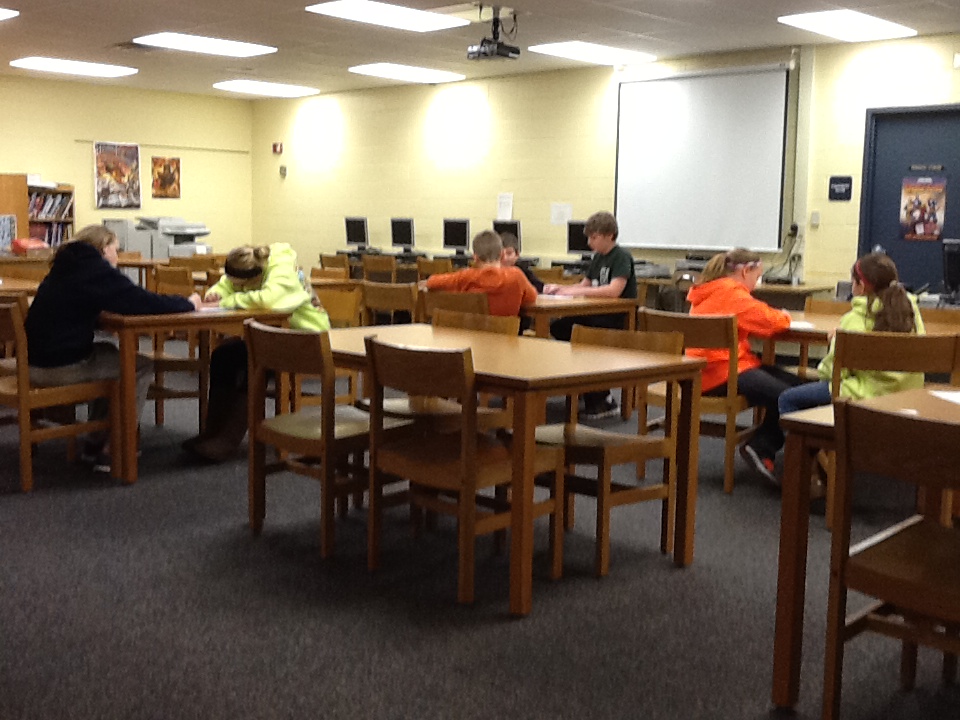
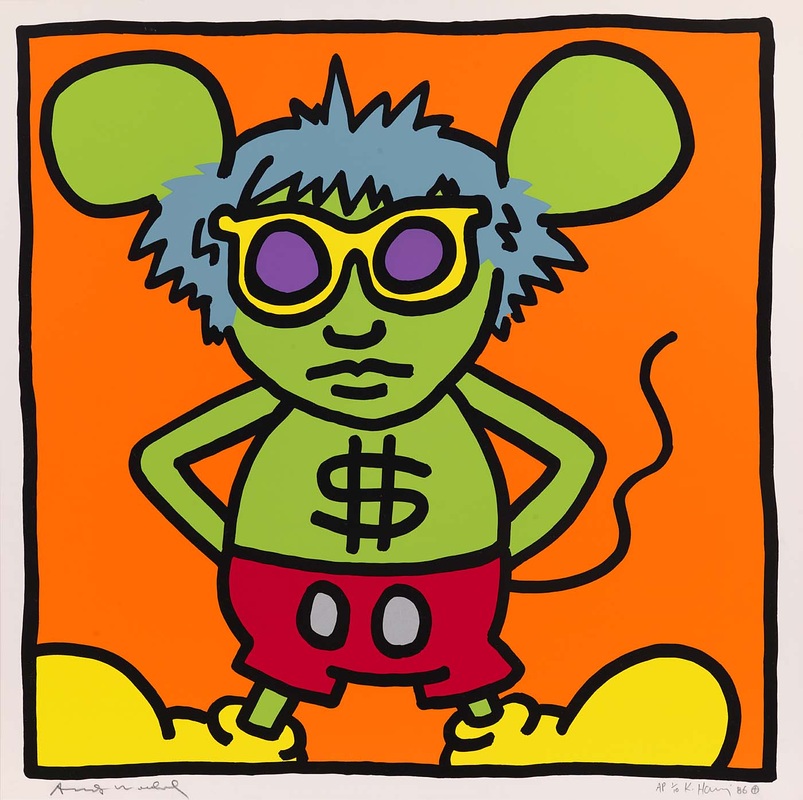
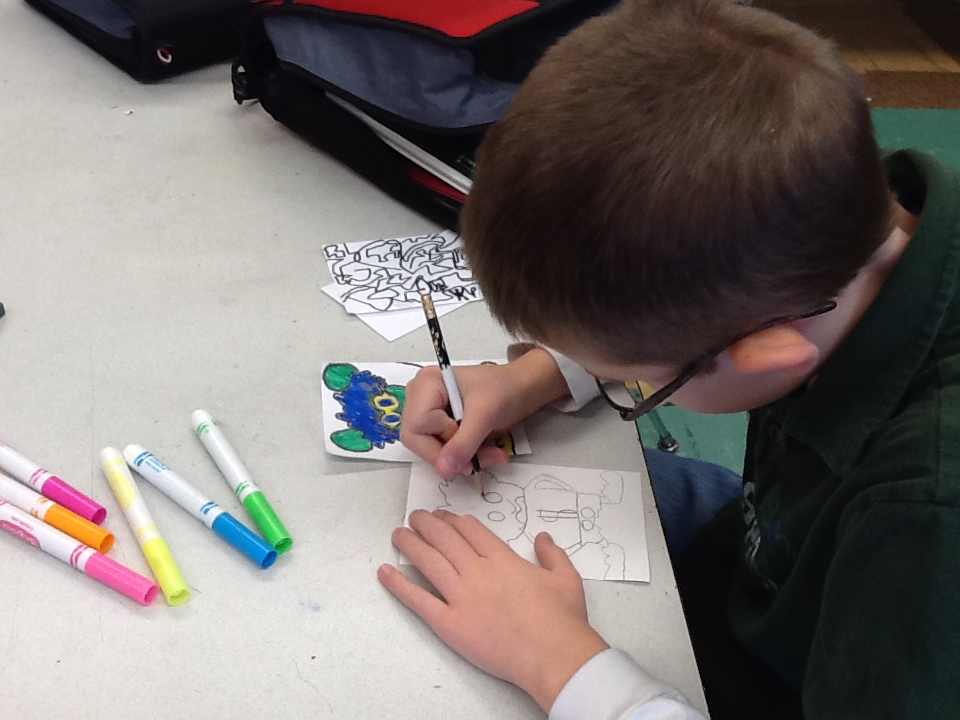
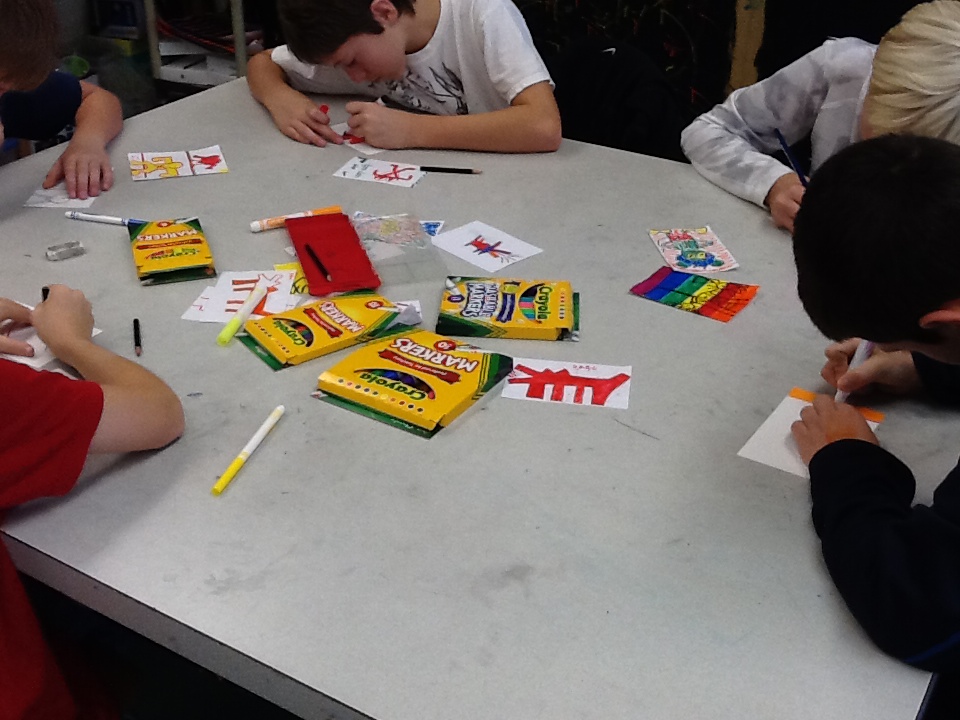
ART 6 is going POP with our next project! Students are taking an ordinary, everyday object or a mega-famous popular culture brand and turning it into a piece of art a la Andy Warhol. Warhol was famous for taking everyday, mundane objects or ultra famous people and brands and giving them a new twist with bright, unlikely colors or placing them in grids. Our objects range from pickles, toilet paper and staplers to cans of Pepsi and the Apple logo. See our process below. We started in the computer lab to choose our subjects then went back to art room to get busy.
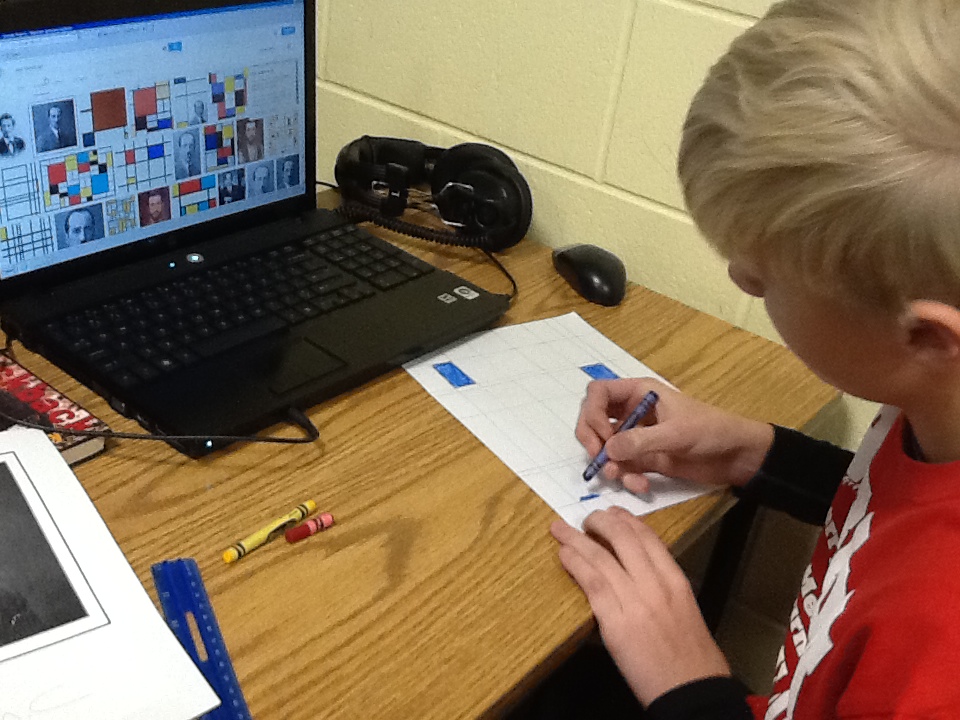
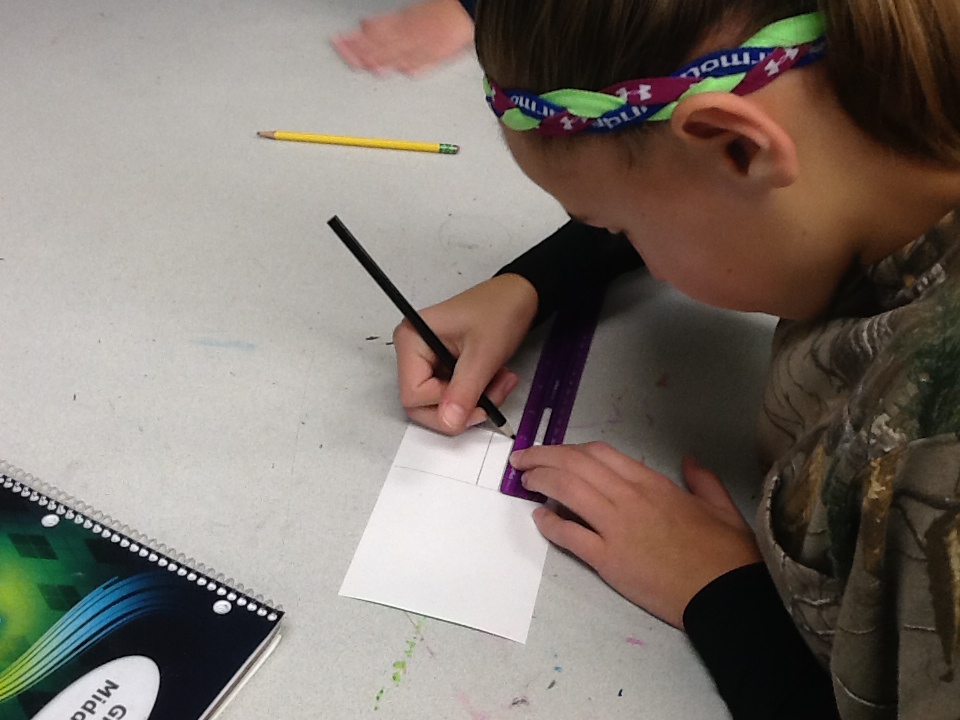
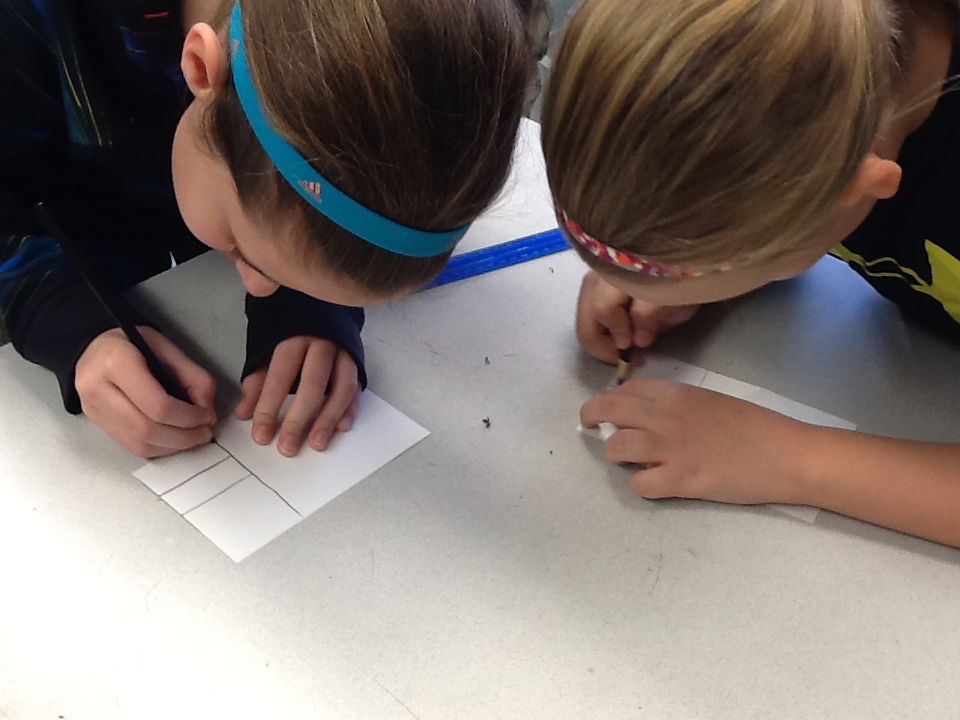
Grid drawings of our subjects

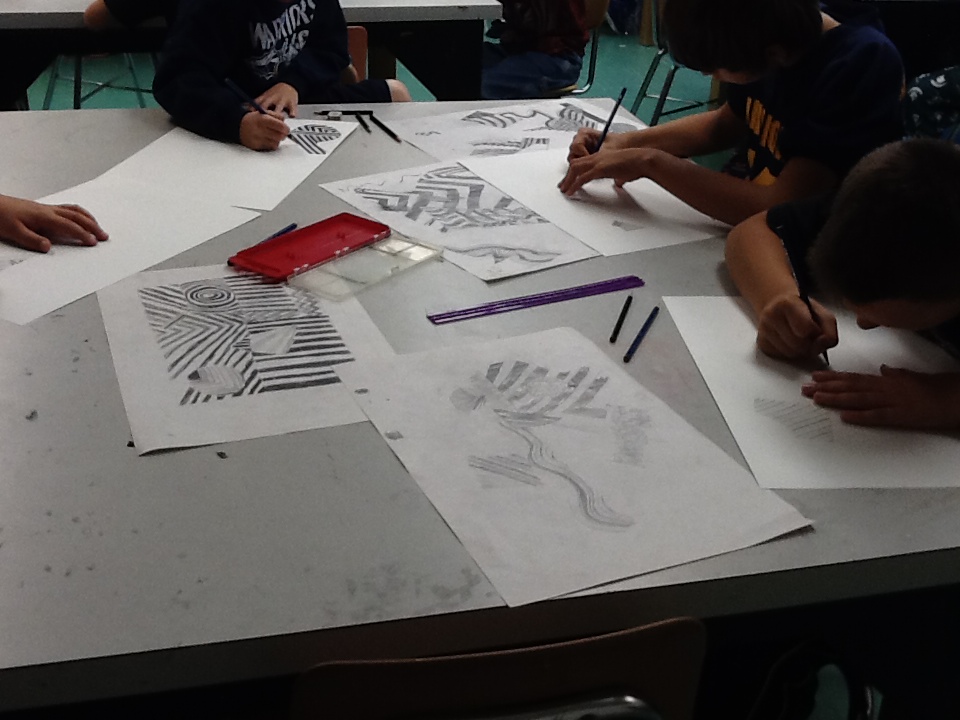
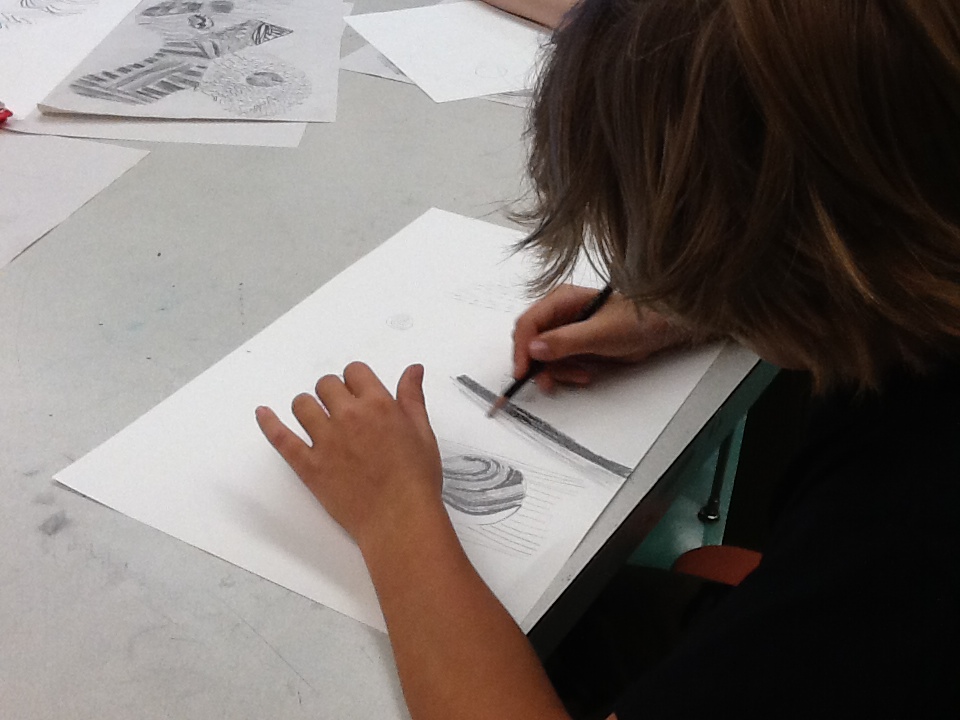
final sneak peek at our line/shape pieces
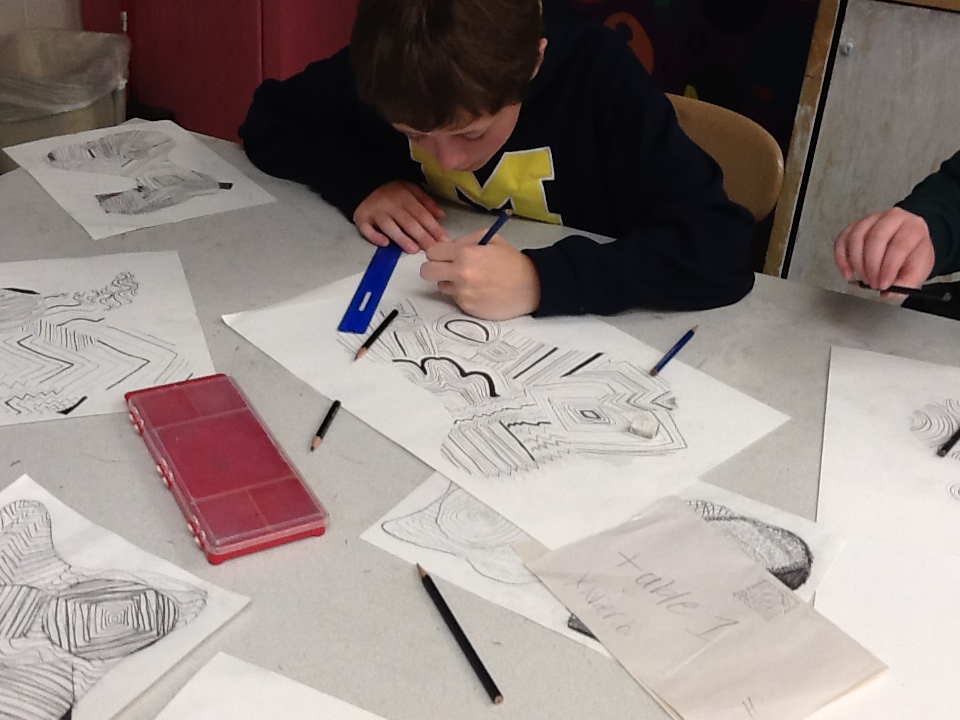
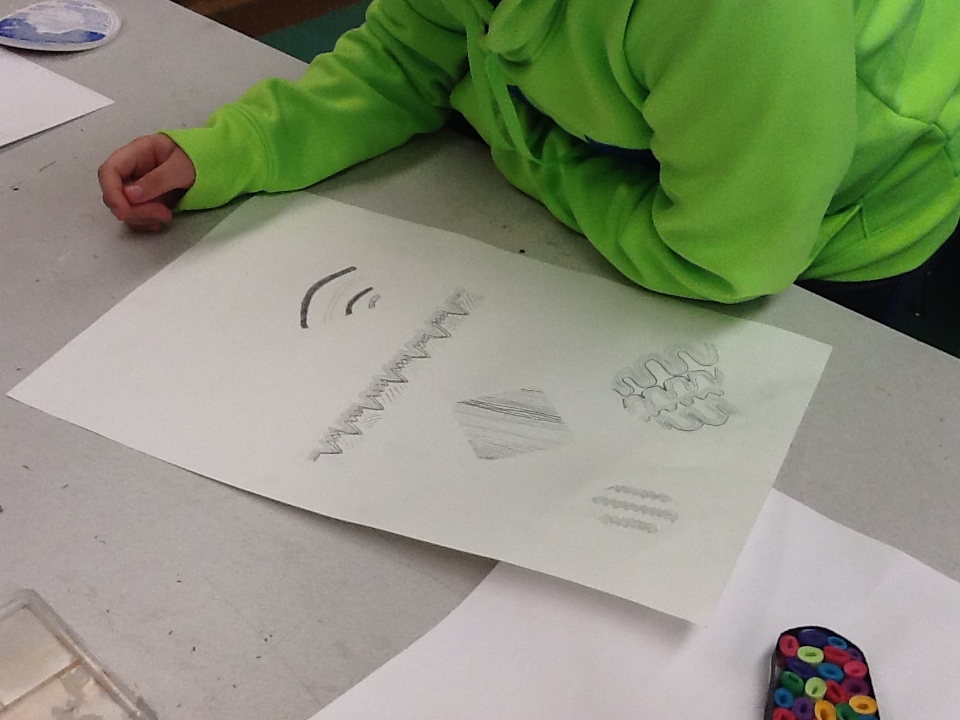
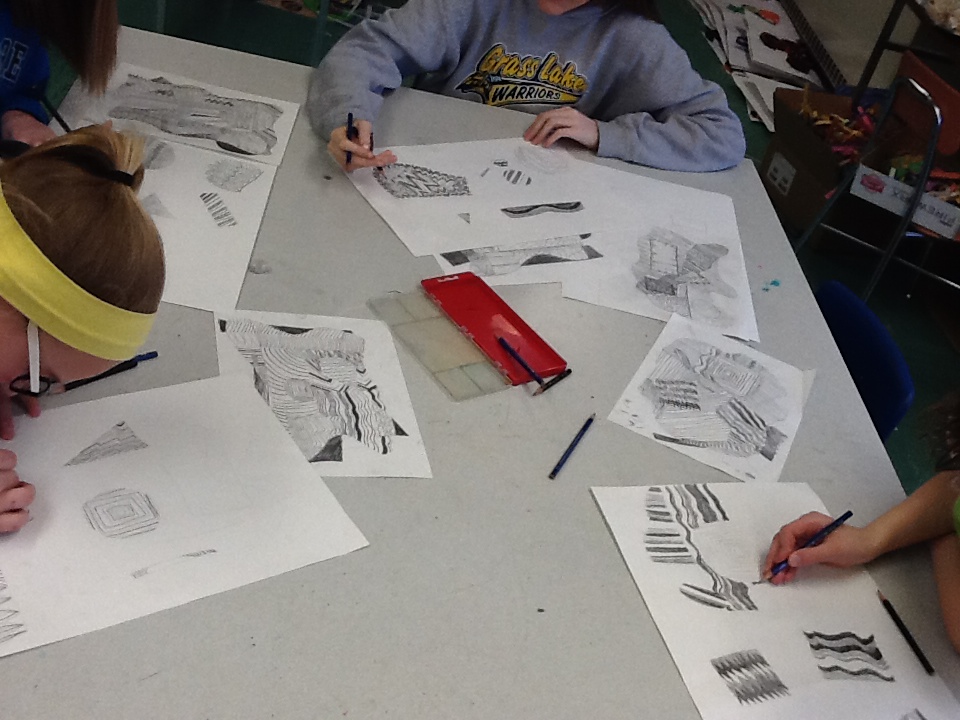
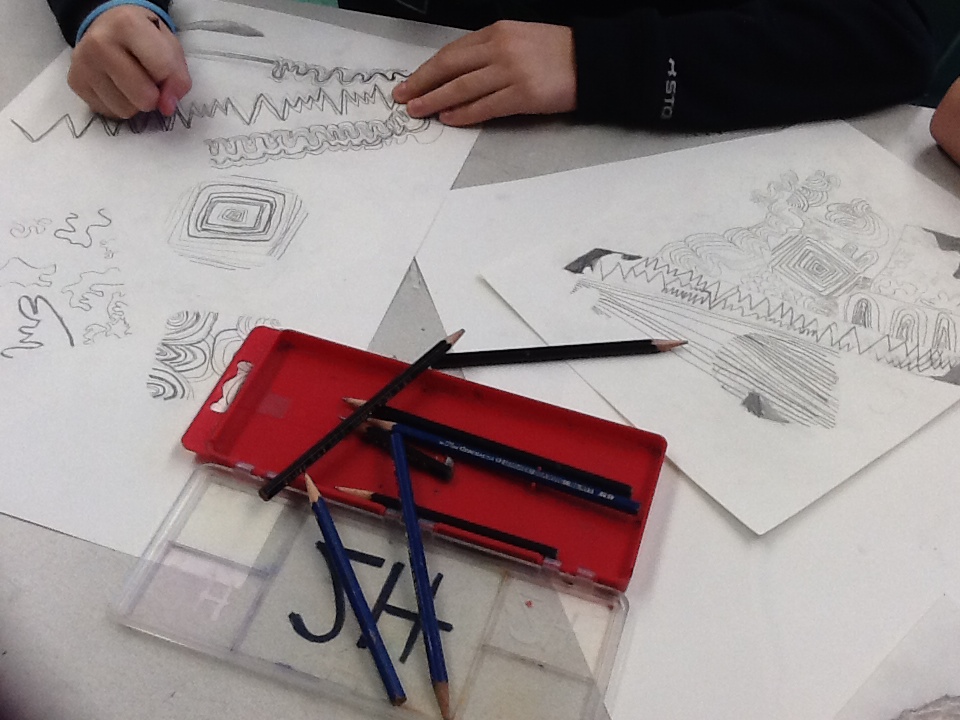
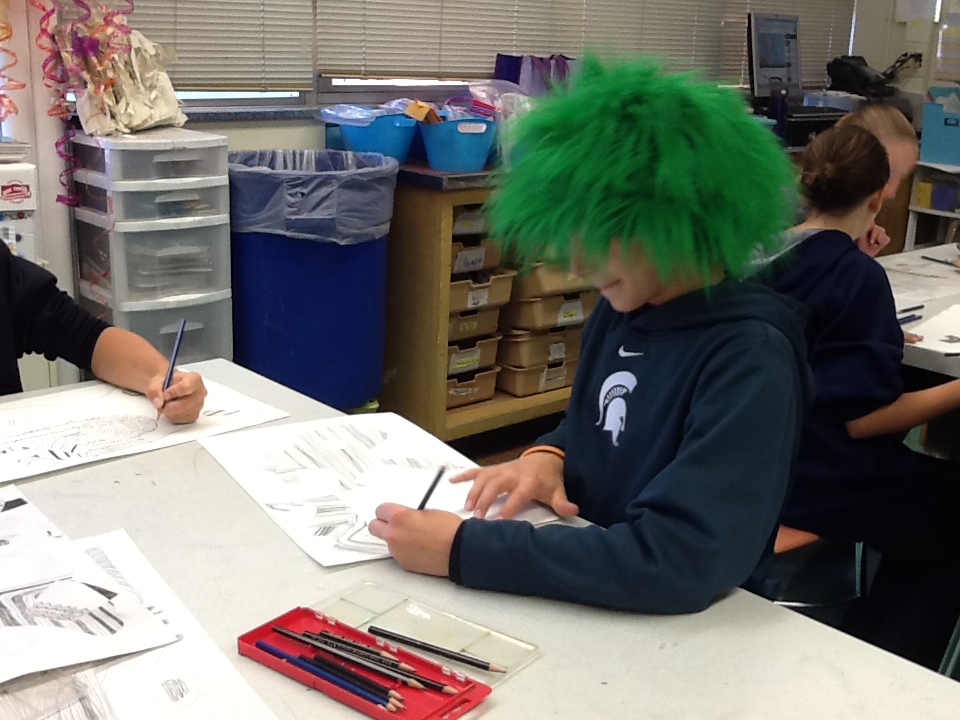
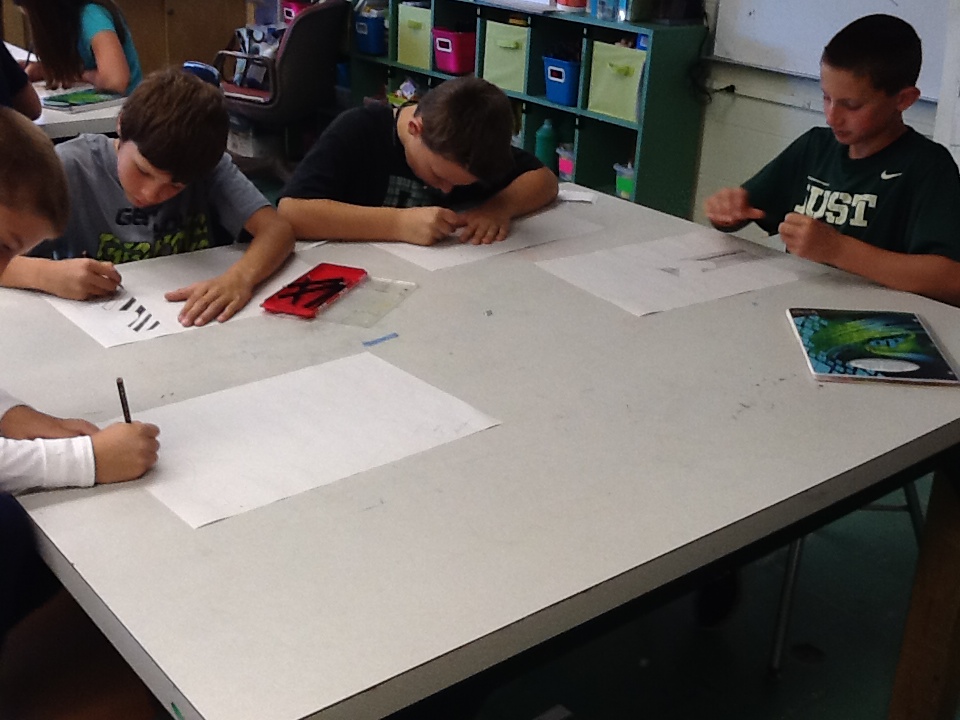
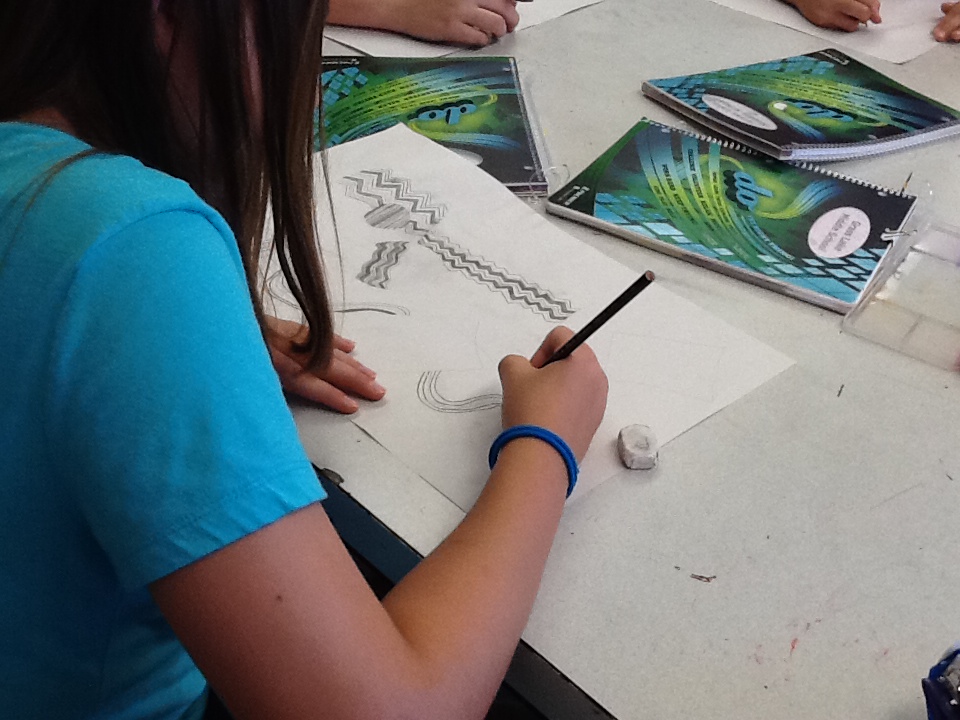
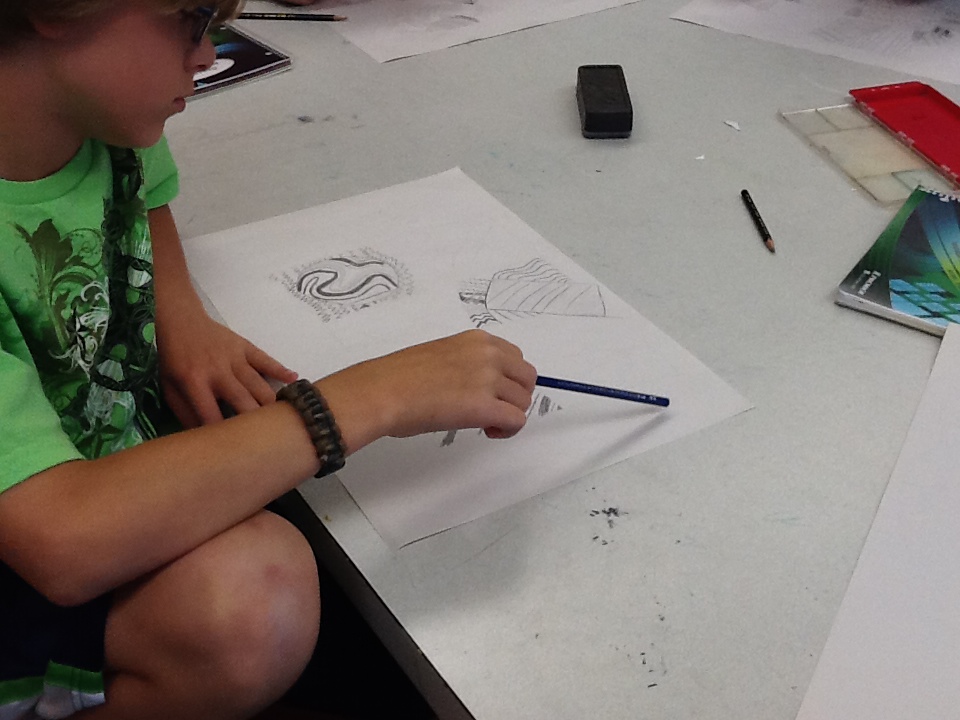
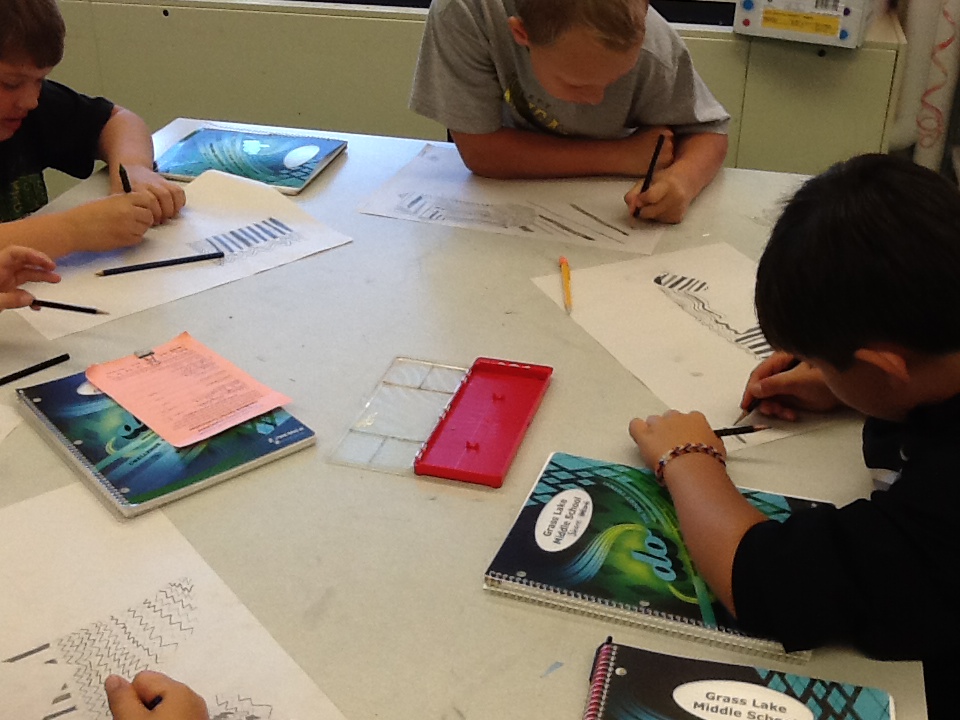
line/shape pieces
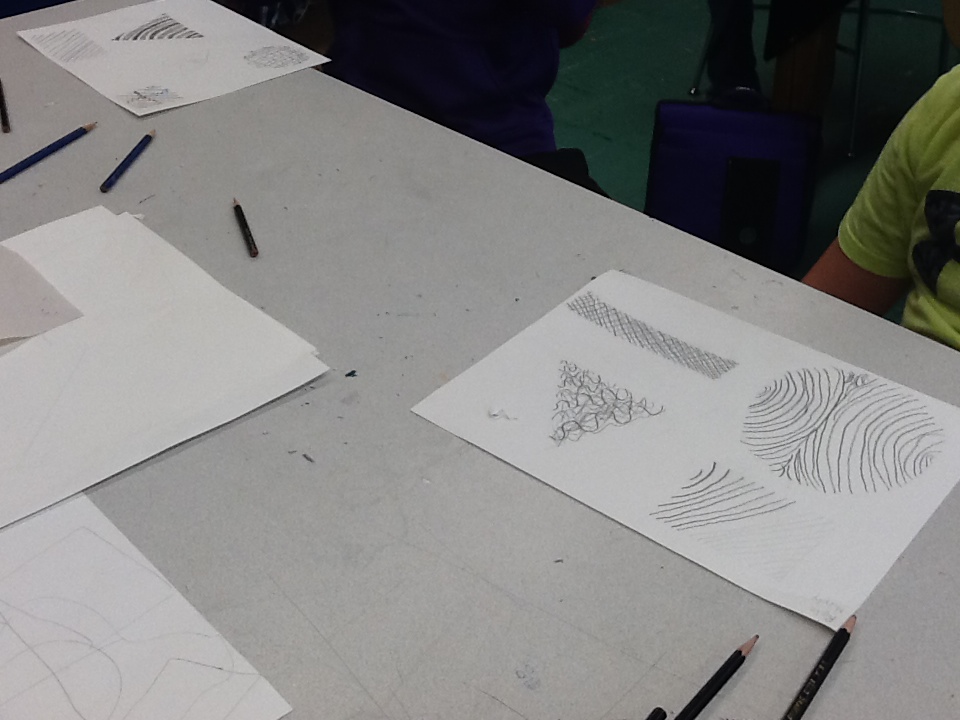
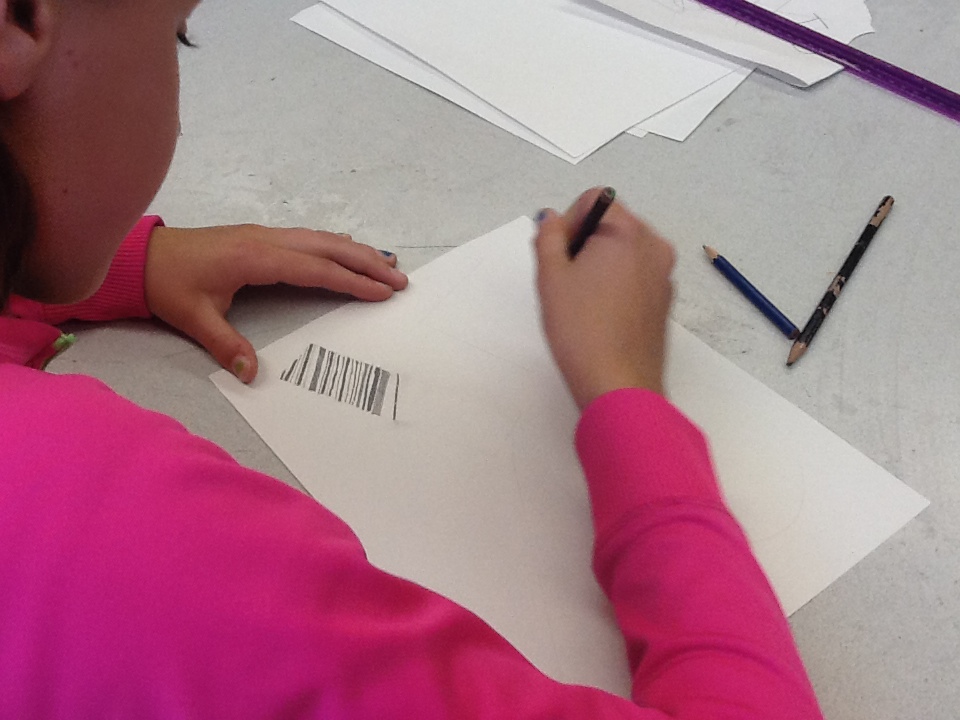
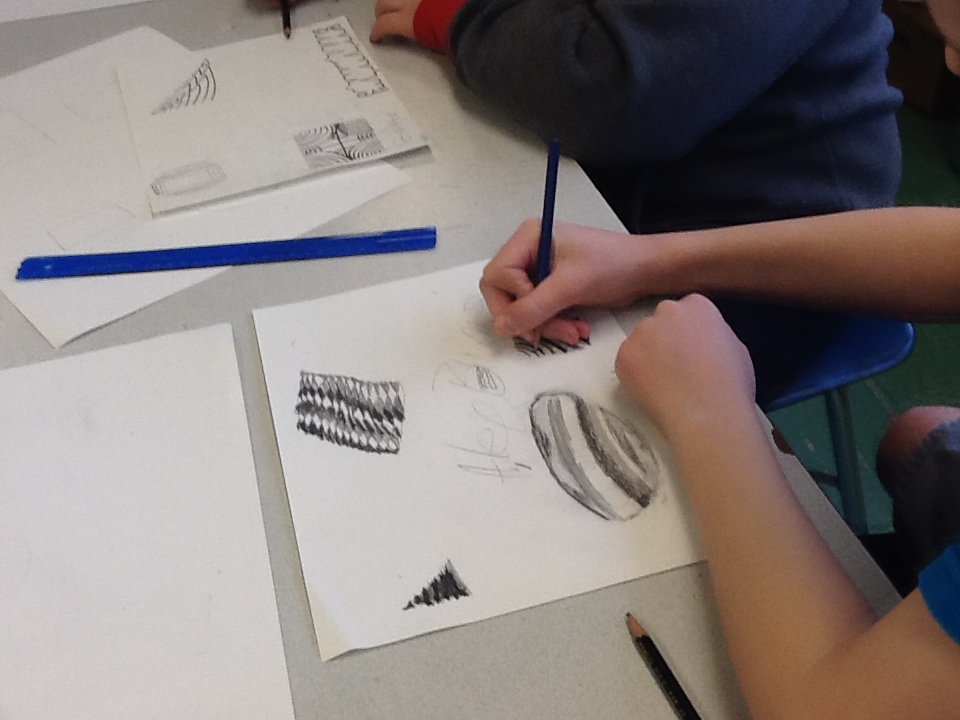
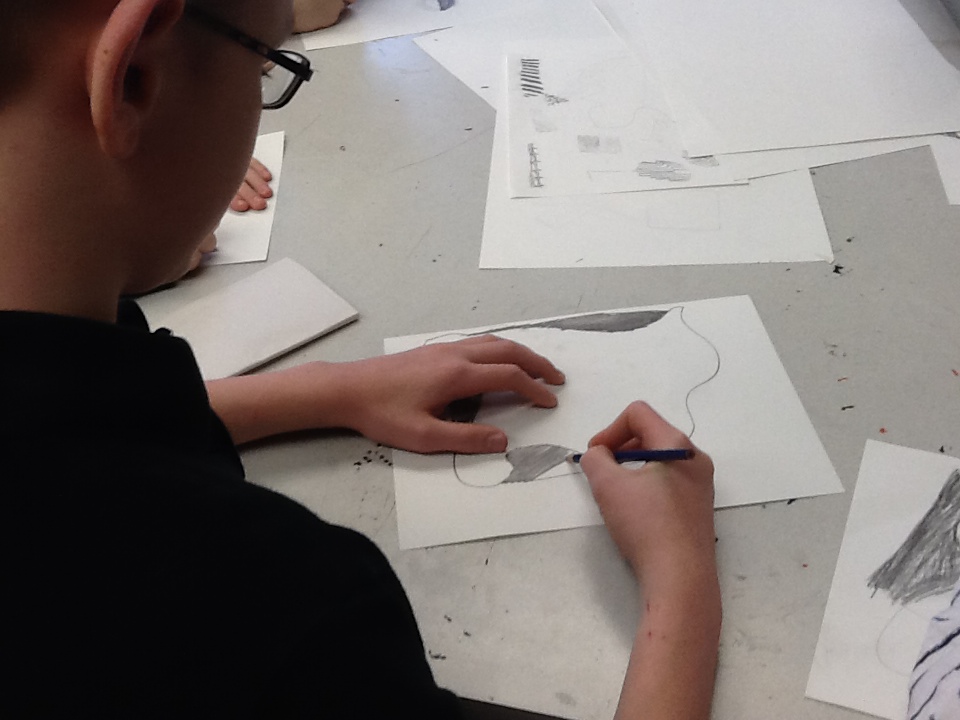
ART 6 is going back to art basics with out next project. Artists will be exploring line, composition and different graphite qualities when creating our line/shape pieces.


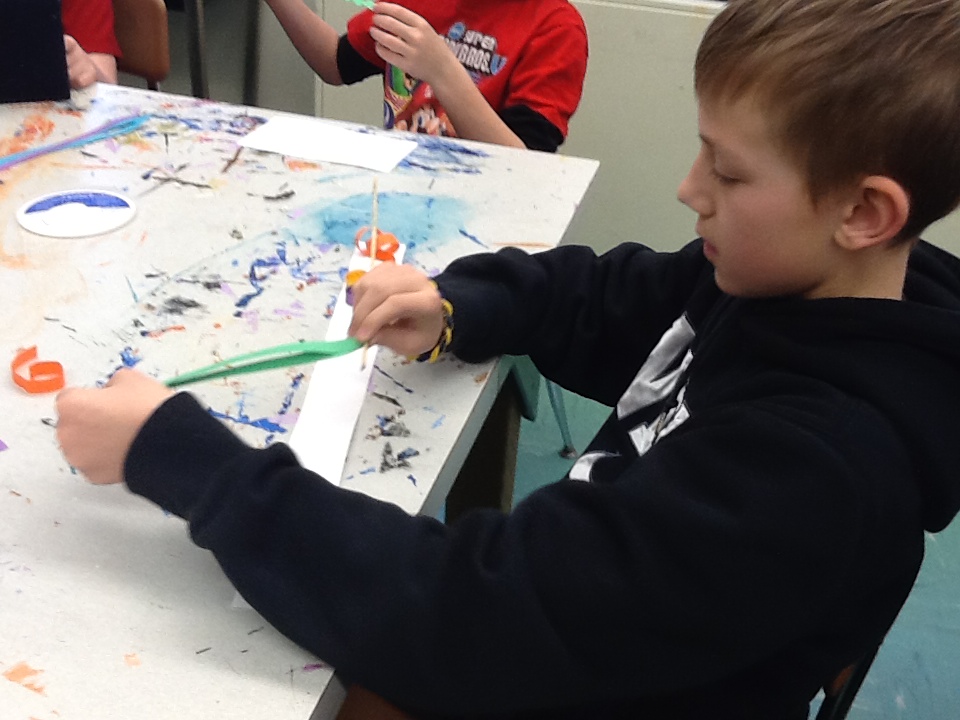
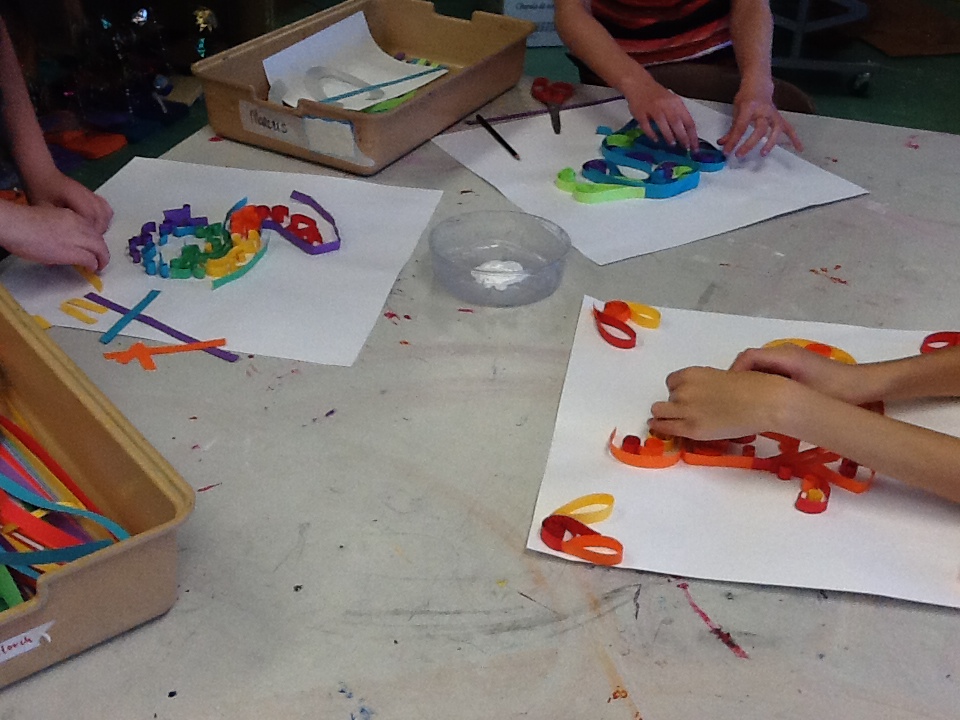
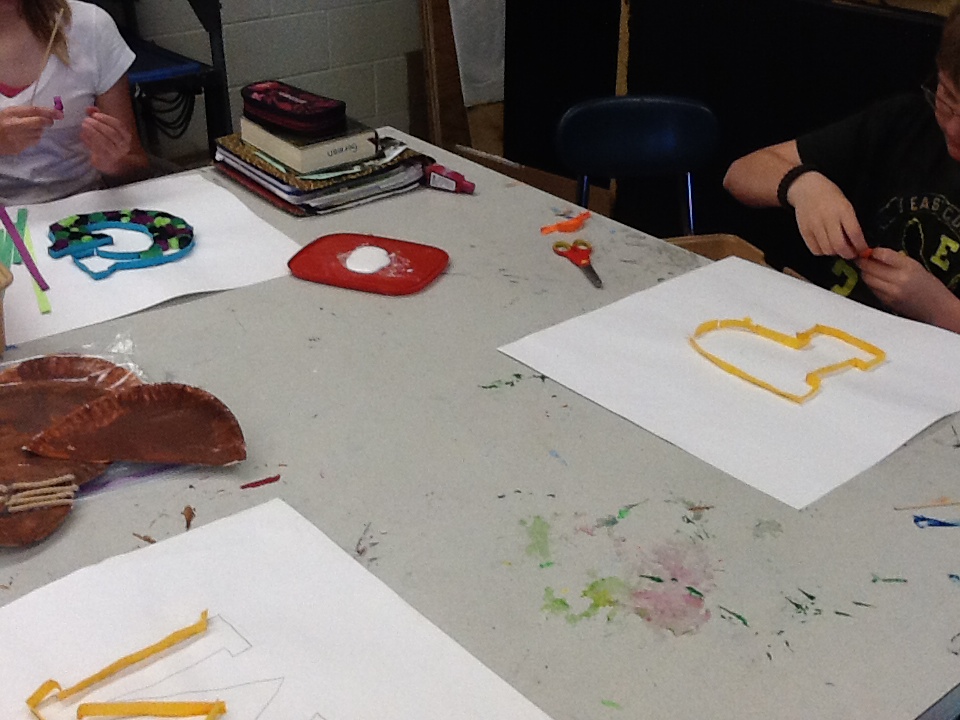
paper quilling pieces
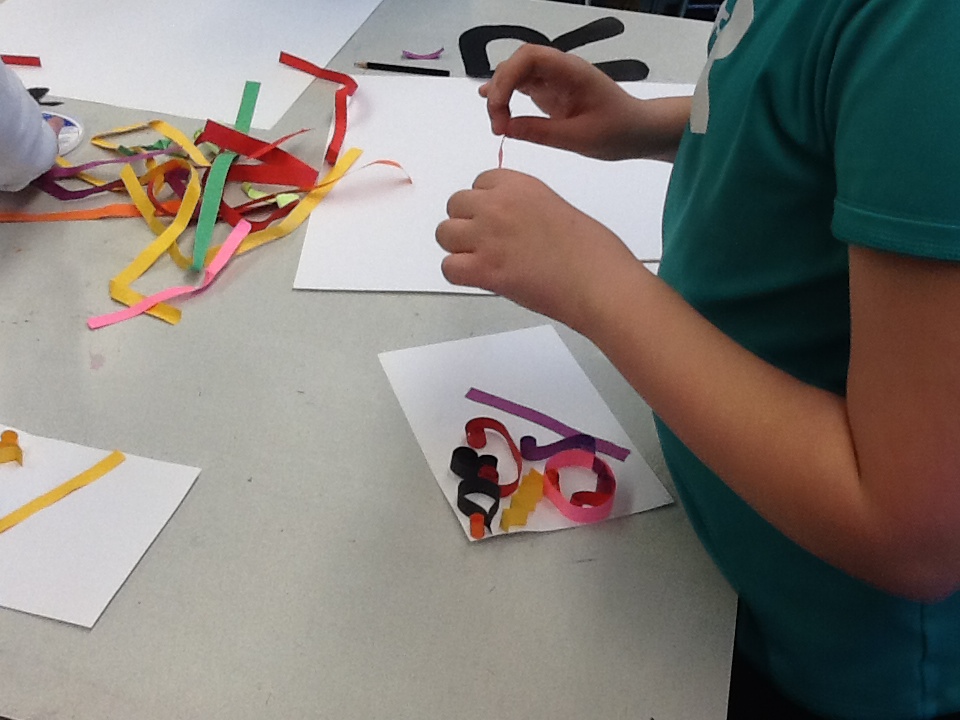
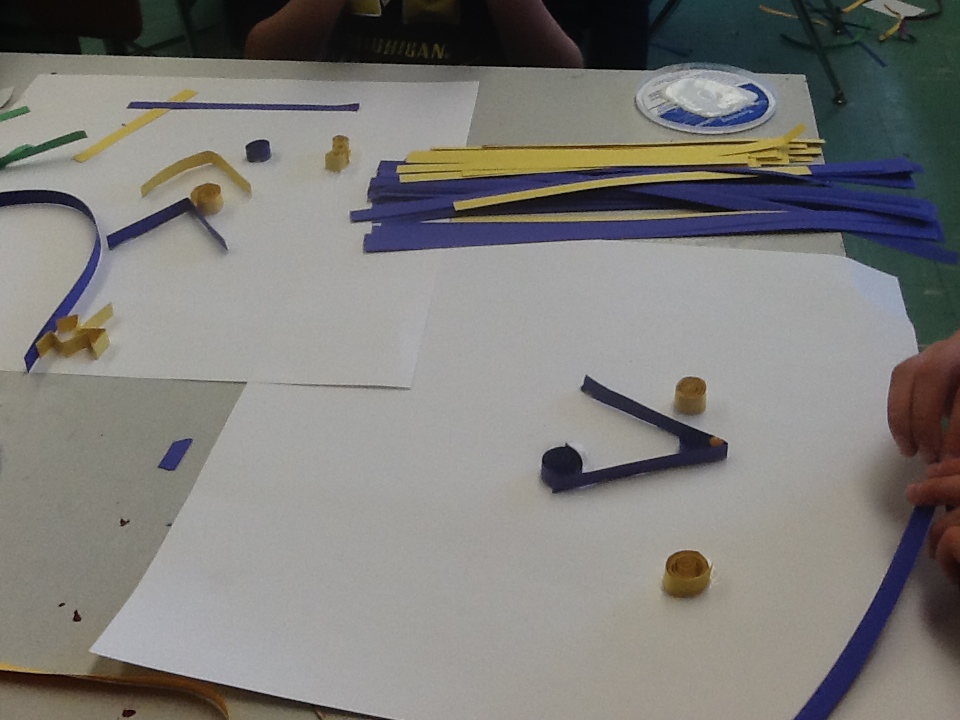
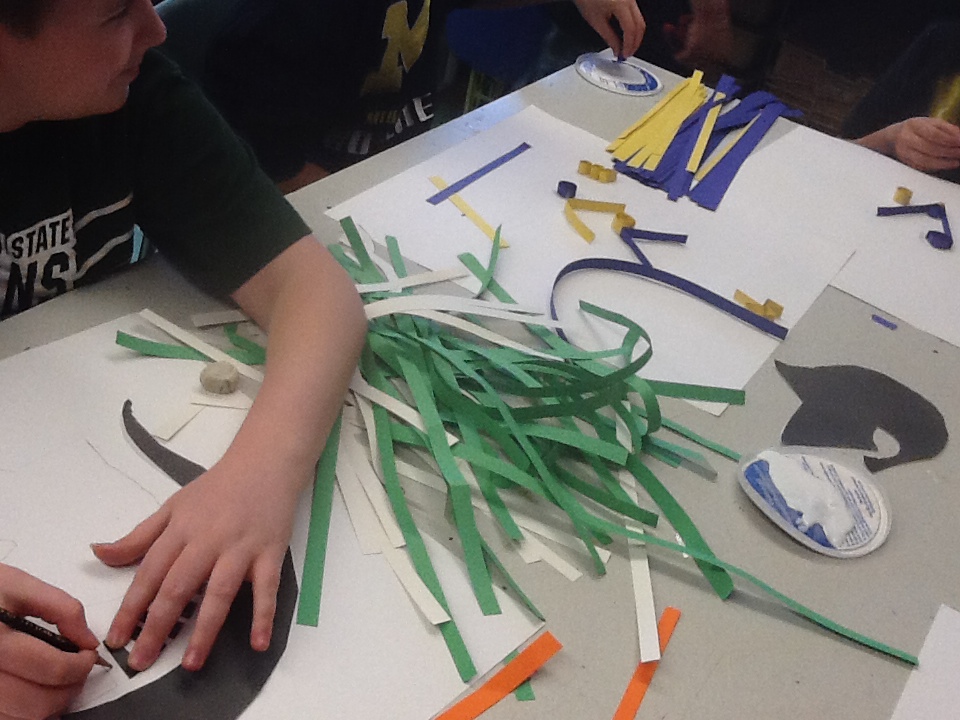
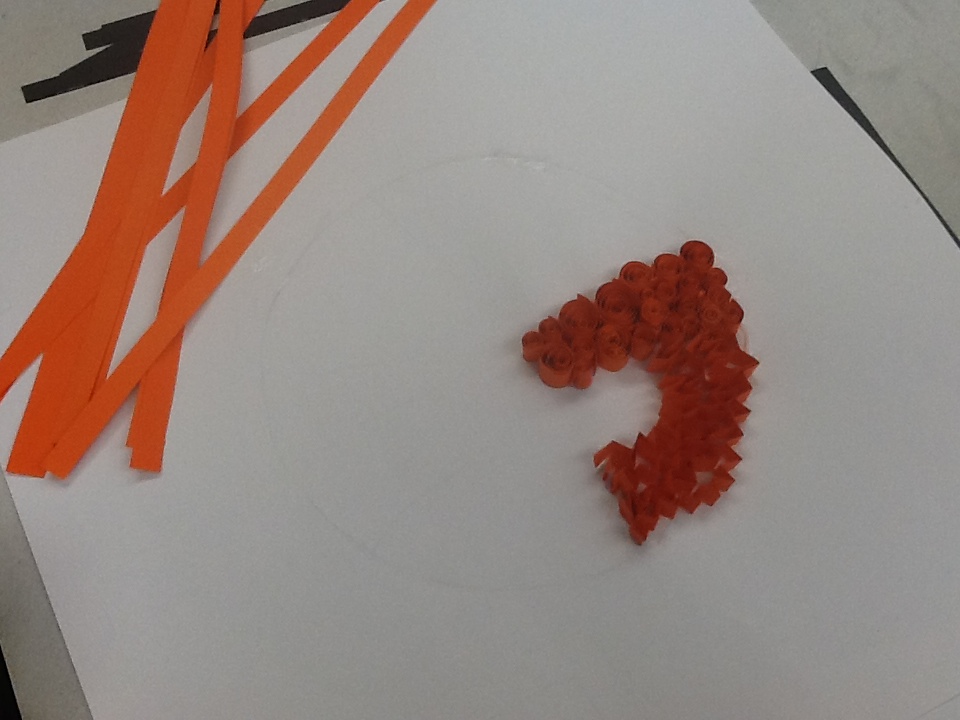
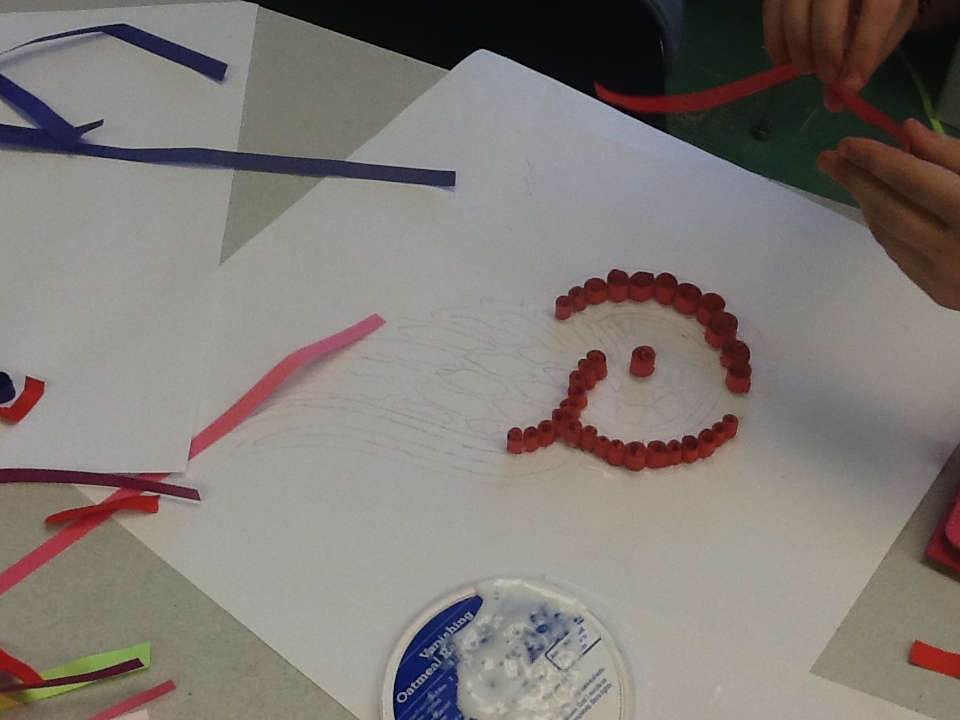
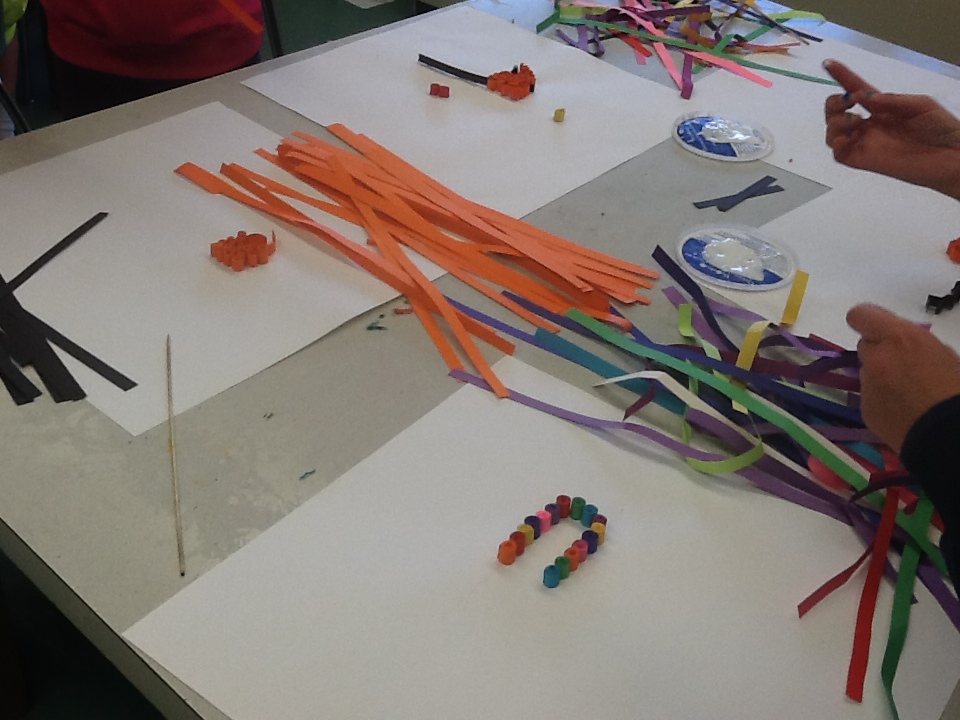
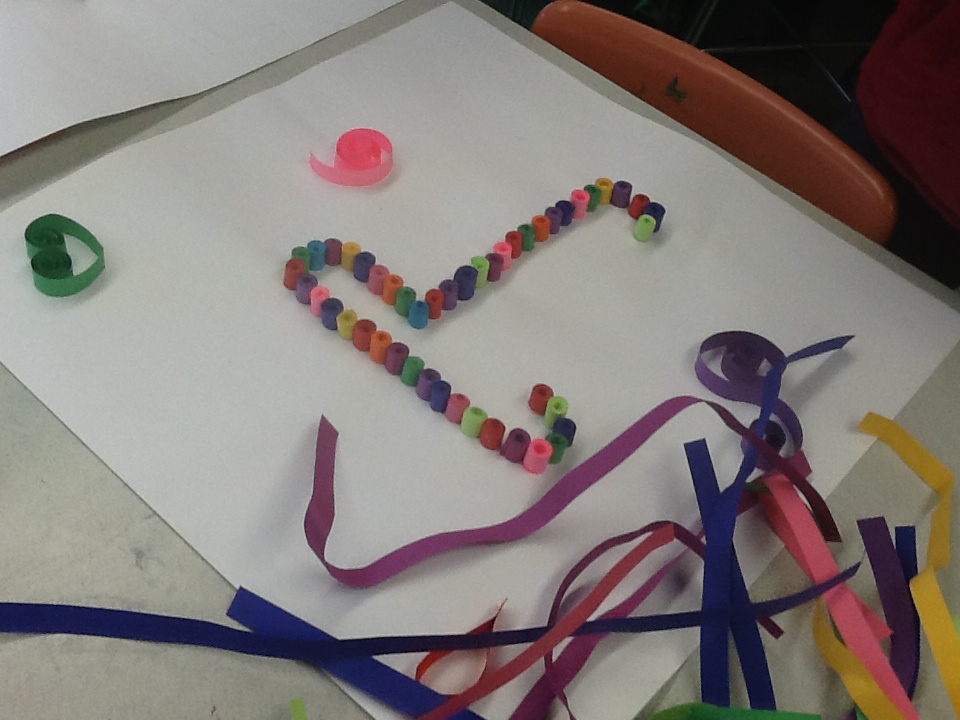
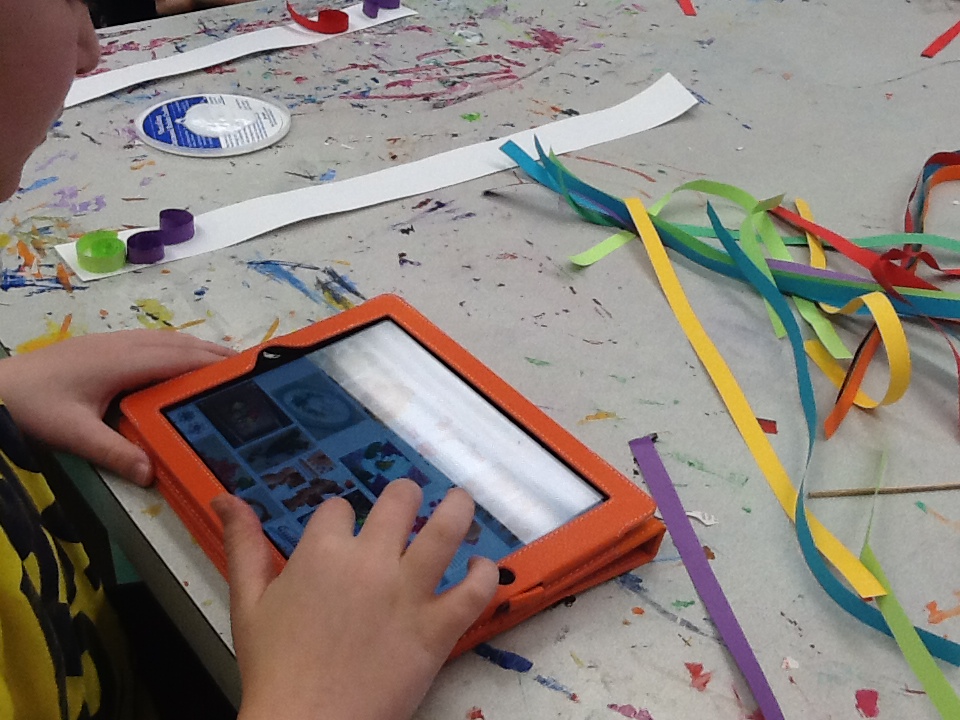
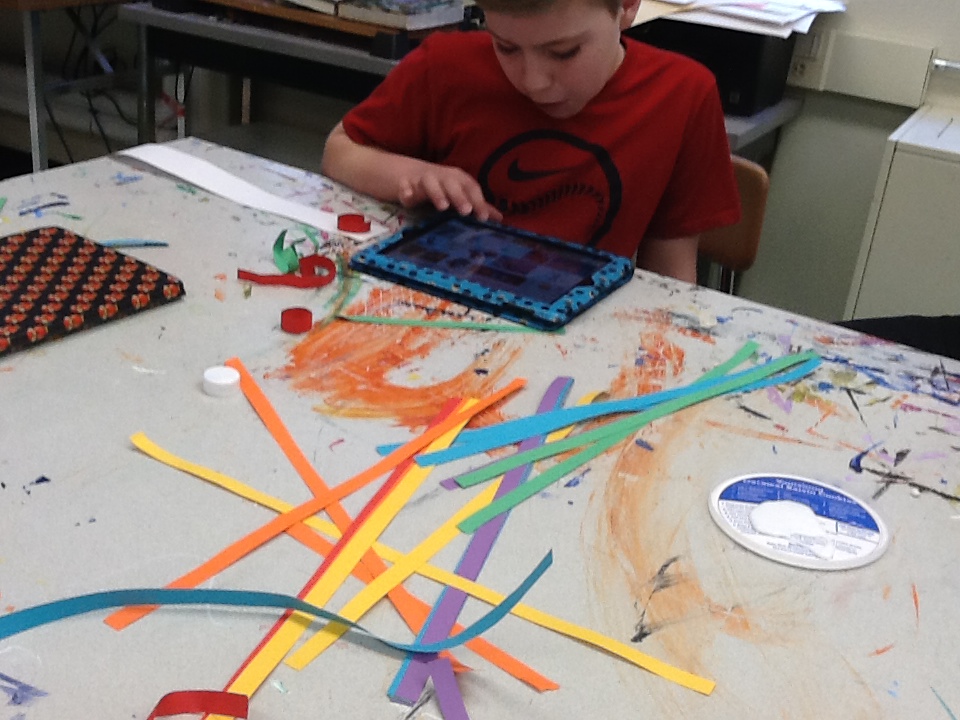
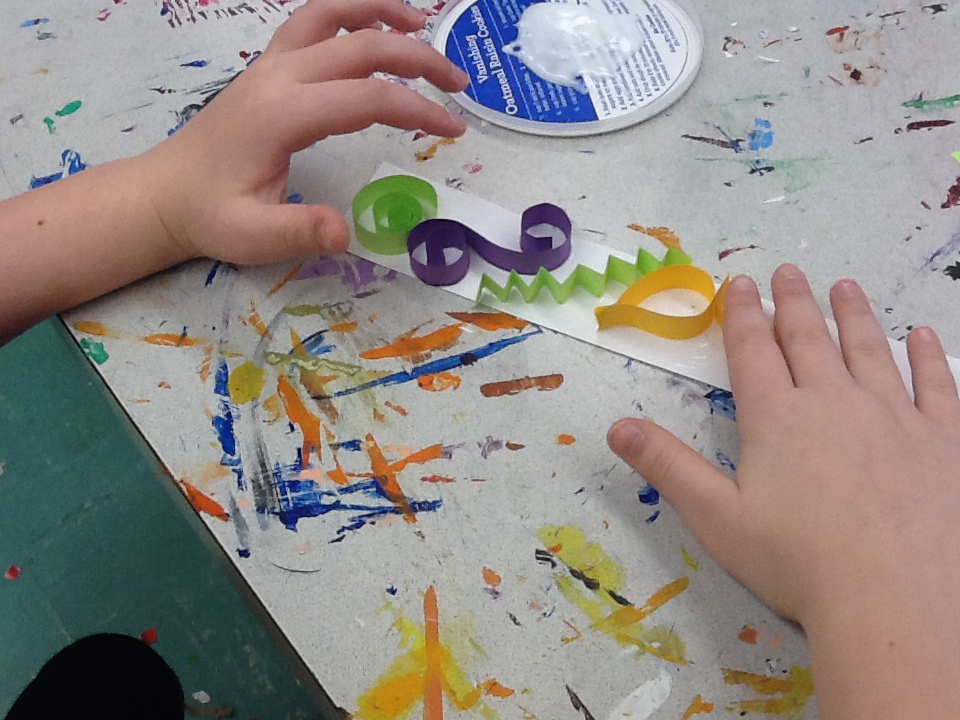
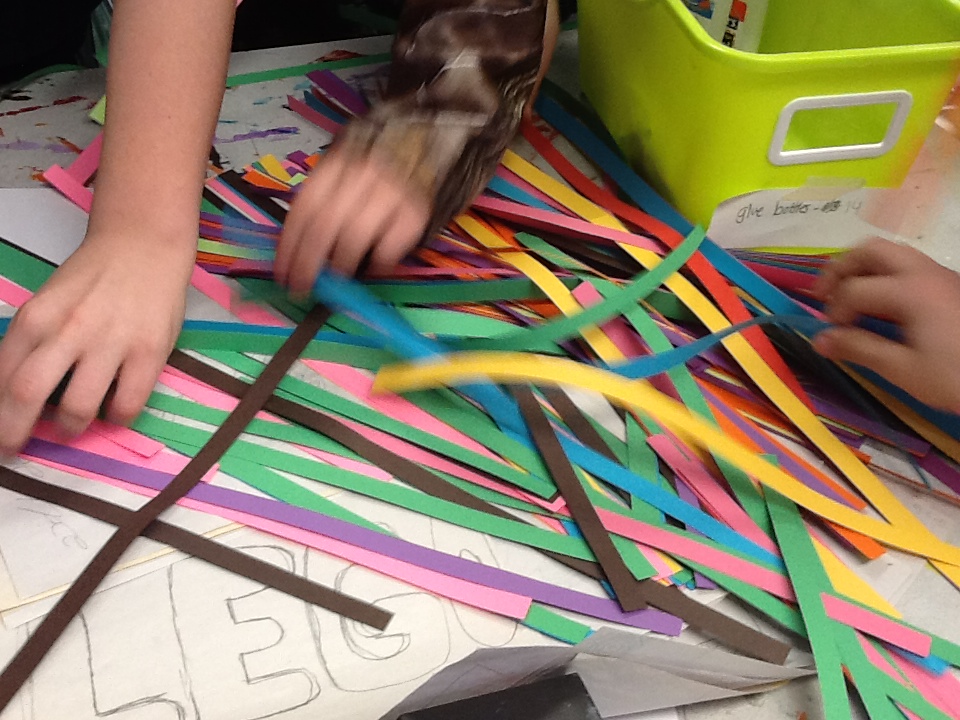
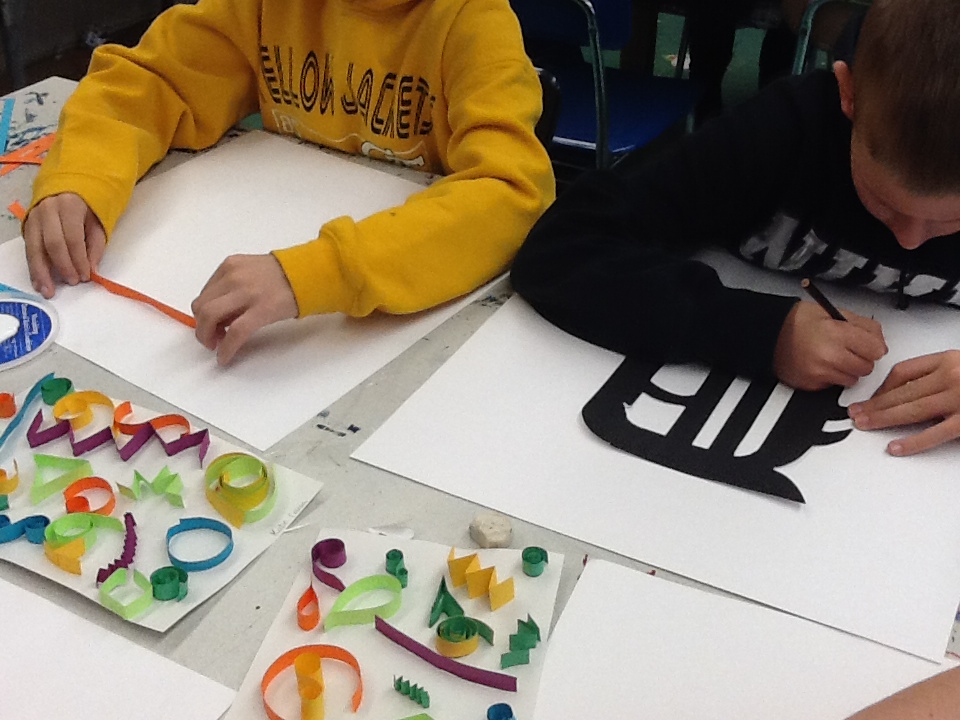
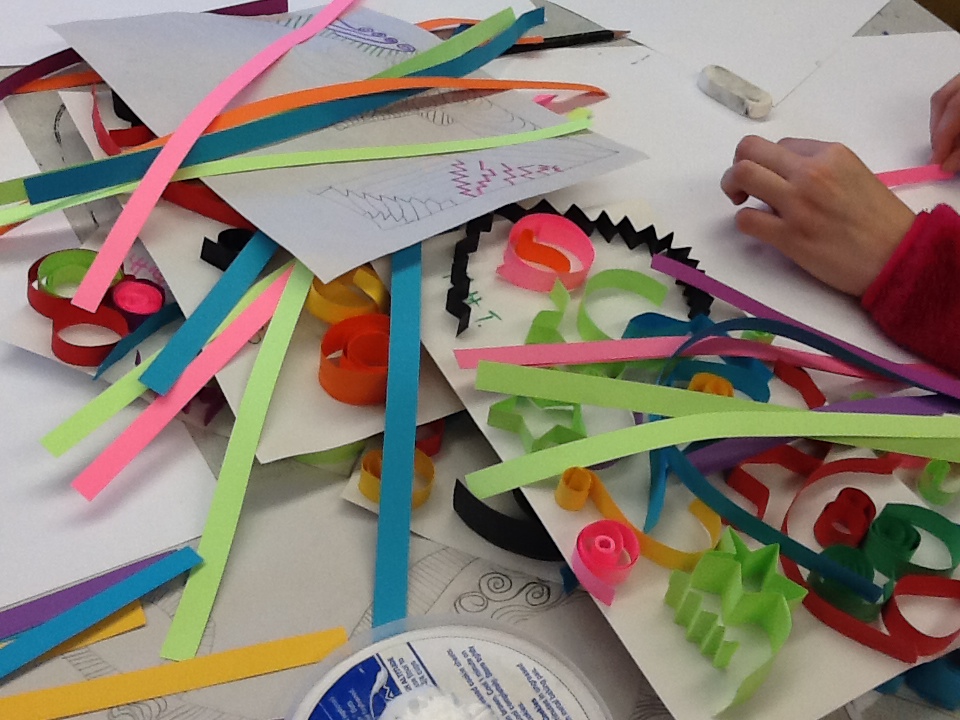
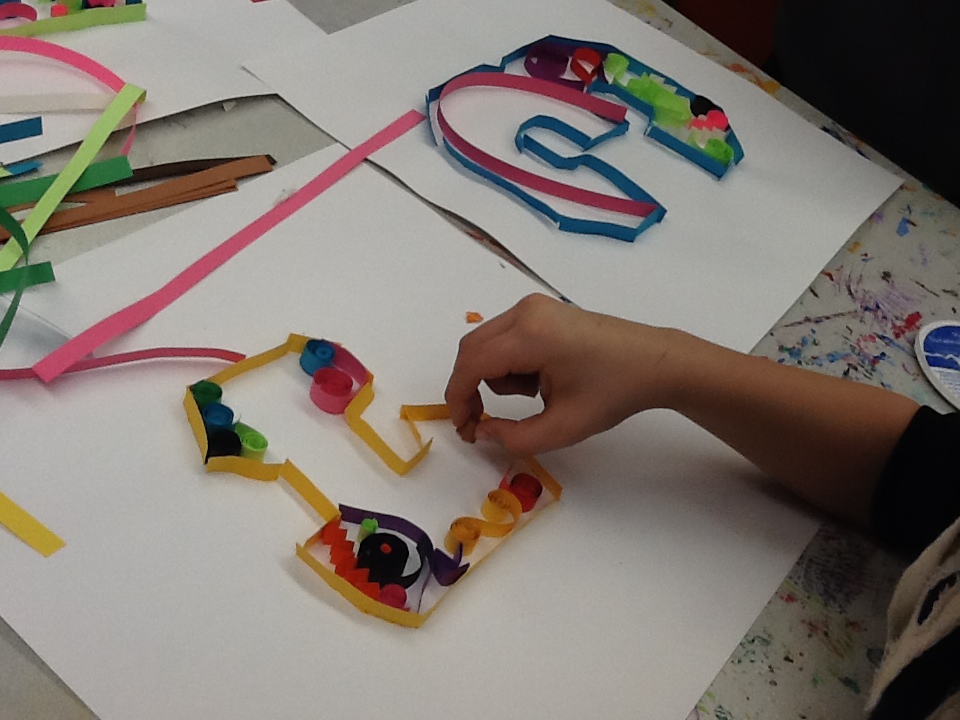
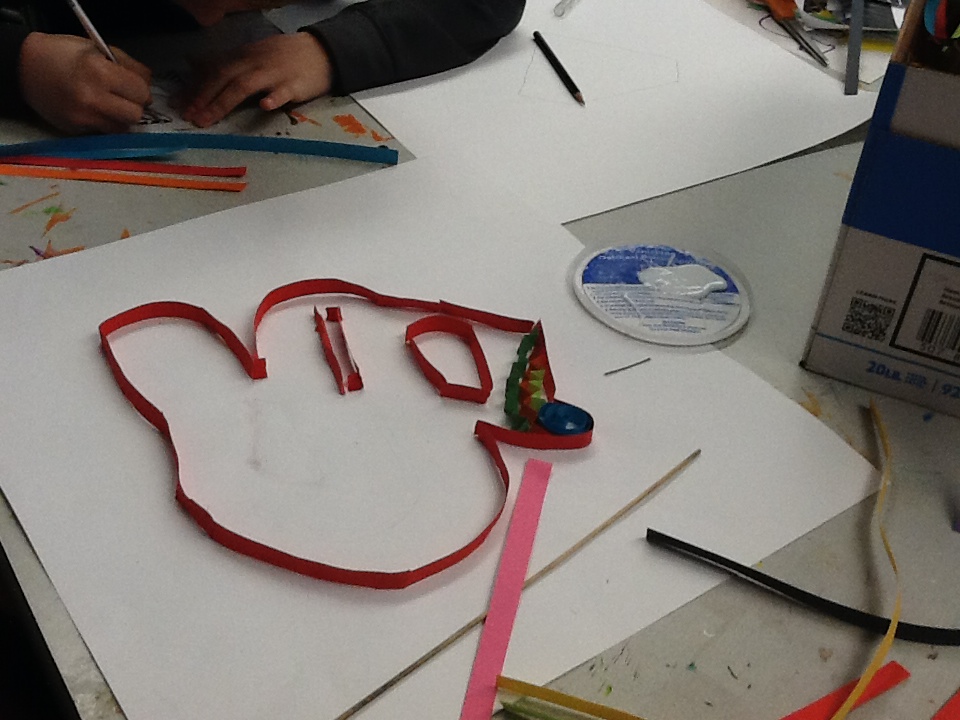
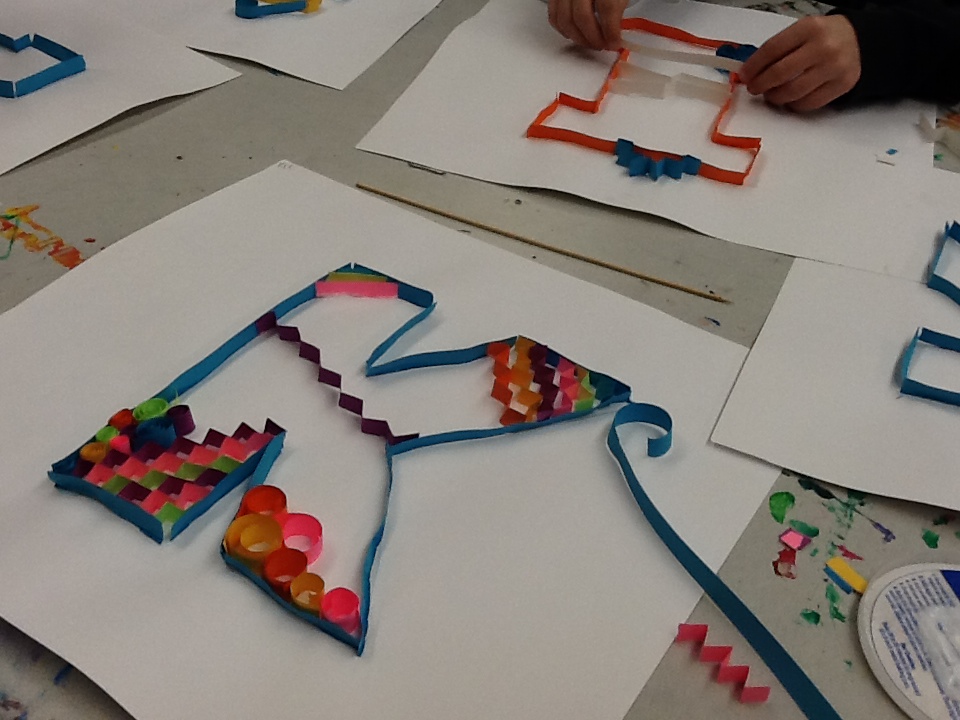
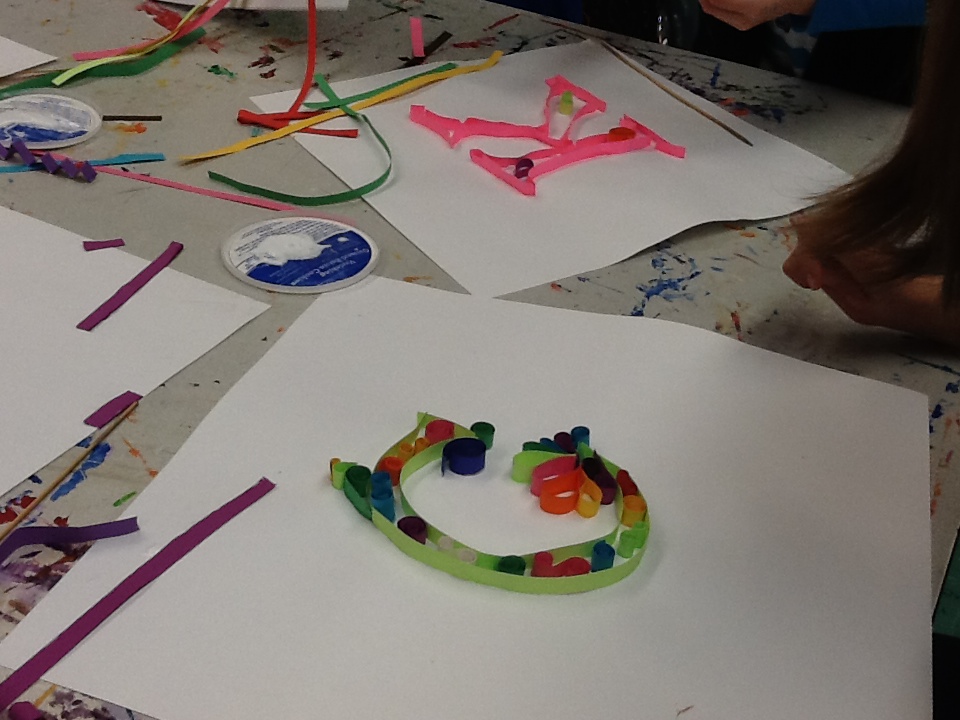
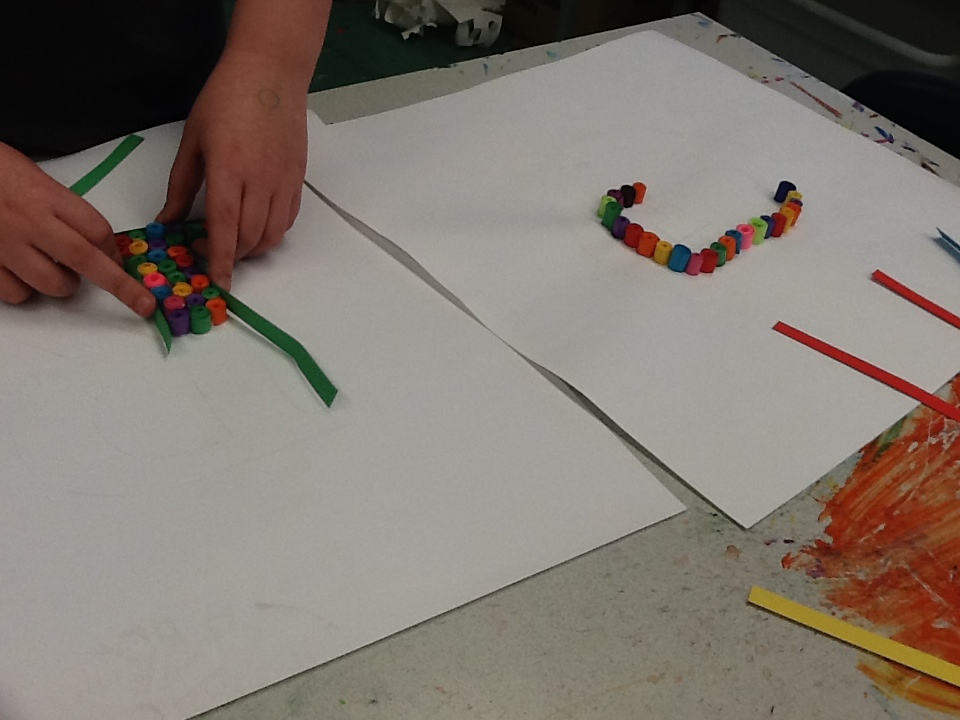
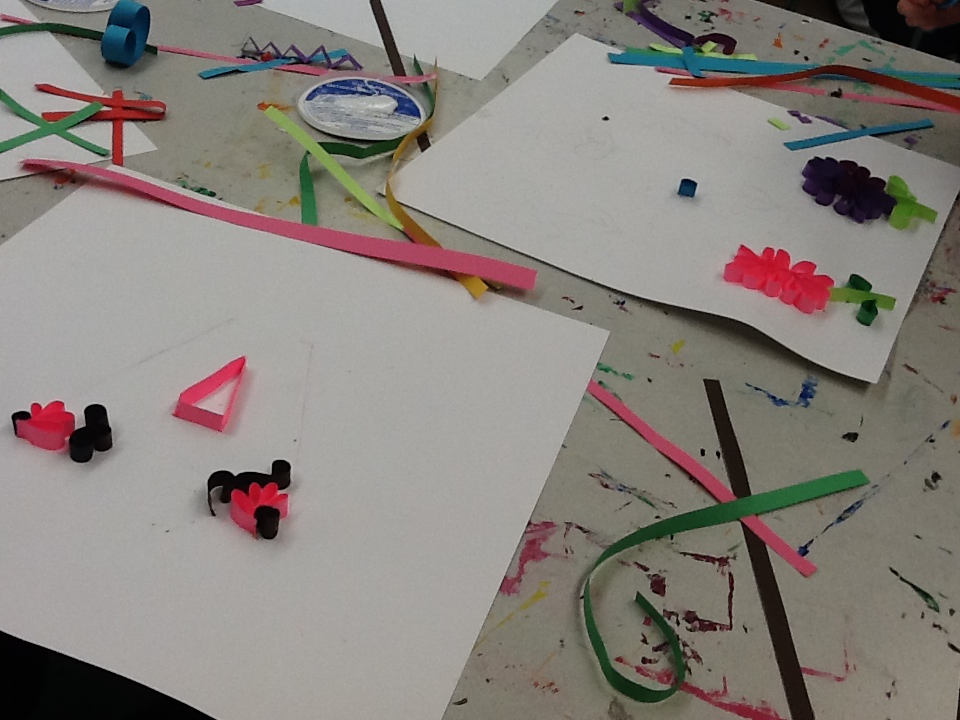
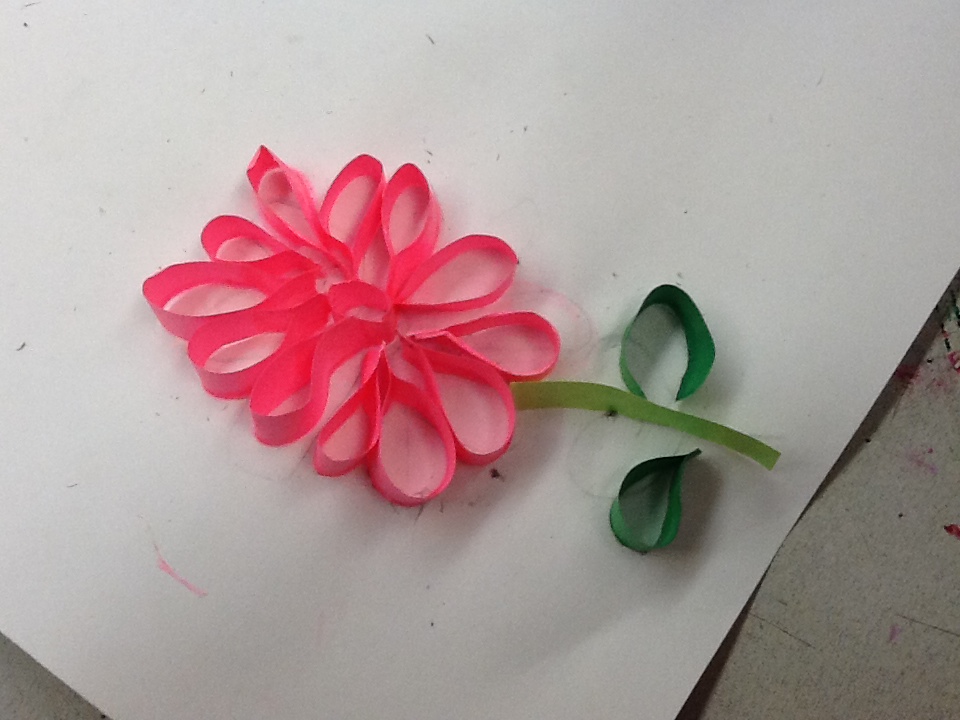
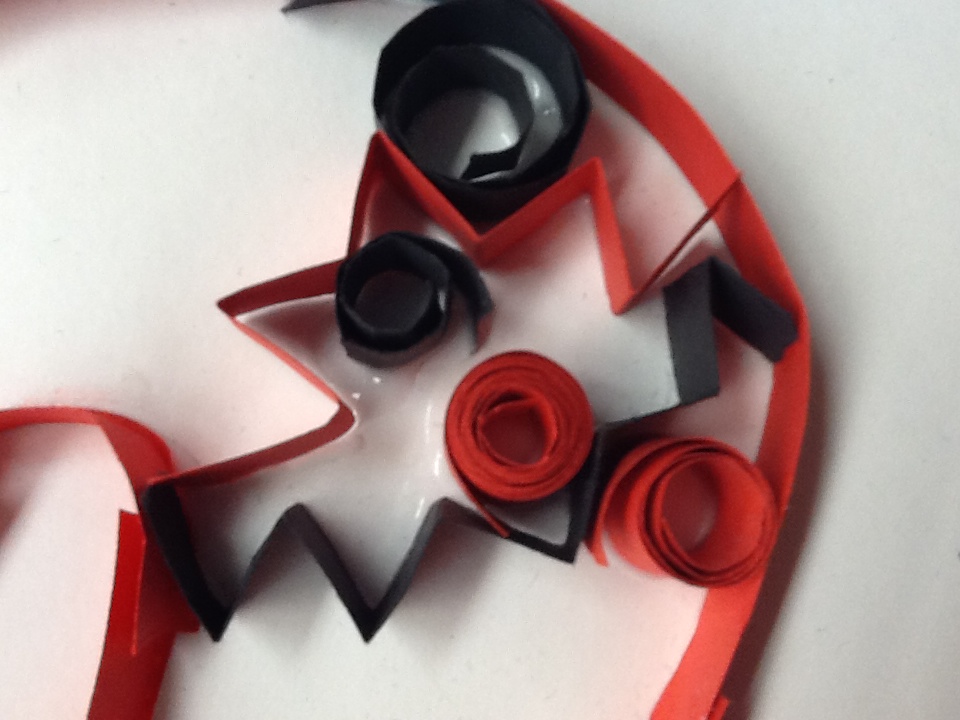
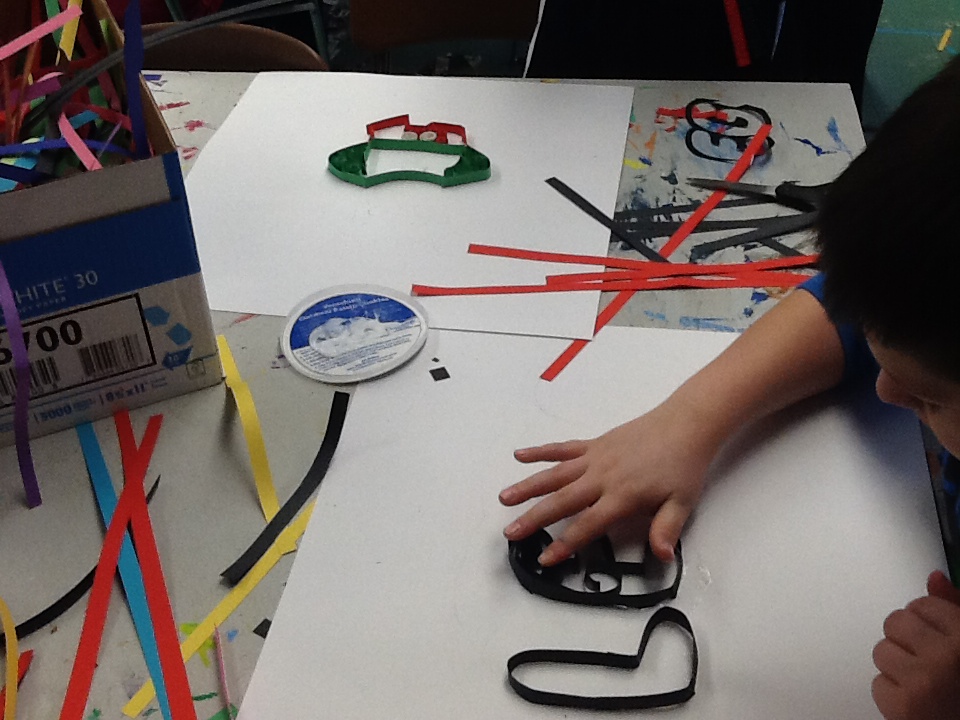
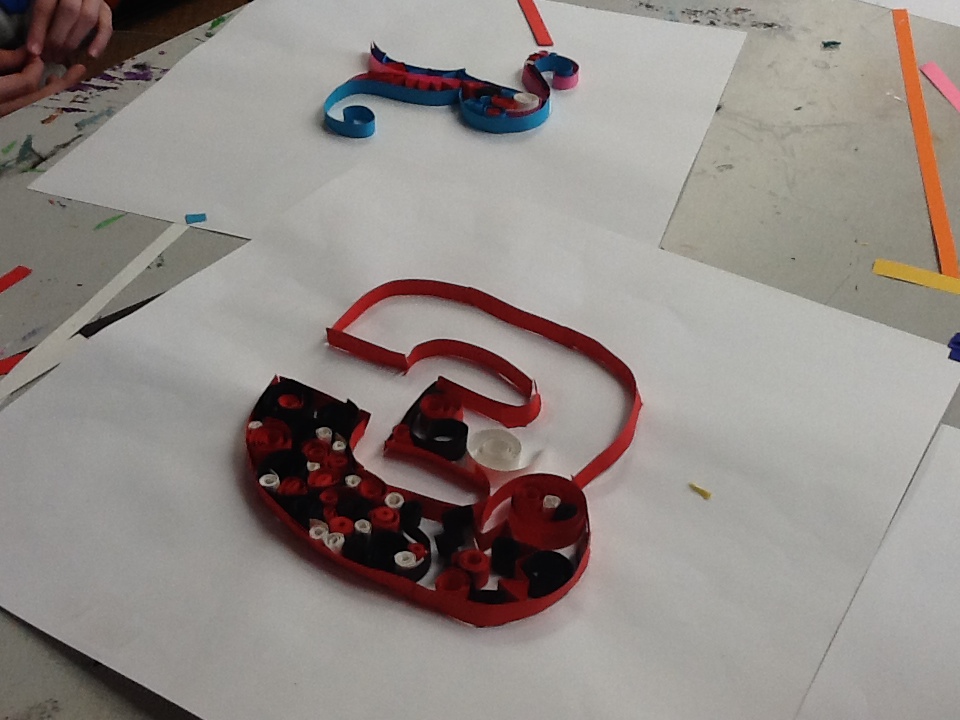
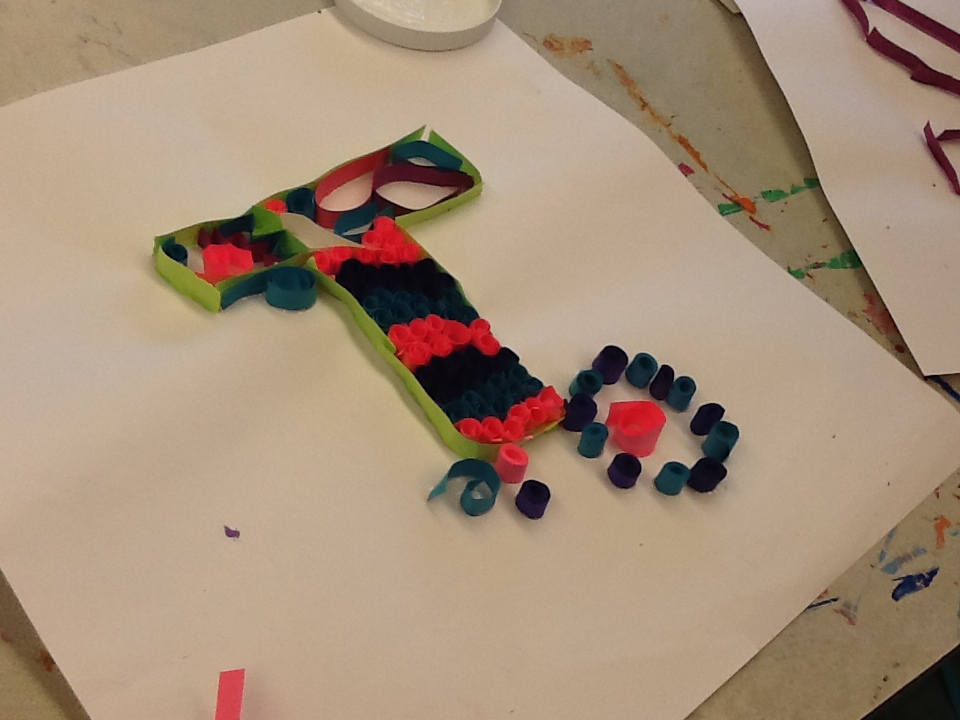
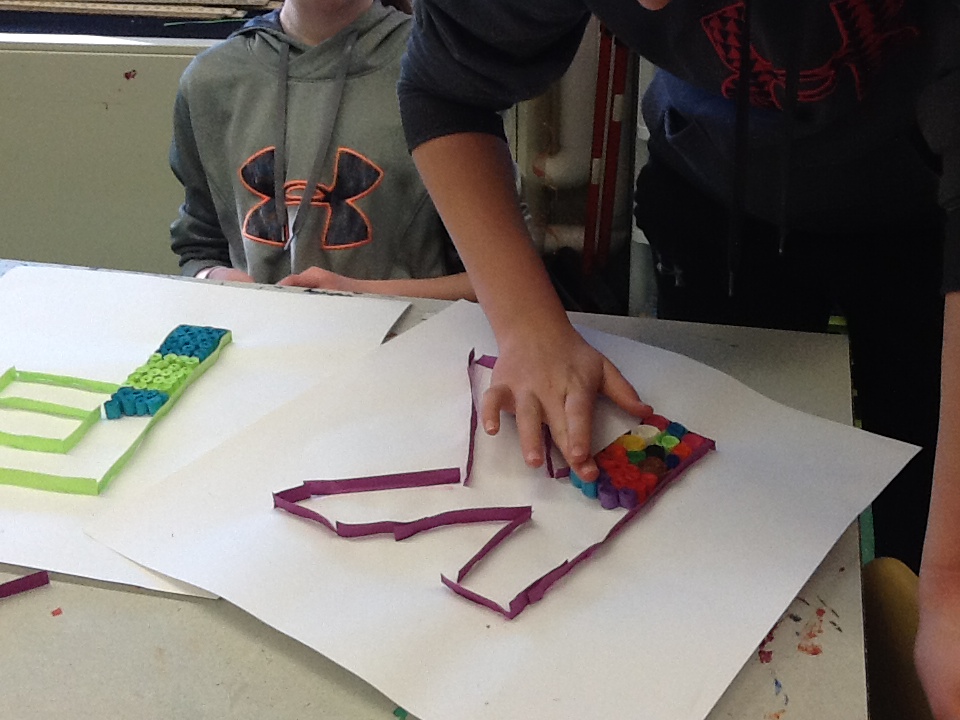
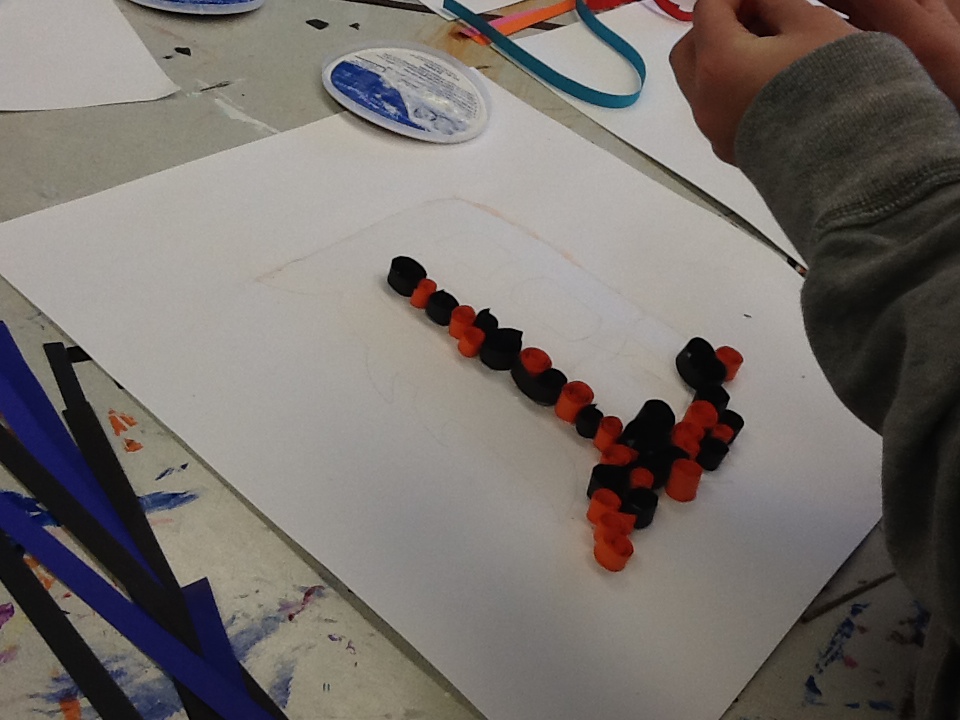
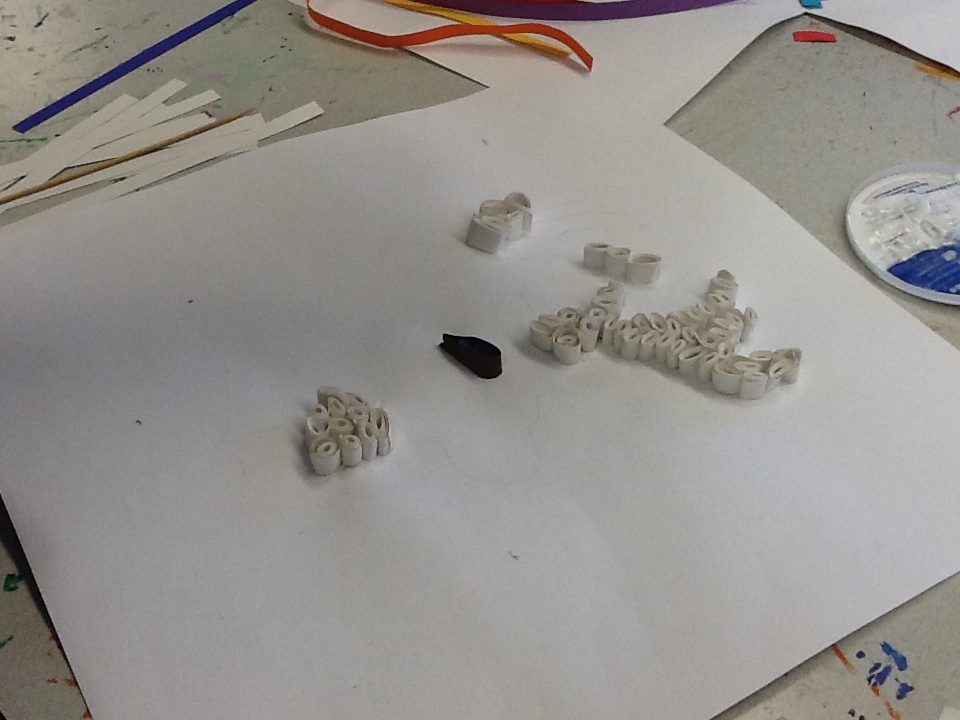
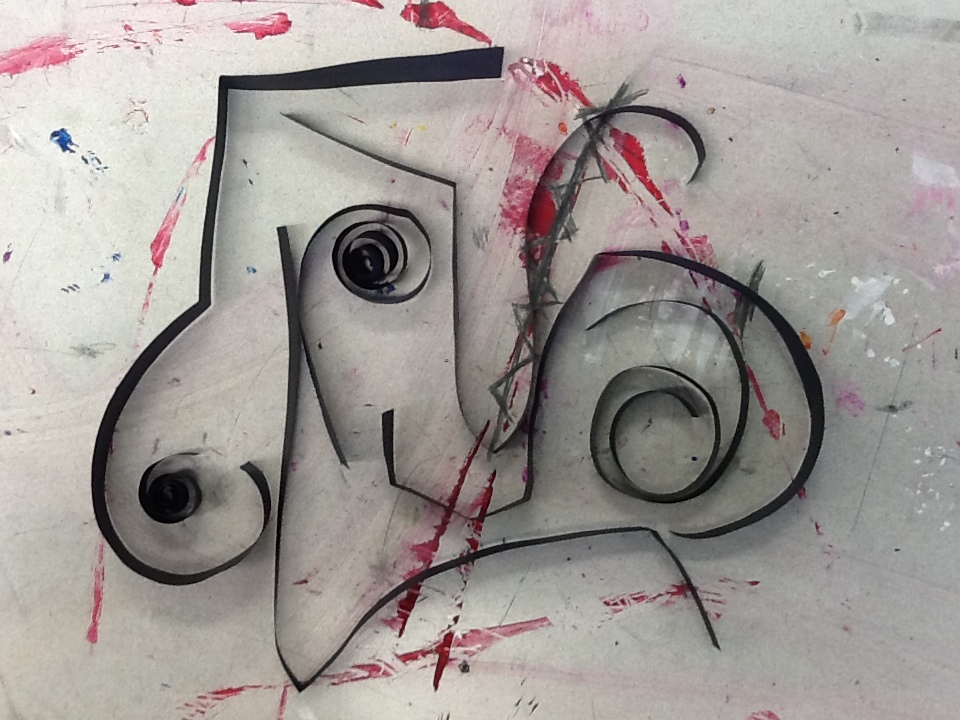
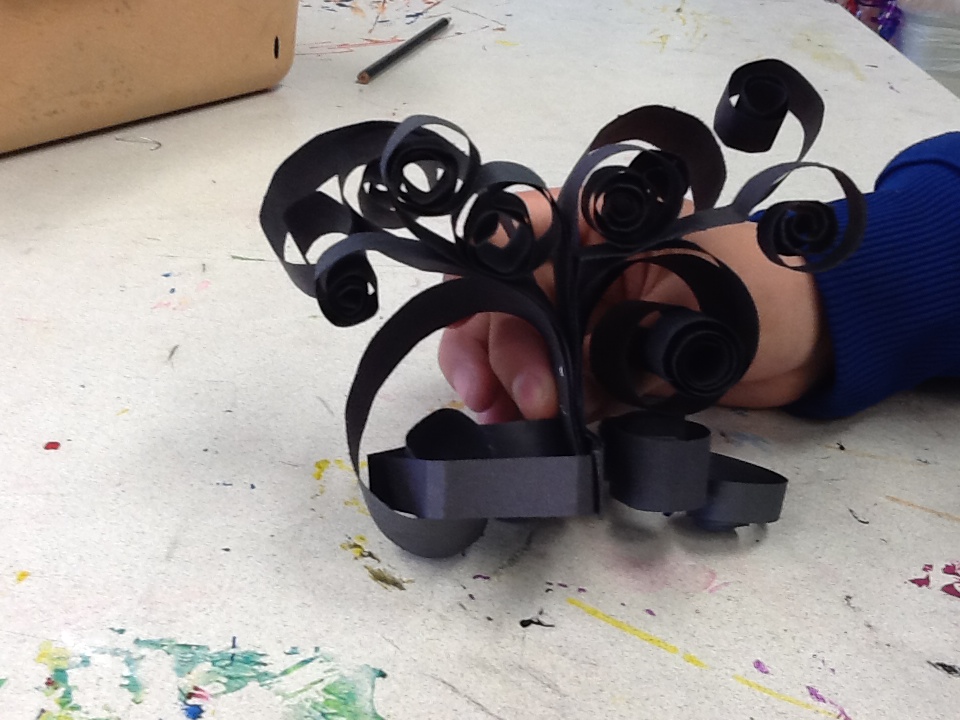
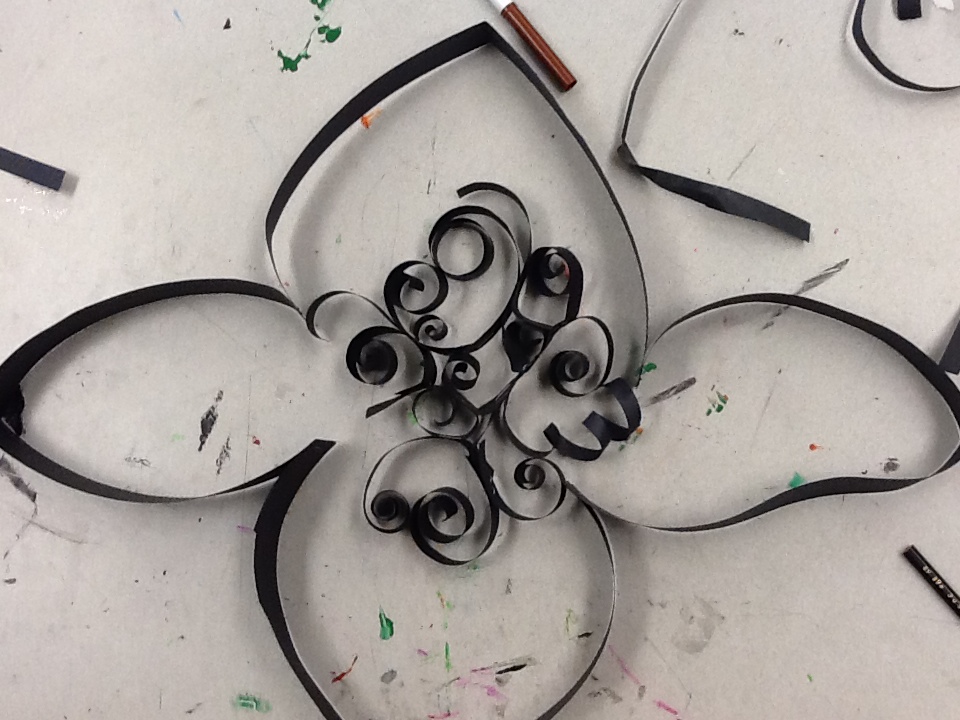
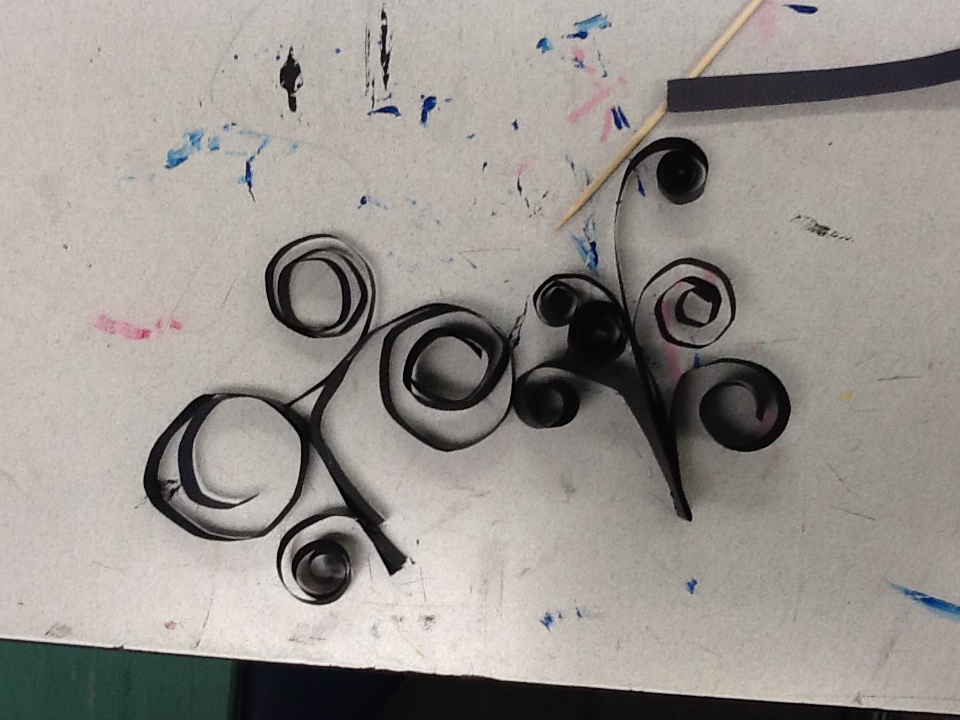
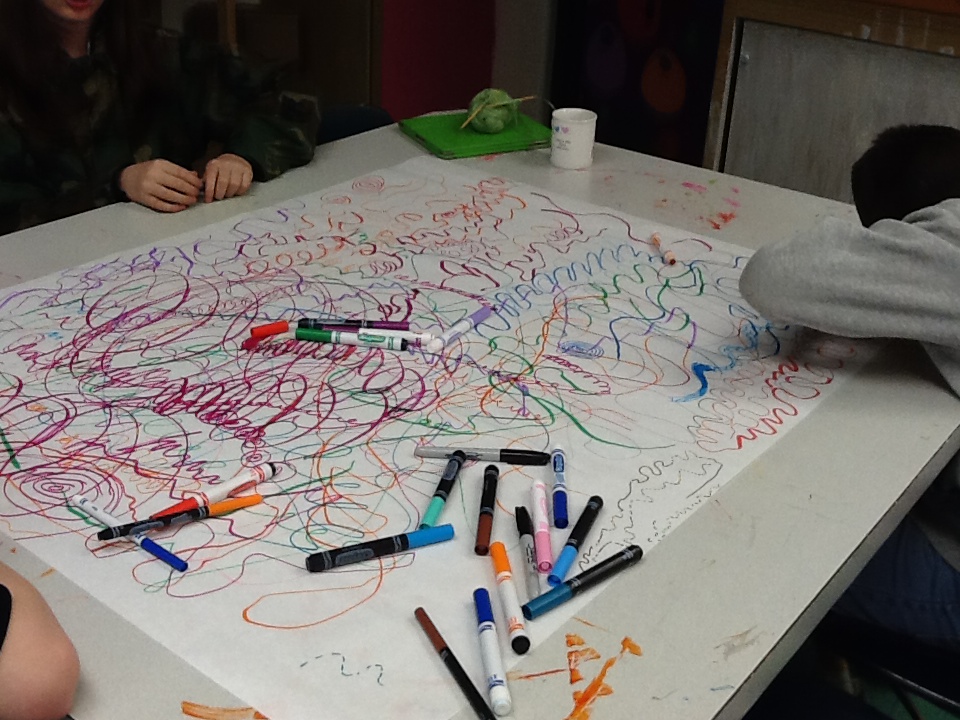
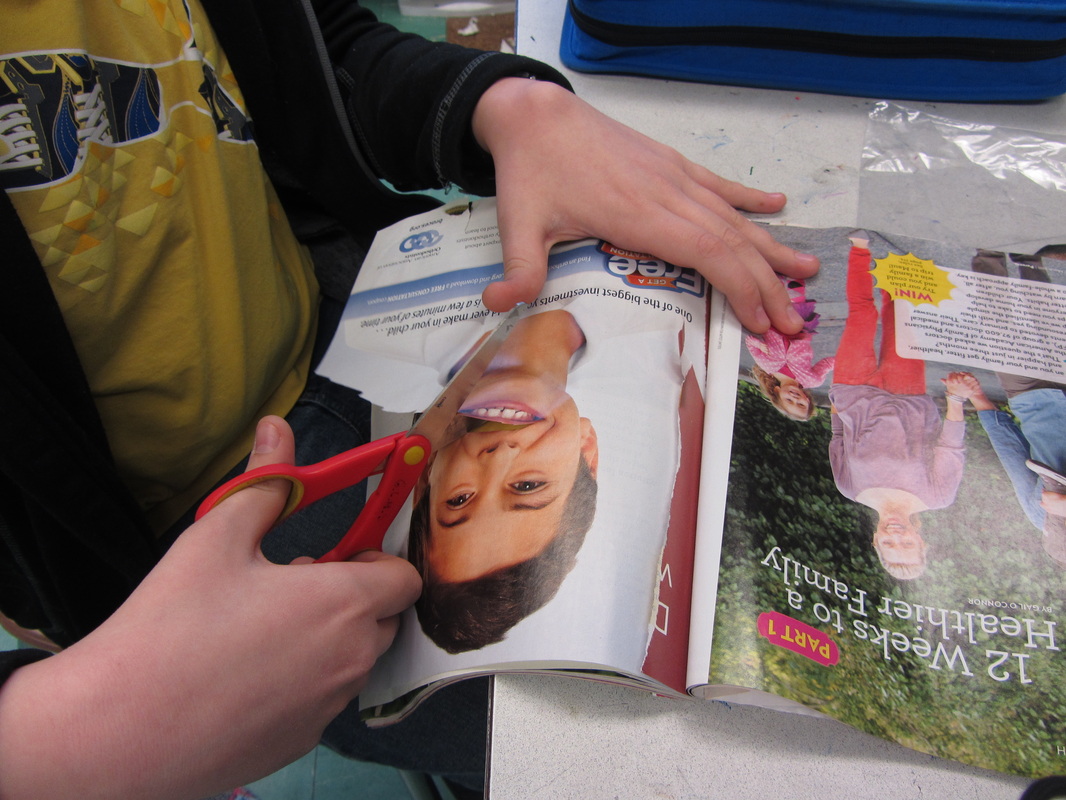
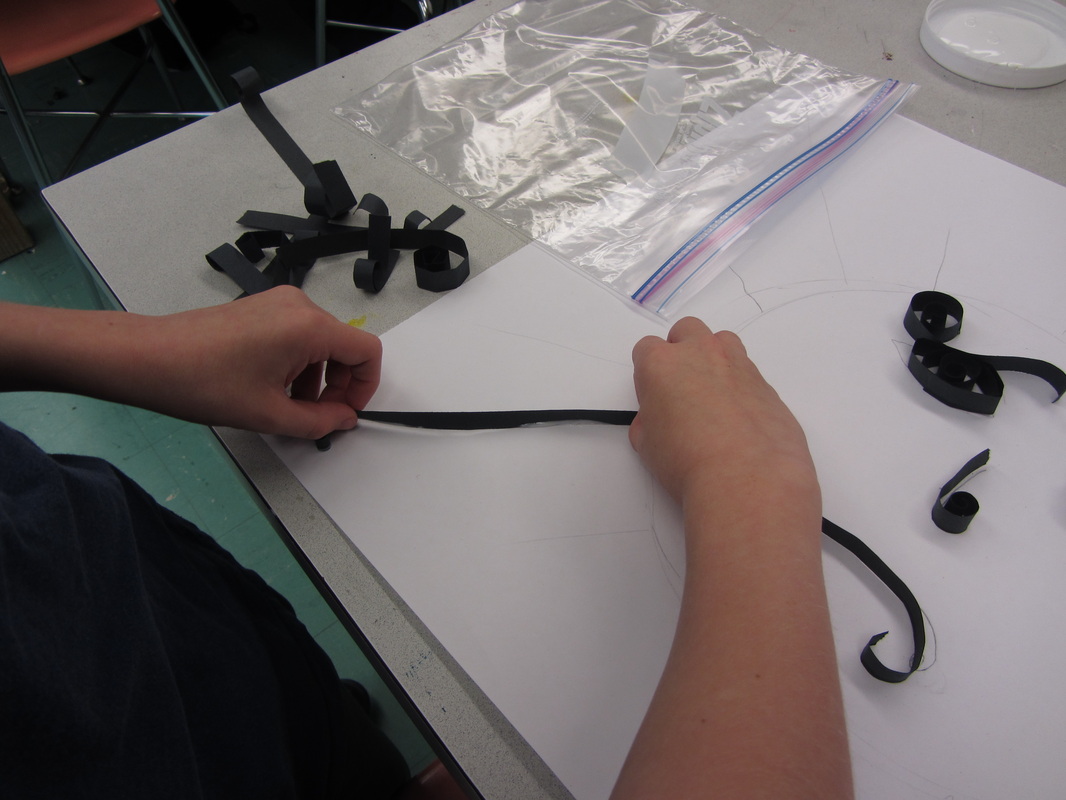
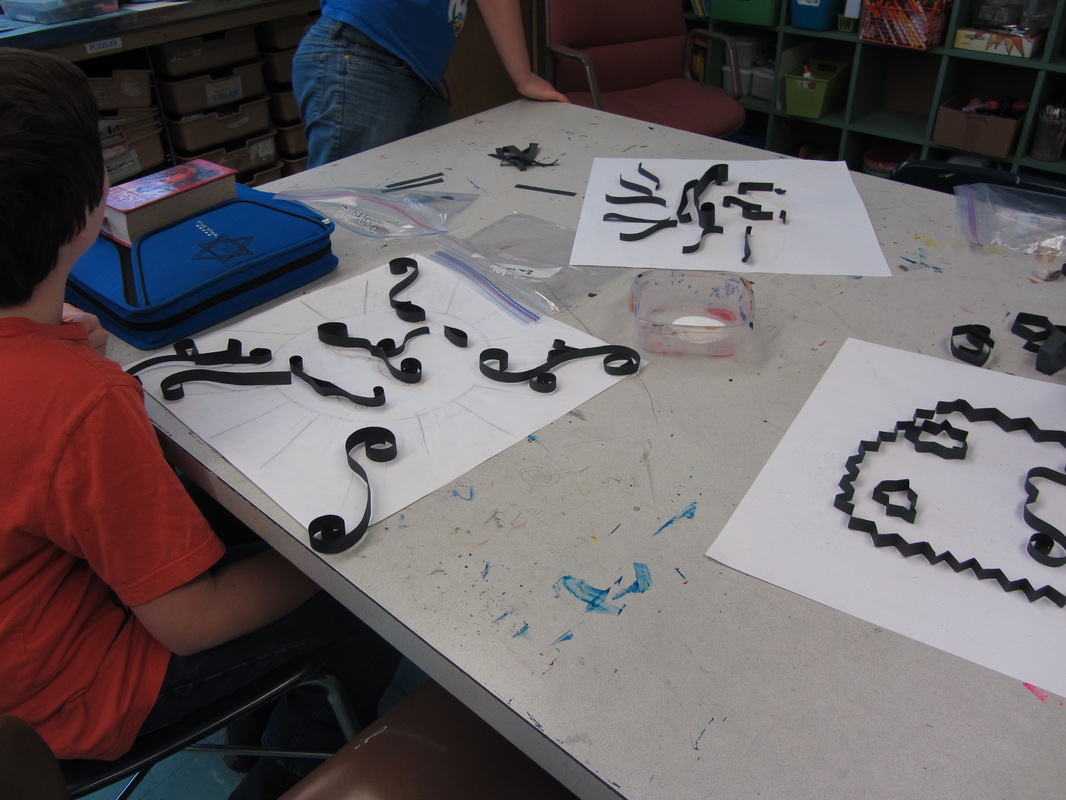
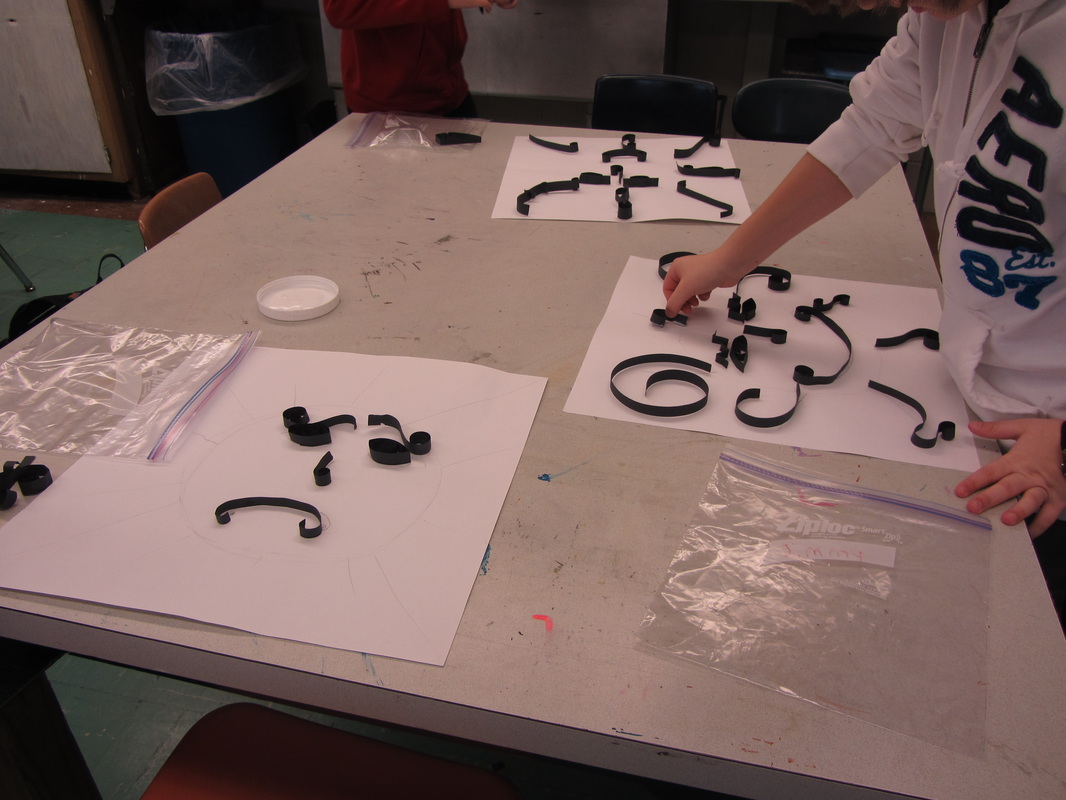
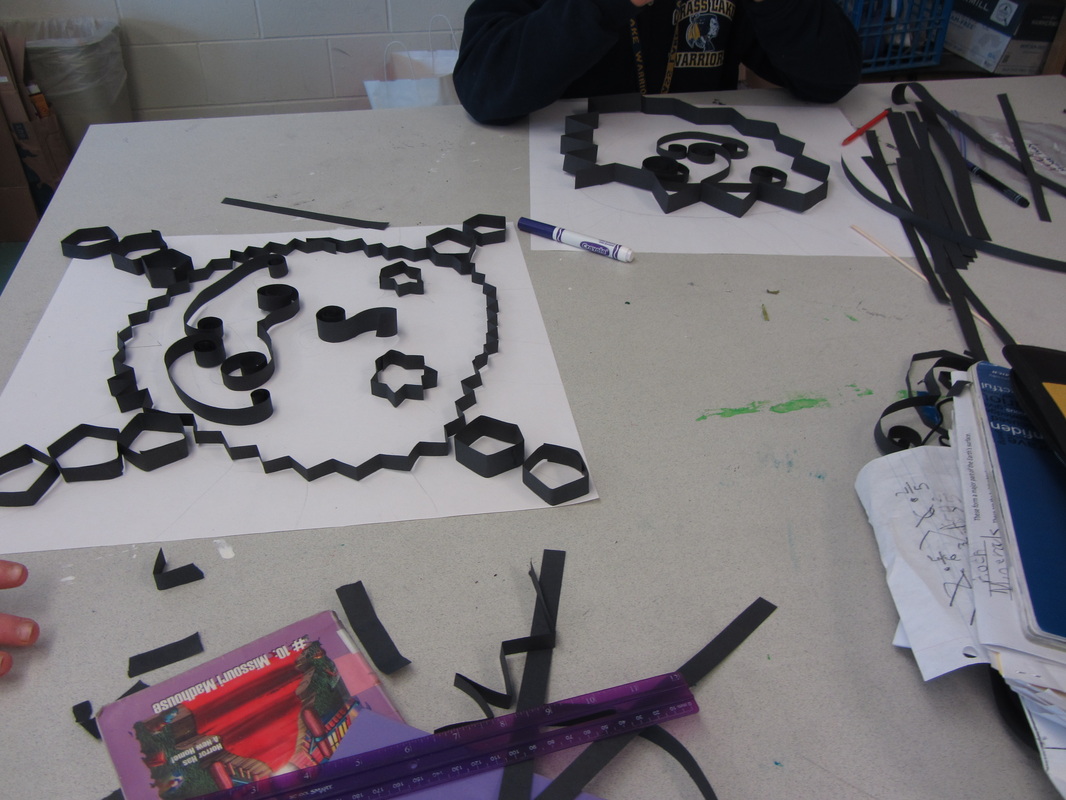
Paper quilling is an ancient art that is coming back to the mainstream with a new take. Paper quilling is the art of manipulating paper through bends, folds and coils to create pieces. Students in ART 6 are given creative freedom to create a paper quilling piece of any subject matter they choose. Initials, sports teams and jersey numbers are already popular choices. I can't wait to see how these turn out! Below you can see our progress-from internet research, experimentation with making different forms to progress on our final pieces.
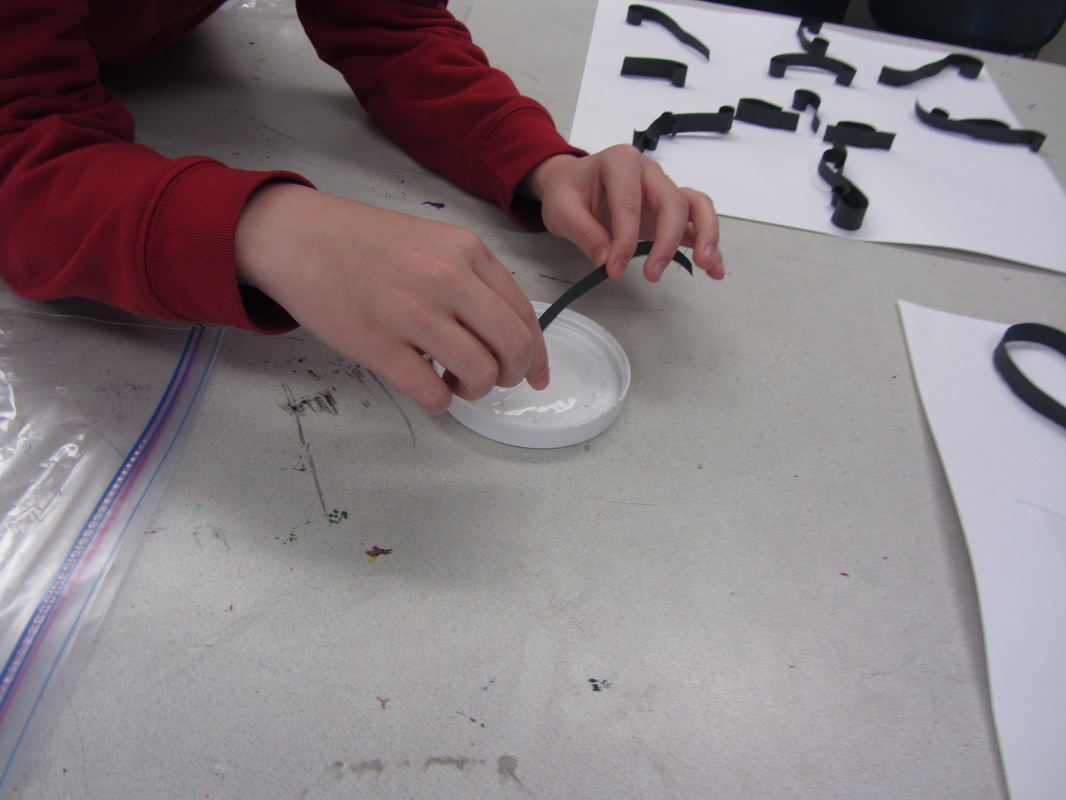
We re-used oatmeal container lids to use as glue receptacles. The flat open circular shape was perfect for dipping our quillied pieces. Students were required to use at least 3 different quilling shapes and to be able to keep the image similar enough to the original so that the viewer was able to quickly identify the subject of the piece.
We re-used oatmeal container lids to use as glue receptacles. The flat open circular shape was perfect for dipping our quillied pieces. Students were required to use at least 3 different quilling shapes and to be able to keep the image similar enough to the original so that the viewer was able to quickly identify the subject of the piece.

fourth quarter creations
As we begin our final quarter of the year-just a reminder that all Q3 projects and pieces are found below this announcement. All Q4 pieces and projects will be posted above this announcement.
paper quilling pieces
Paper quilling is an ancient art that is coming back to the mainstream with a new take. Paper quilling is the art of manipulating paper through bends, folds and coils to create pieces. Students in ART 6 are given creative freedom to create a paper quilling piece of any subject matter they choose. Initials, sports teams and jersey numbers are already popular choices. I can't wait to see how these turn out! Below you can see our progress-from internet research, experimentation with making different forms to progress on our final pieces.
day one: intro, google image search and experimenting with quilling forms
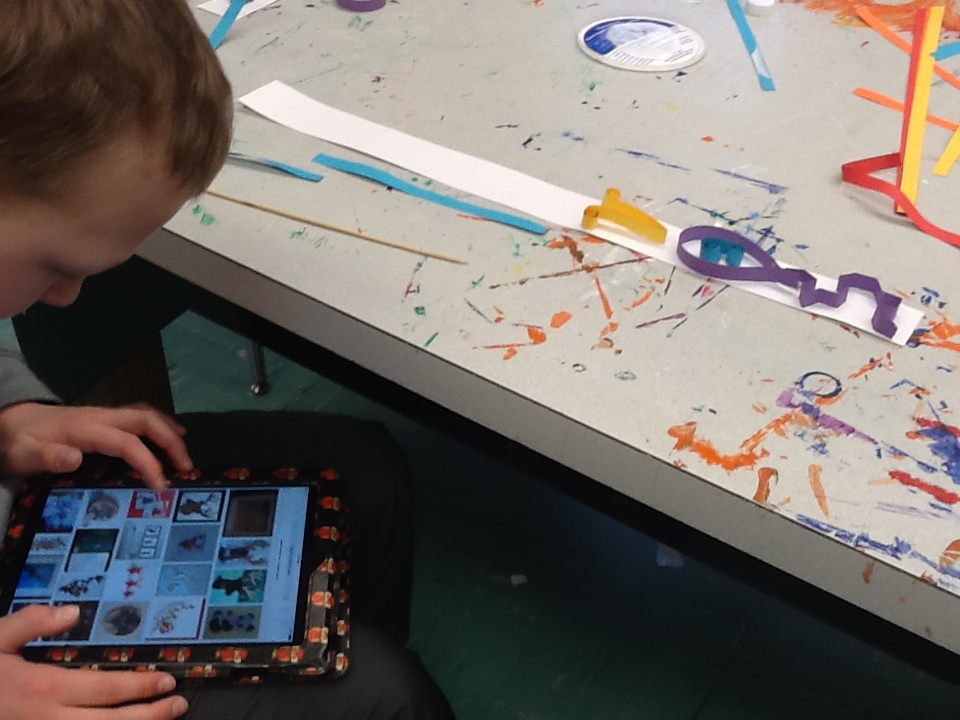
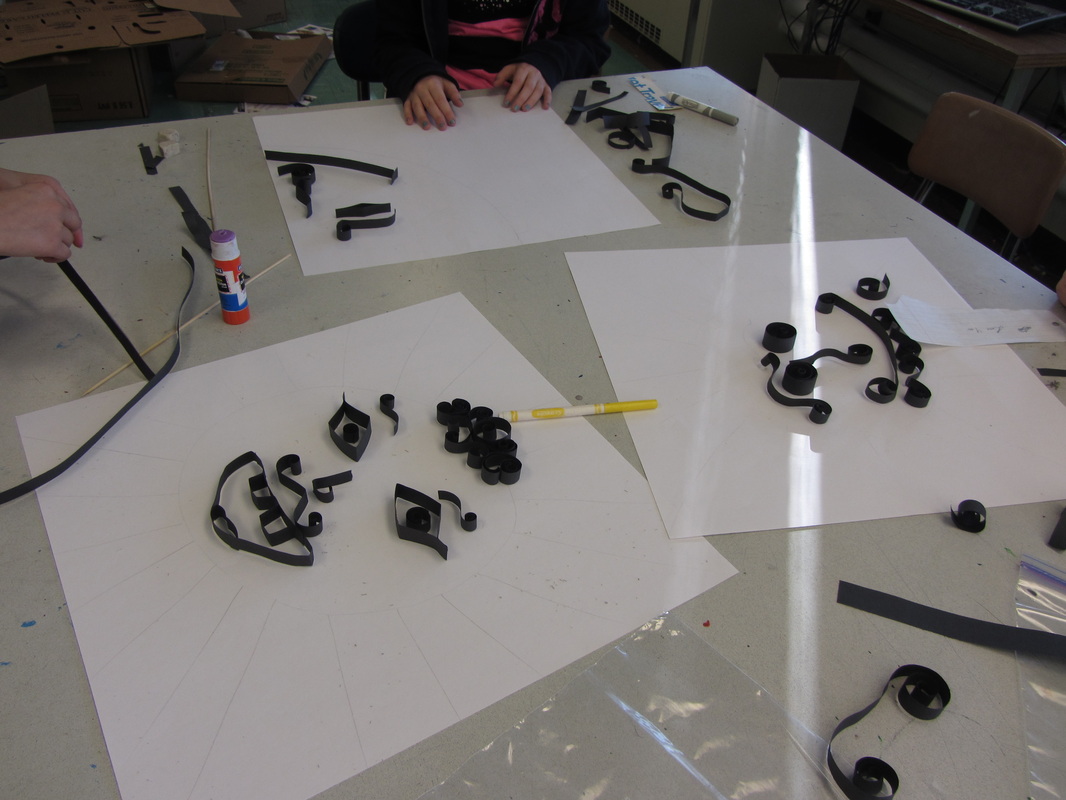
CHoosing our final pieces and creating tracers

Starting our final pieces


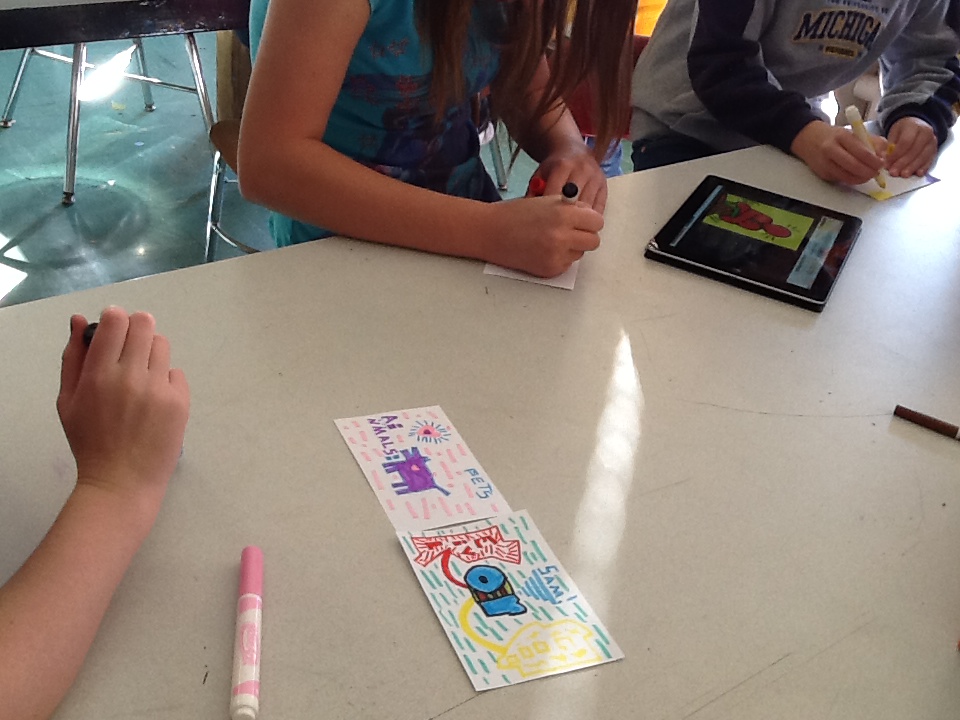
our life in images:
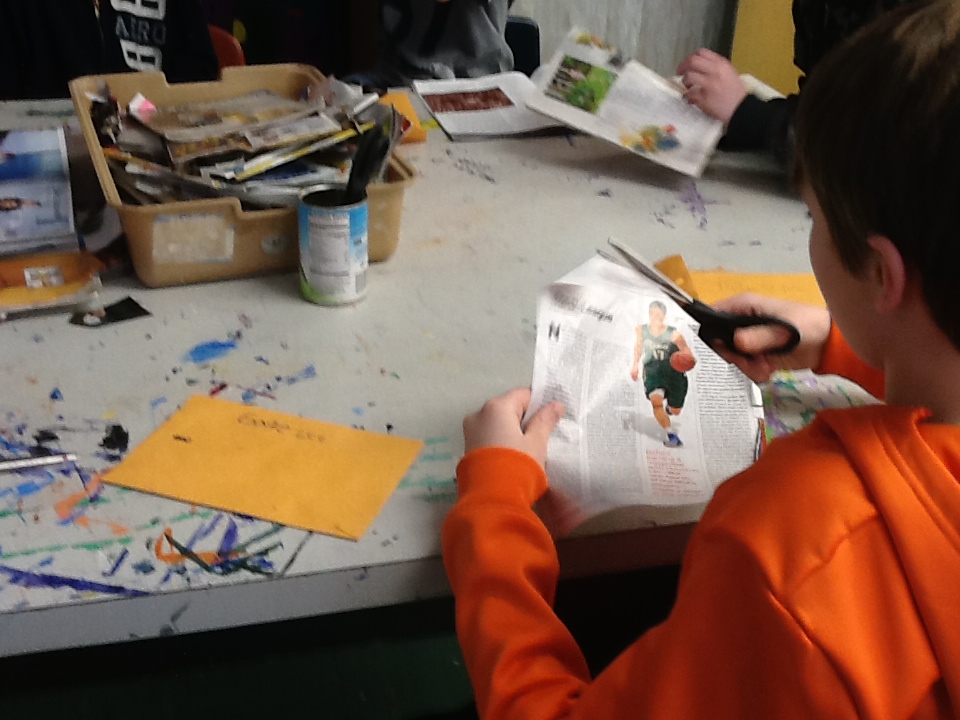
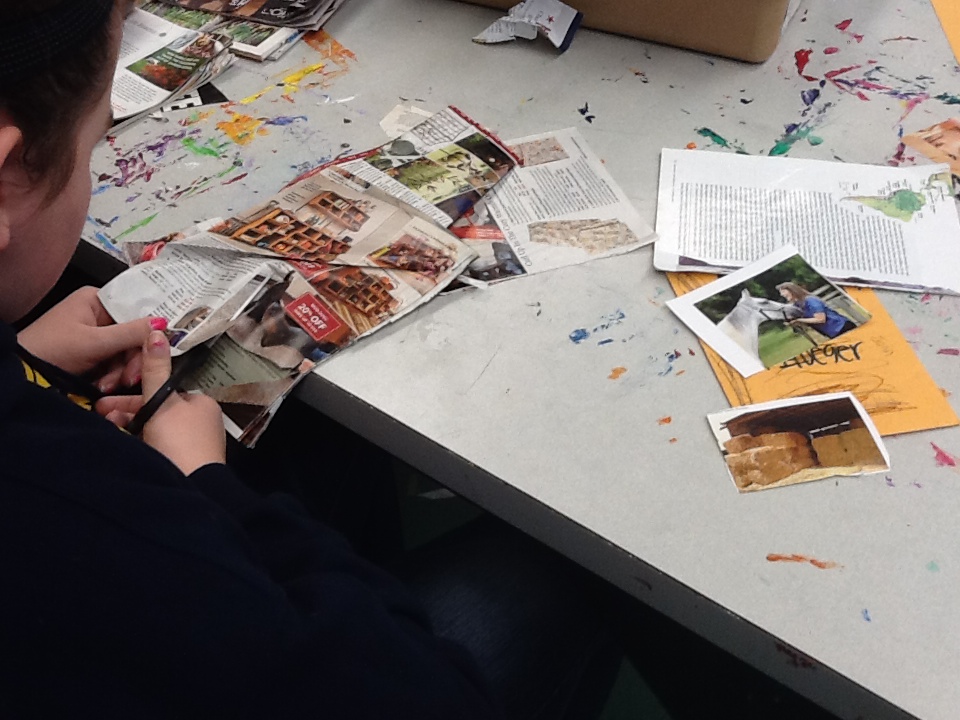
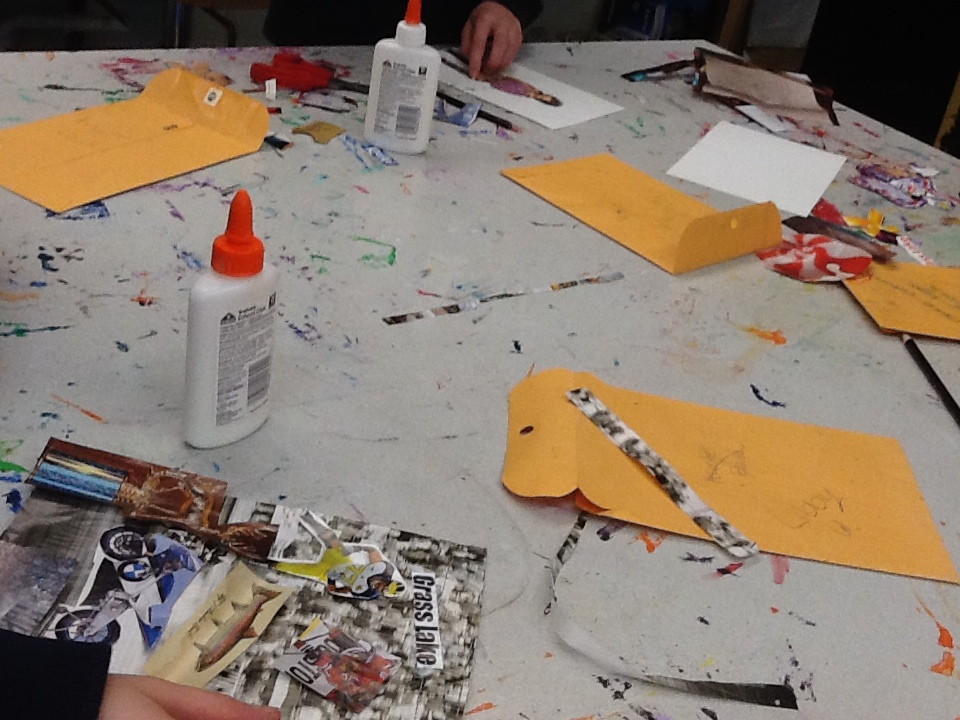
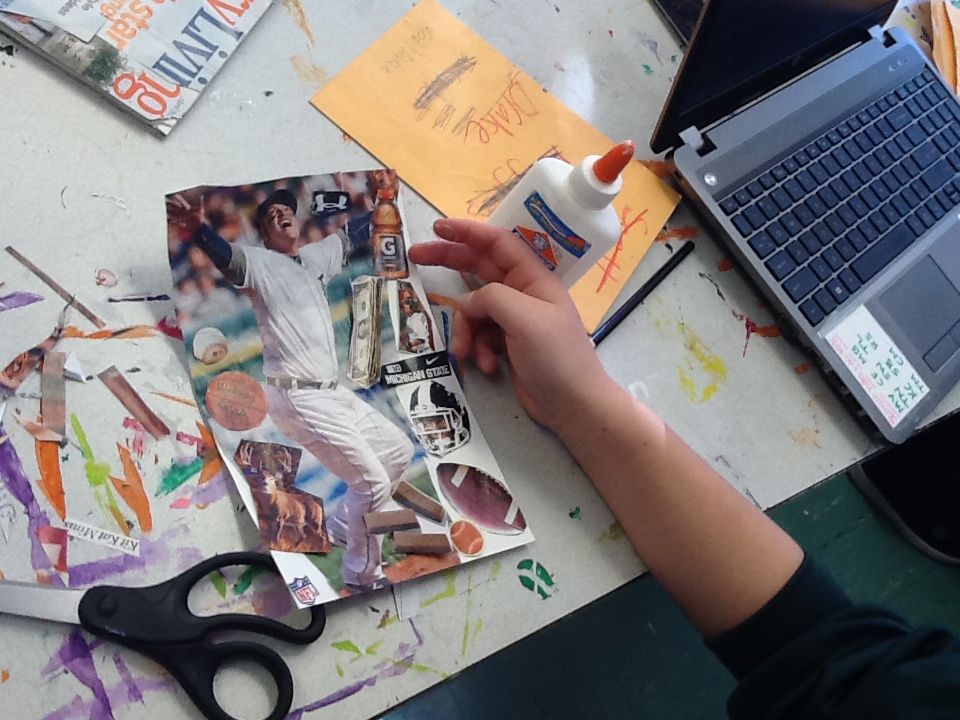
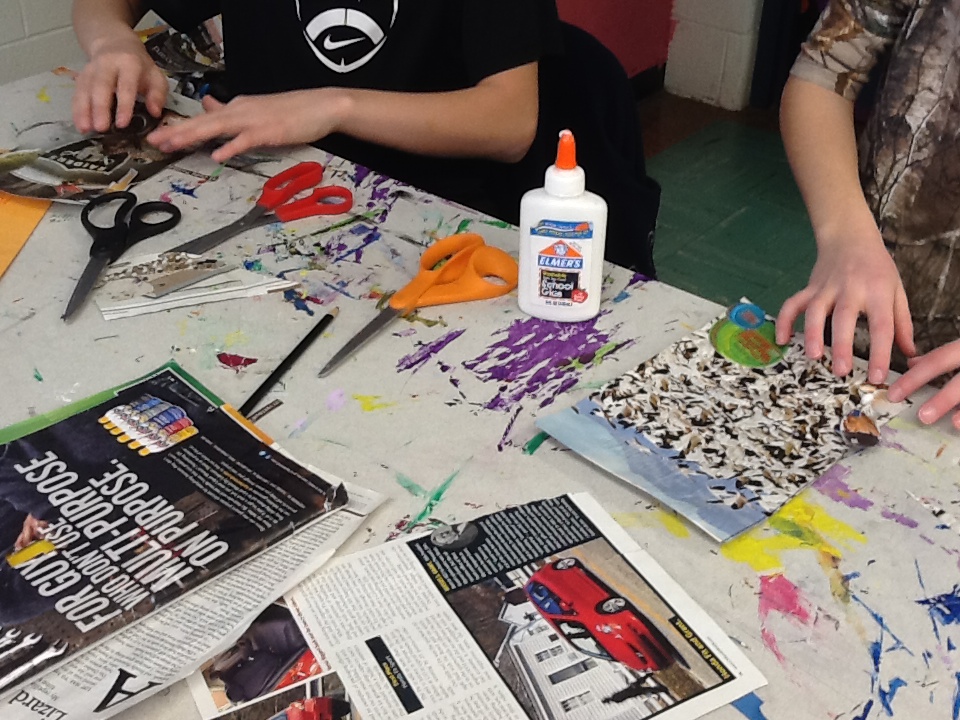
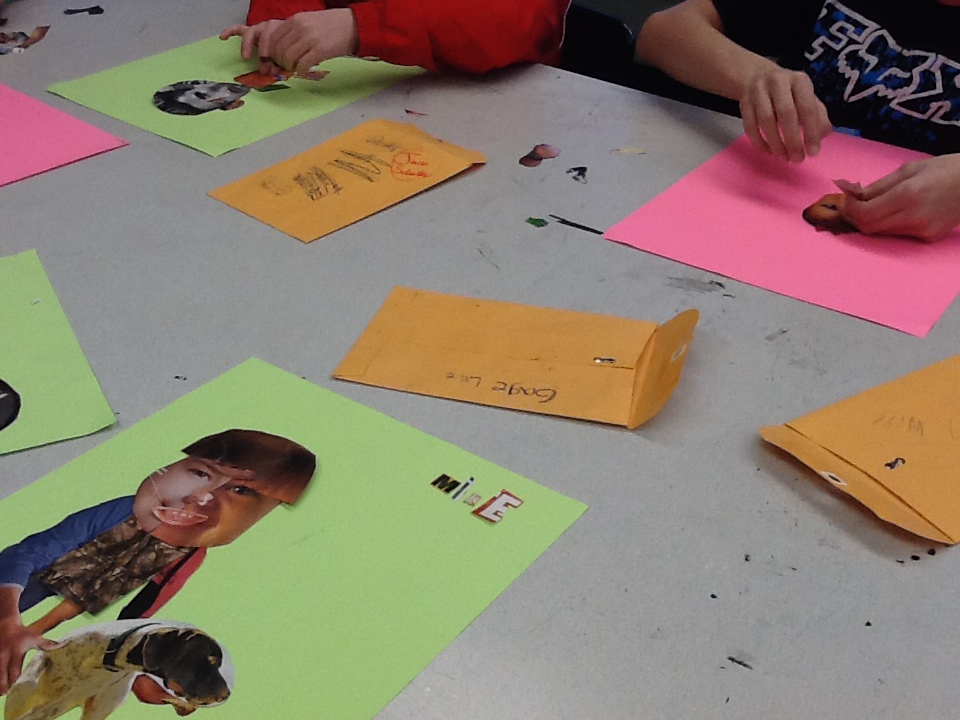
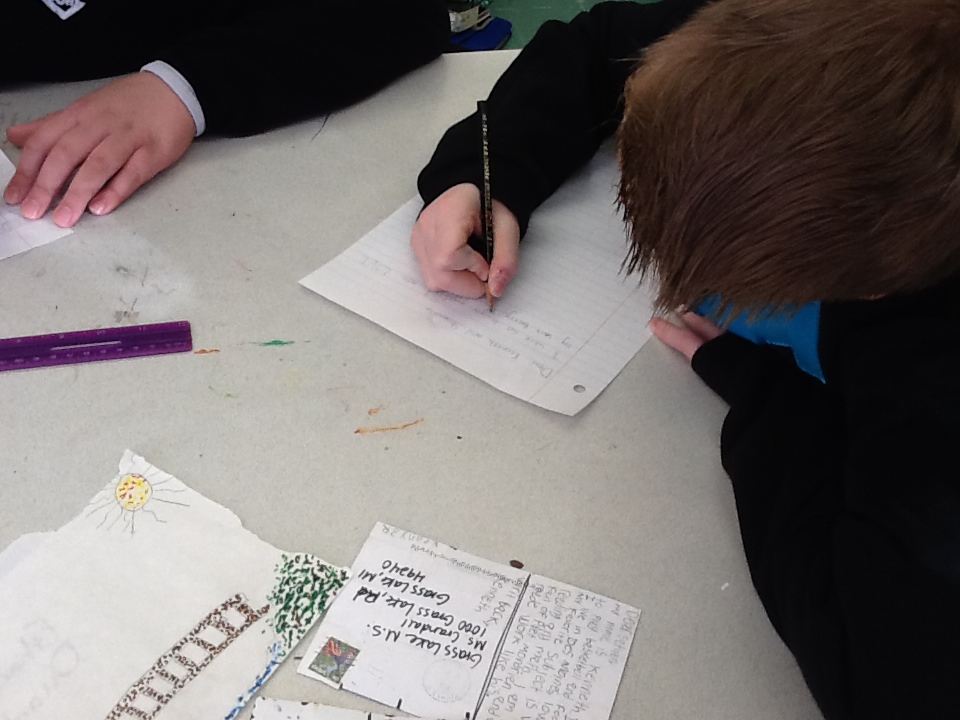
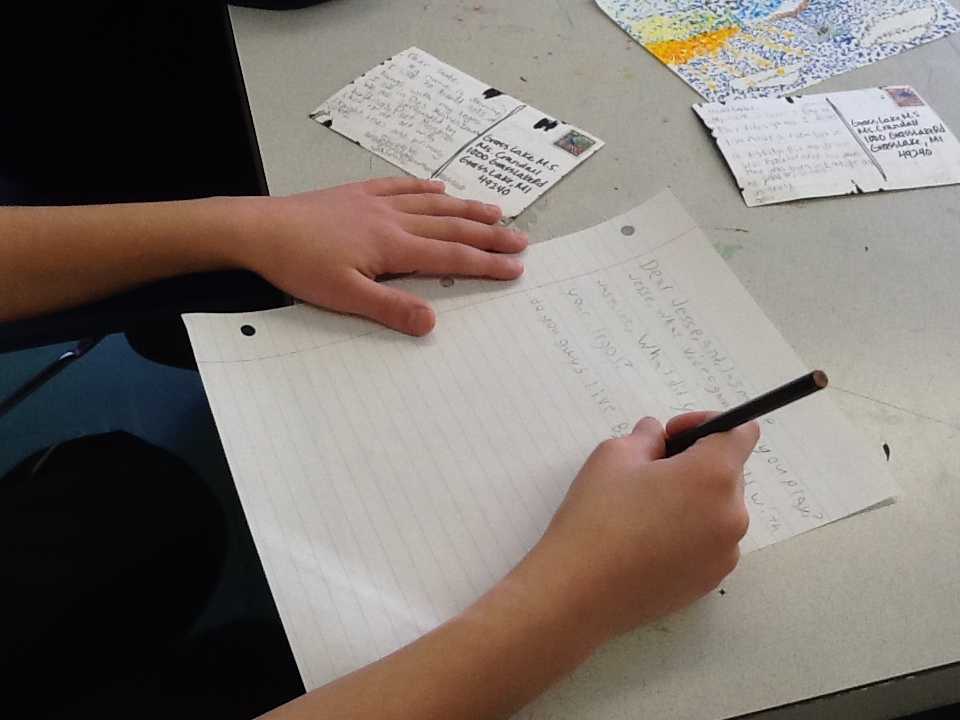
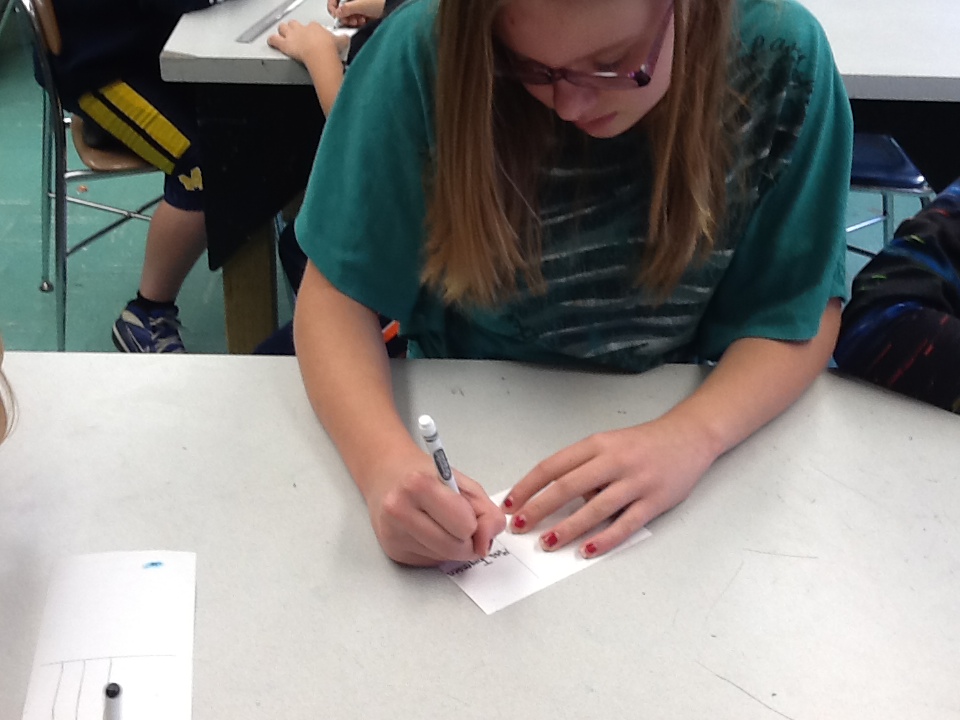
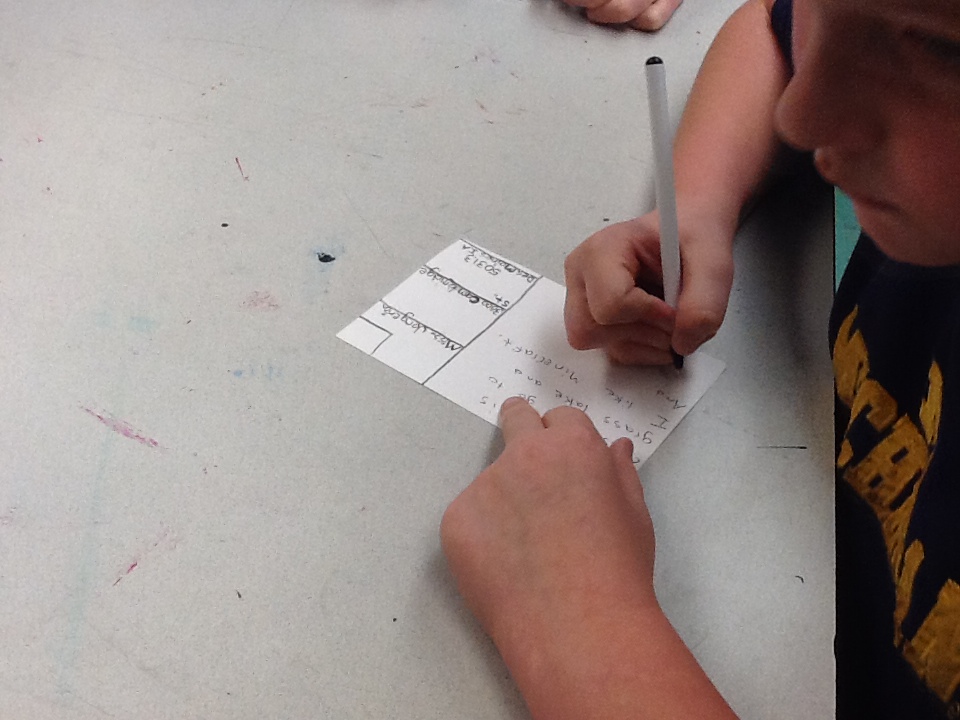
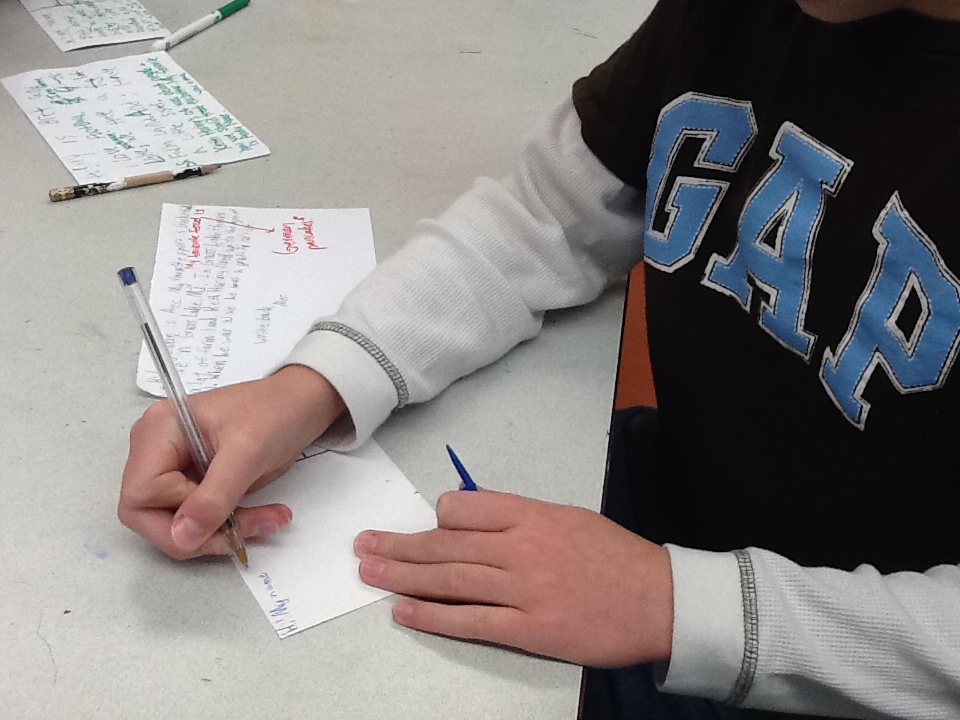
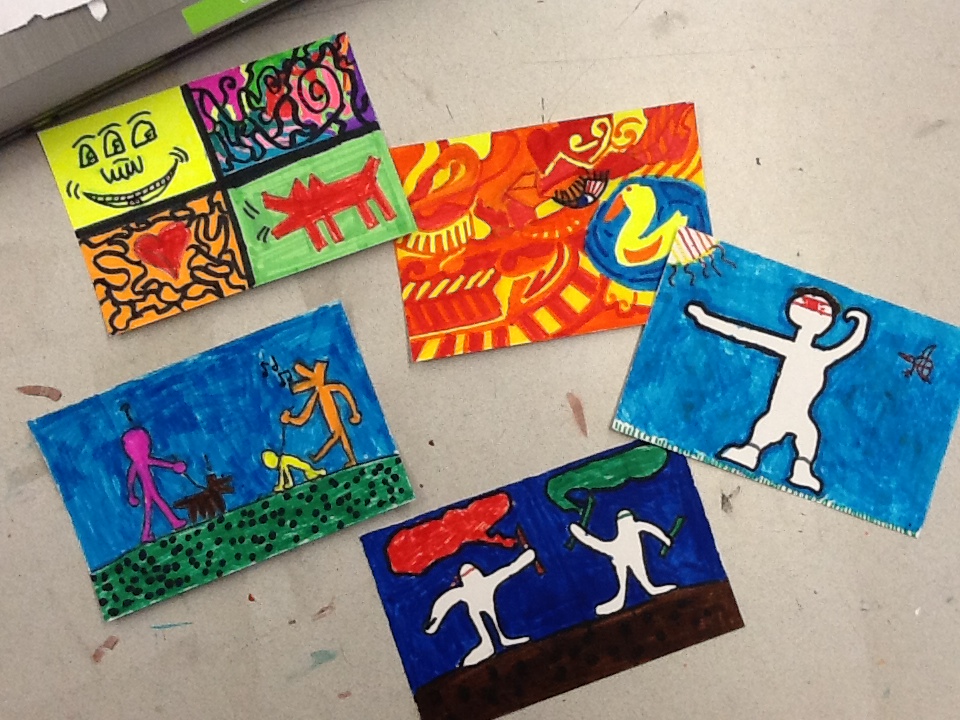
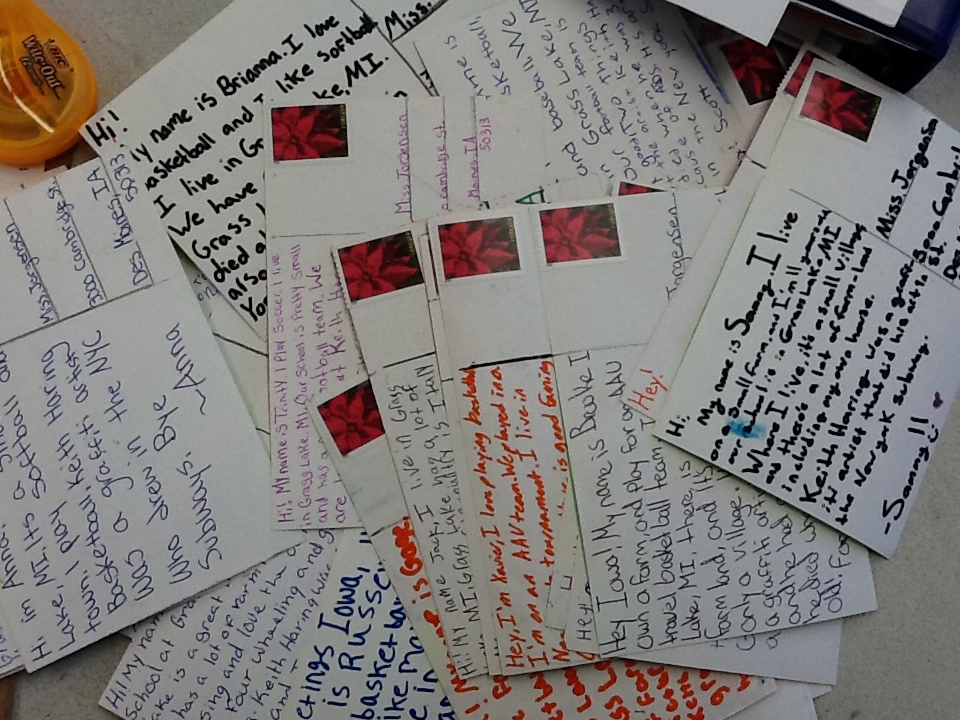
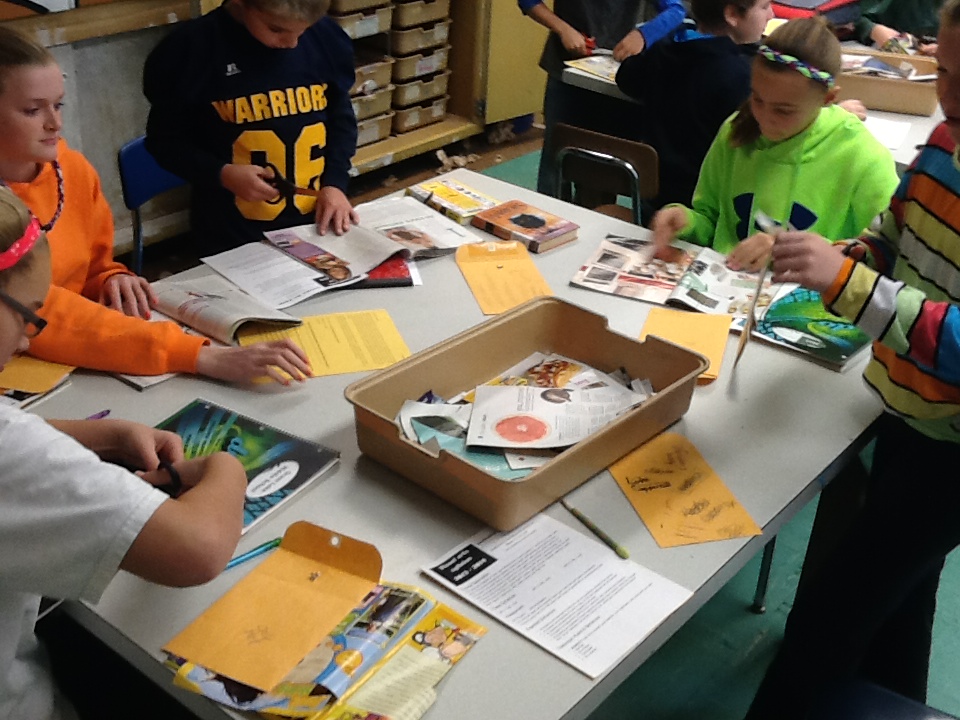
collage postcards to iowa
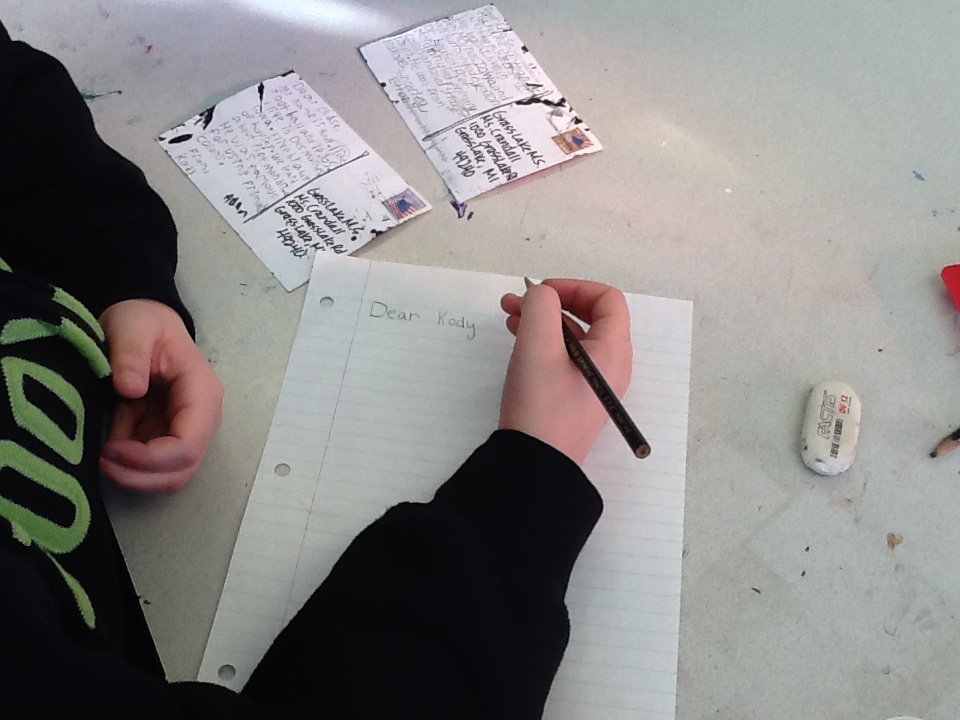
UPDATE: Our postcards are en route to our Iowa friends and hopefully they have a safe journey! We look forward to getting a response back from our pen pals :)
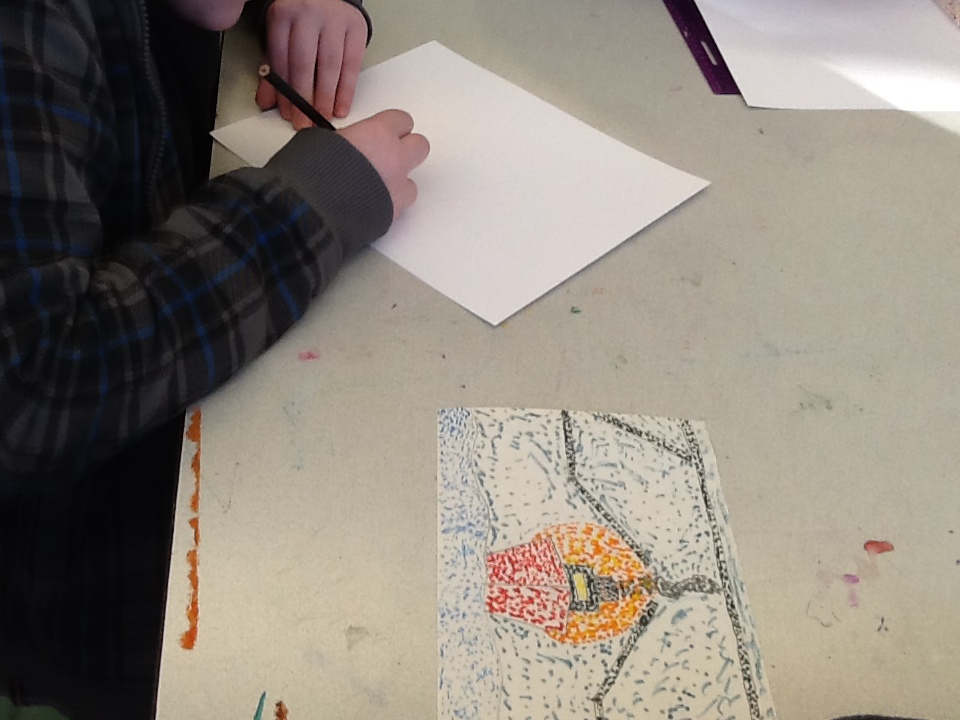
Today we started our postcards back to our Iowa art penpals. This time we will be telling our urban school Iowa friends about our life here in rural Grass Lake through images. We are also sharing a little more about ourselves in these images as well. Our goal is to tell our story without many words-writing with images.

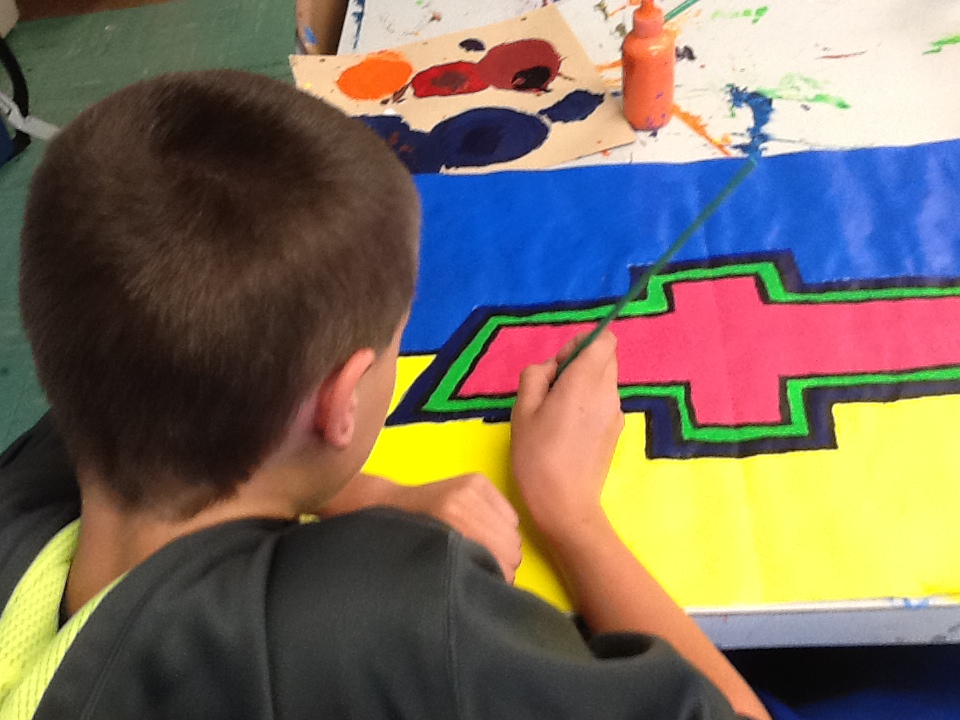
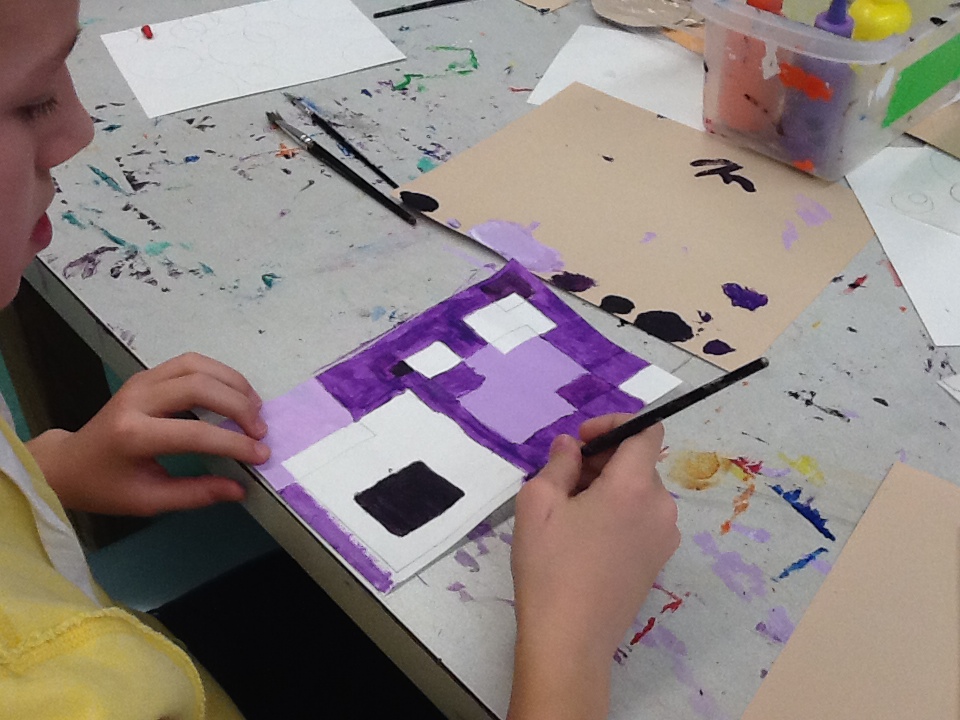
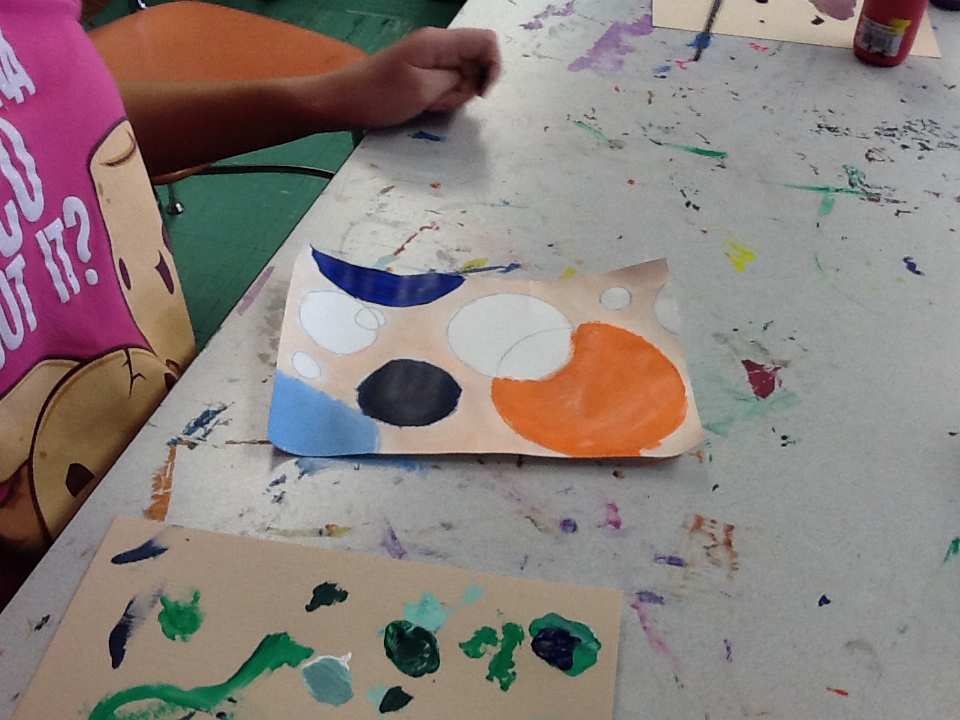
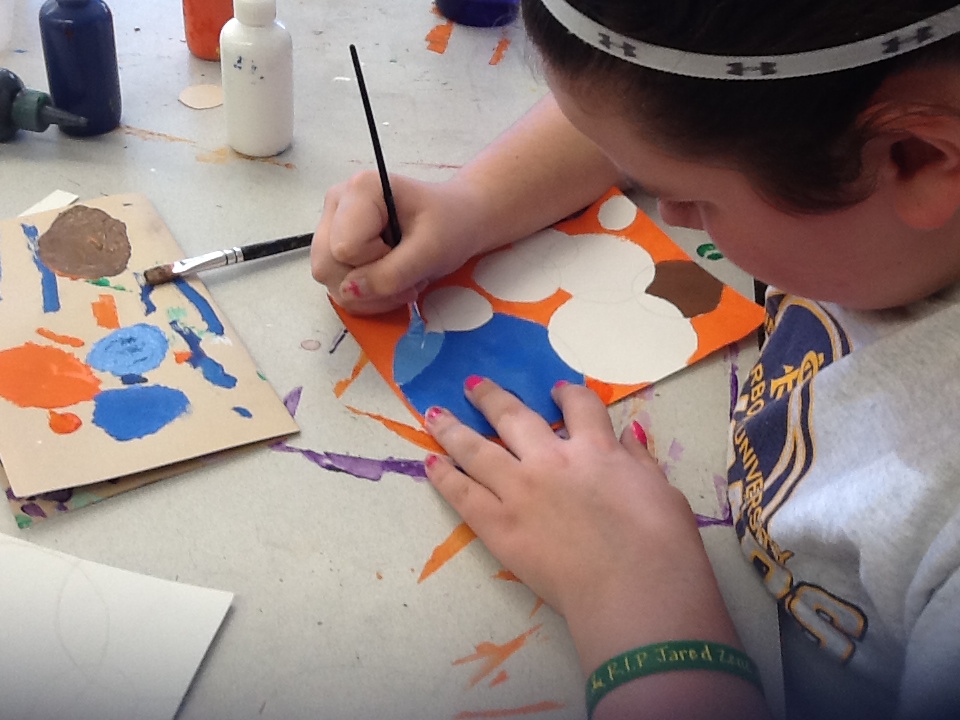
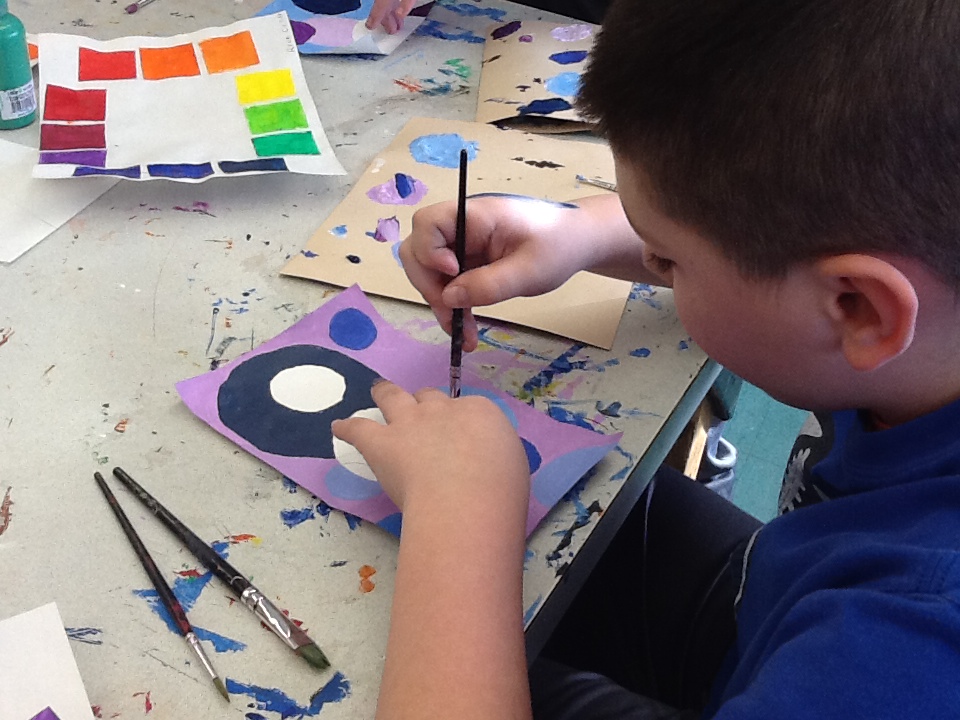
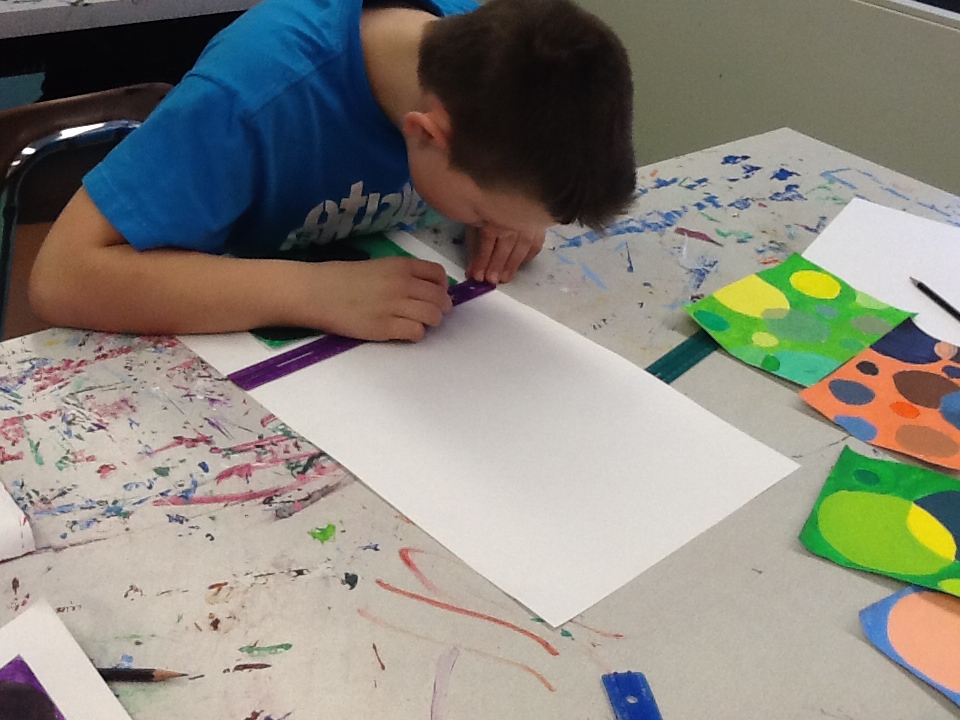
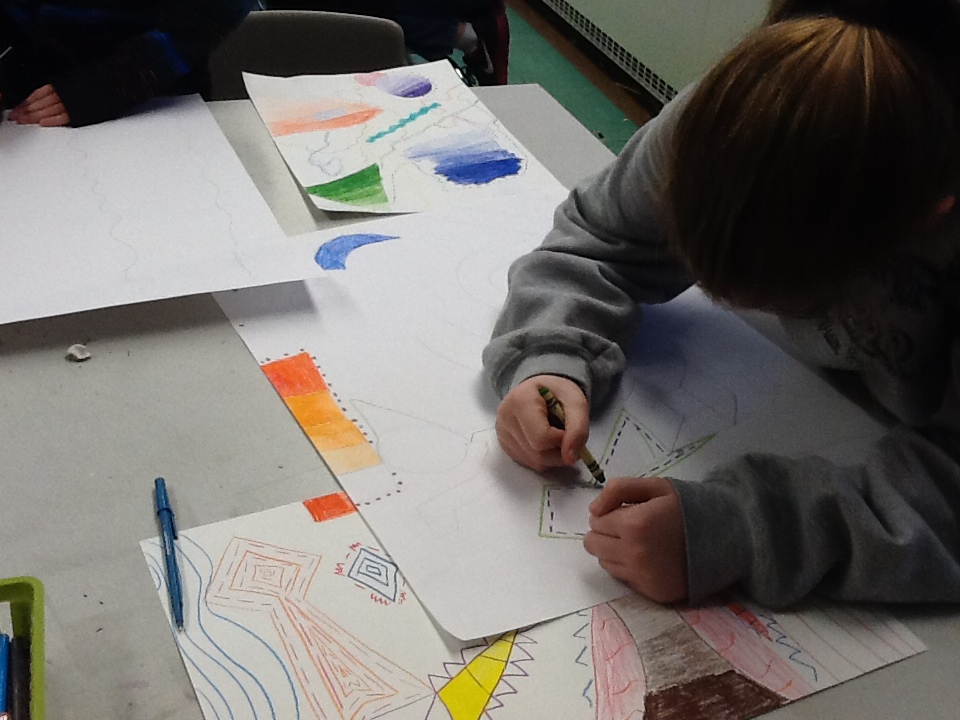
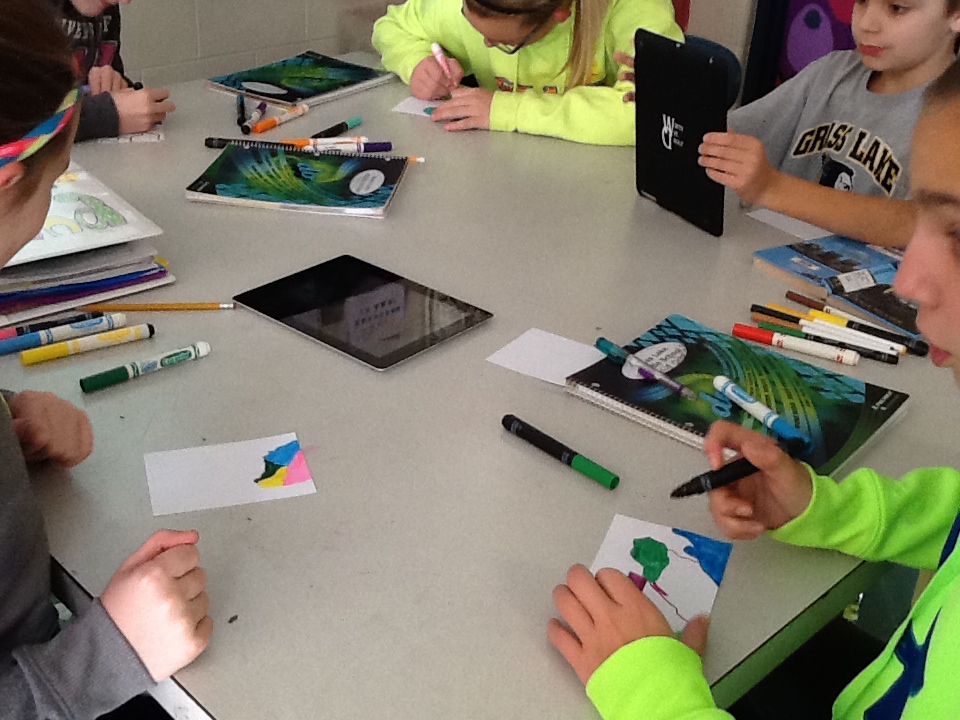
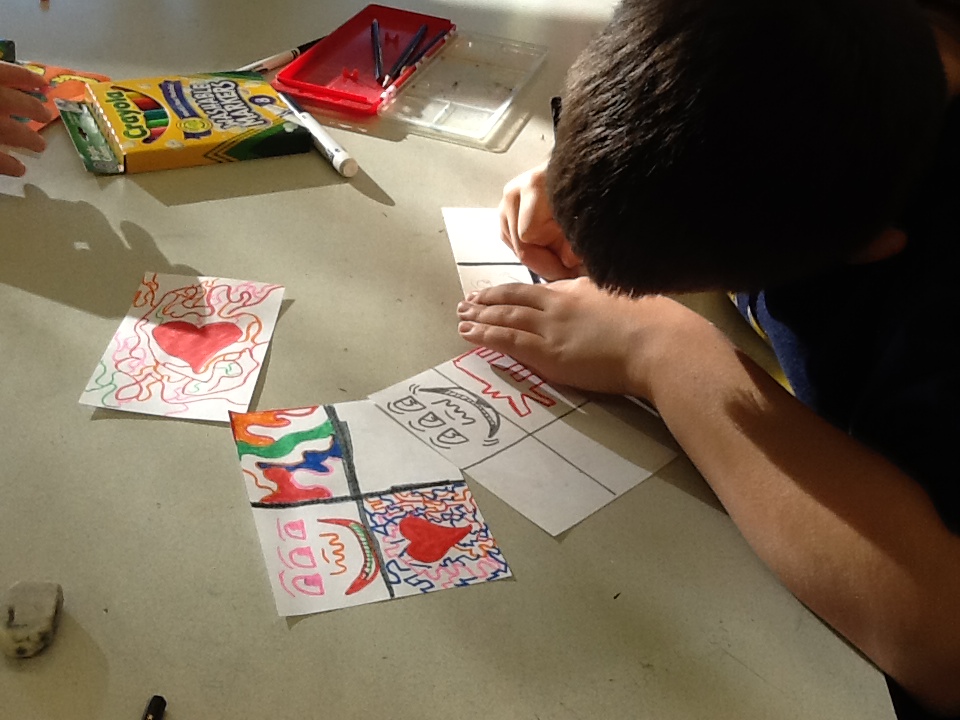
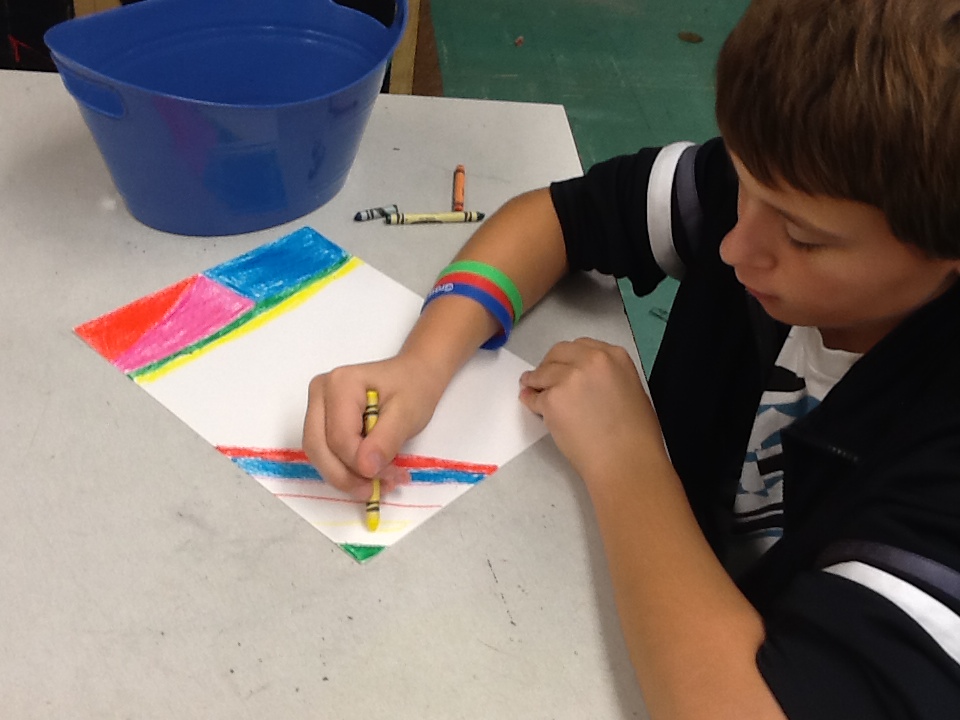
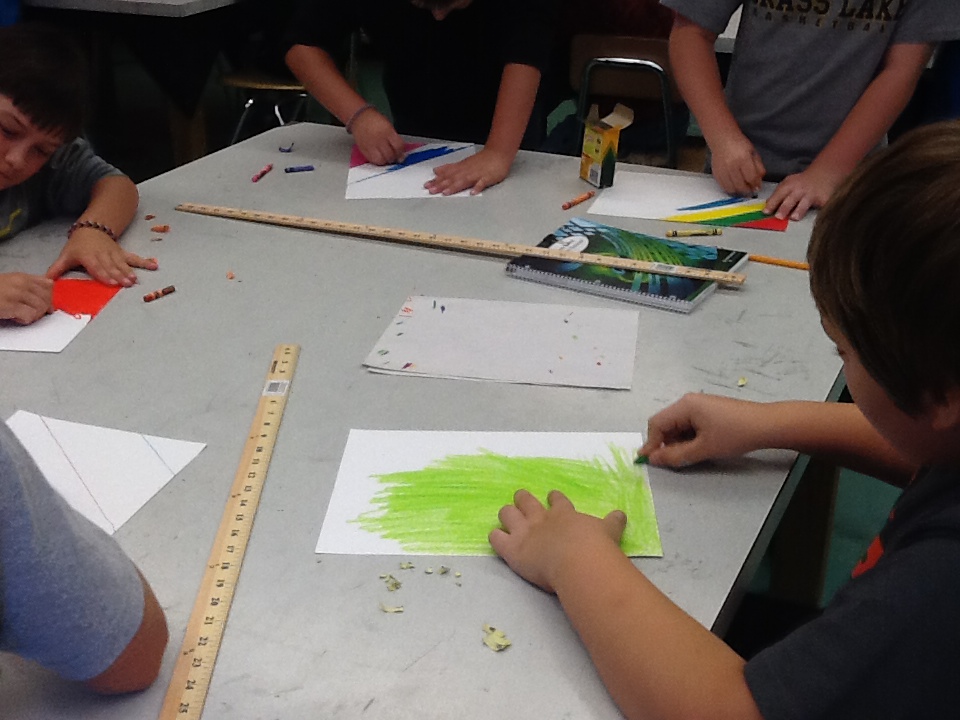
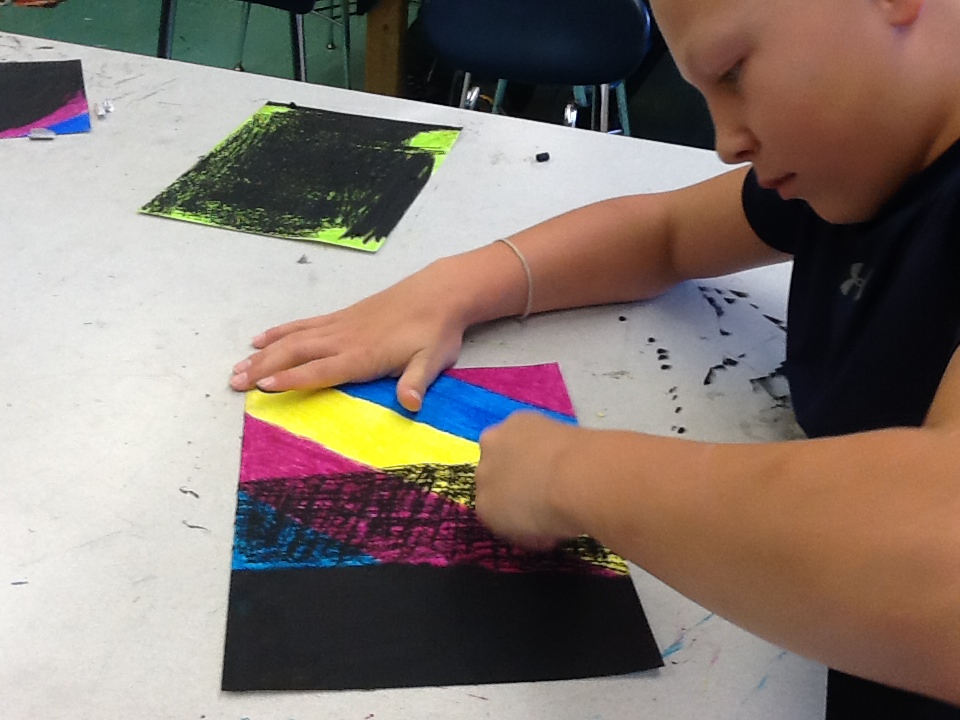
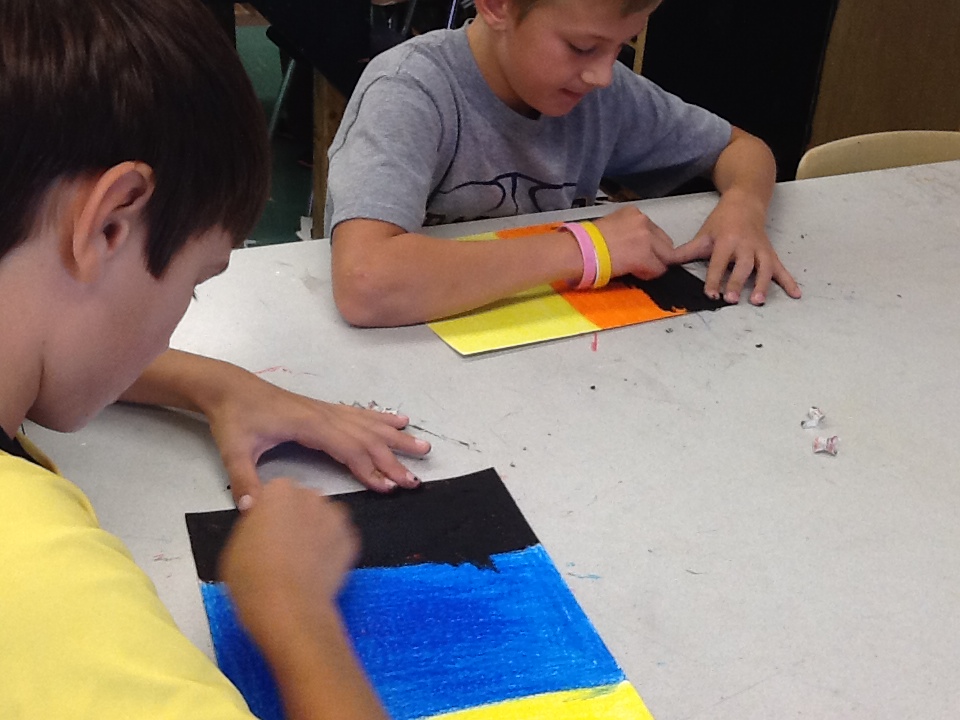
geometric color scenes
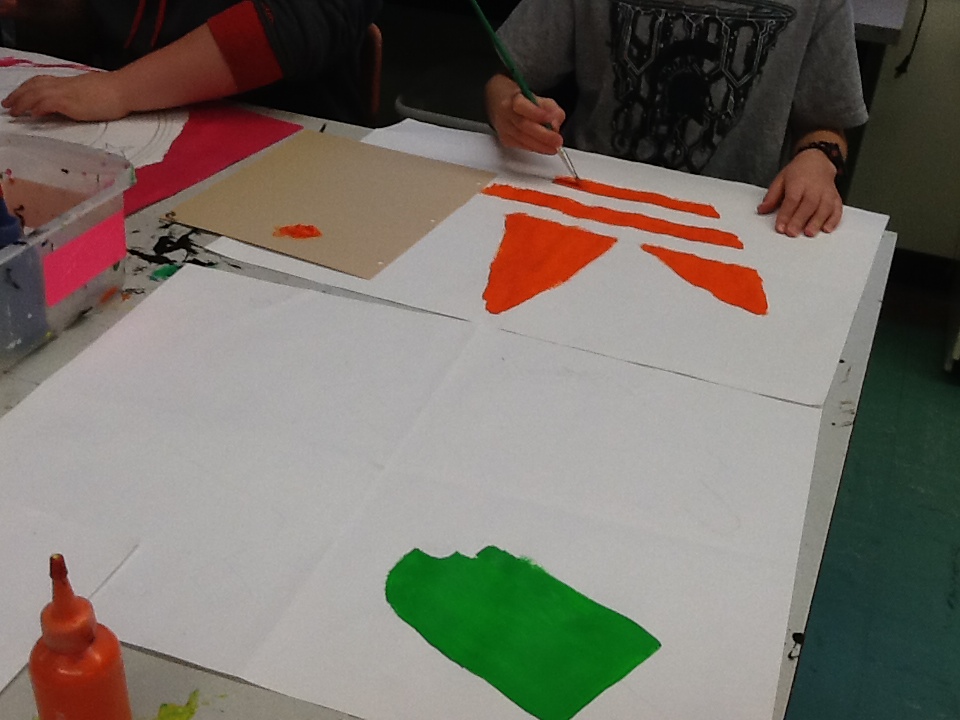
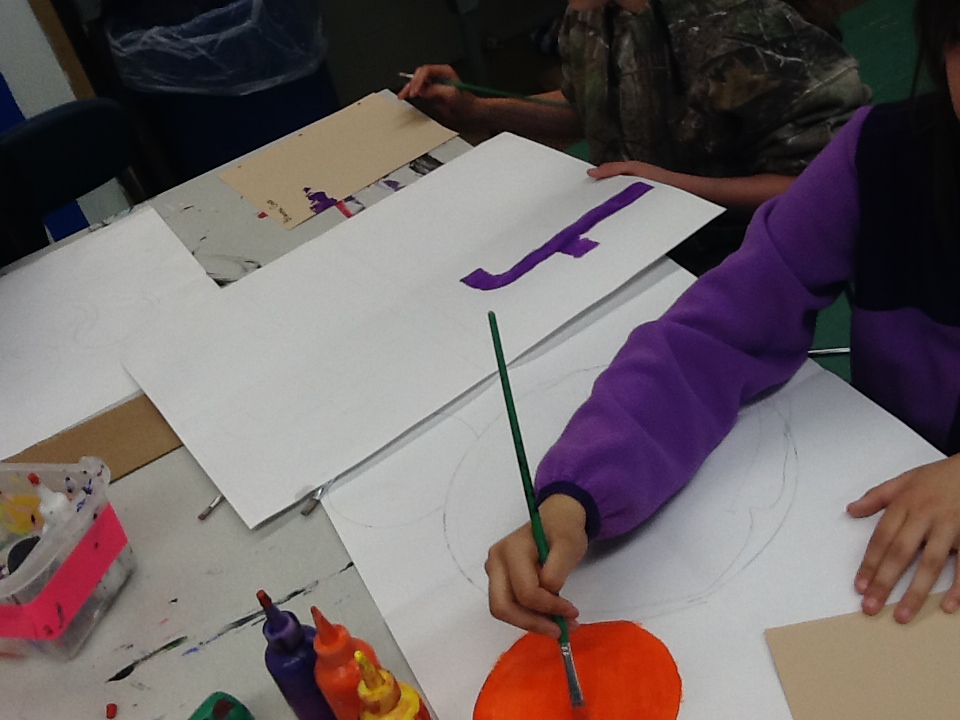
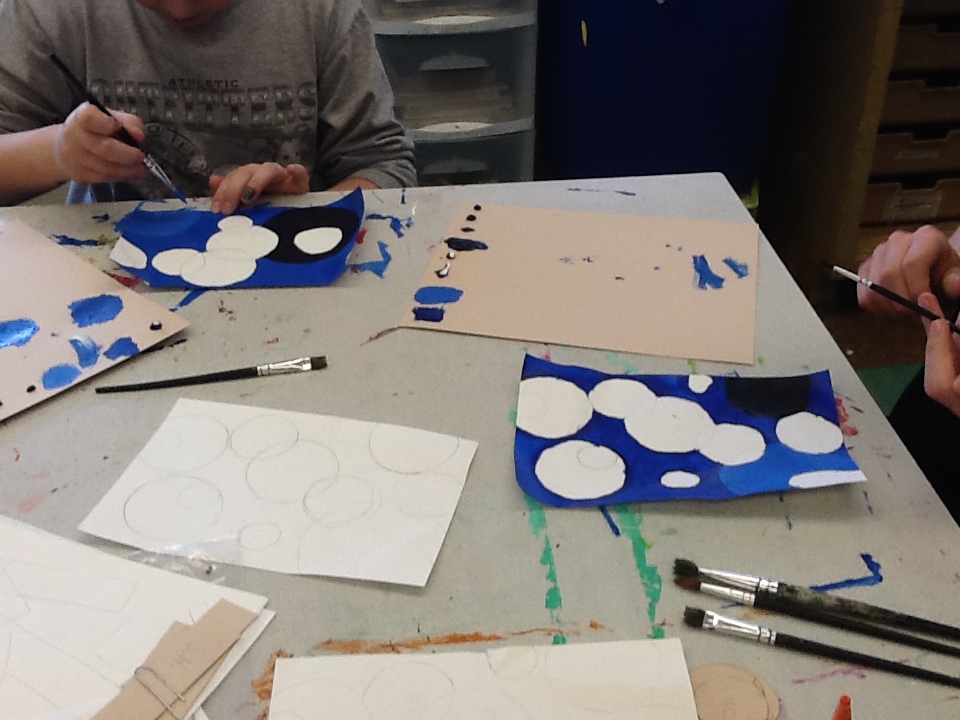
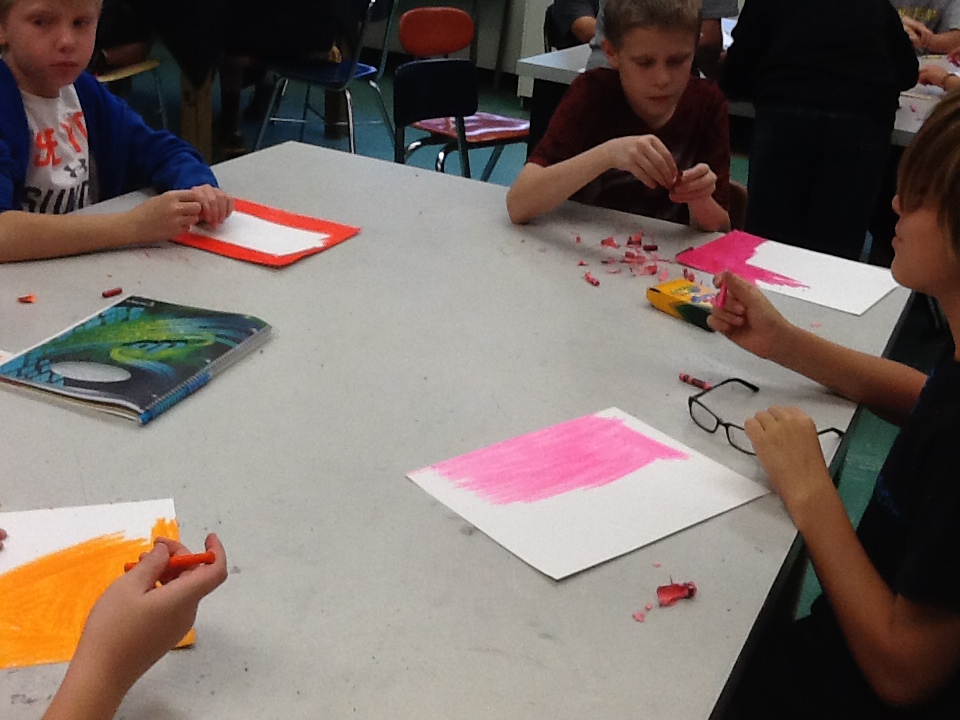
ART 6 students are using what they have learned about color to create a triptych of geometric color scenes in acrylic paint. You can watch our process and progress below.
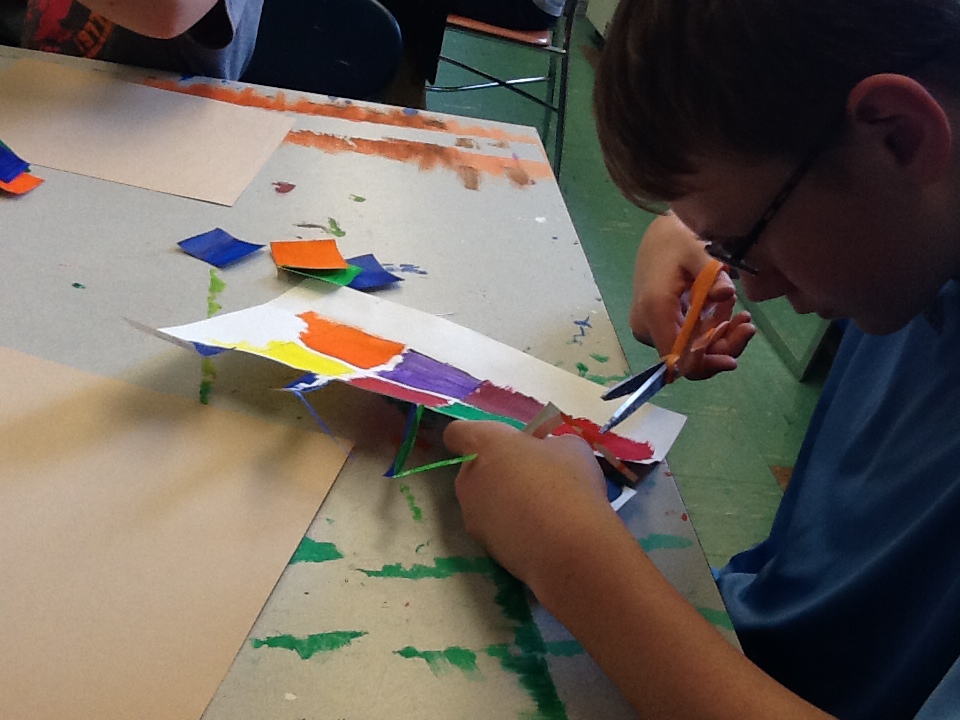
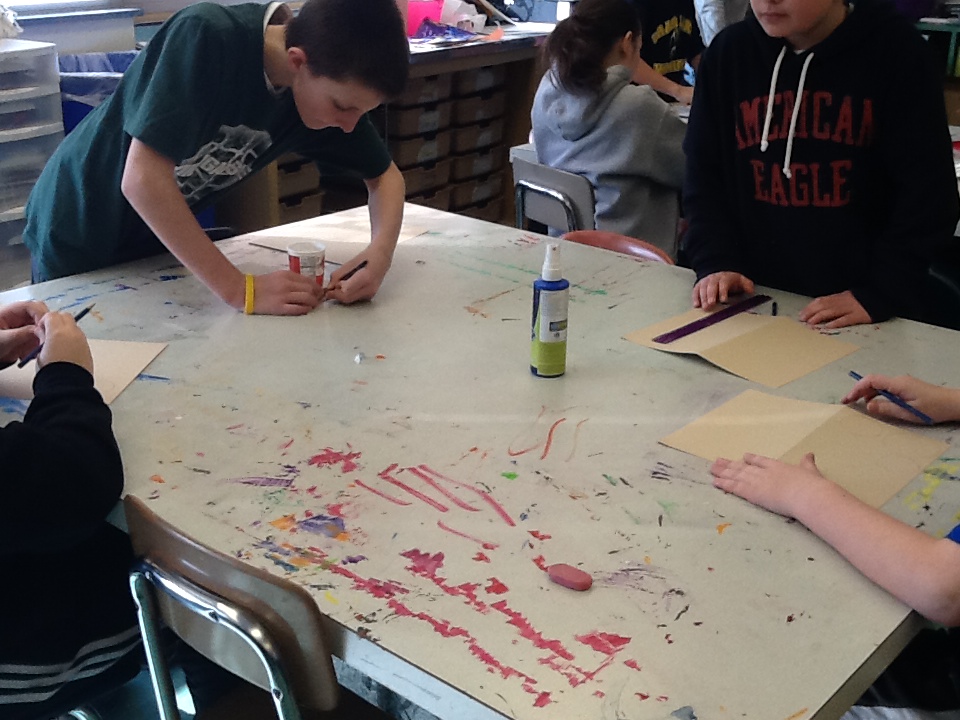
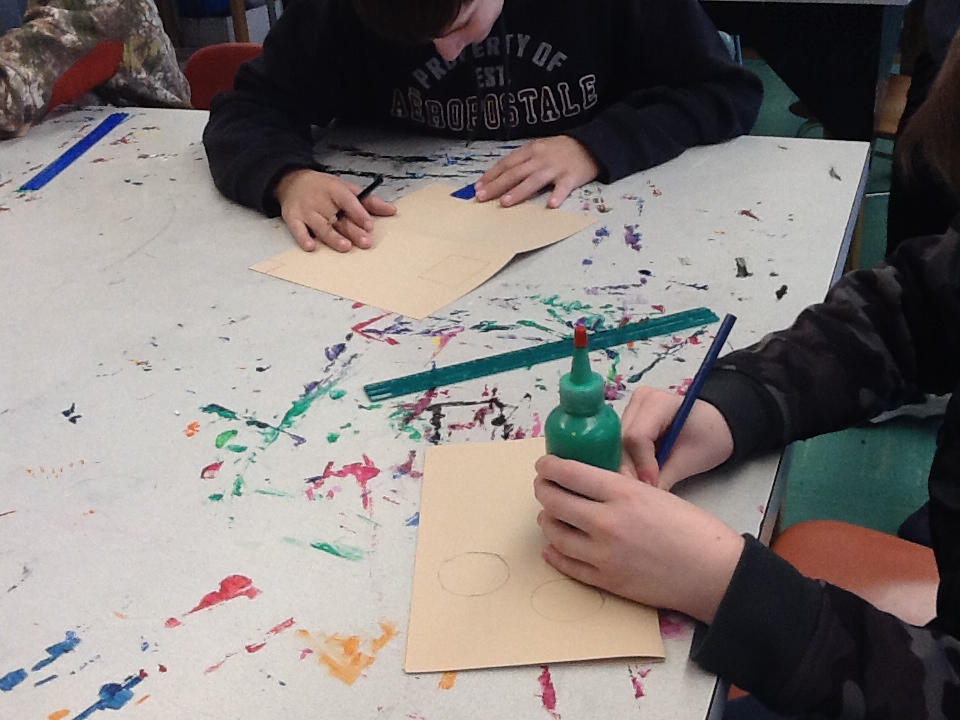
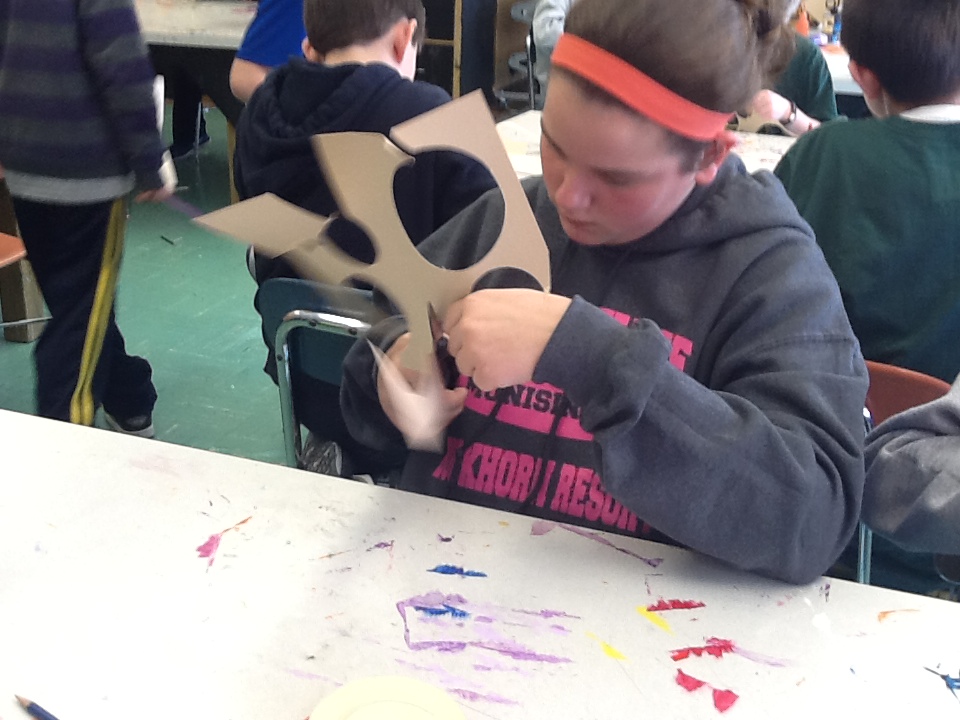
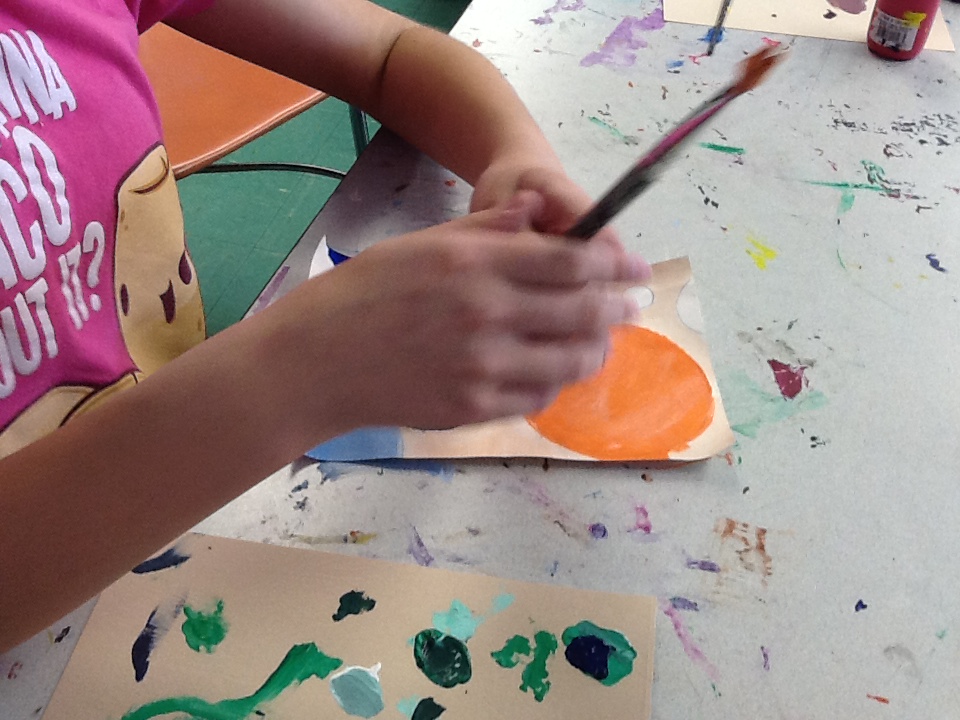
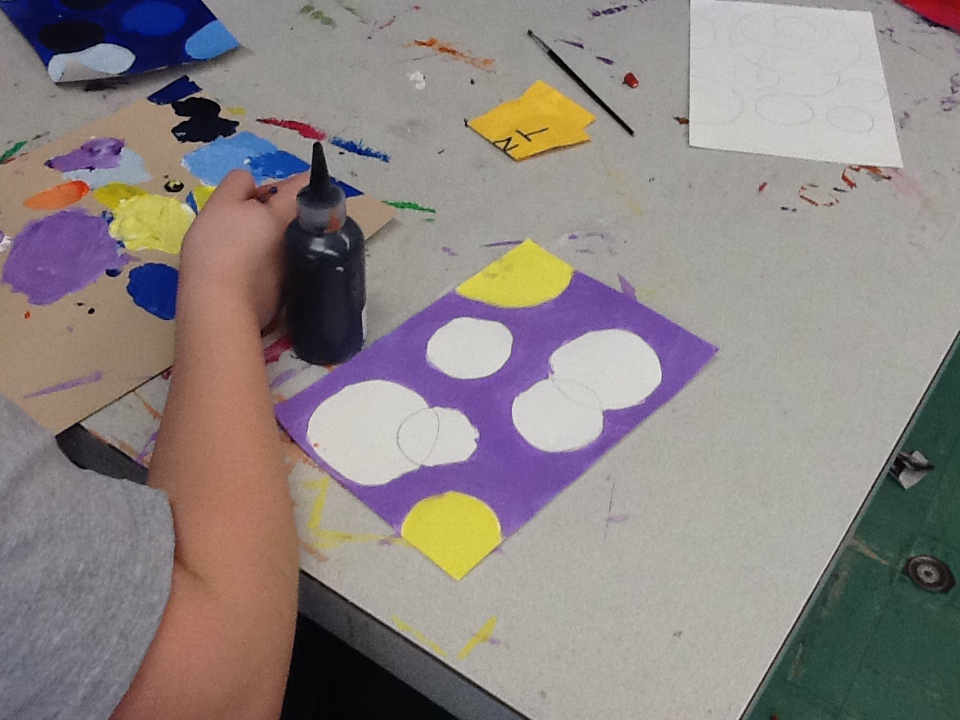
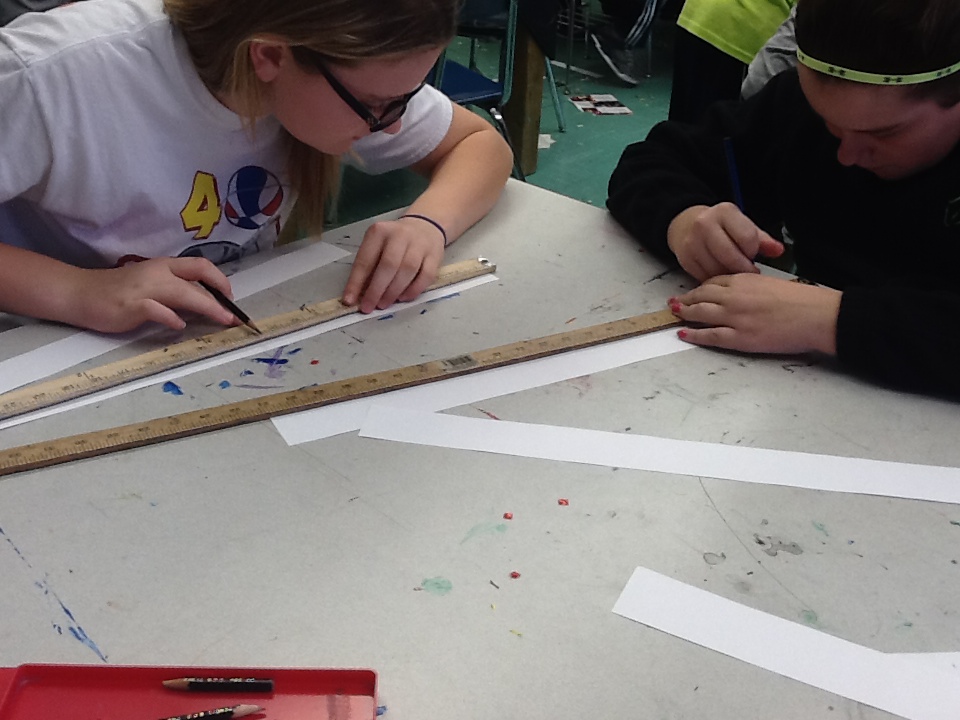
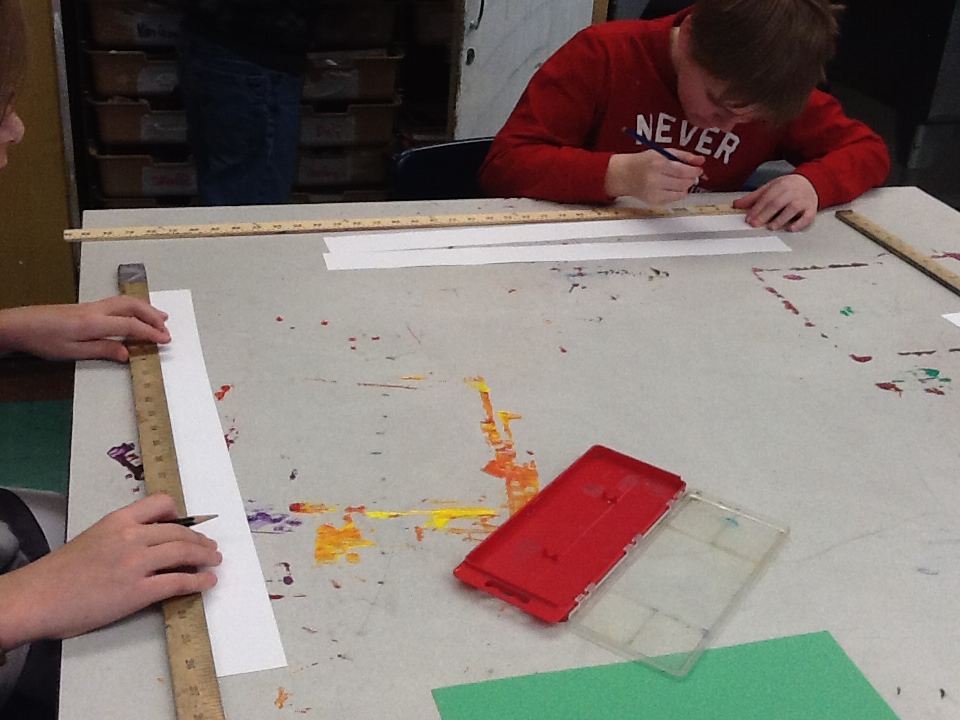
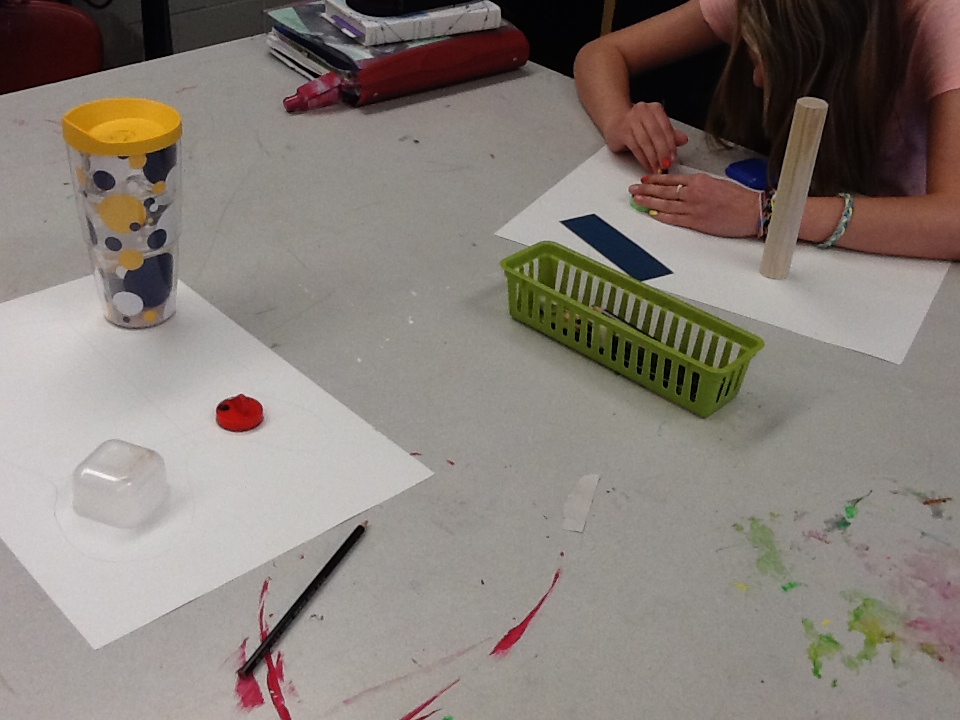
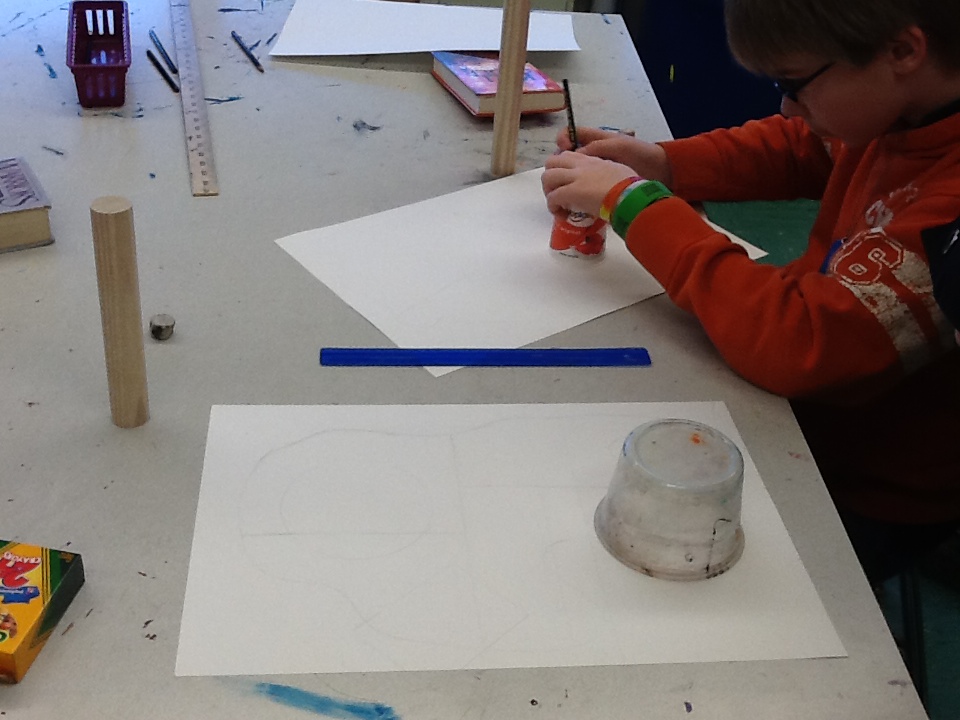
day one: decisions and tracers
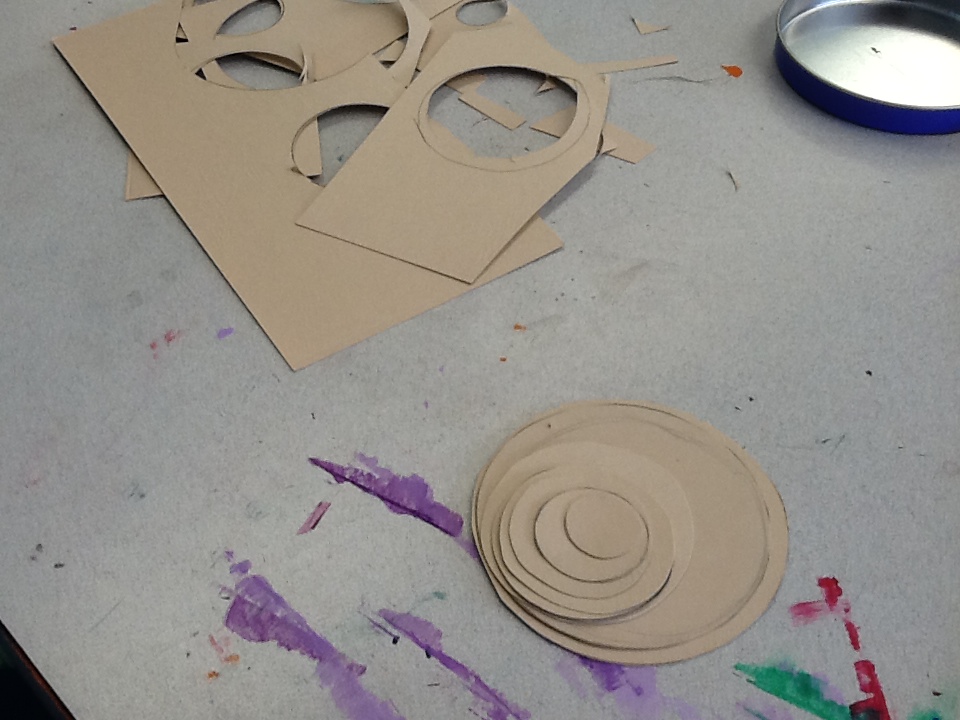
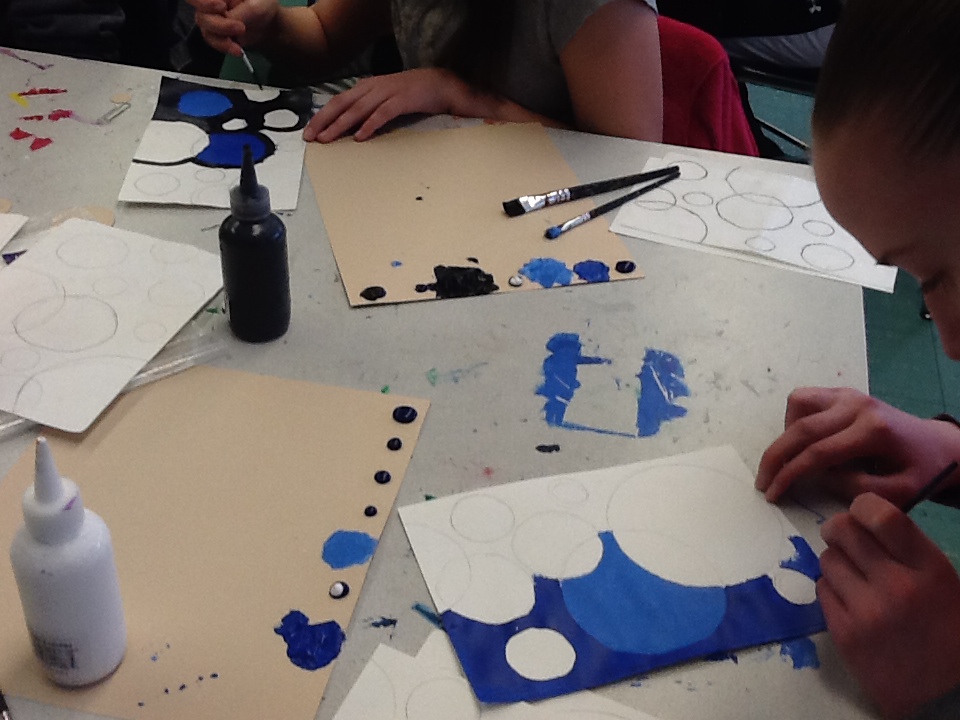
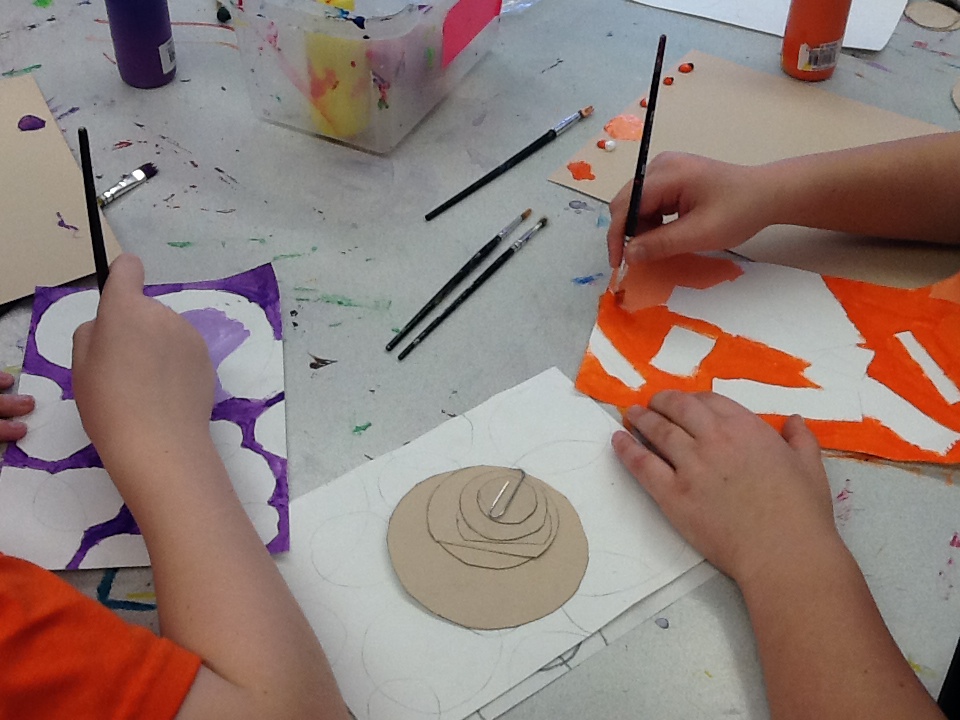
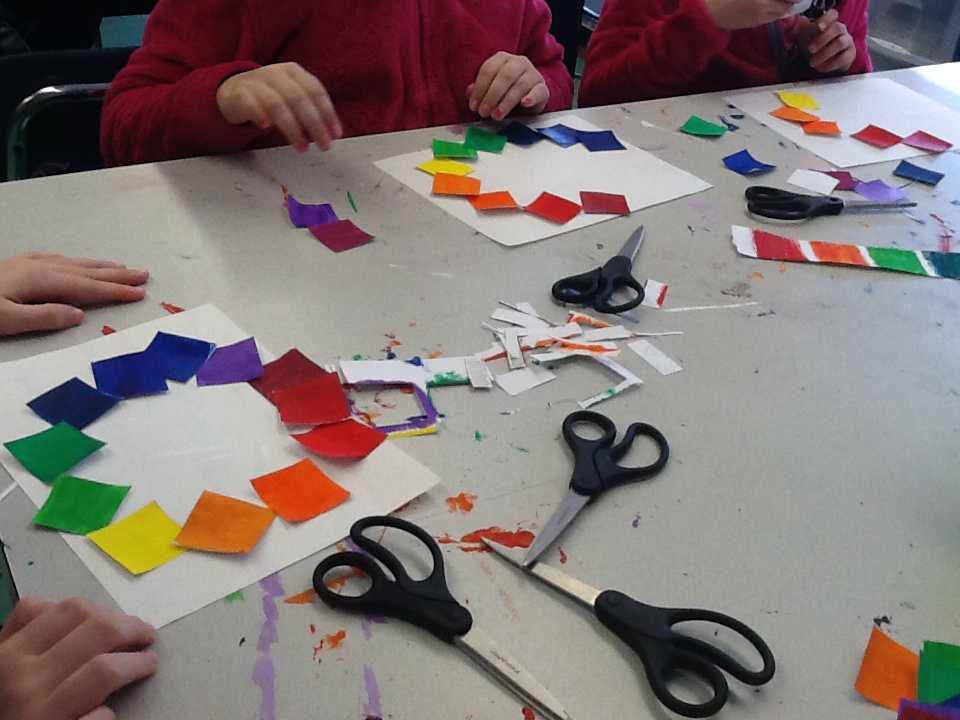
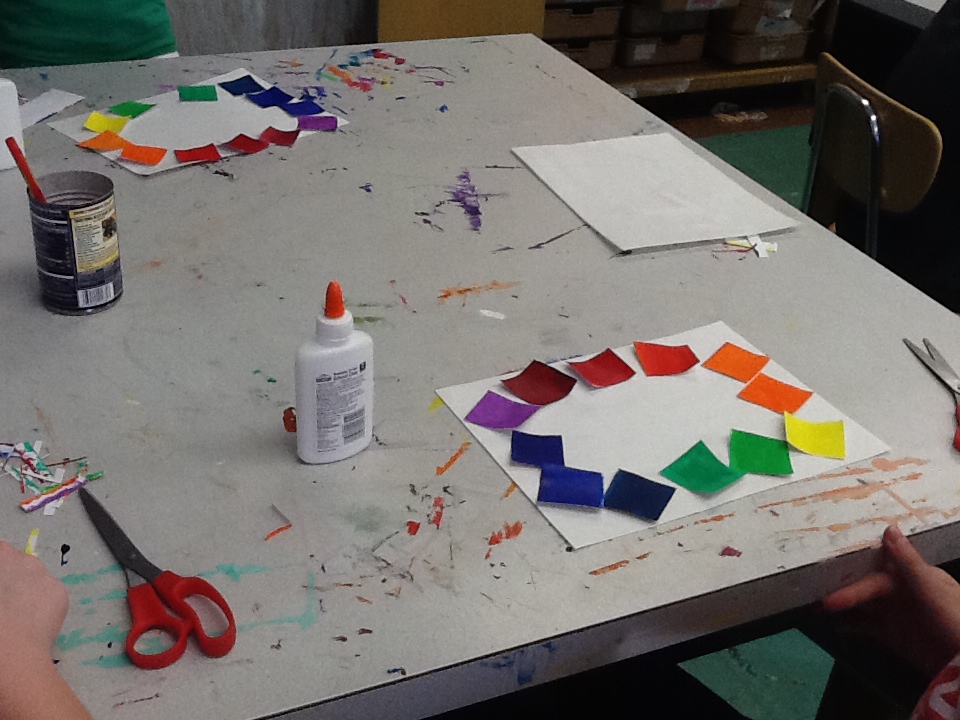
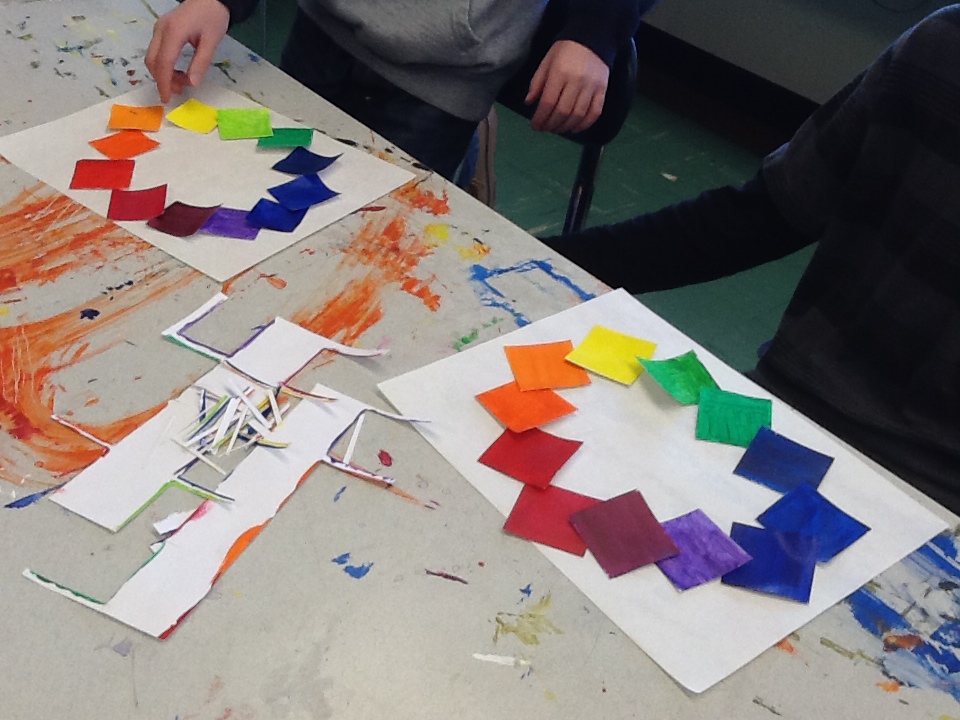
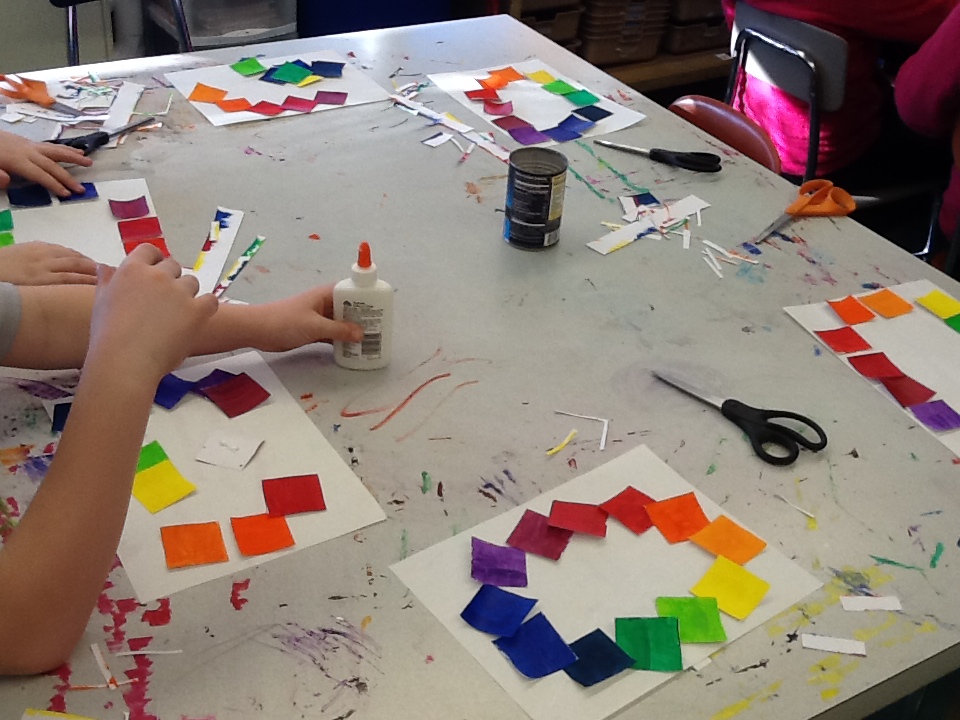
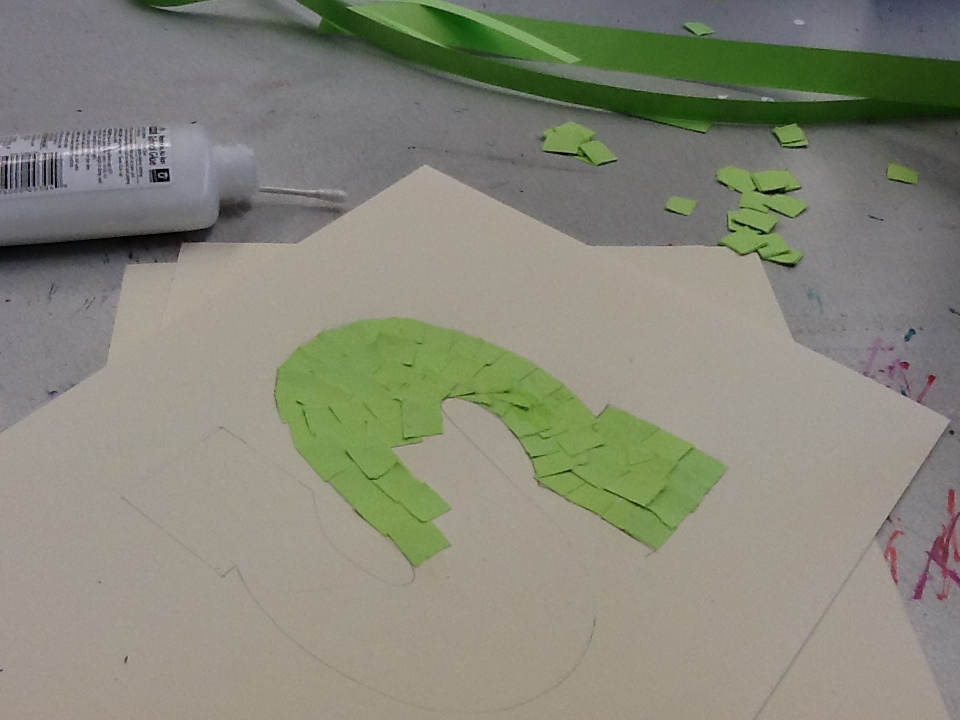
Today students were introduced to our newest project, got to ask any questions they had and then had to decide which geometric shape they would use in their compositions. Most students decided to play it safe with the paint and go with circles (tiny corners were viewed as tough). After the big decision was made, students used tag board to create at least 5 different sizes of their shape and cut those out carefully.
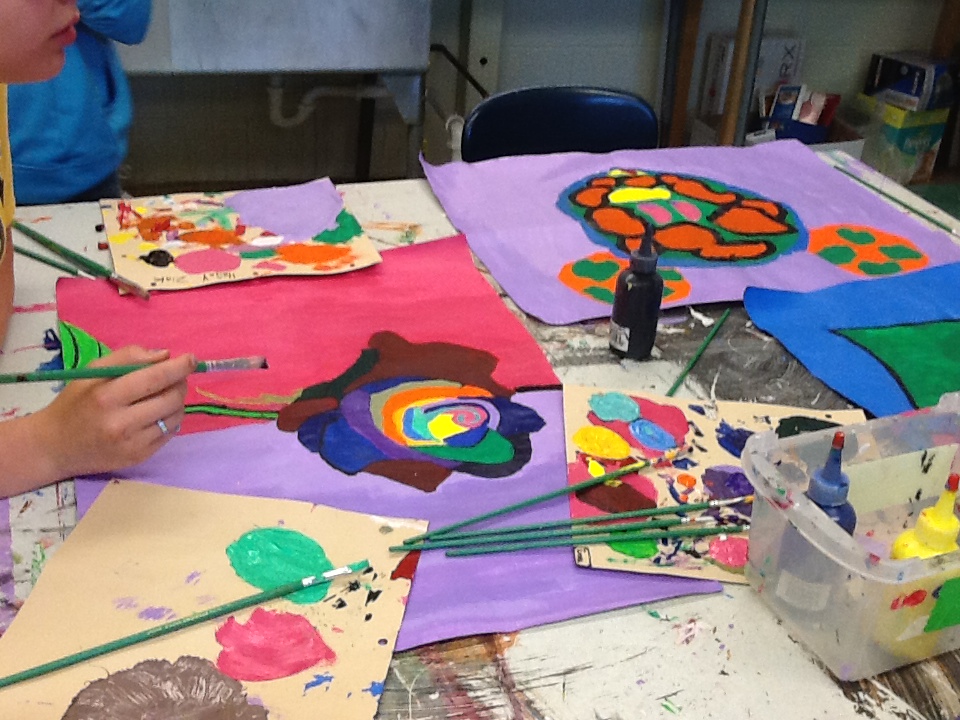
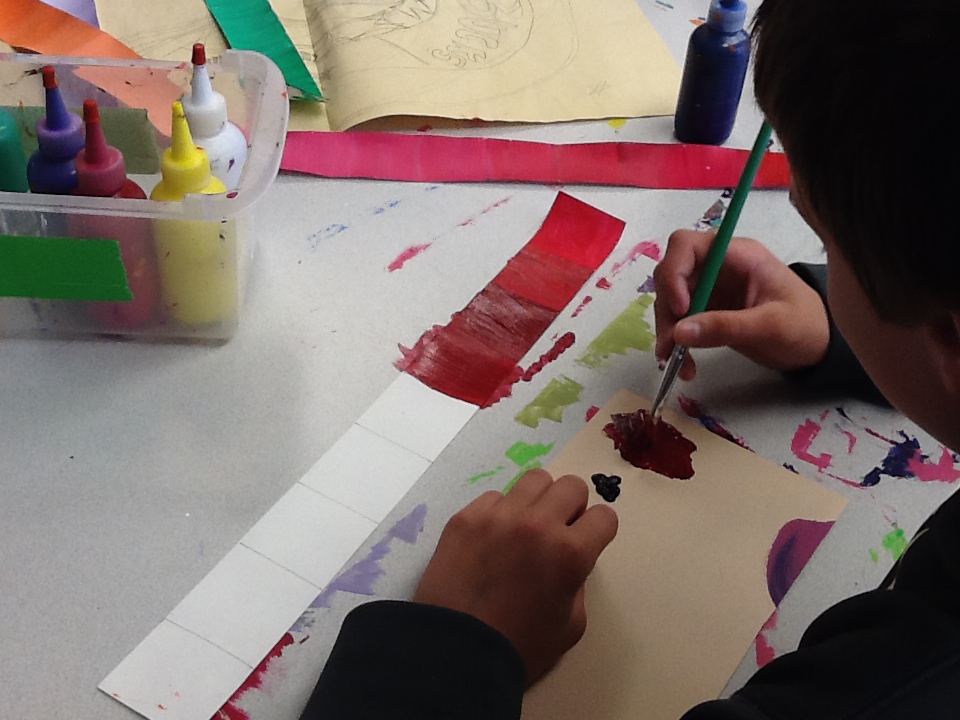
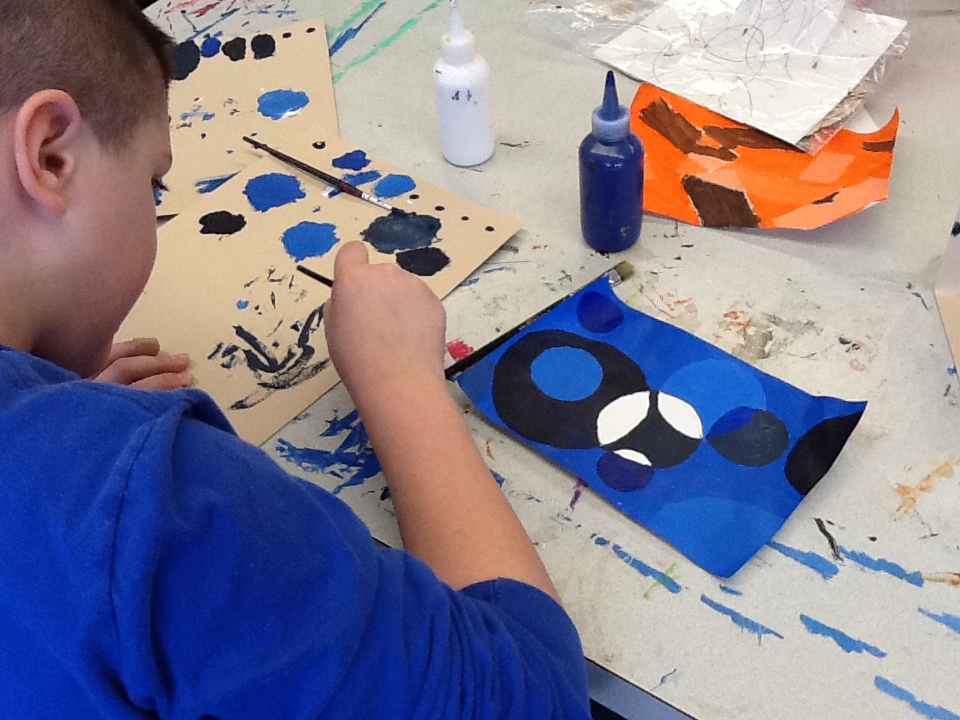
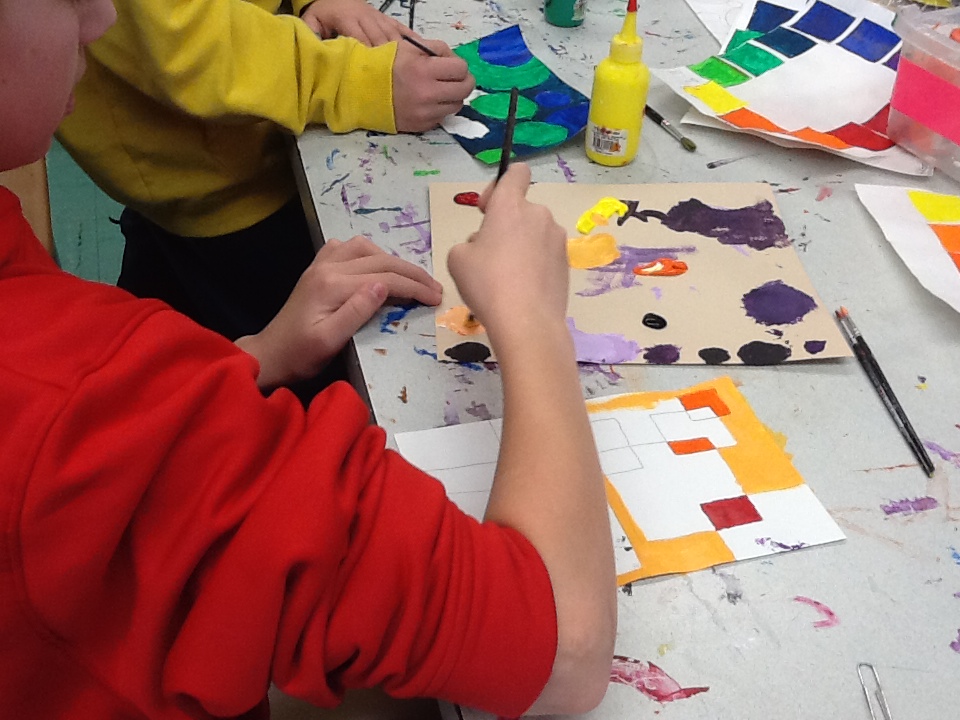
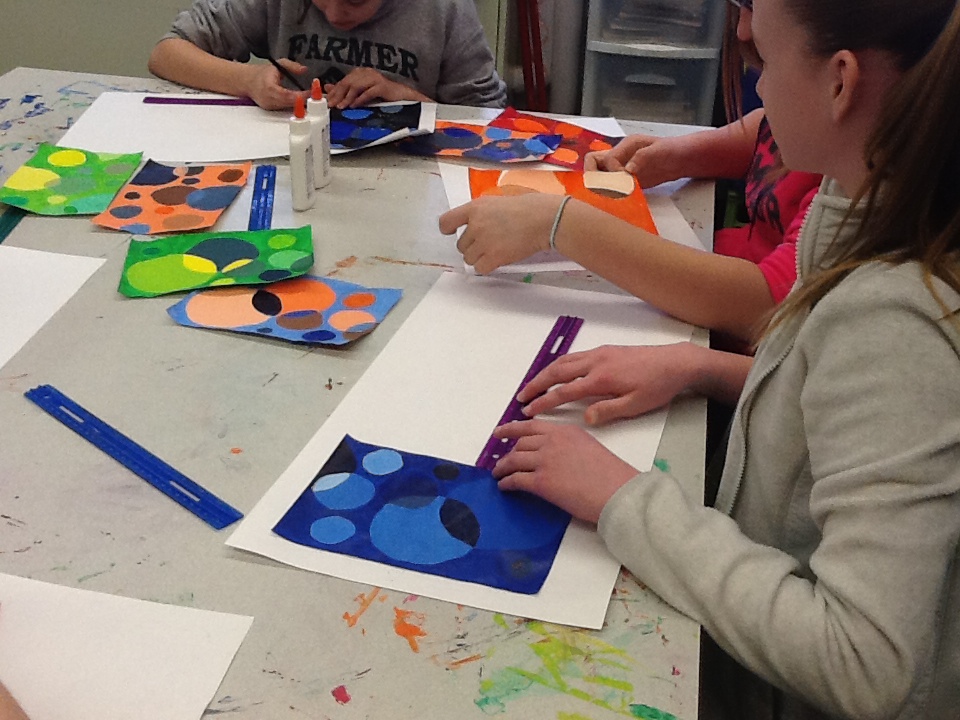
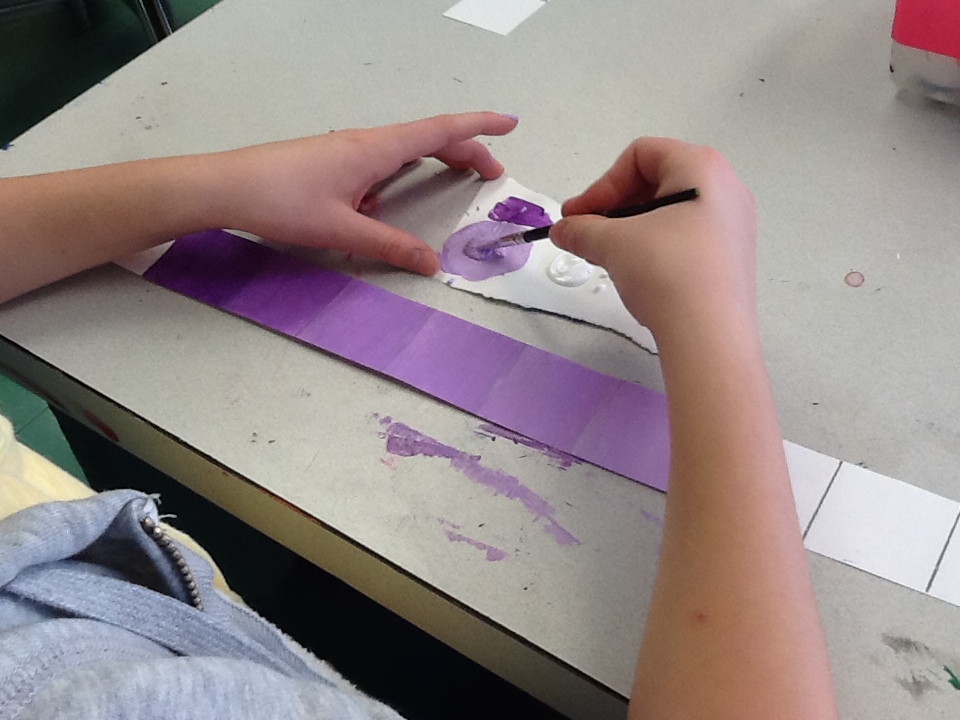
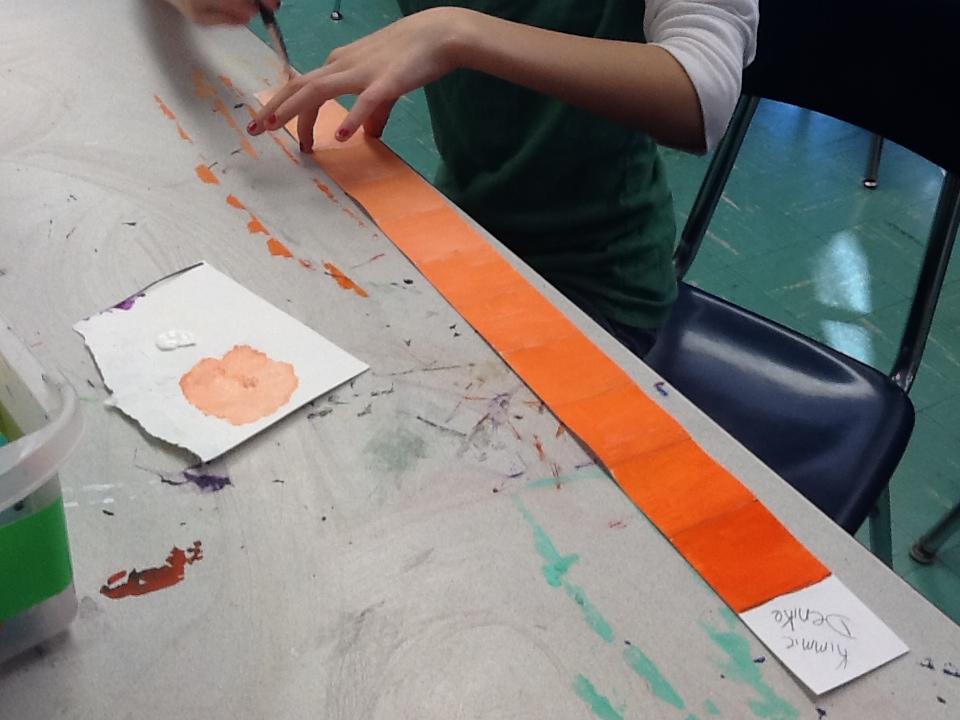
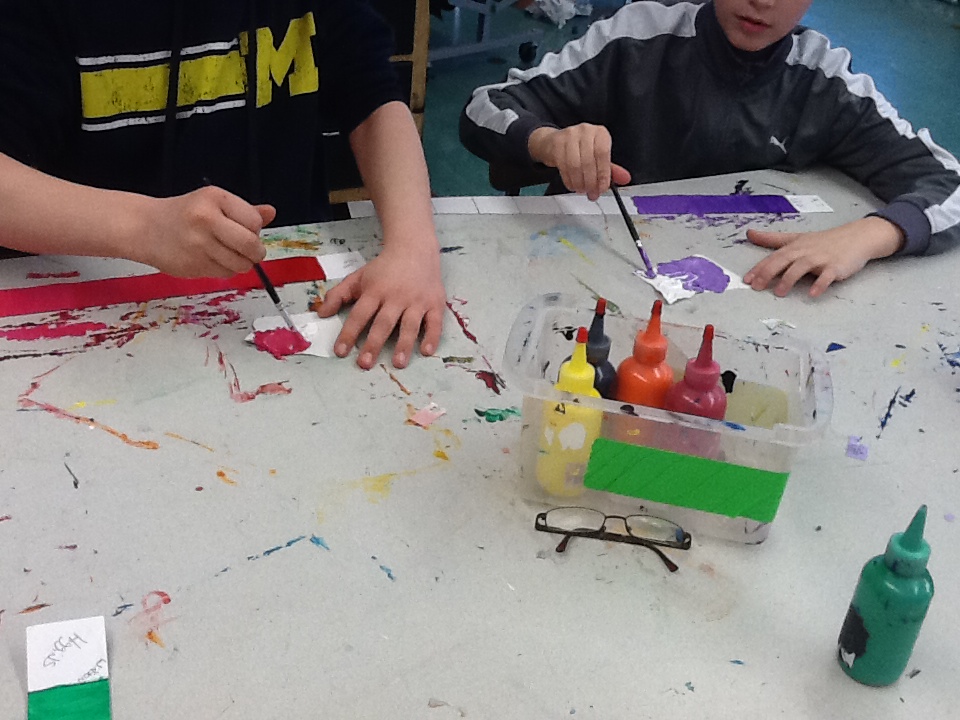
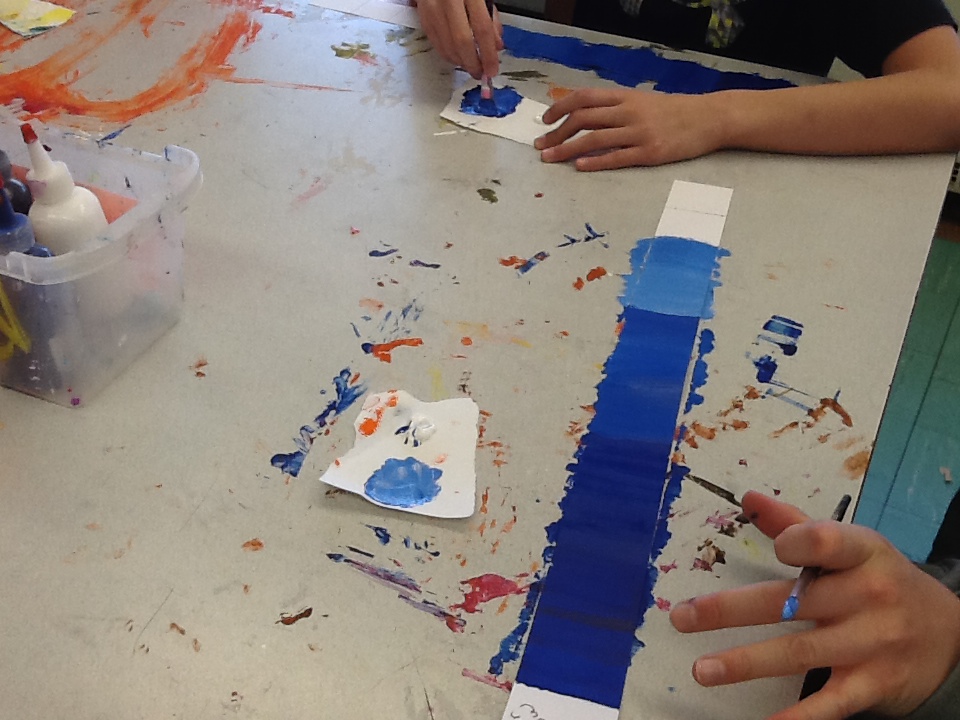
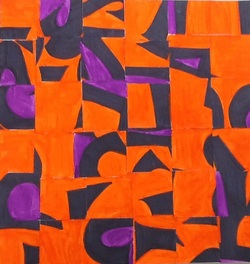
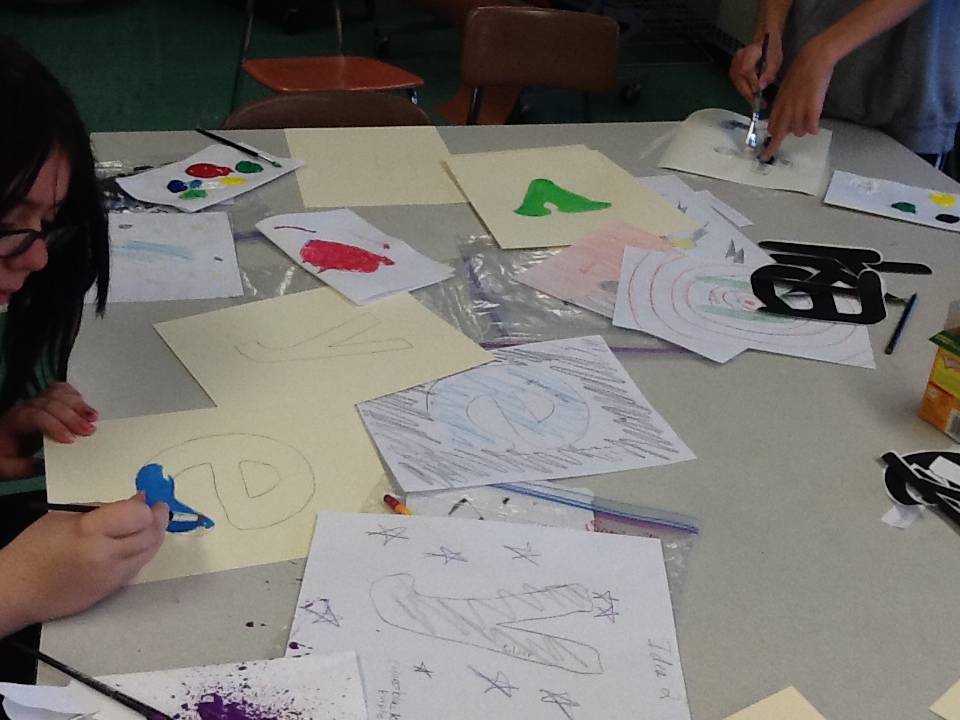
Day THree: paint!!!! Monochromatic color scenes
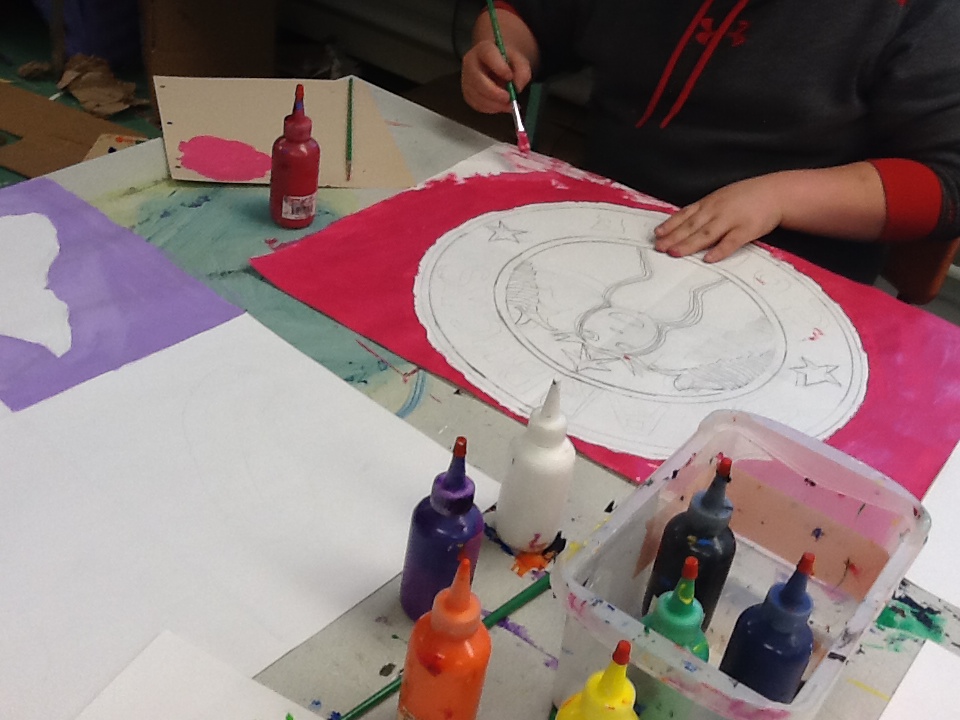
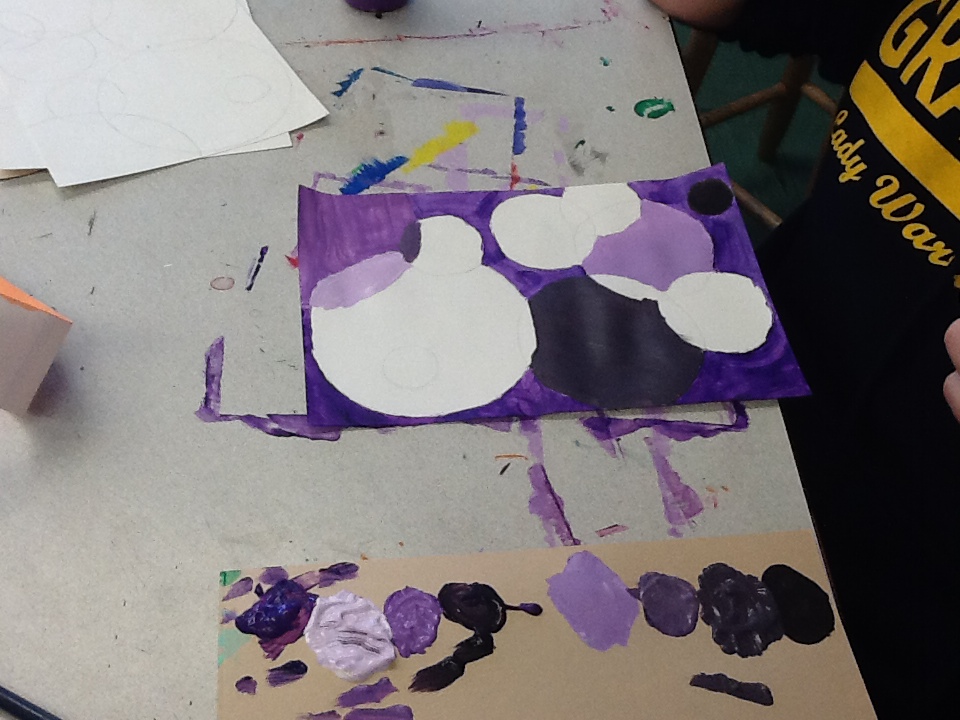
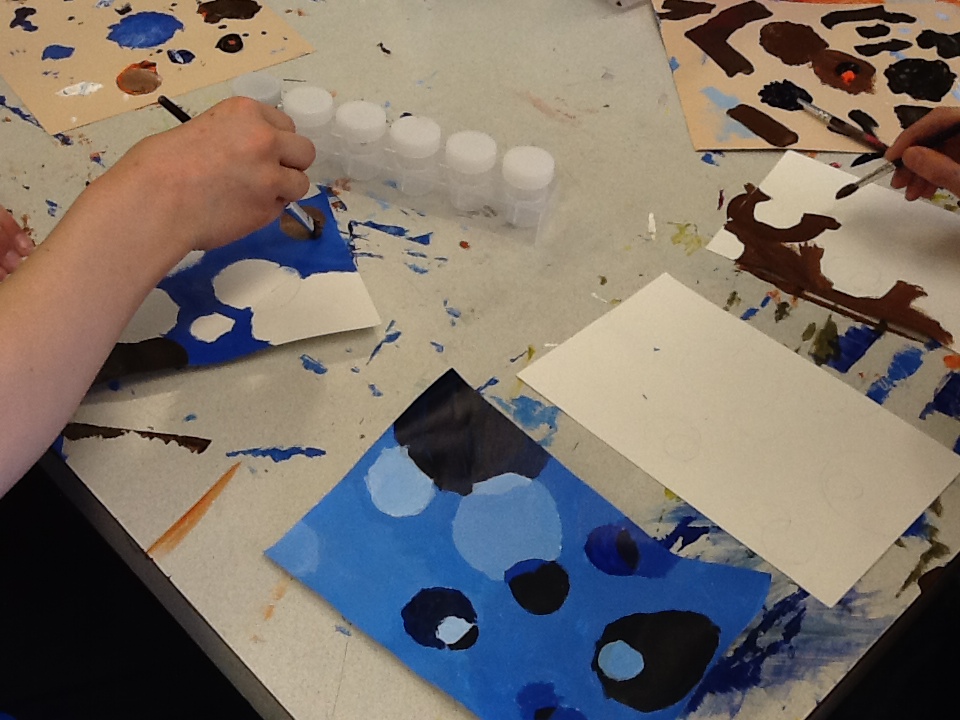
After choosing their final composition and tracing it 3 times to make exact replicas for their color triptychs it was time to PAINT!!!!! I did a short demo and conversation about monochromatic pieces, definition and how to easily paint corners/curves and how to disperse the different tints and shades to create an interesting piece. Then it was time to unleash my paint-loving kids!
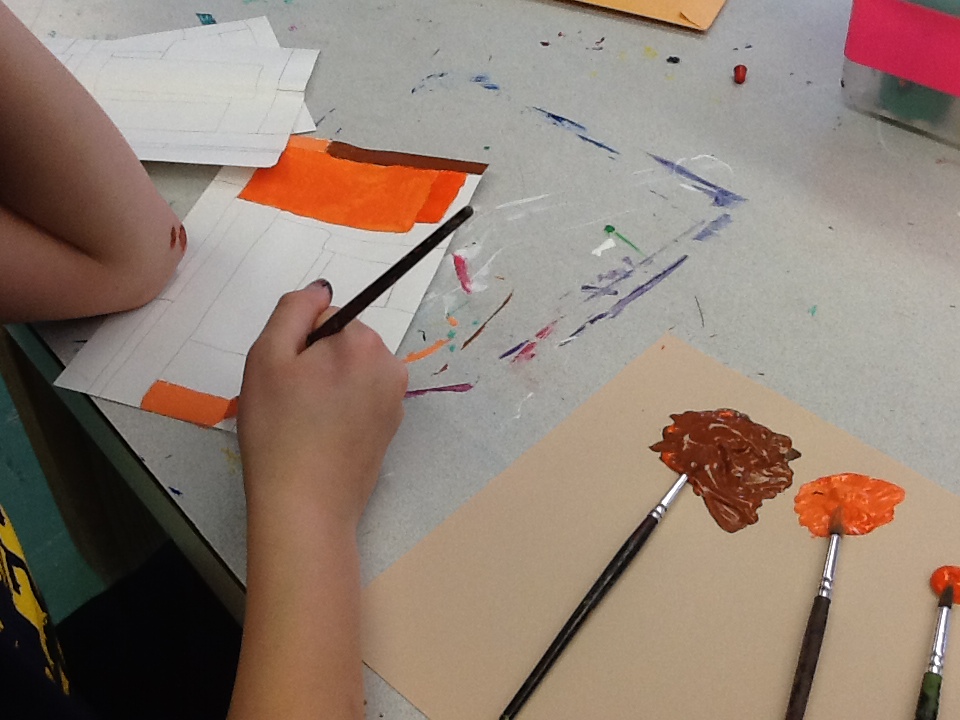
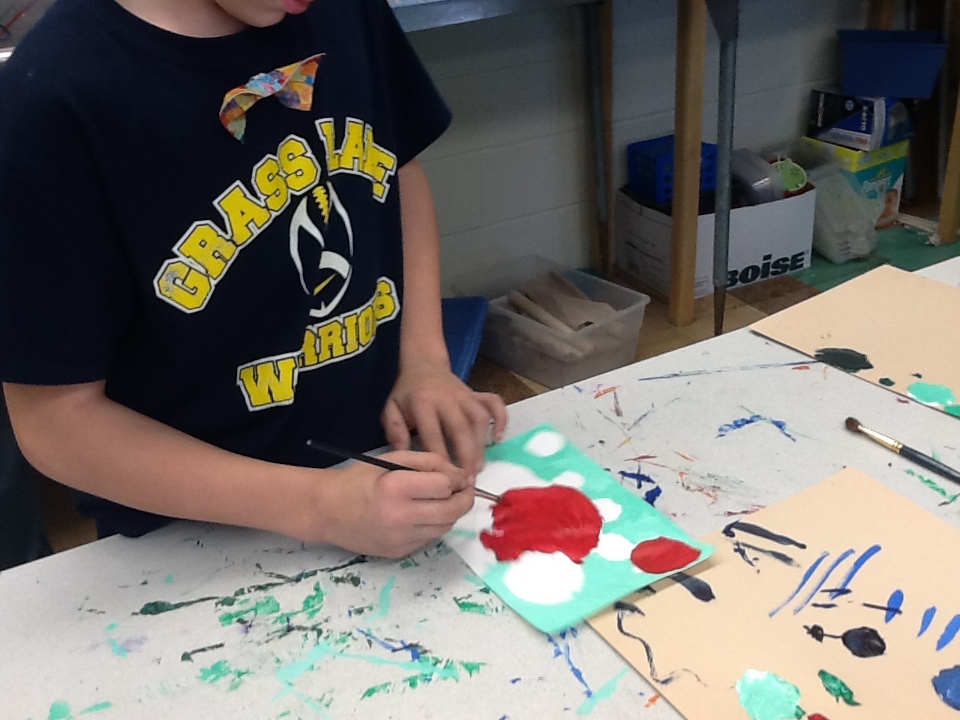
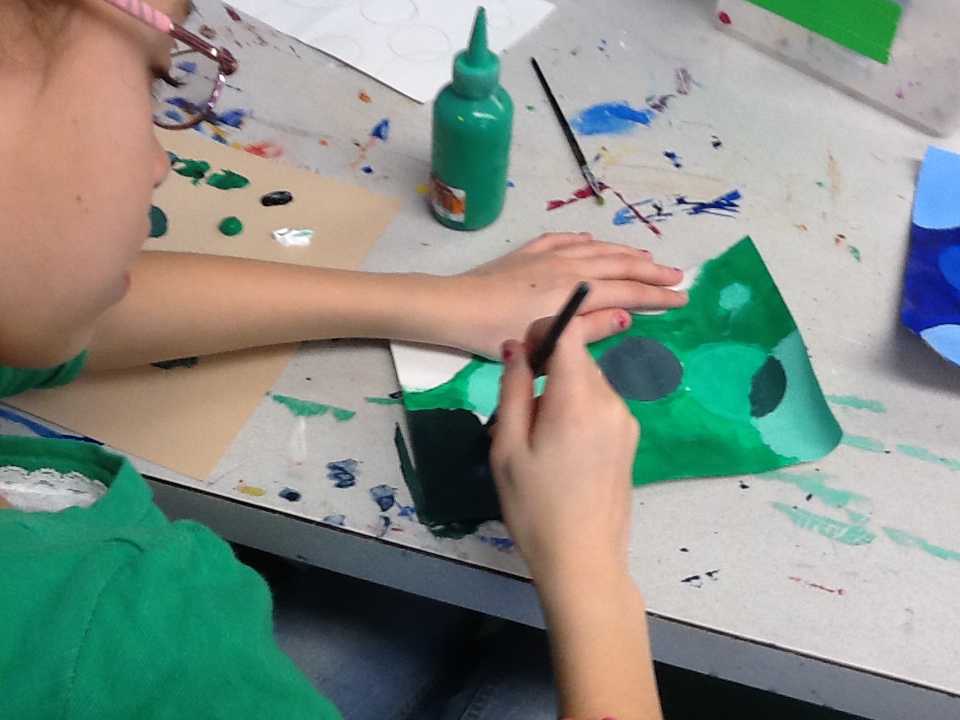
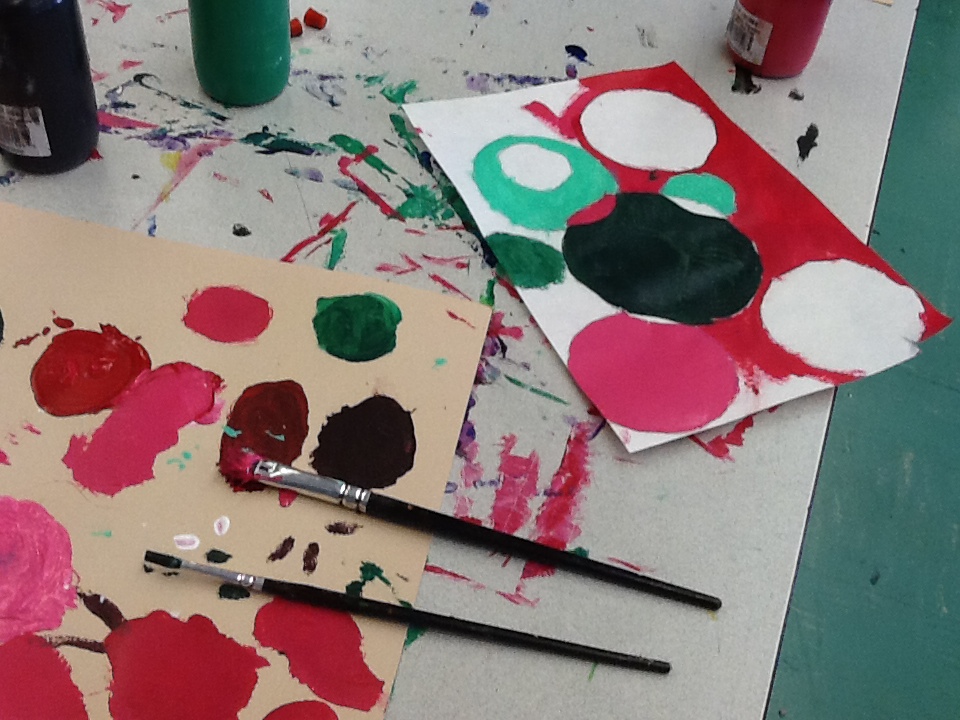
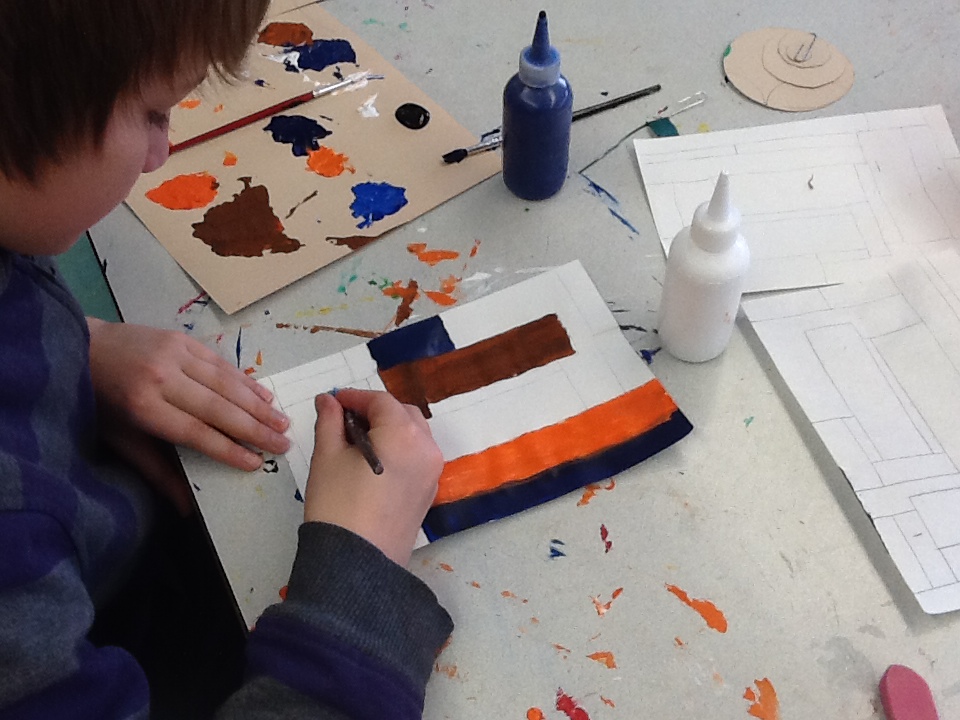
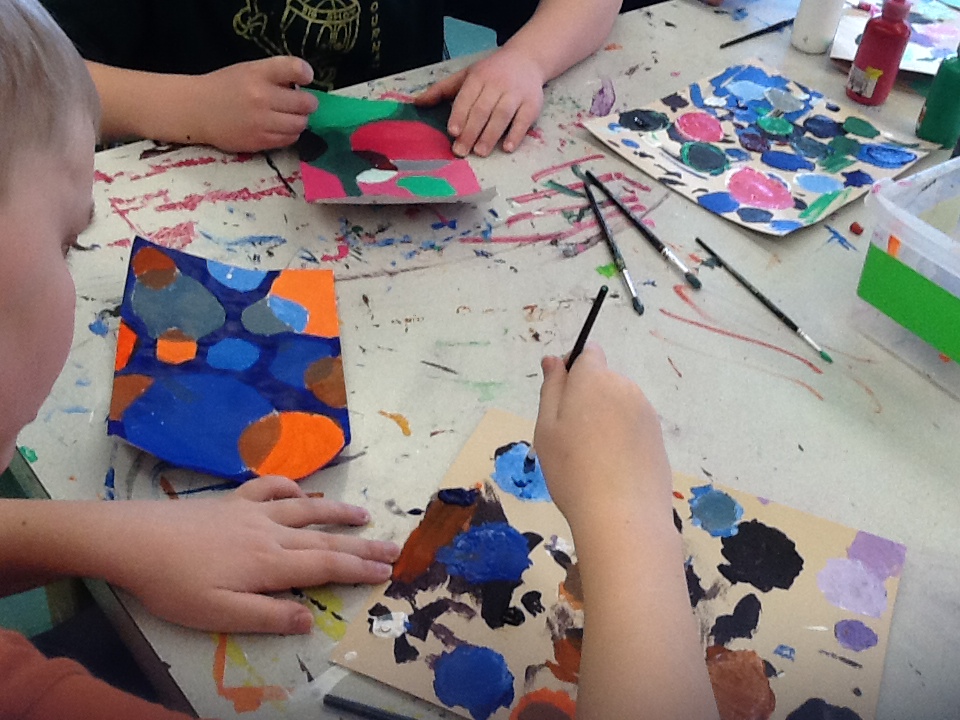
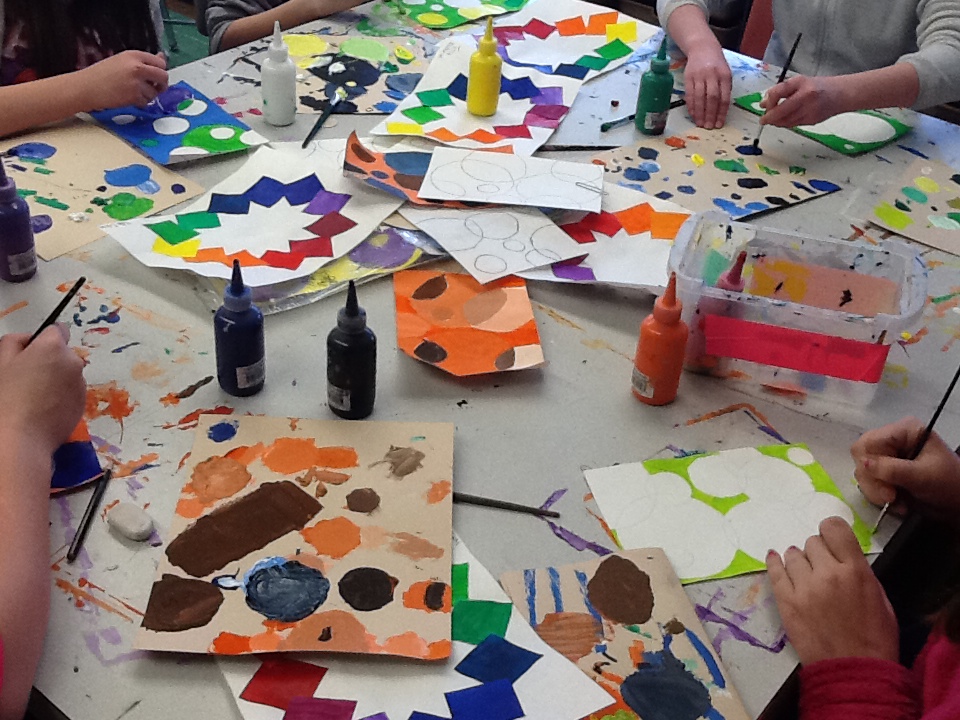
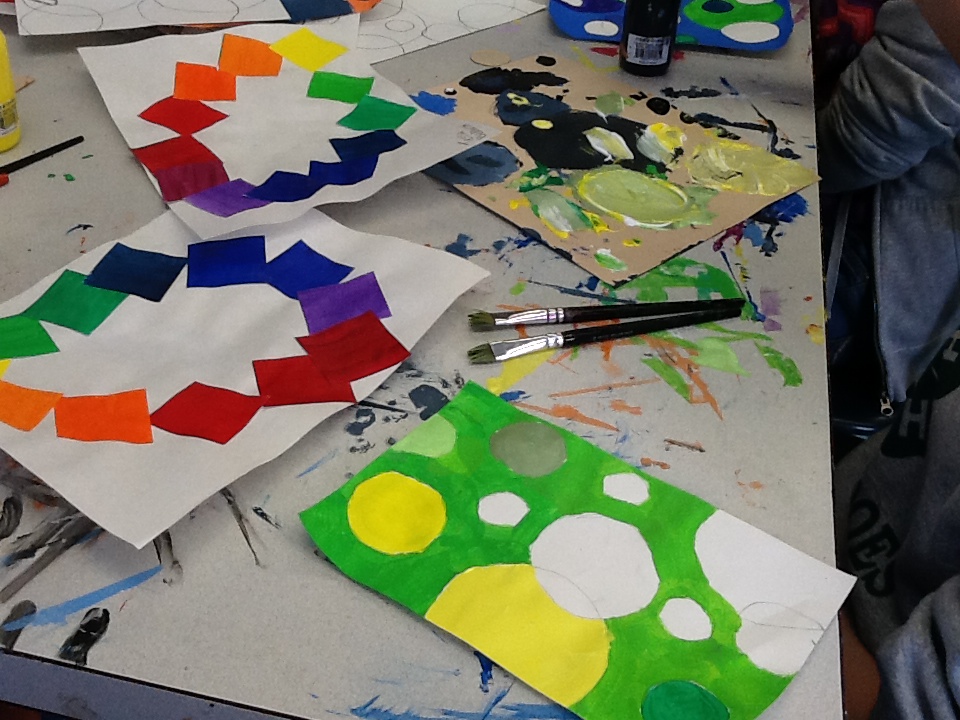
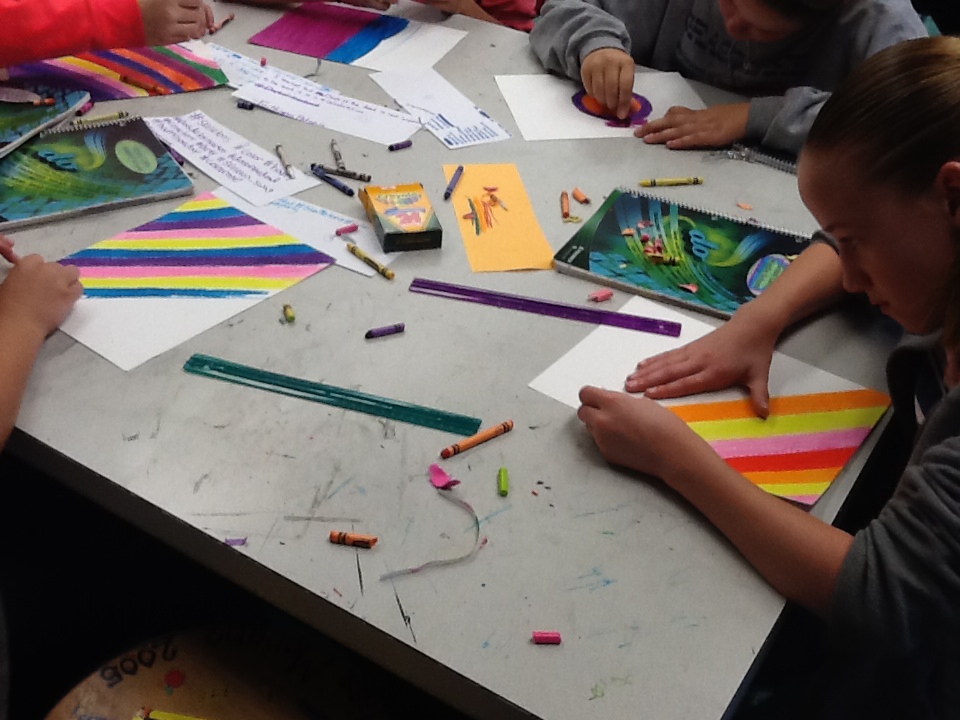
days four through seven: monochromatic, complimentary and analogous color scenes
Students had 5 days to complete their triptych of color scenes with the following requirements:
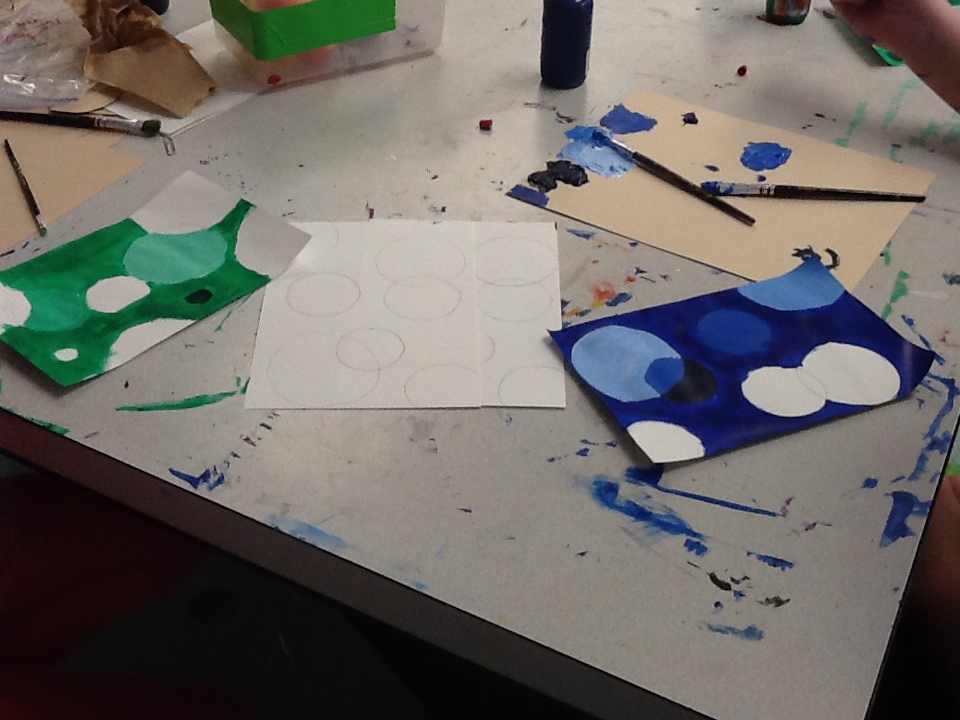
1. monochromatic- using black, white and one hue to make a variety of shades and tints
2. complimentary- choosing two hues across (opposite) each other on the color wheel and using balck and white to create various tints and shades
3. analogous- choosing neighboring colors (side by side) on the color wheel and black and white to creat tints and shades.
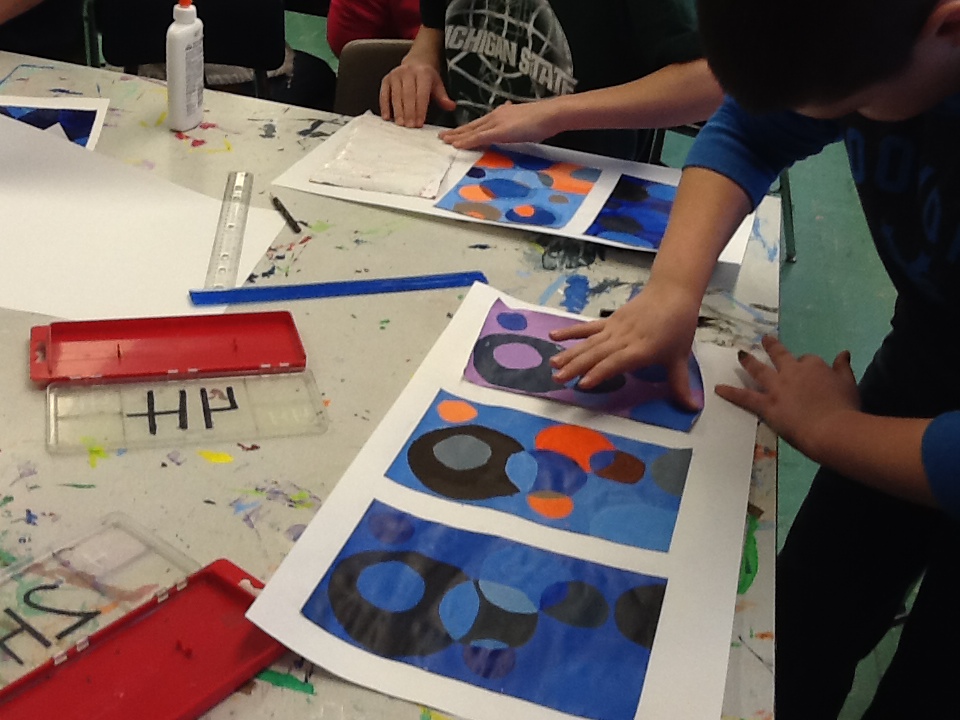
day eight: mounting our final pieces
Intro to all things paint
The next 2-3 weeks of ART 6 are all about paint and color! We will complete a few standard exercises that will help us with our acrylic skills for our large final project. You can see all of our paint happenings below!
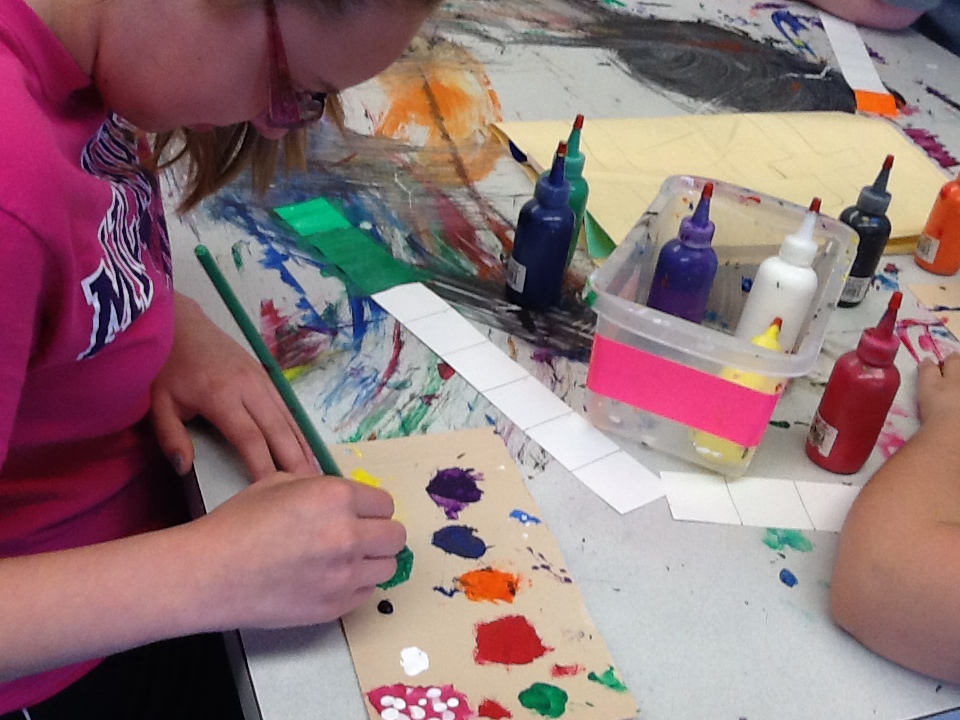
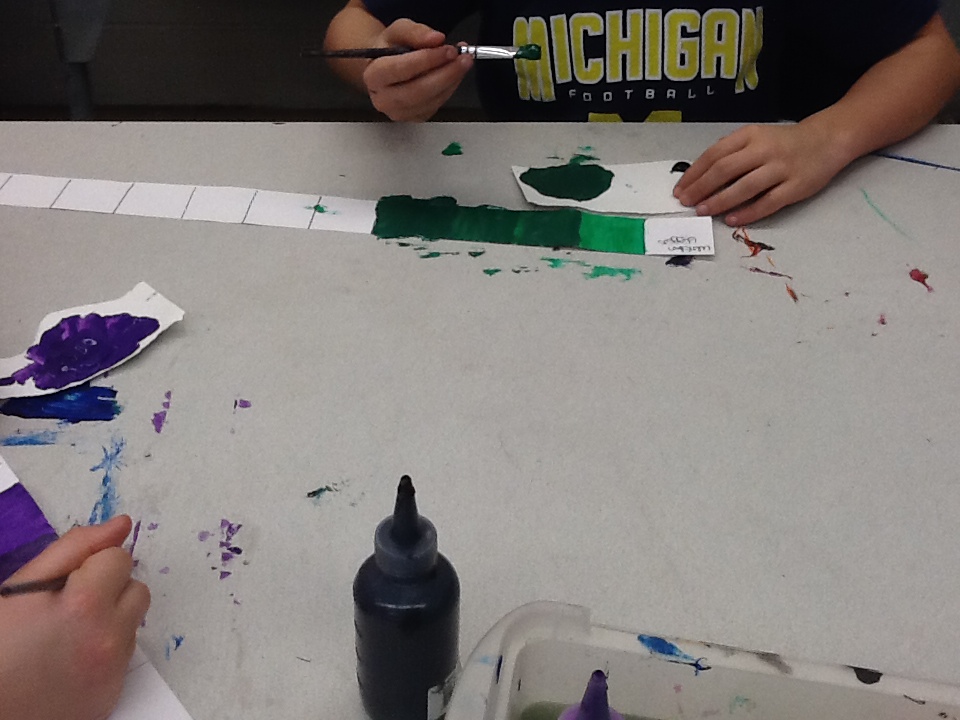
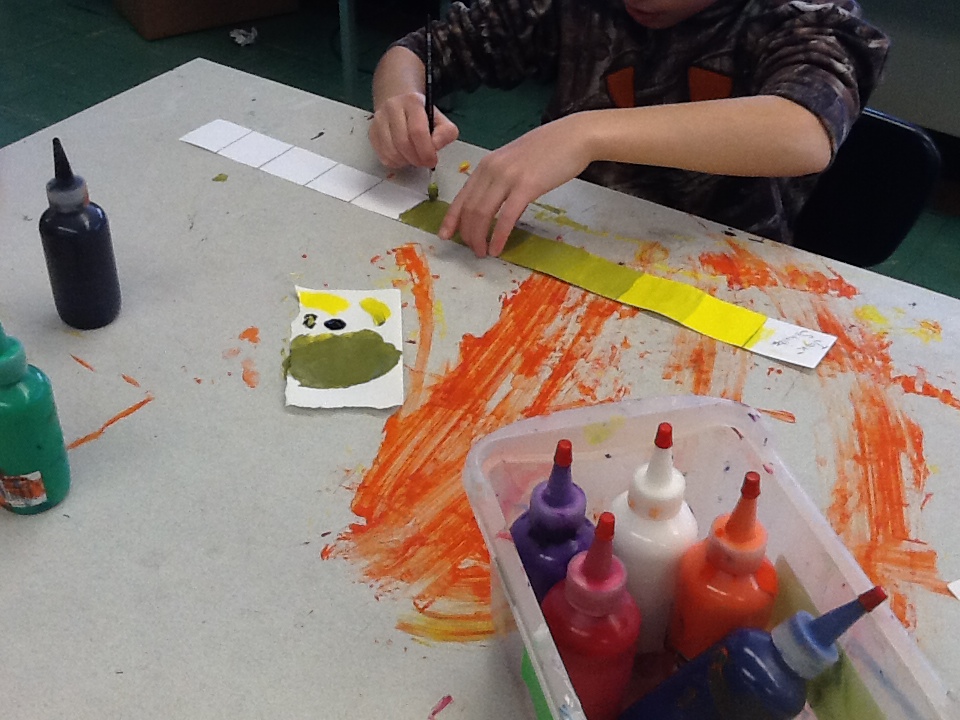
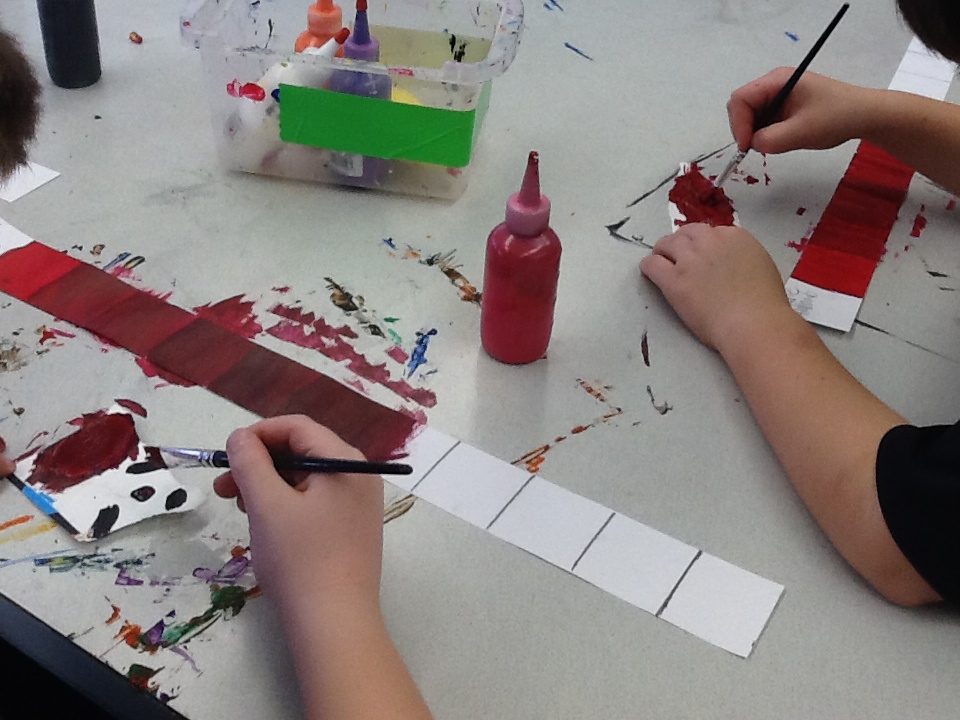
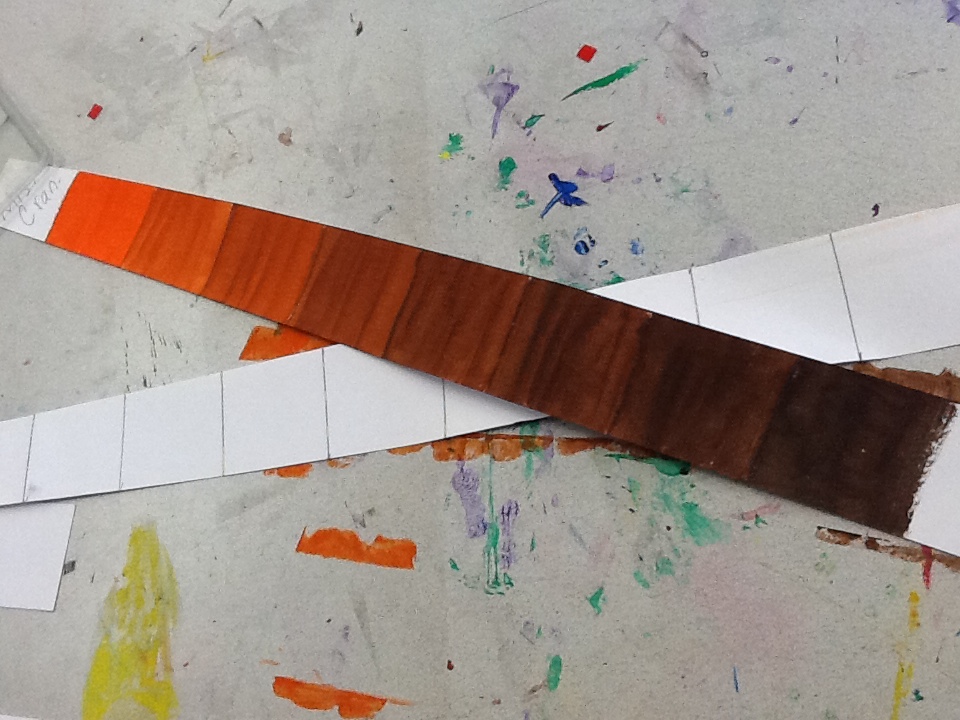
days one and two: tint and shade ladders
To kick off our paint mini-unit, ART 6 students are taking a turn at mixing shades and tins of a color by making a couple color ladders. This helps the students realize the power of adding black and white to colors and shows them the proper amounts they may need to get the color they desire. This is also a great tool for showing paint amounts needed to paint a certain area. We spend a lot of time talking about the power of black paint versus white paint, not wasting materials and cleaning up our brushes well. This sets the backdrop for a successful paint experience the rest of the years I have them.

days three and four:
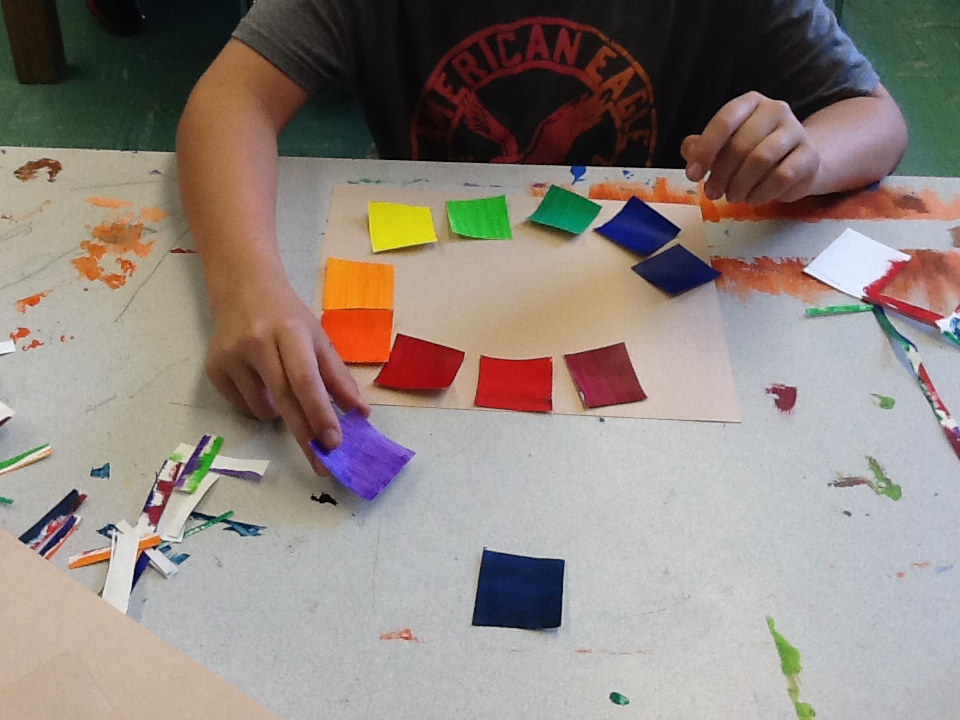
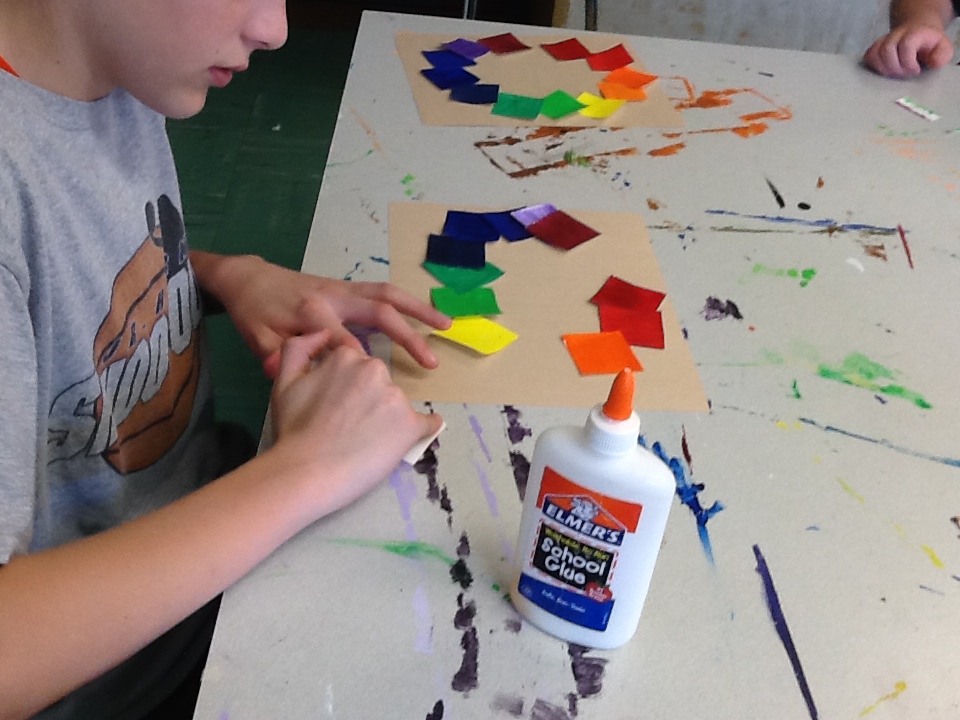
the color wheel and color theory
Next up is the color wheel! With this lesson students review the primary, secondary and tertiary colors, practice mixing colors and create their own 12-color basic color wheel. Before we assemble them, we talk a bit about color theory, emotions and colors, society views on colors, etc.
crazy collage portraits
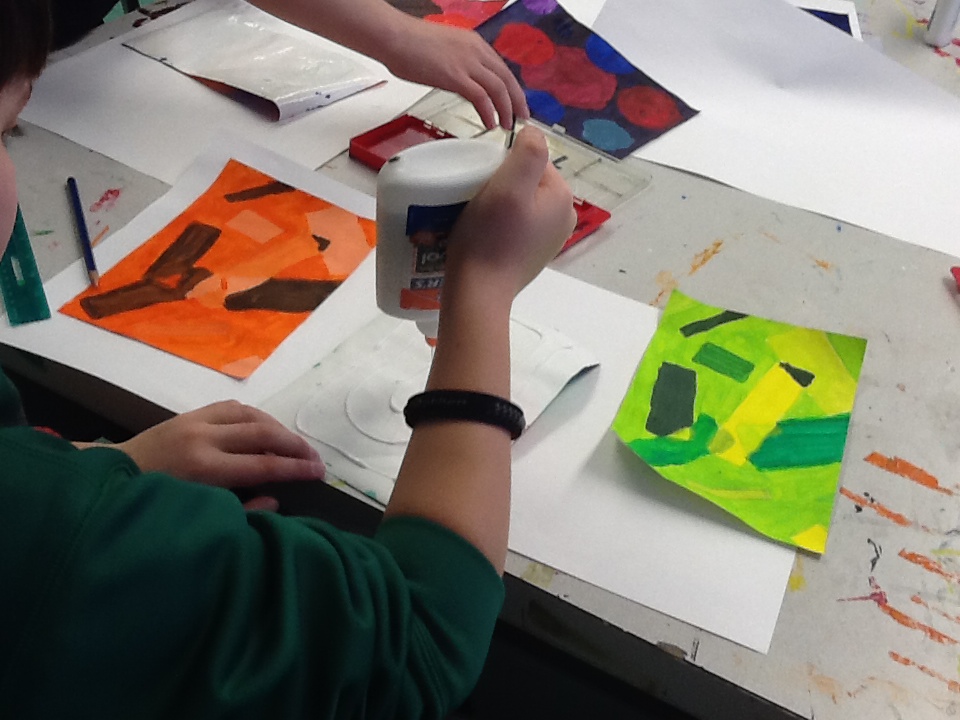
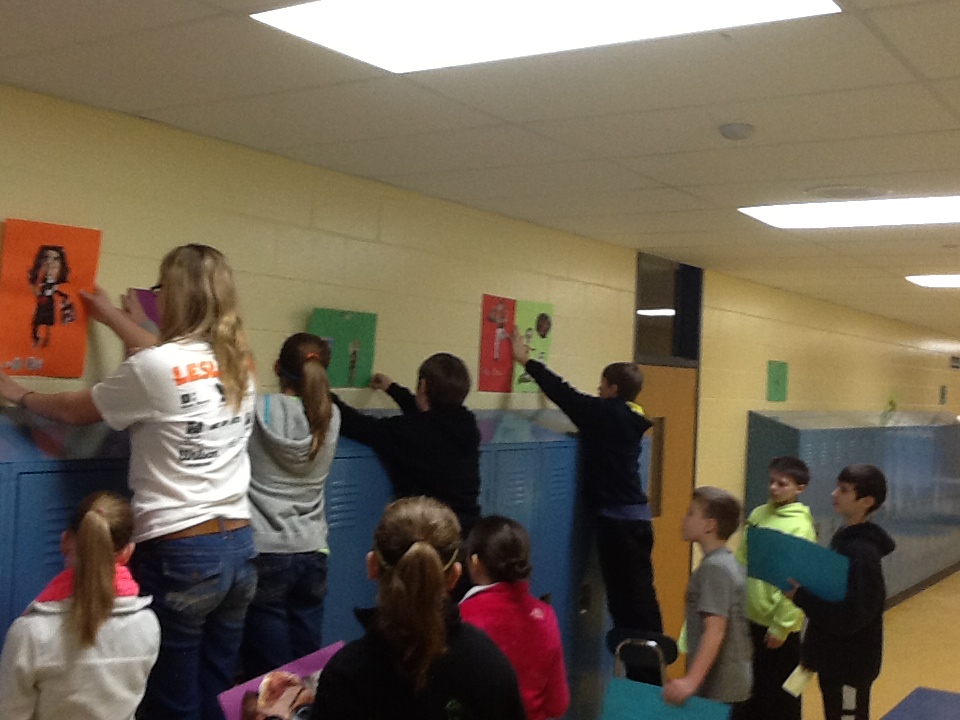
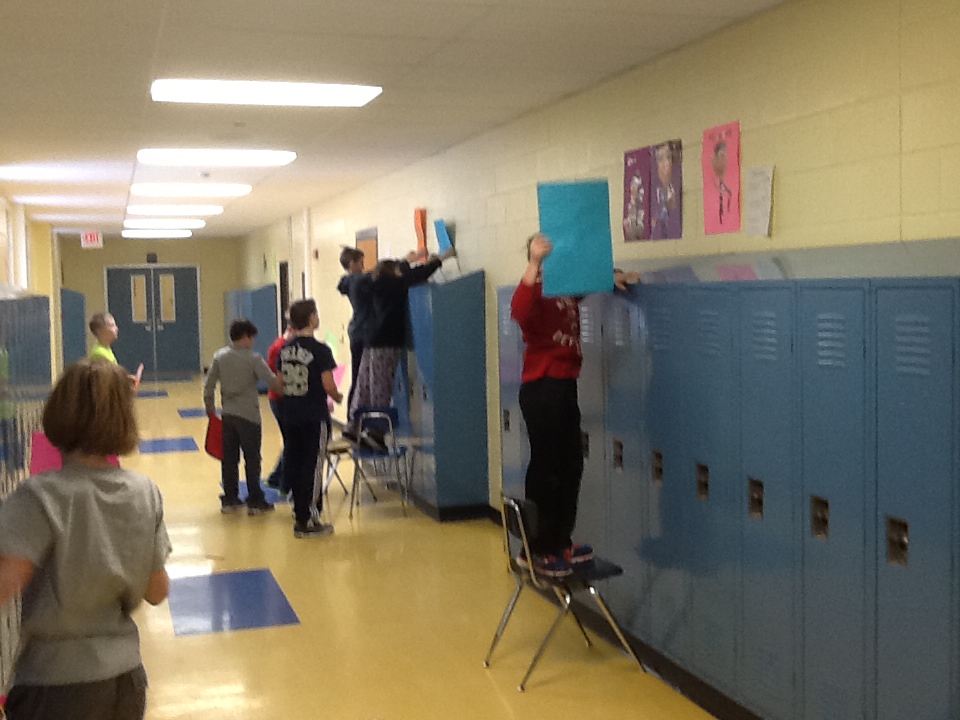
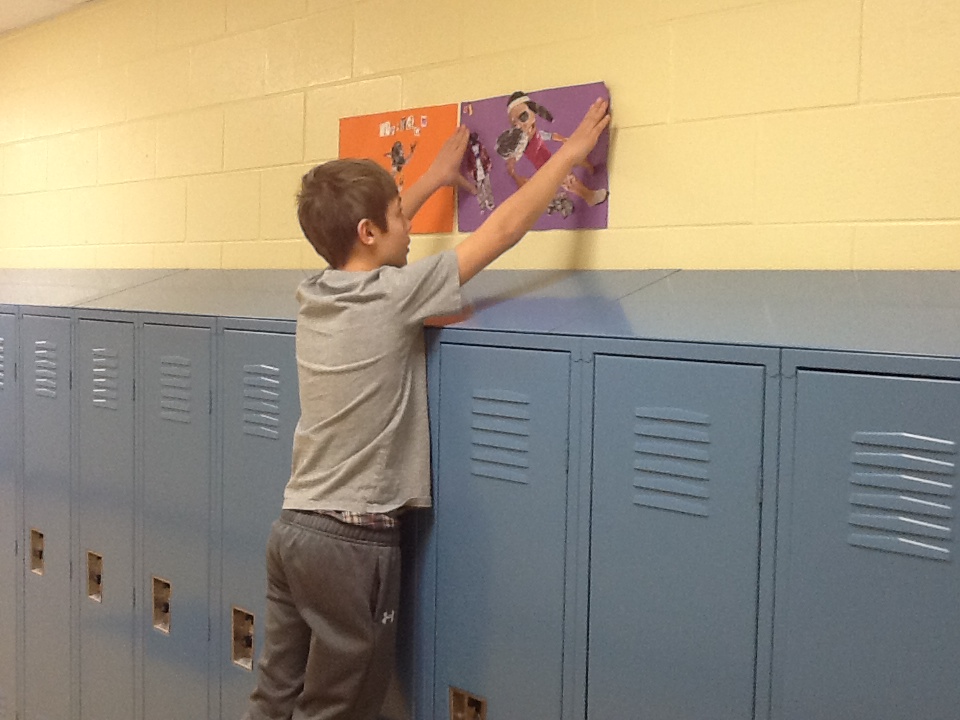
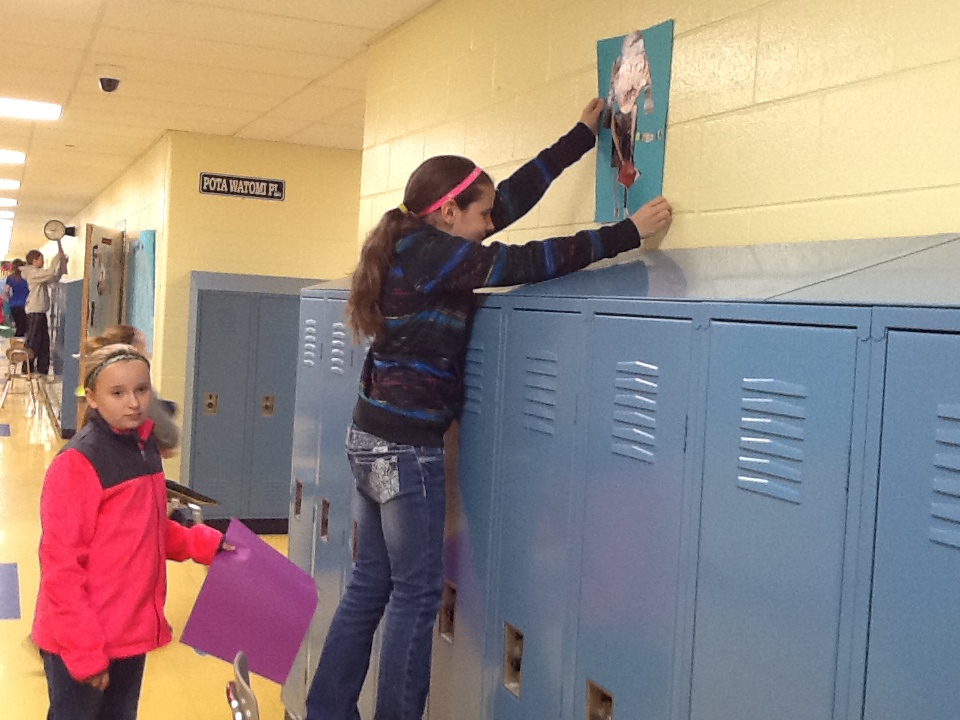
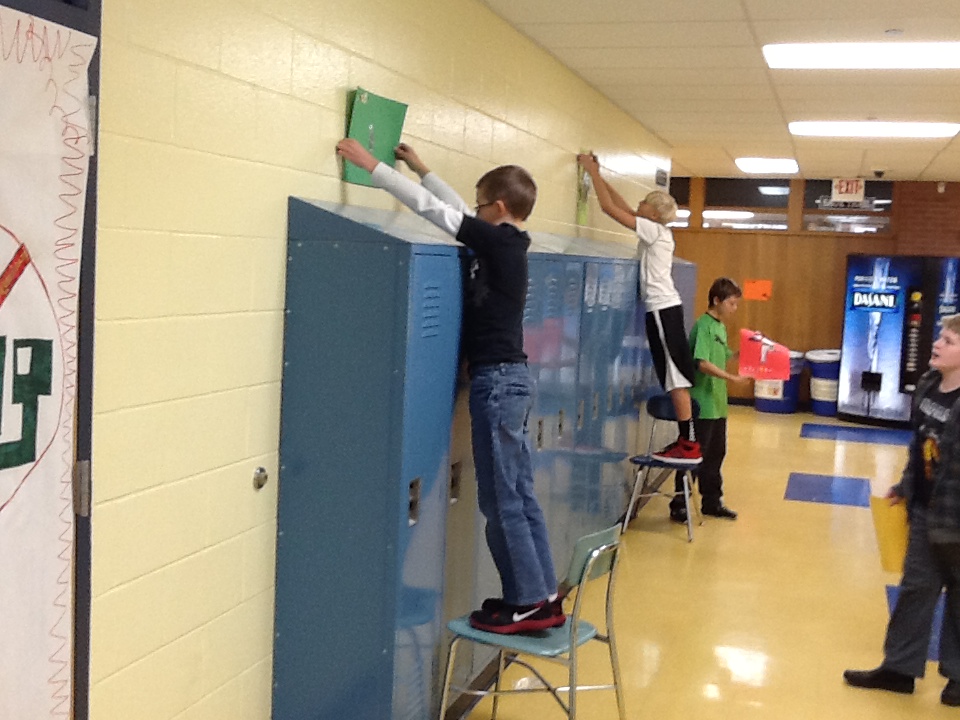
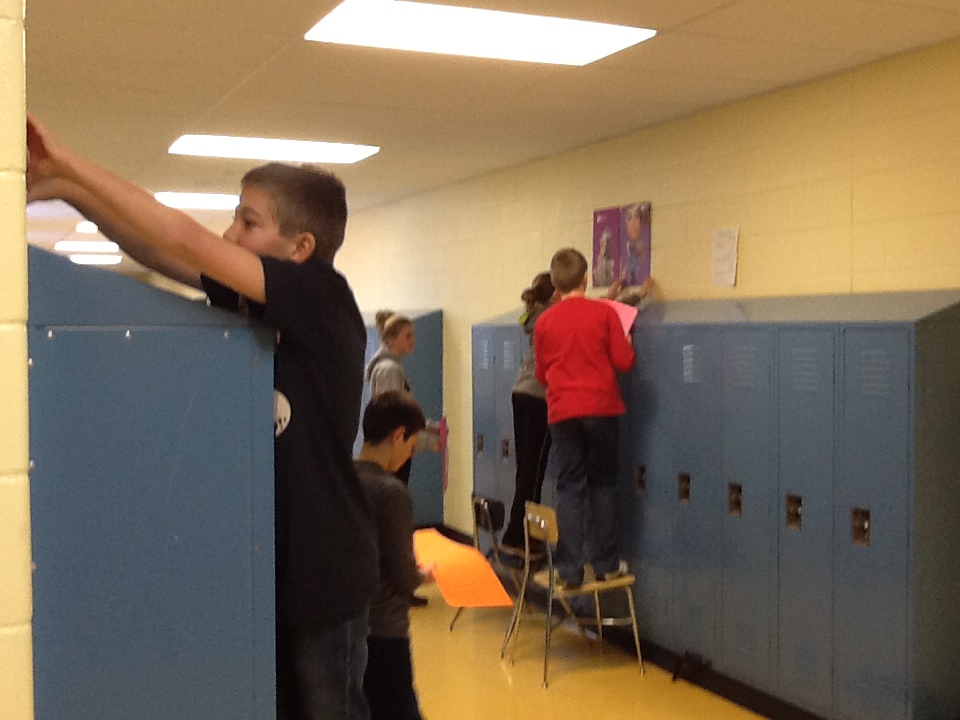
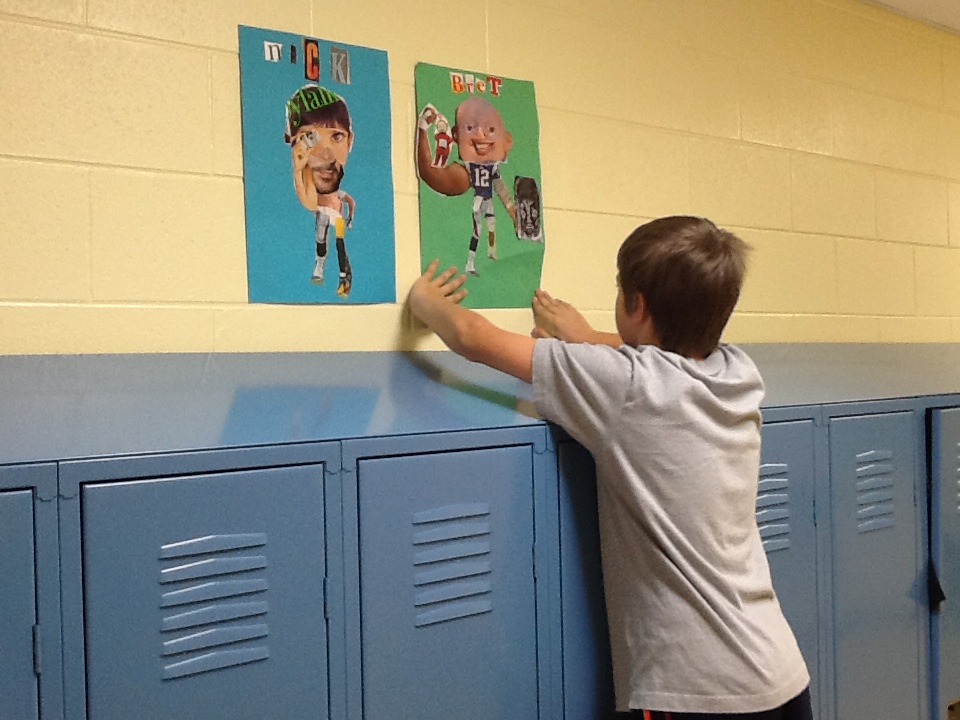
day five and six : gluing and hanging them up!
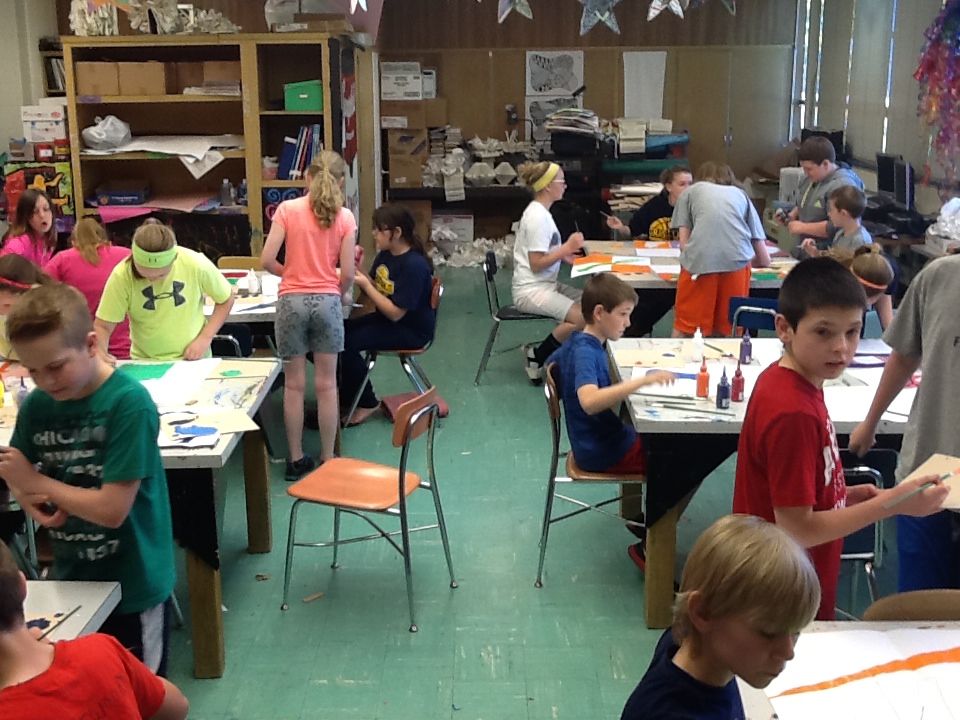
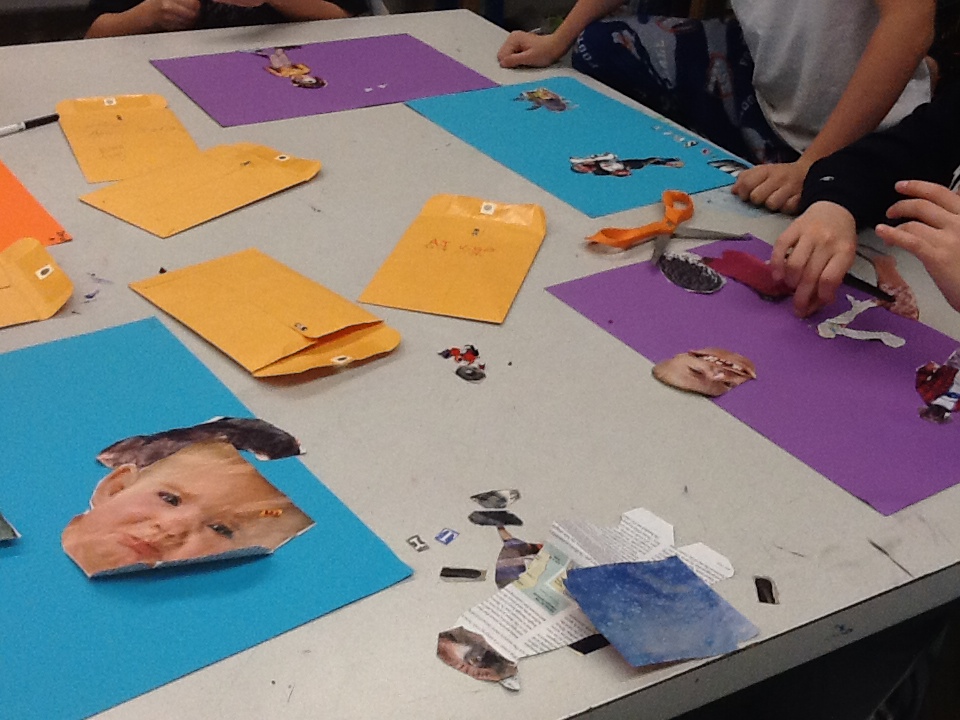
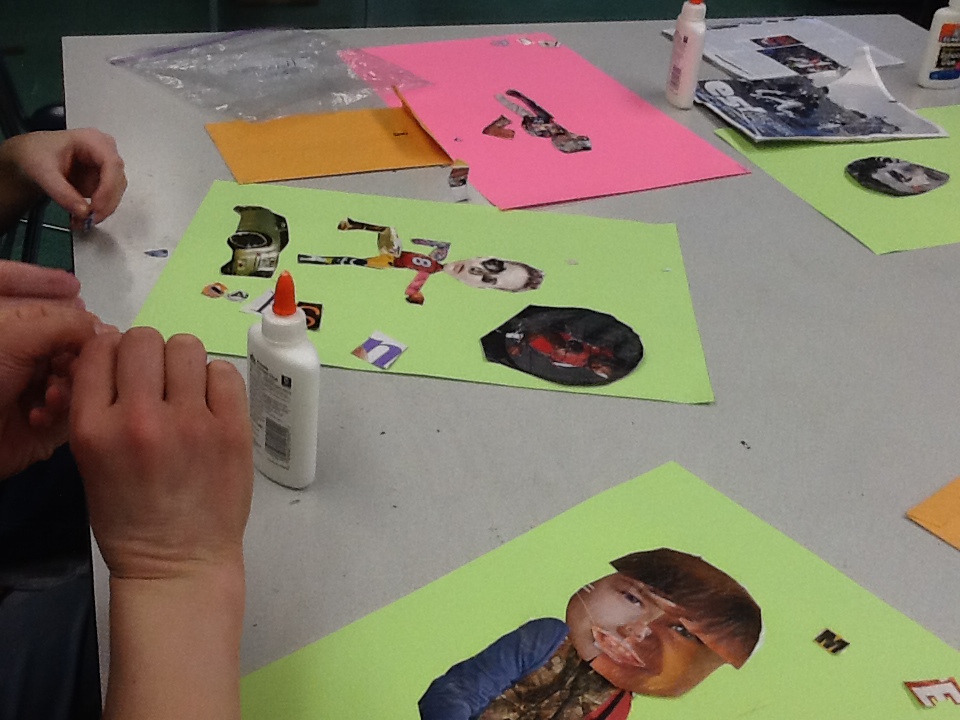
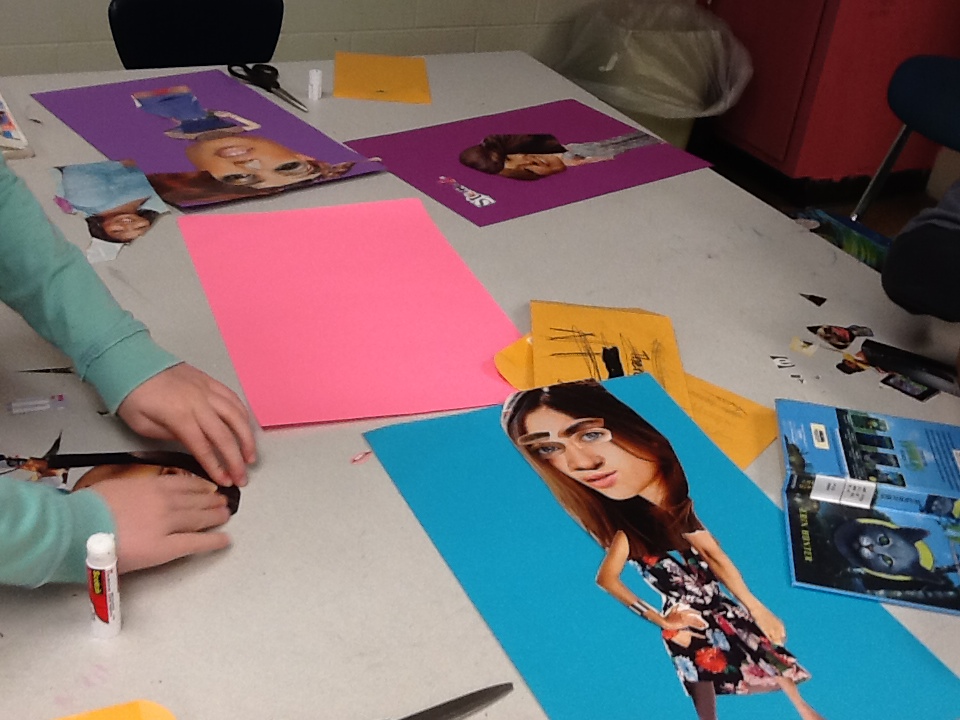
After cleaning up our cutting it was time to glue our crazy creations into a final piece. Once they dried, it was time to hang them up above our lockers to add some color and conversation to our hallways. The kids love showing off their work and other students love seeing what we will hang up next. It makes for great conversation starters and more and more students are talking about art in the halls at GLMS.

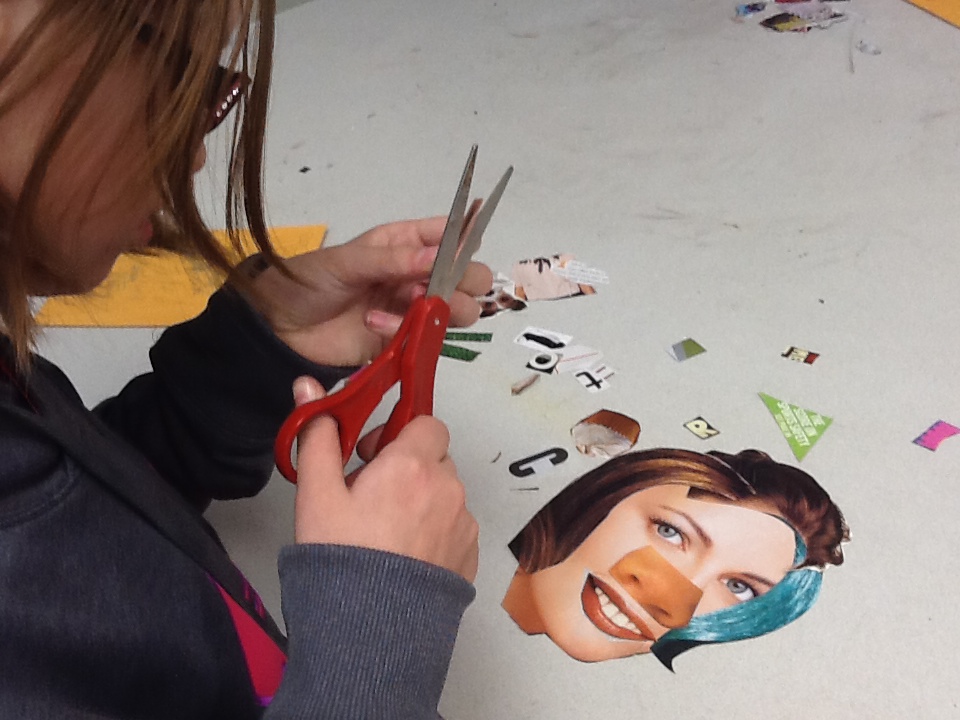
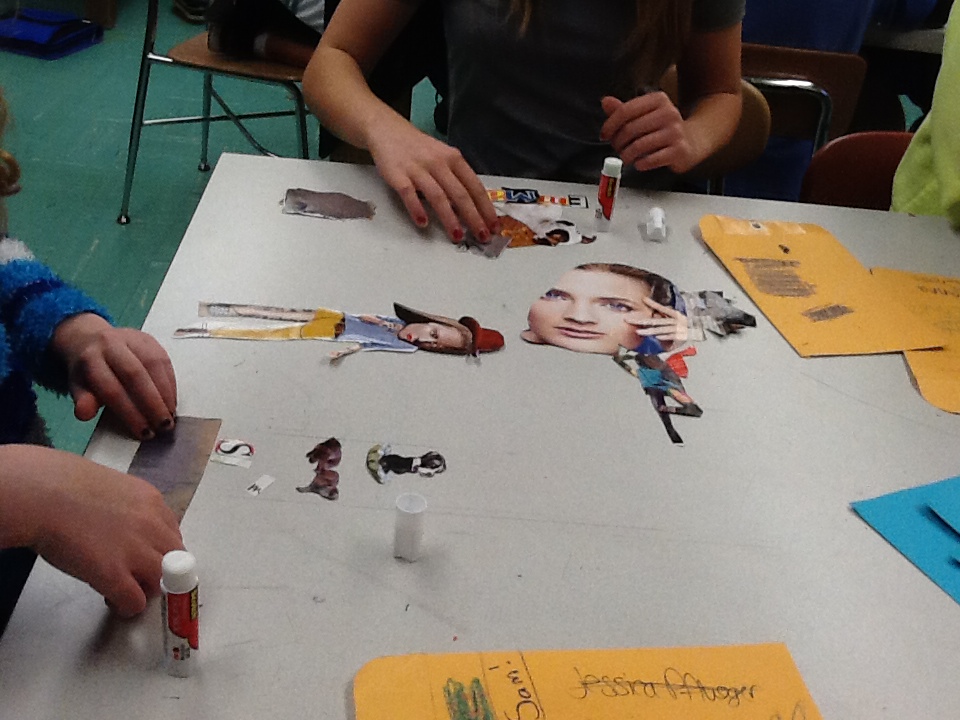
day four: final trimming and double checking
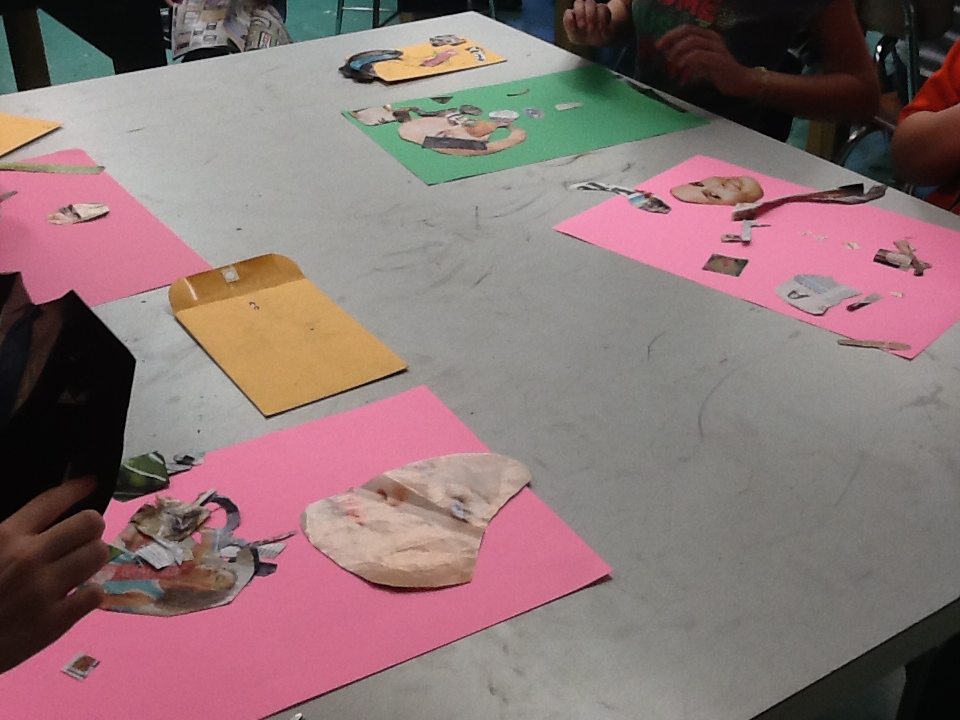
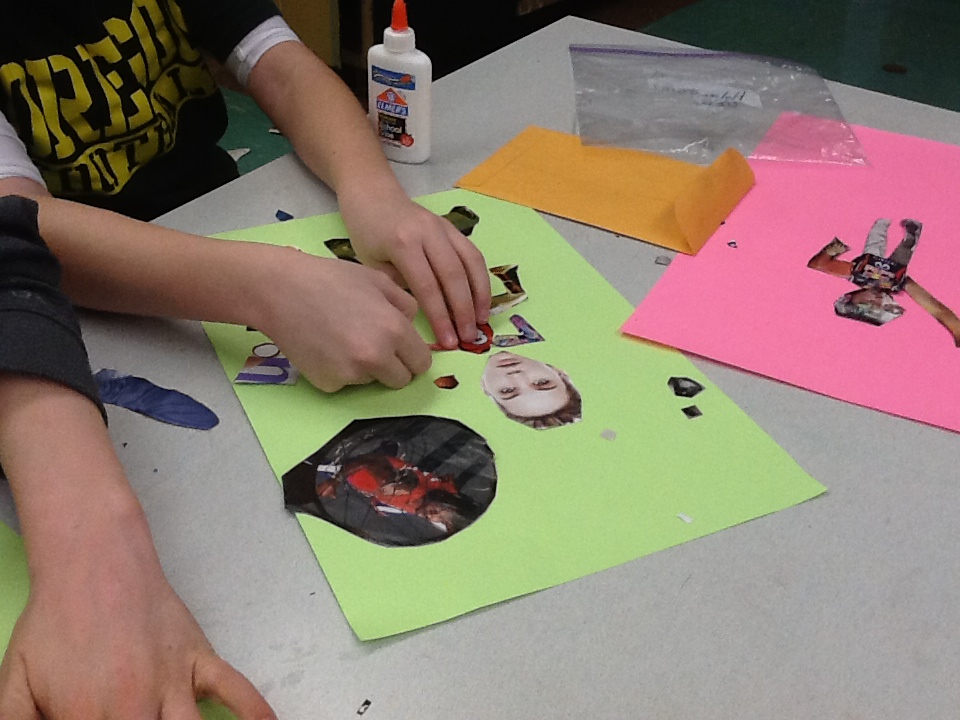
Today we trimmed up our collections, chose our backgrounds and double checked the list of parts to make sure we had everything. The collages are definitely crazy and looking great!
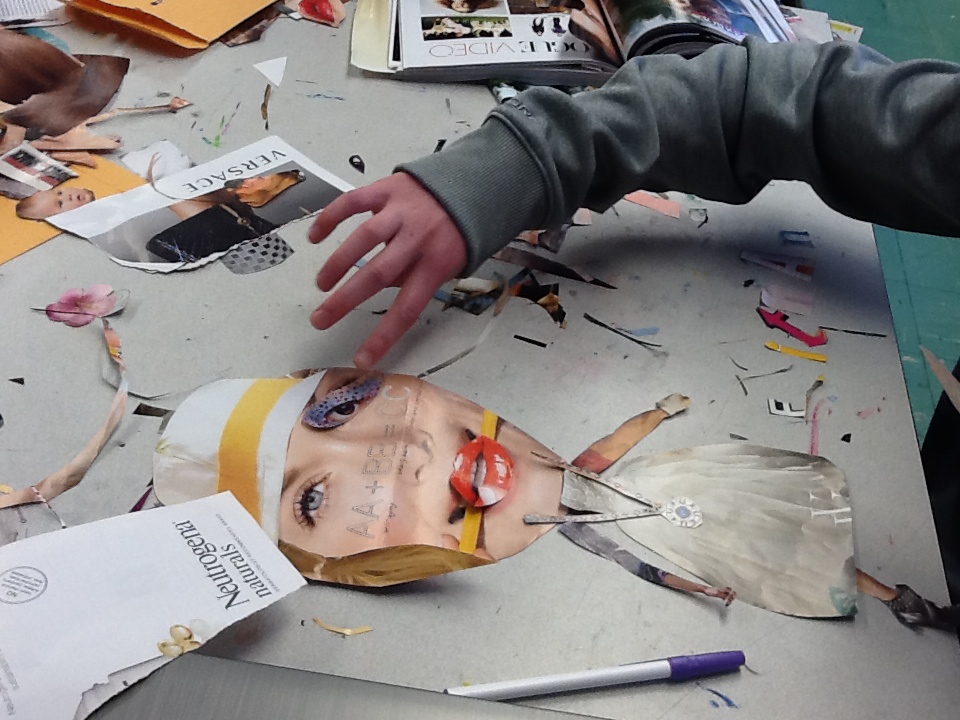

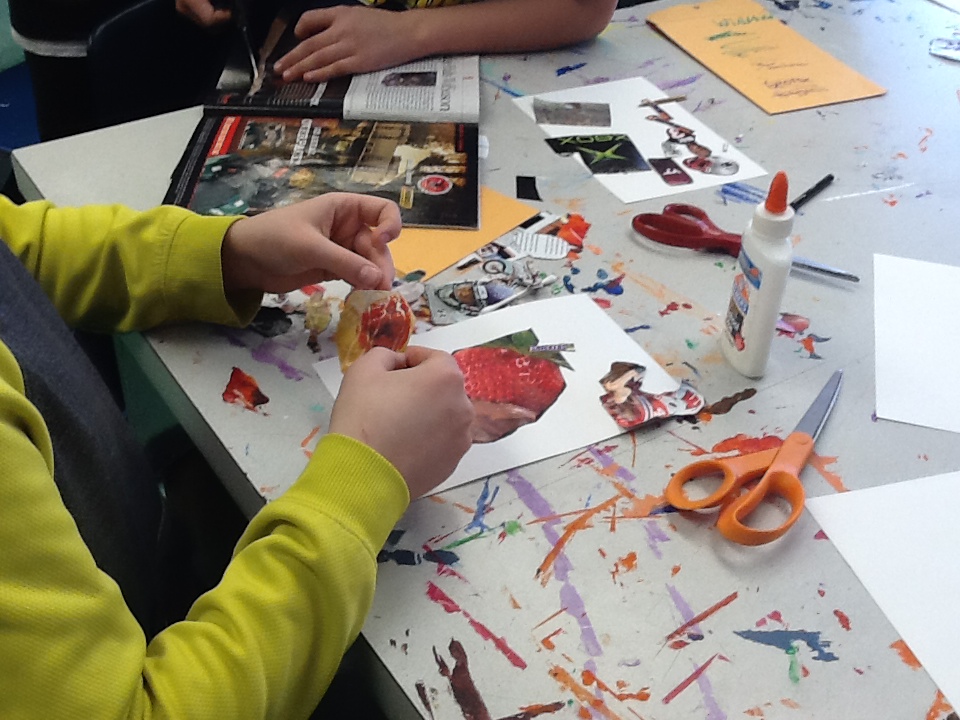
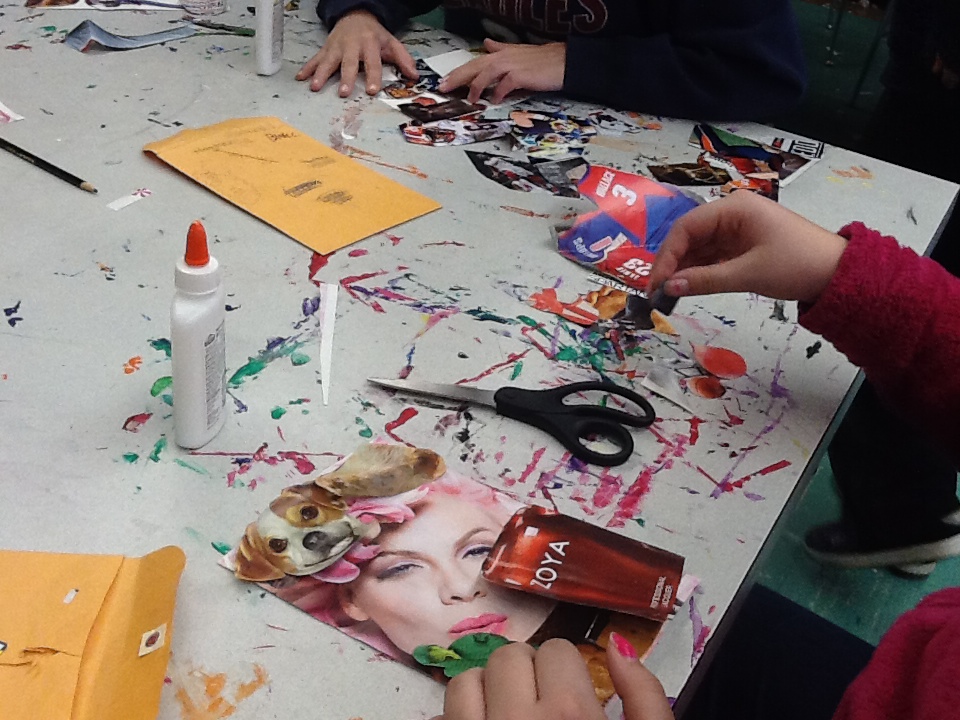
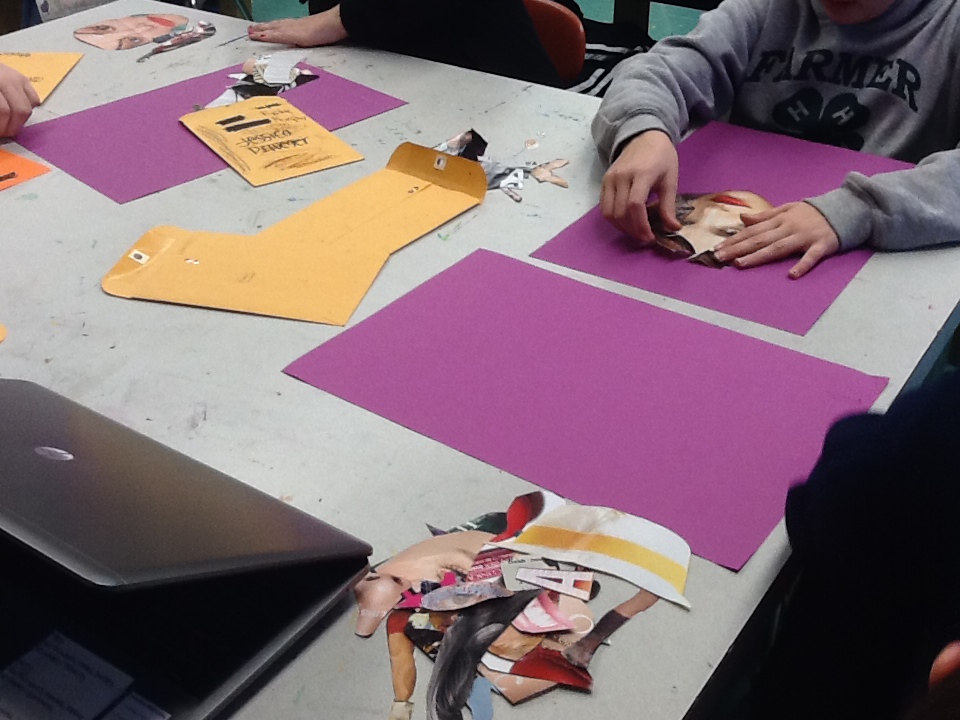
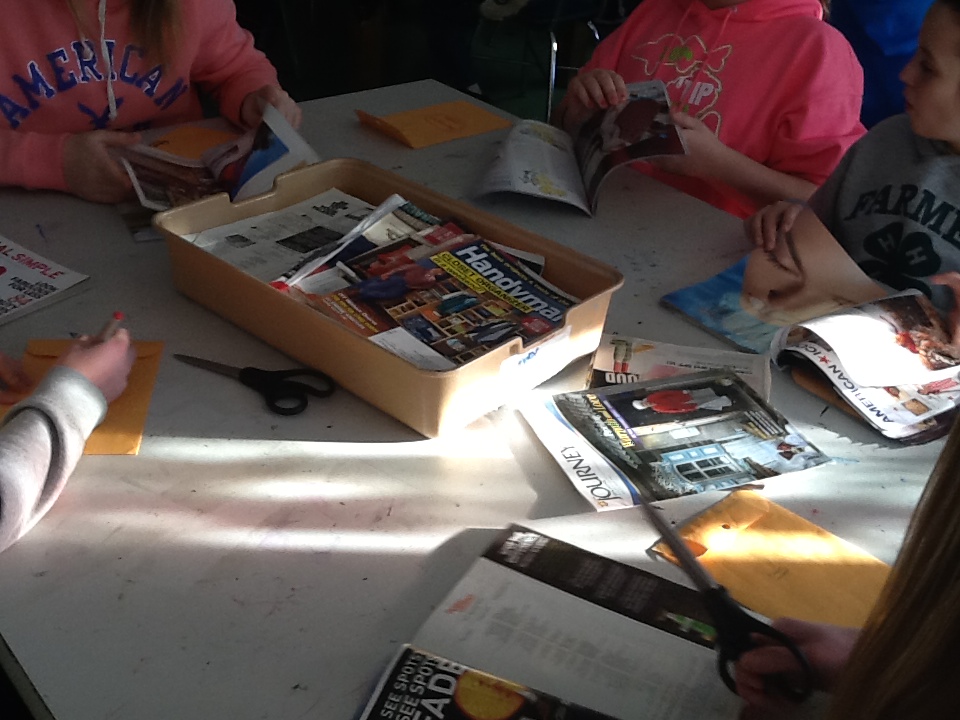
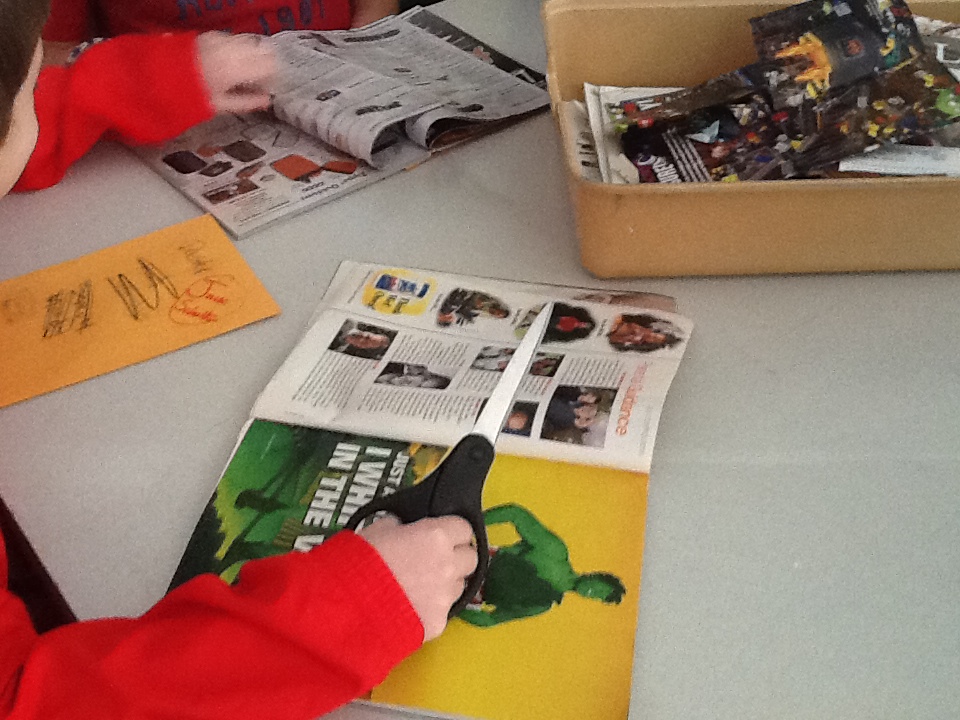
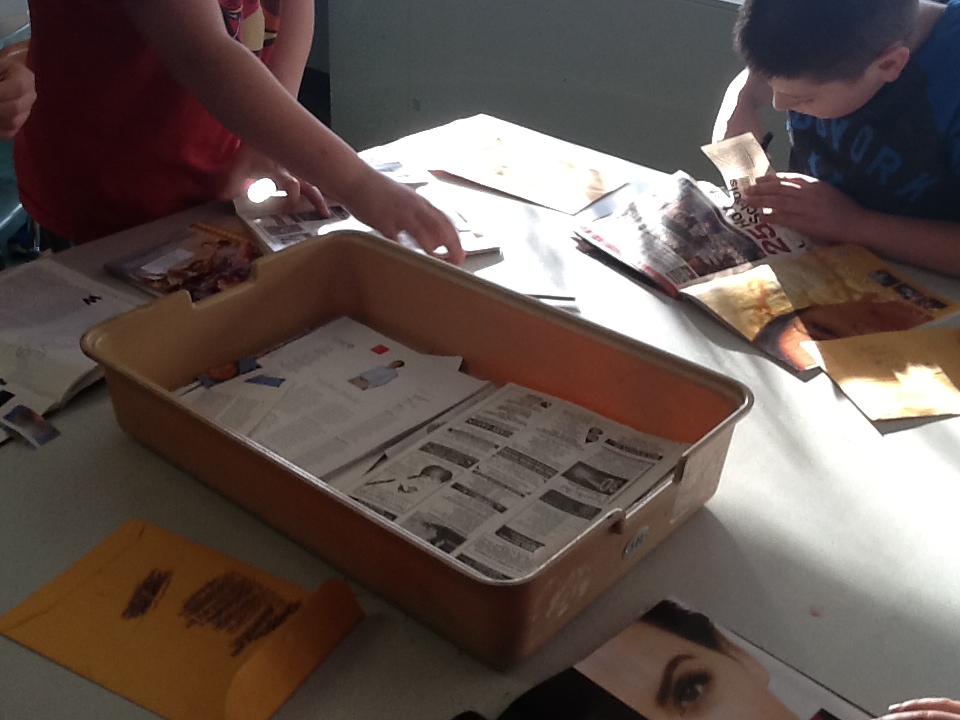
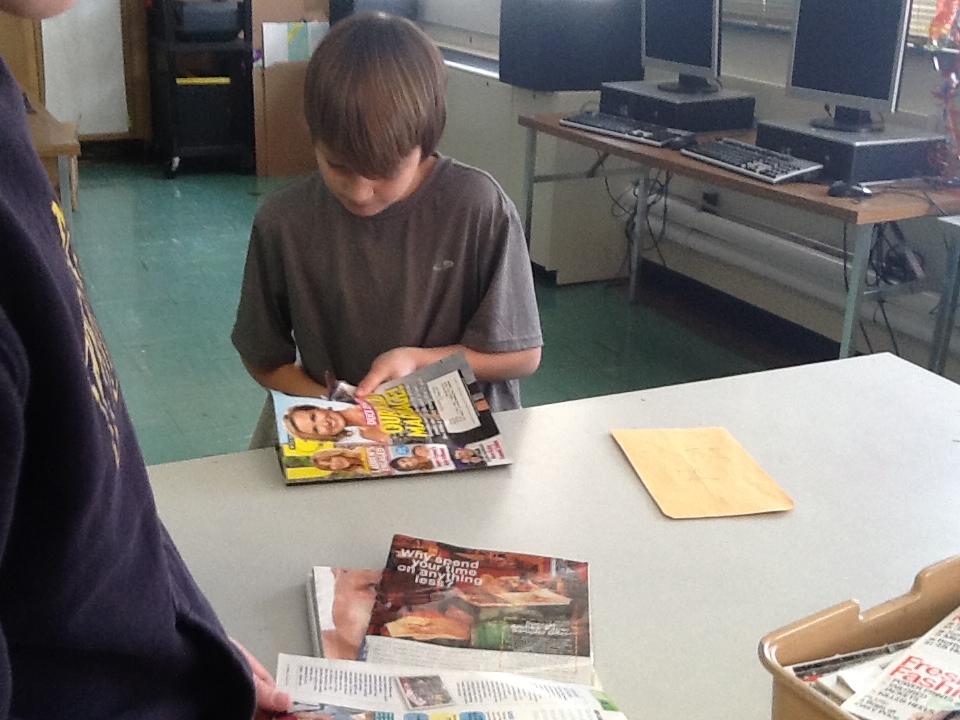
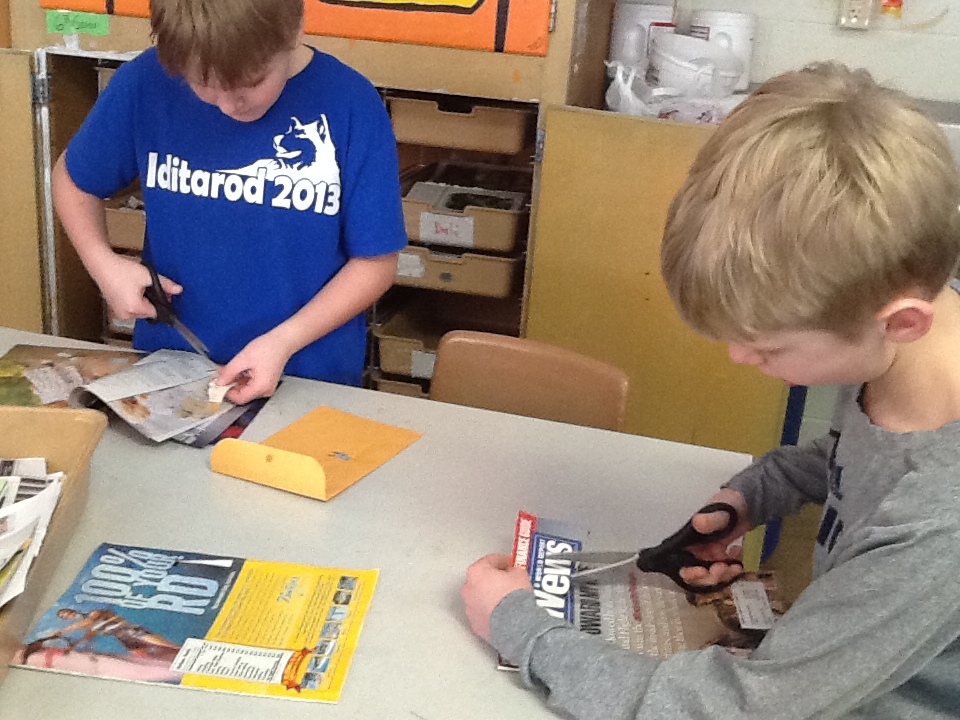
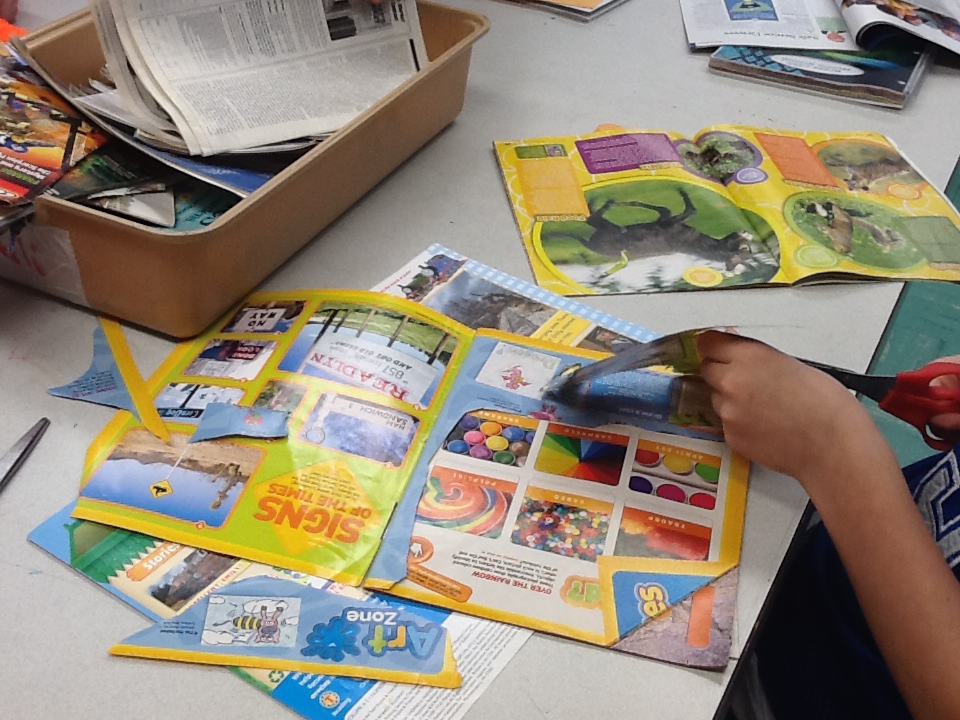
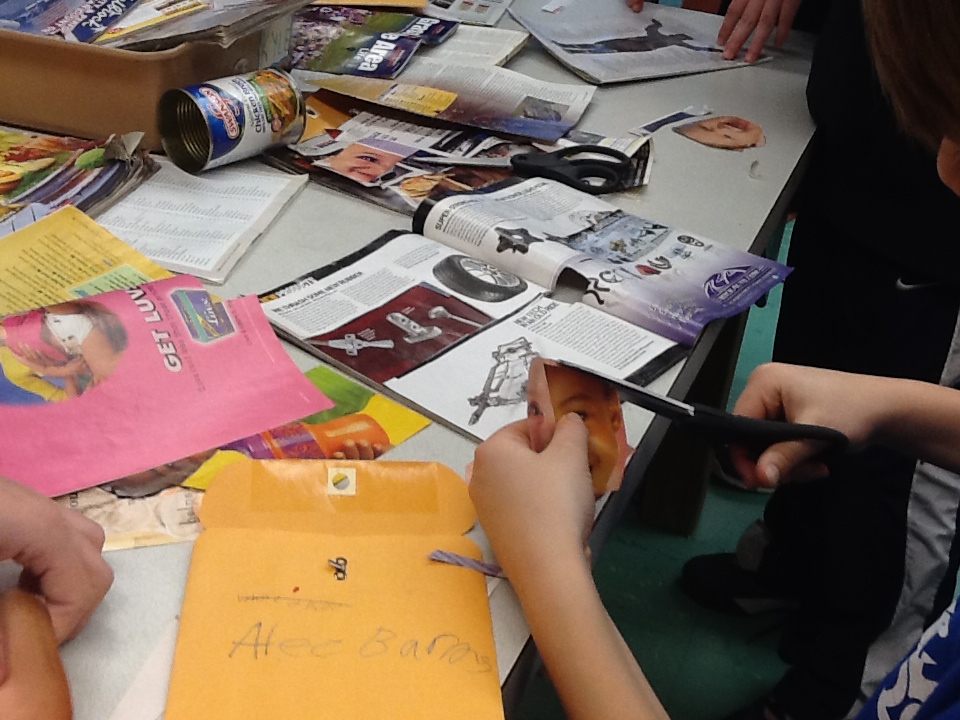
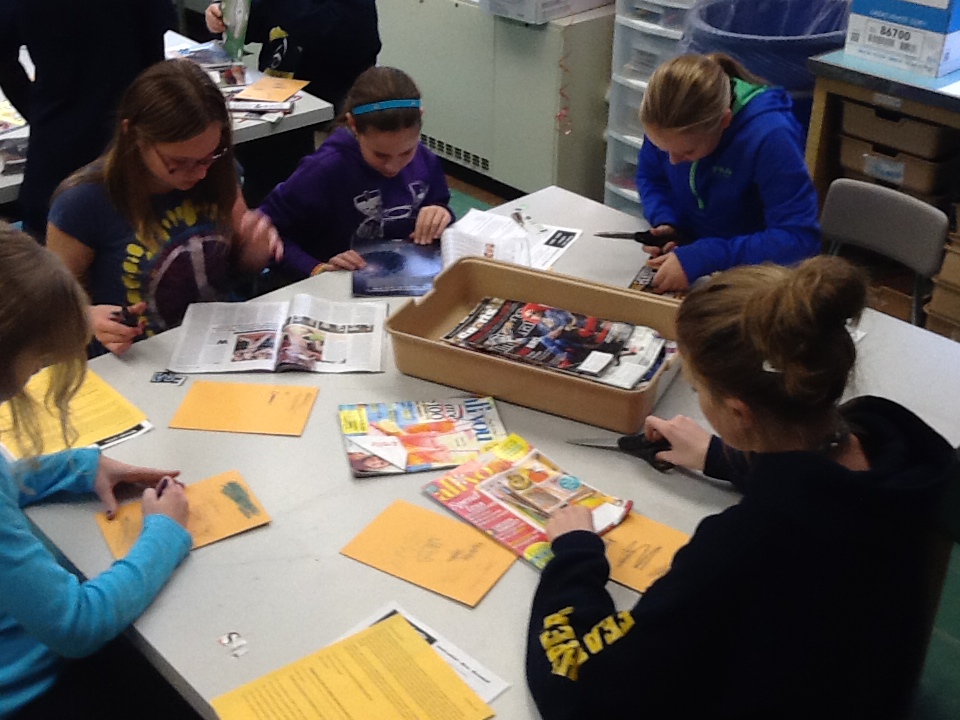
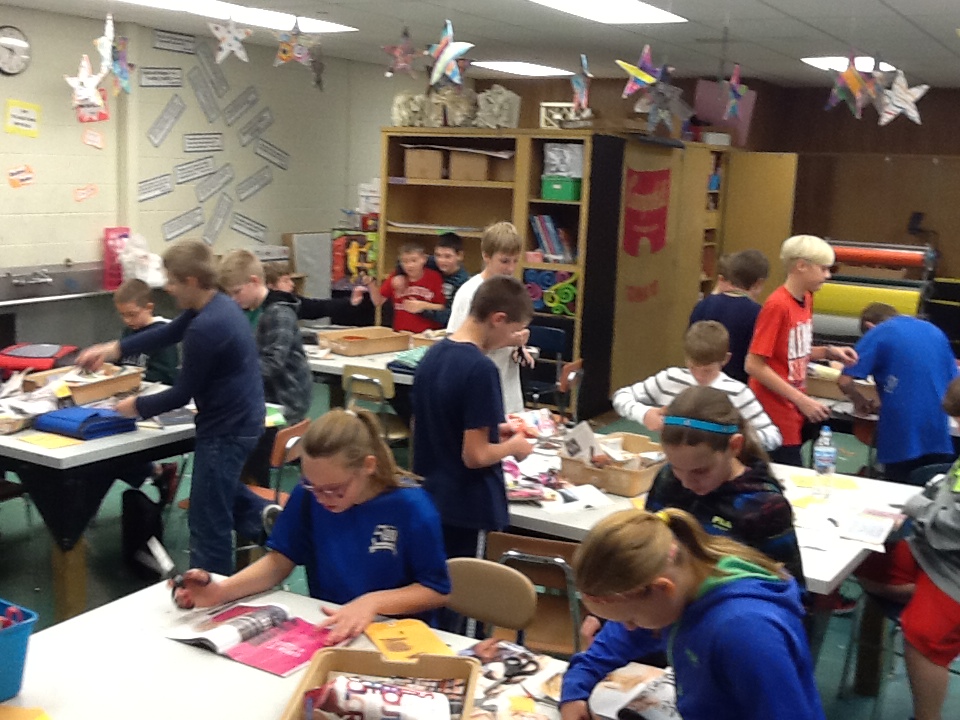
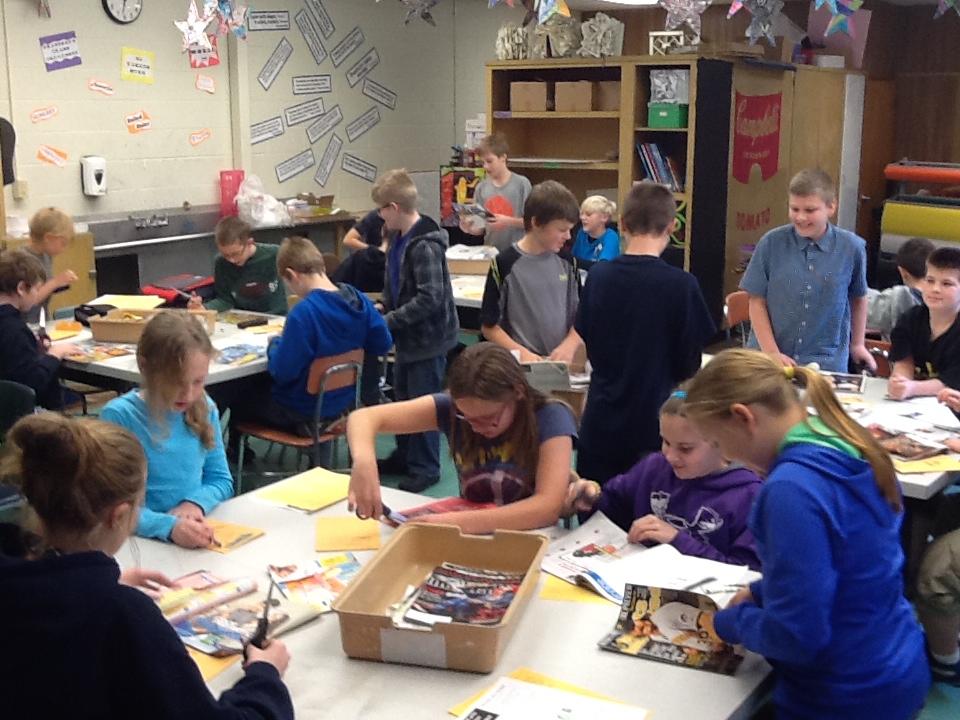
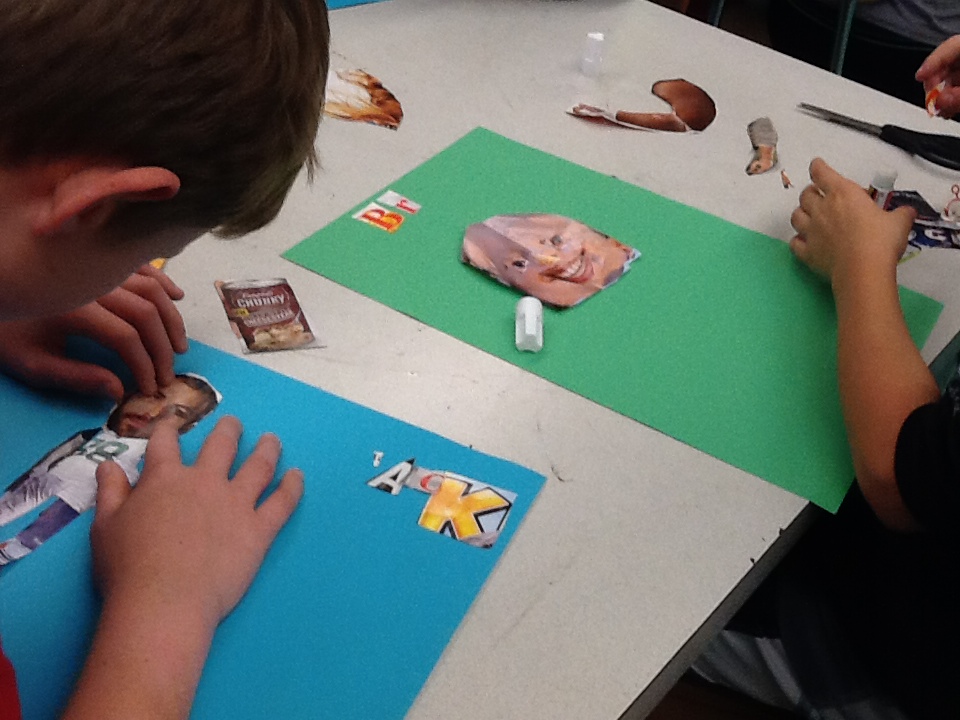
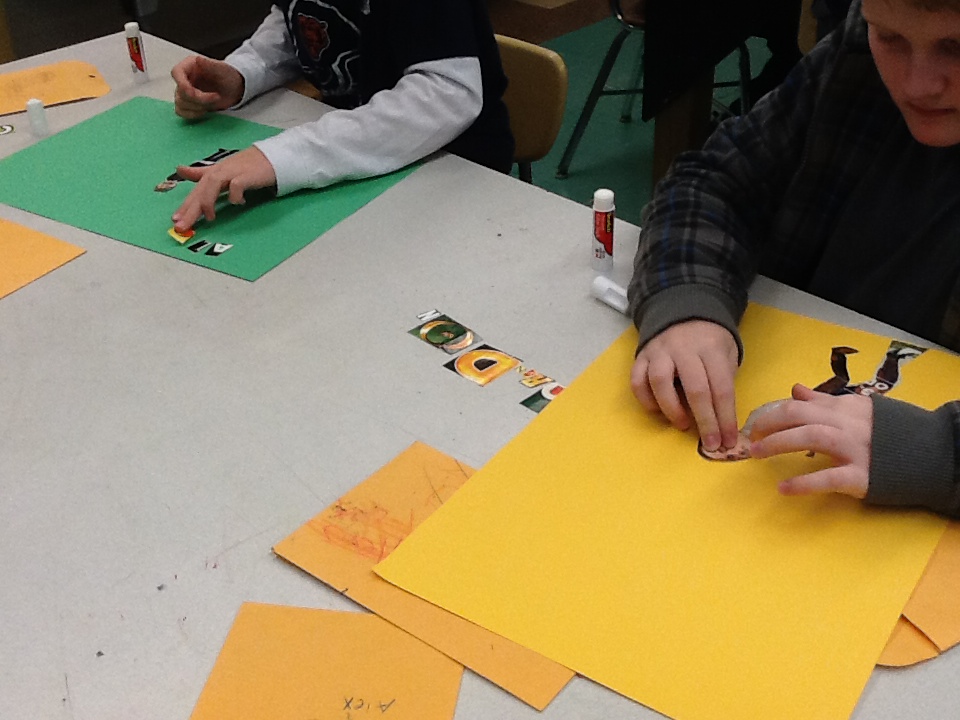
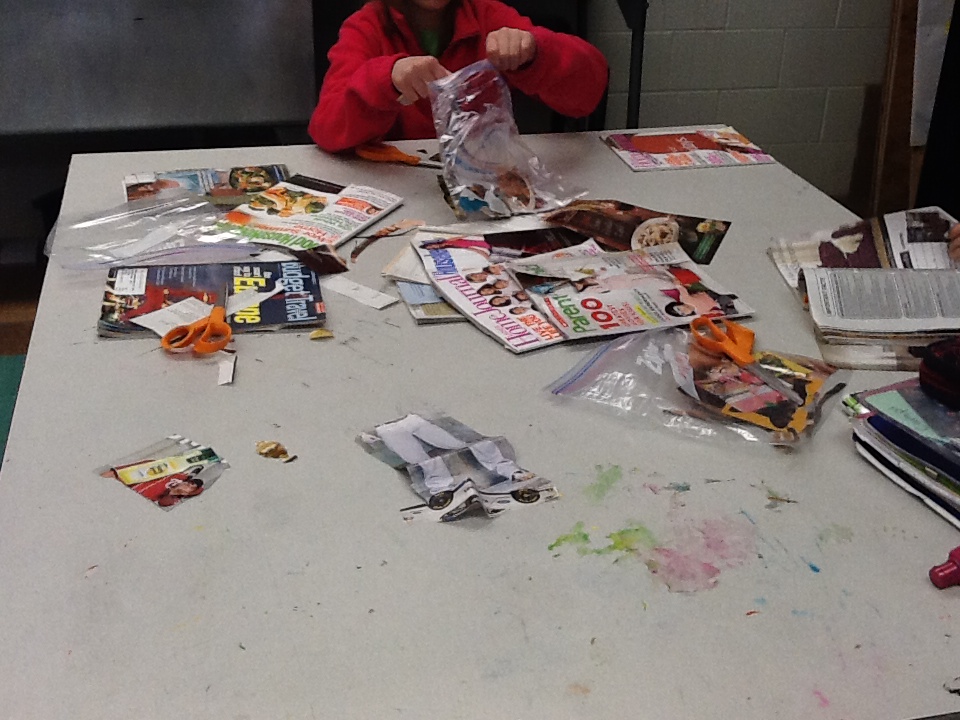
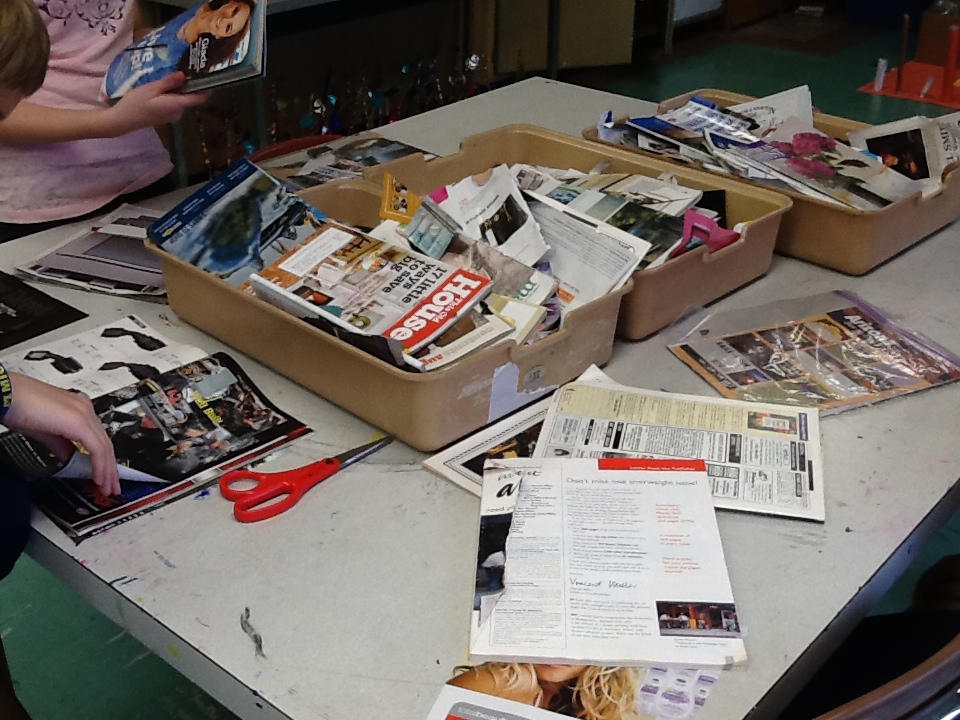
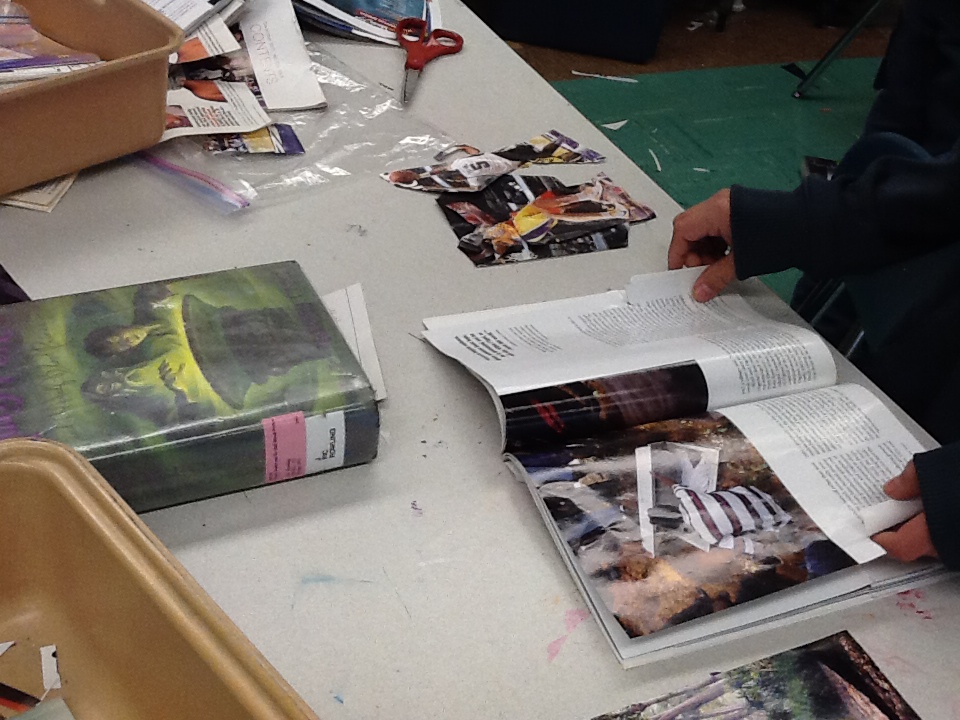
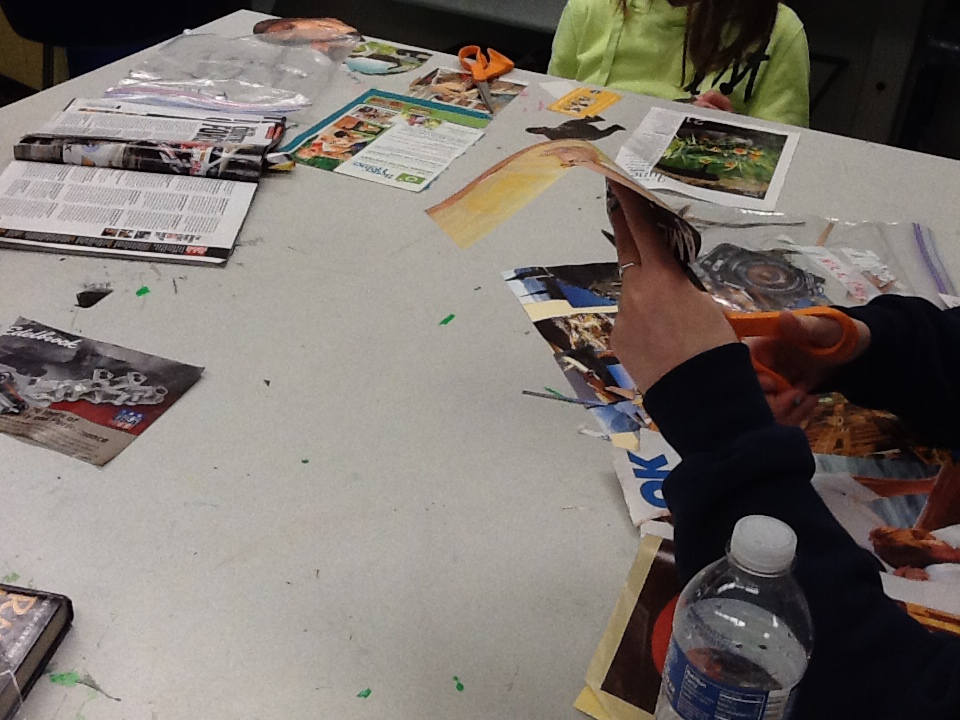
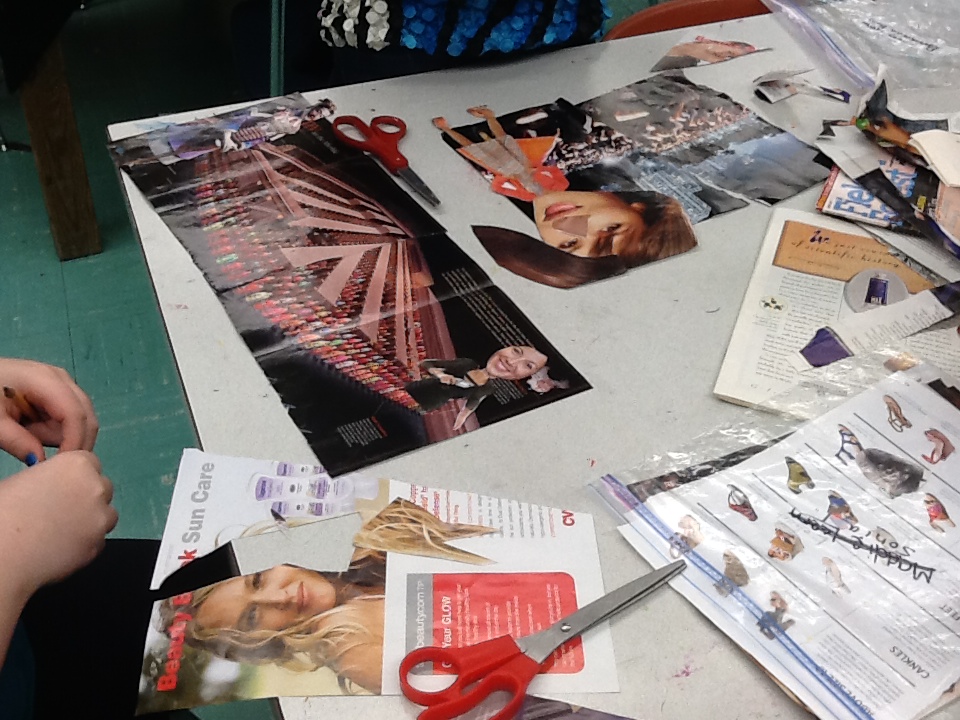
days one, two, three: collecting and cutting craziness!
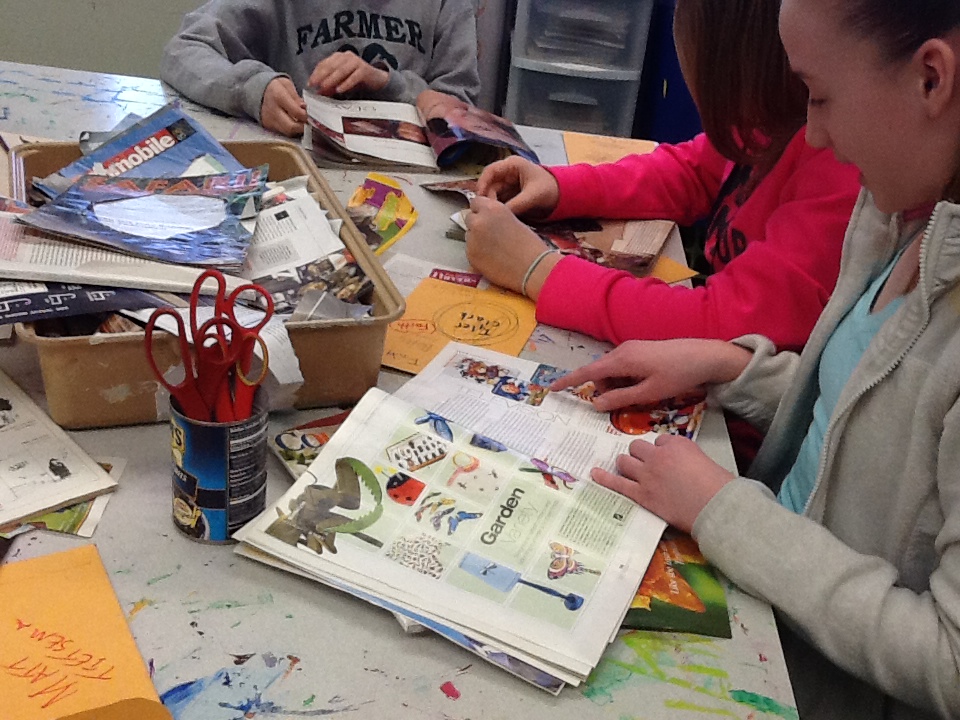
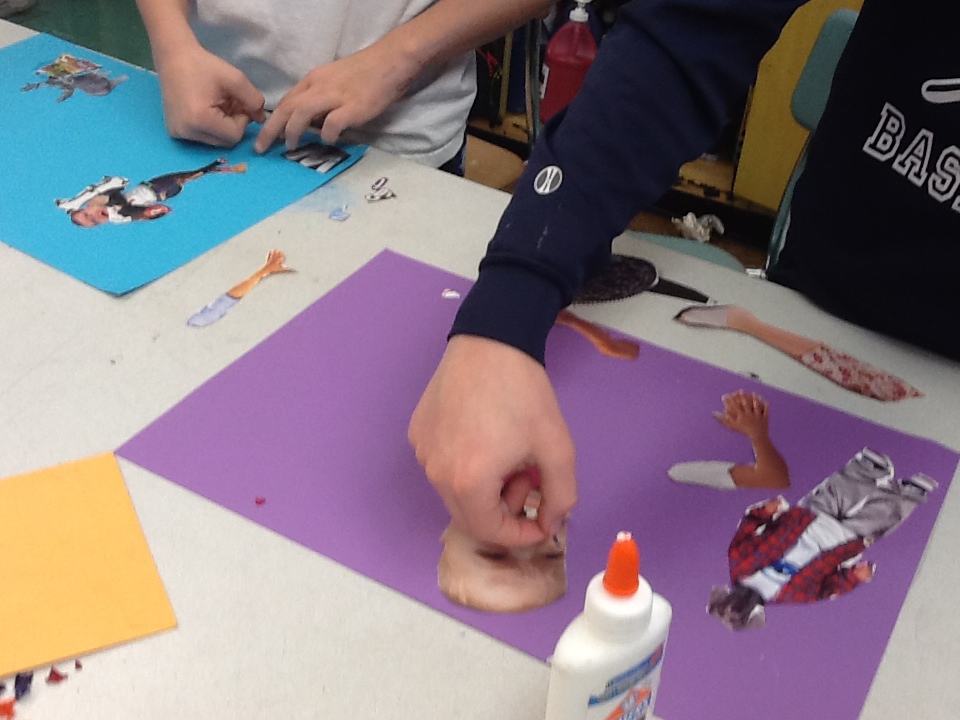
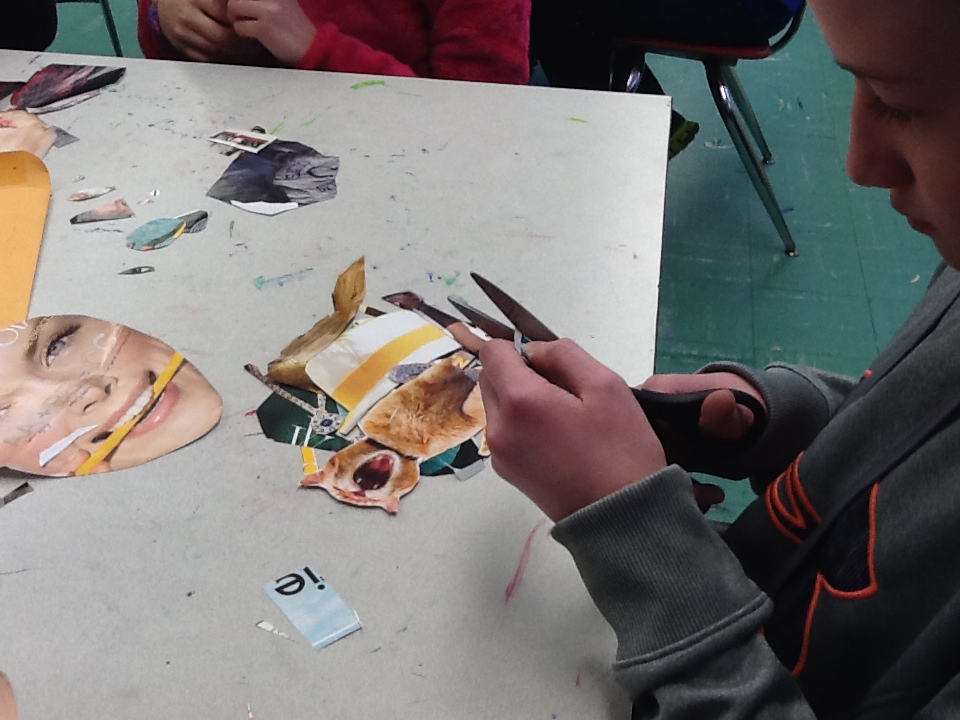
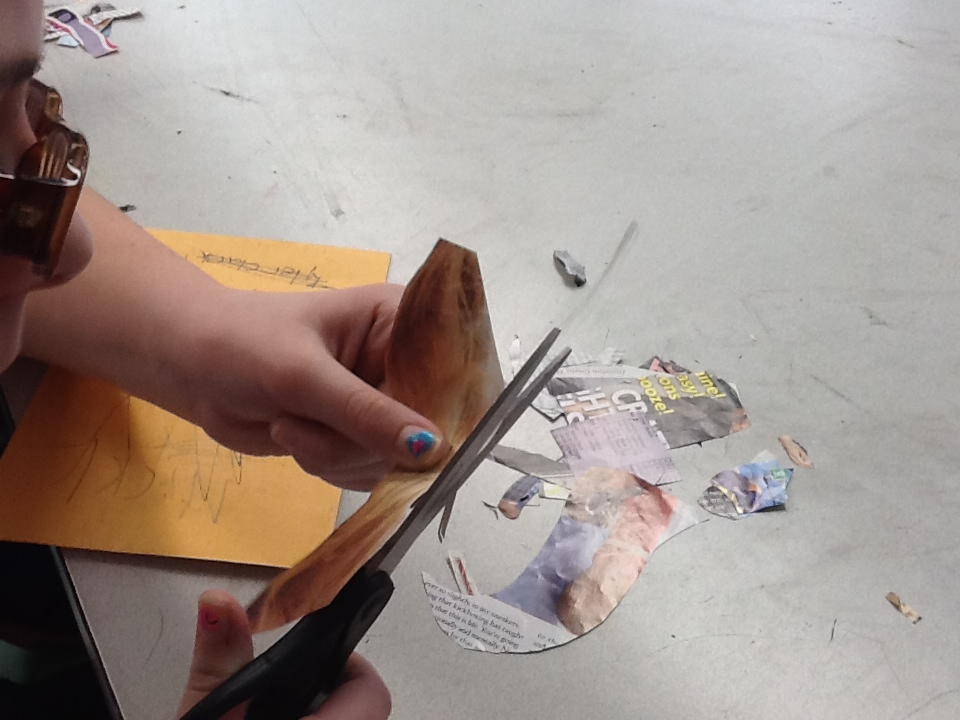
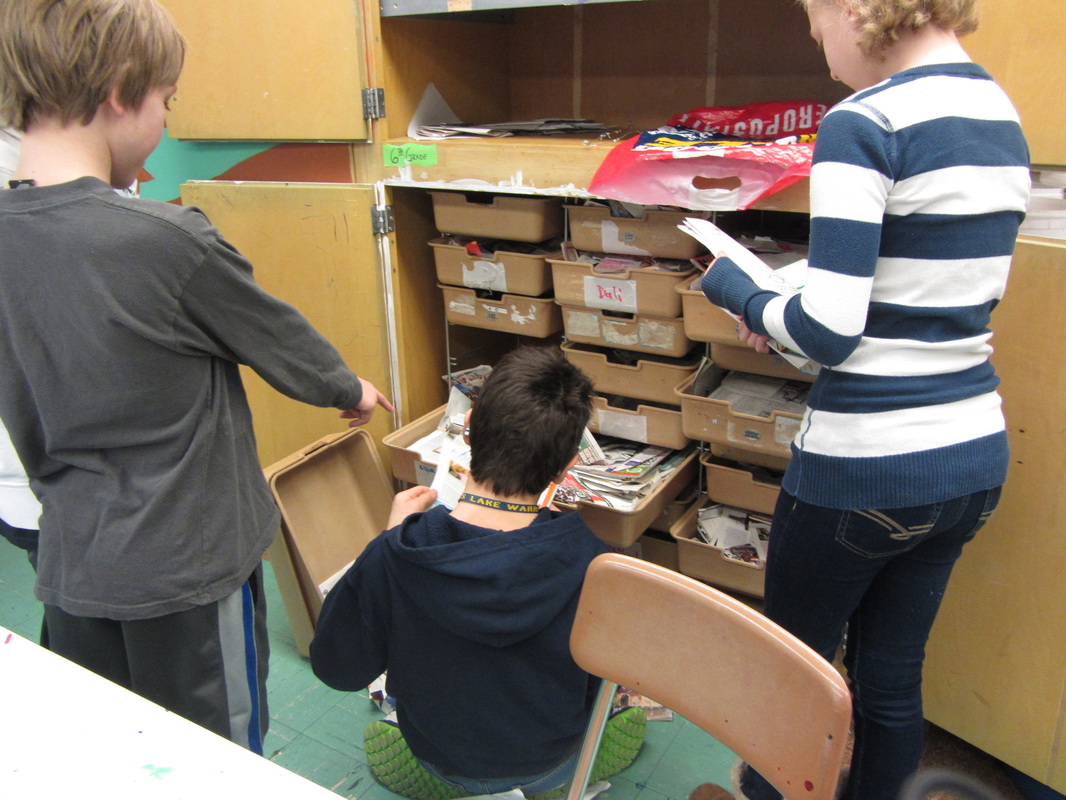
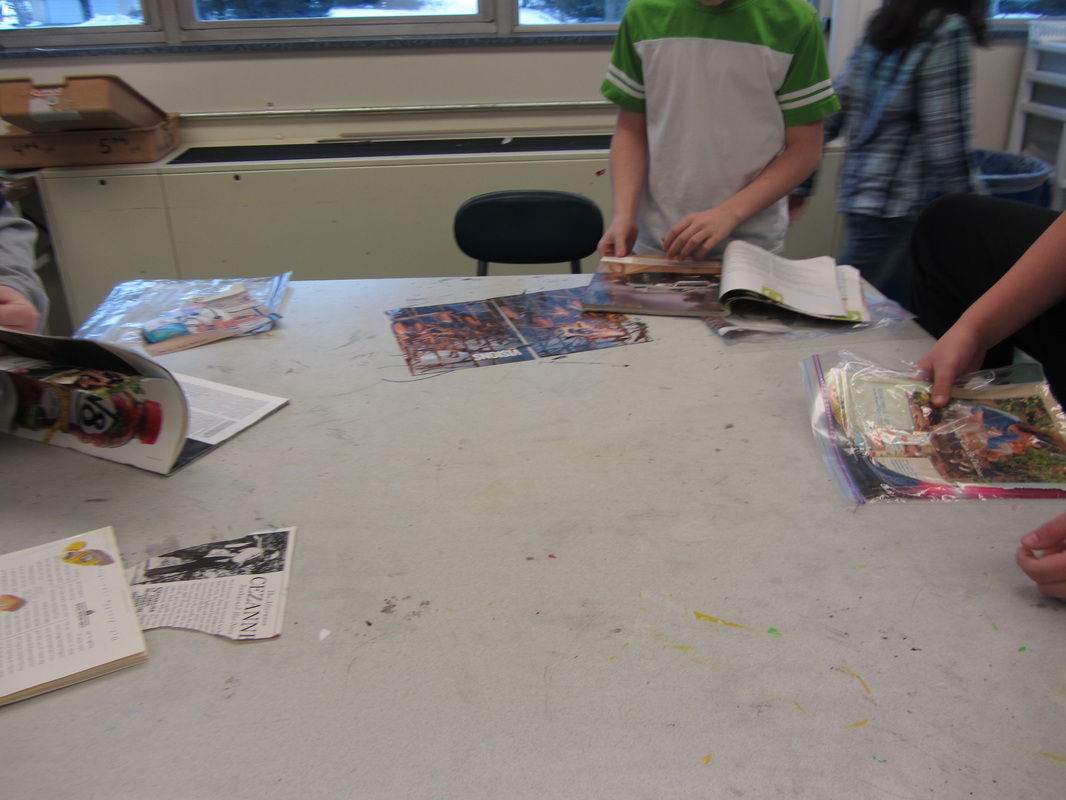
These days are all about collecting the pieces and parts to make our Frankenstein crazy collage masterpieces! Students looked through our classroom magazine stockpile for body parts, accessories and letter to sign their names on the finished projects.

quarter 3 begins...finally!
As we finally get back to school late this week, we start the 3rd quarter. Everything below this post is from the 2nd quarter group of artists. All 3rd quarter artwork and happenings will be above this post!
seurat pointillism landscapes
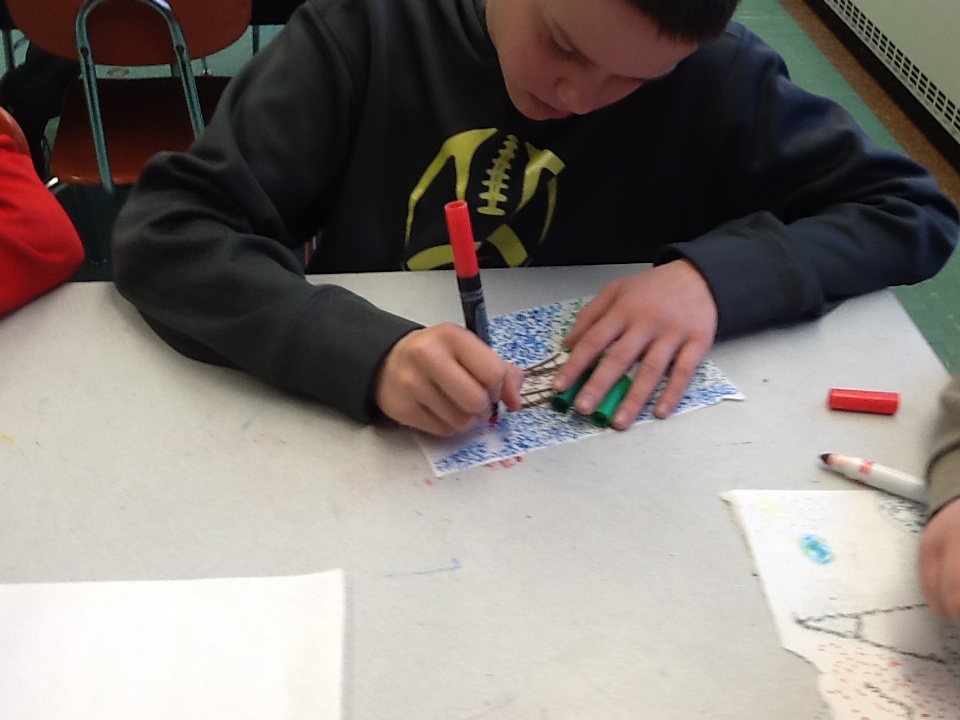
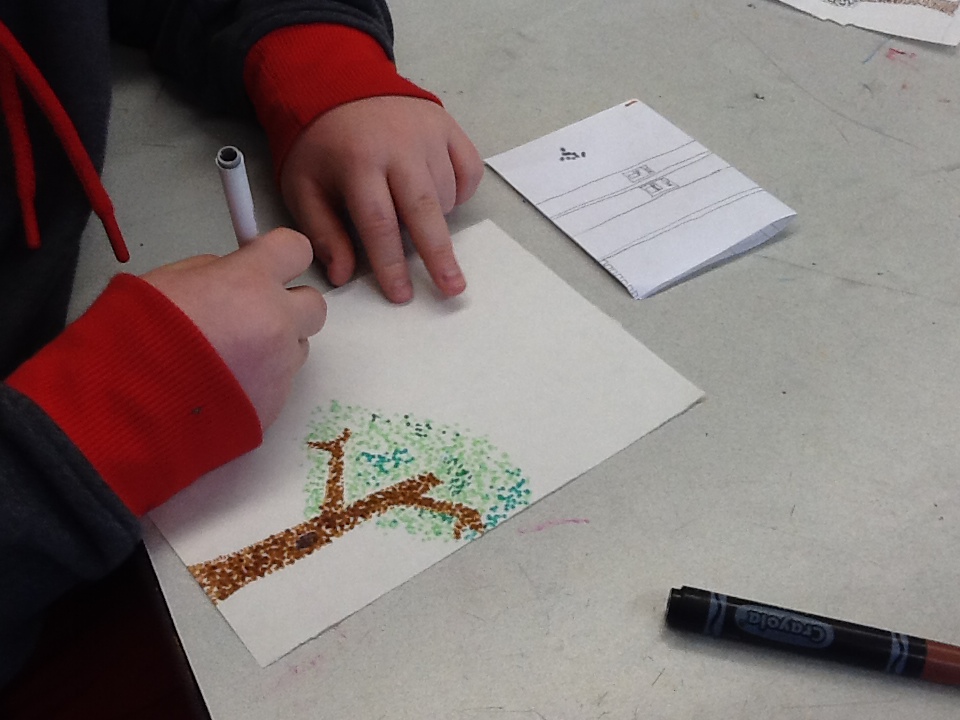
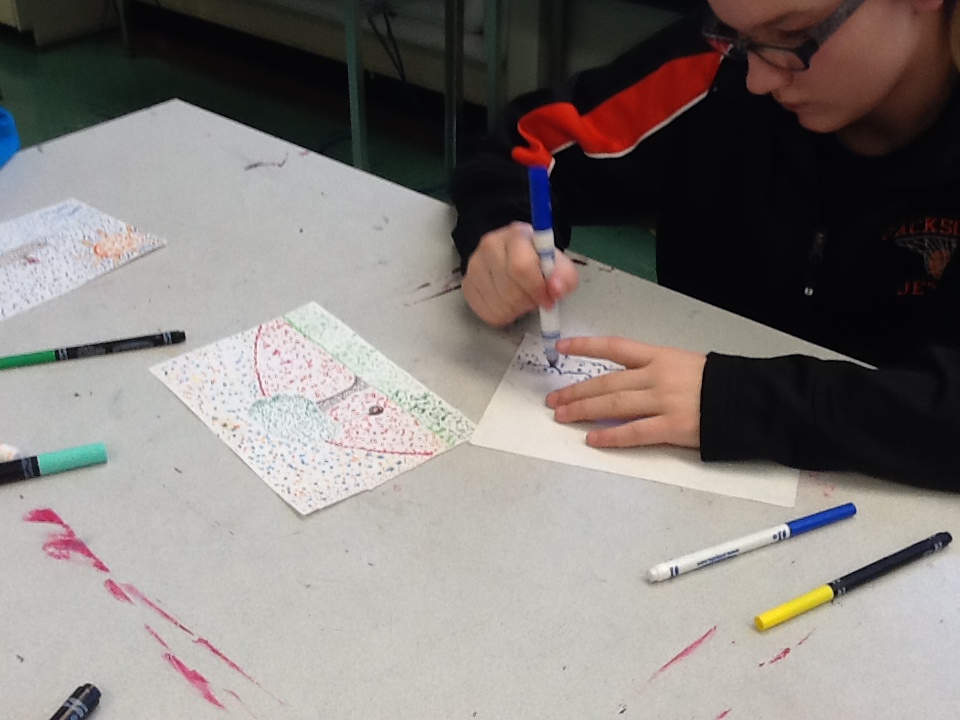
ART 6 is moving from the precise lines and shape and primary colors of Piet Mondrian to the world of French artist, Georges Seurat. Seurat was the pioneer of the Pointiliism movement, an art movement where color is applied to the canvas in dots without mixing color. The theory behind this movement is that the brain and eye plays a major role in how we see and view art. The artist creates works of art without blending colors- for example to create orange, red and yellow dots are used closely together. Our brain and eye then blend the two together and we perceive orange even though there is none on the canvas.
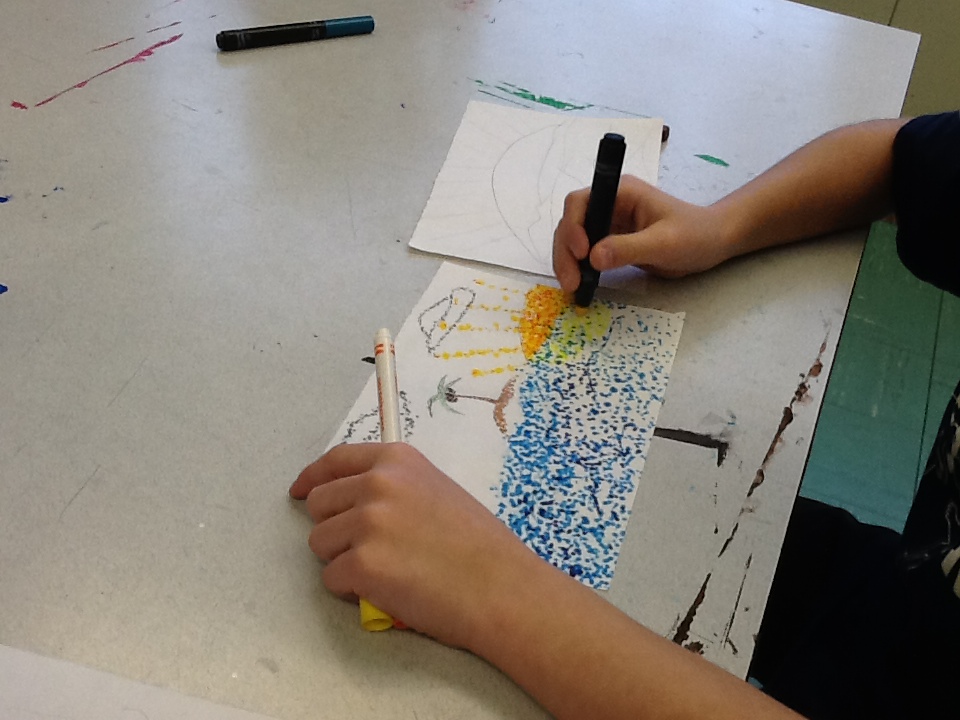
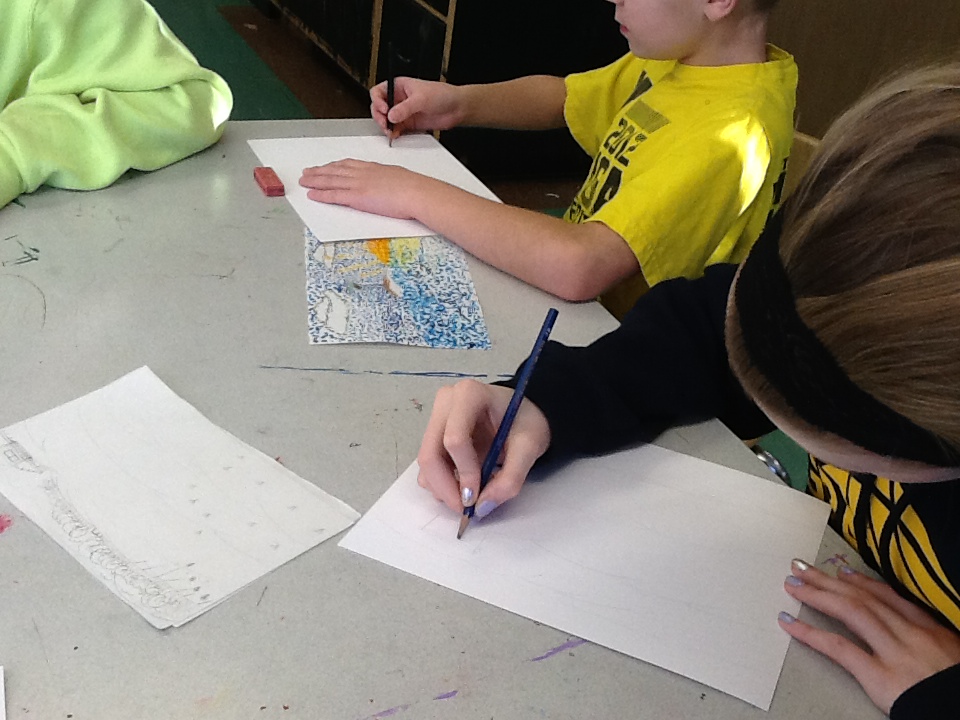
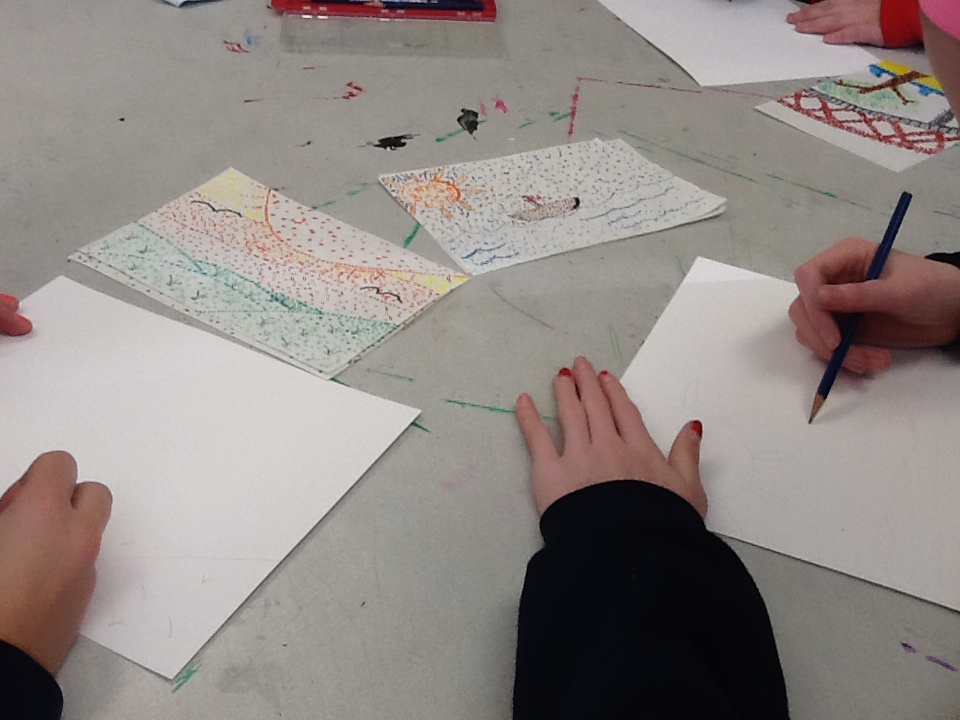
After a Powerpoint and class discussion, students quickly sketched 4 different landscapes, narrowed those down to the top 2 and did a more detailed sketch. They then practiced pointillism coloring with markers (it is hard to break the habit of coloring and painting in solid blocks of color). Friday, after finishing our marker rough drafts I did a short watercolor demo. Next week, we explore watercolors and complete our final pointillism pieces to send to our Iowa penpals.
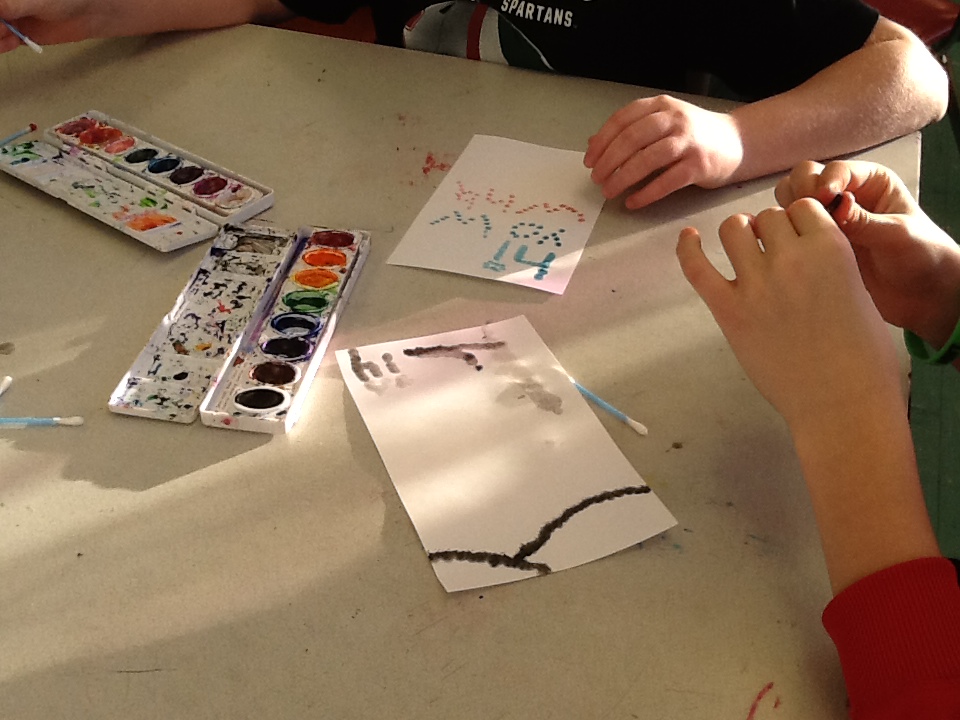
The current week has us finishing up our time together and finishing our projects. Tuesday we played with watercolor and practiced mixing colors of dots so our eye can blend them. We also sketched out our final landscape drawings then began writing back to our Iowa penpals. The rest of the week will be all about finishing our landscapes and sending out our creations and writings back to our new friends.
After a Powerpoint and class discussion, students quickly sketched 4 different landscapes, narrowed those down to the top 2 and did a more detailed sketch. They then practiced pointillism coloring with markers (it is hard to break the habit of coloring and painting in solid blocks of color). Friday, after finishing our marker rough drafts I did a short watercolor demo. Next week, we explore watercolors and complete our final pointillism pieces to send to our Iowa penpals.
The current week has us finishing up our time together and finishing our projects. Tuesday we played with watercolor and practiced mixing colors of dots so our eye can blend them. We also sketched out our final landscape drawings then began writing back to our Iowa penpals. The rest of the week will be all about finishing our landscapes and sending out our creations and writings back to our new friends.

final piet mondrian giant slides

Our final slide are finished and ready to view in the ART 6 Gallery. Head over and check them out! We hope we did well enough for our Iowa penpals! :)
They came!!! they came!!!
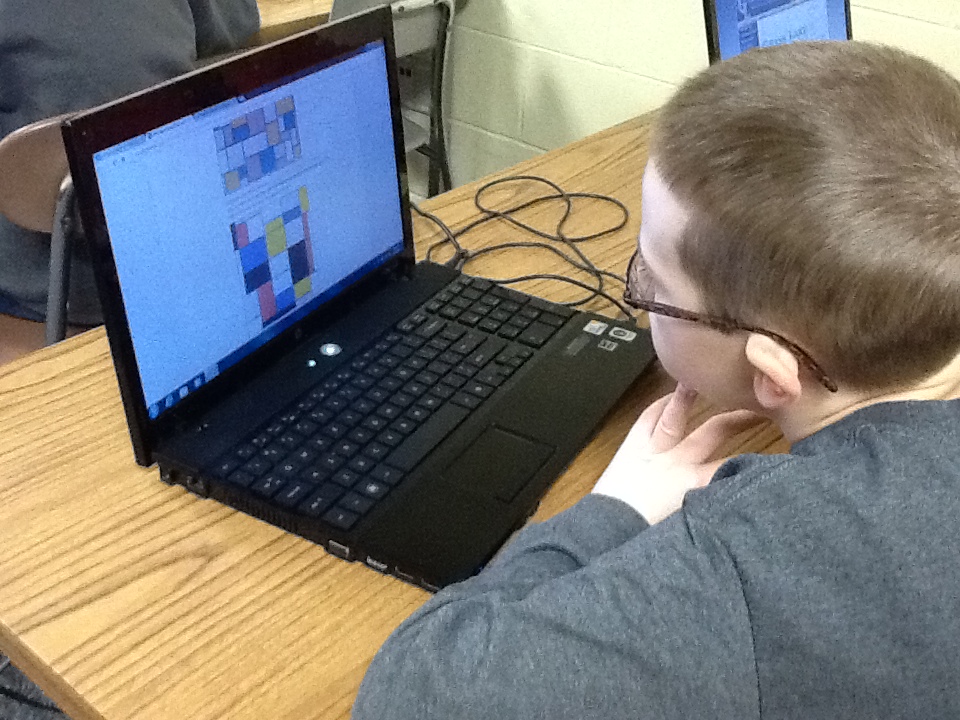
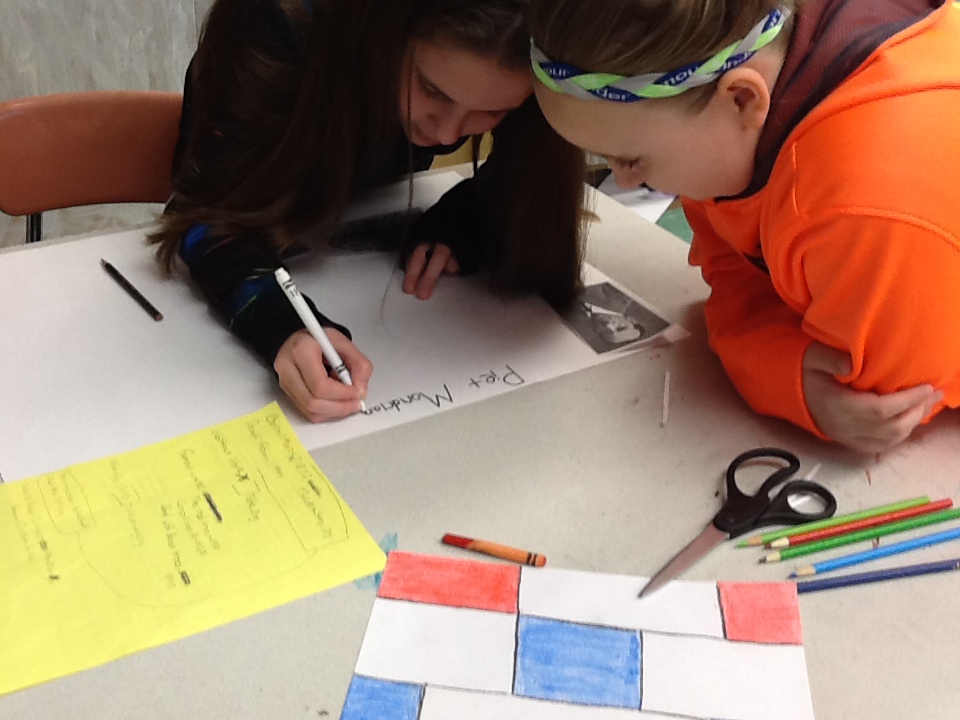
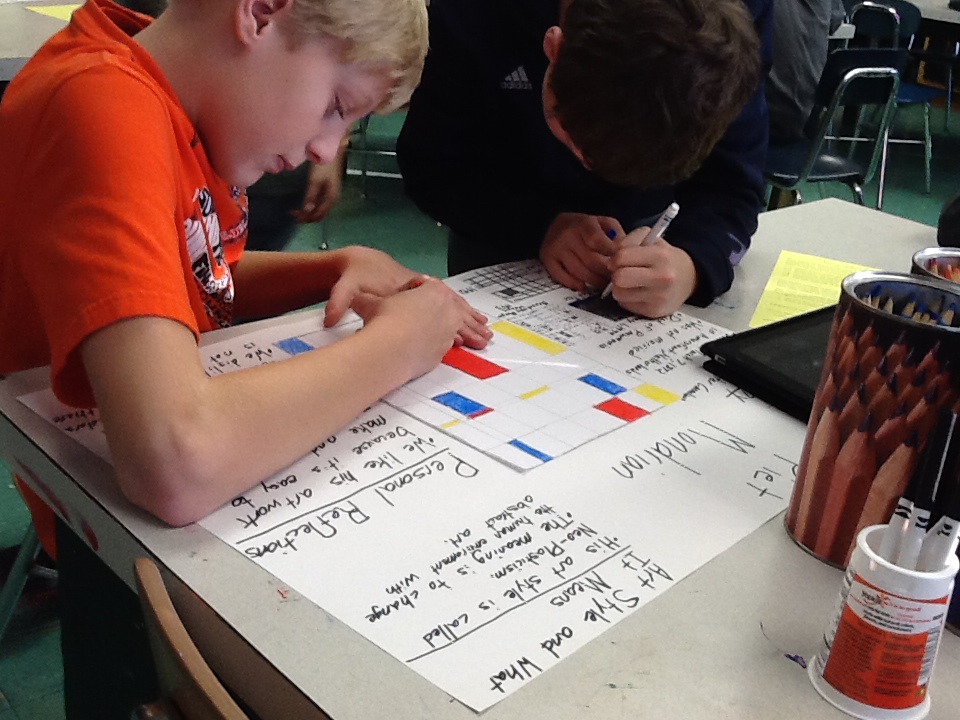
Over break we received our pen pal postcards from our friends in Iowa!!! As soon as ART 6 students saw them on my table, they were excited and ready to read about their new cross-country friends. We are studying the artist Piet Mondrian for a few days so we can talk to out Iowa friends about the Mondrian-inspired postcards they made for us! Check out our work below!
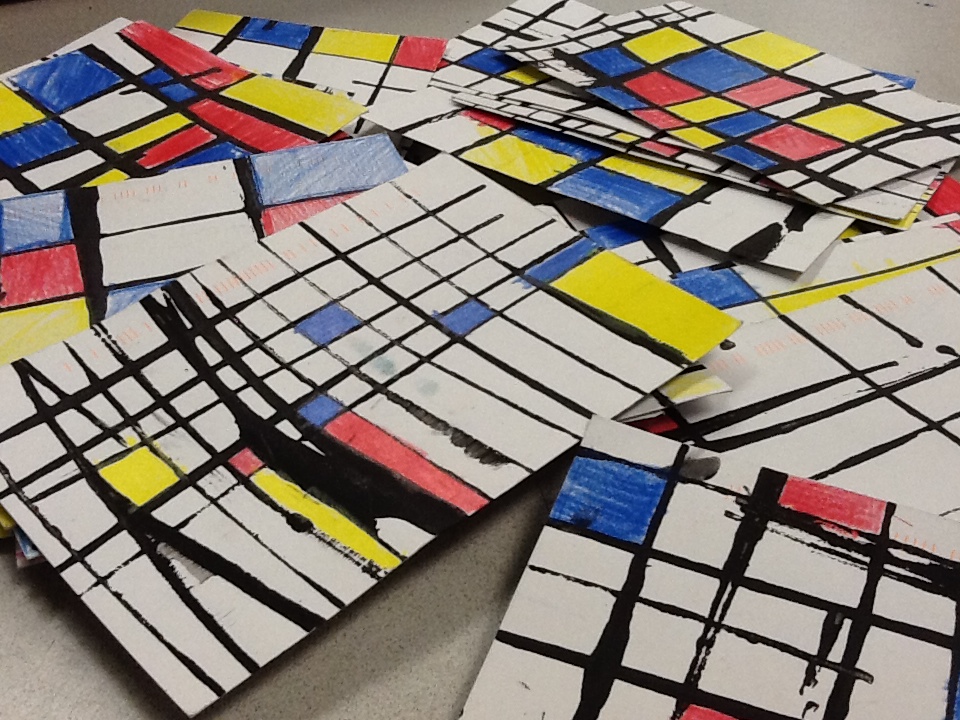

days one and two: excitement, research and learning
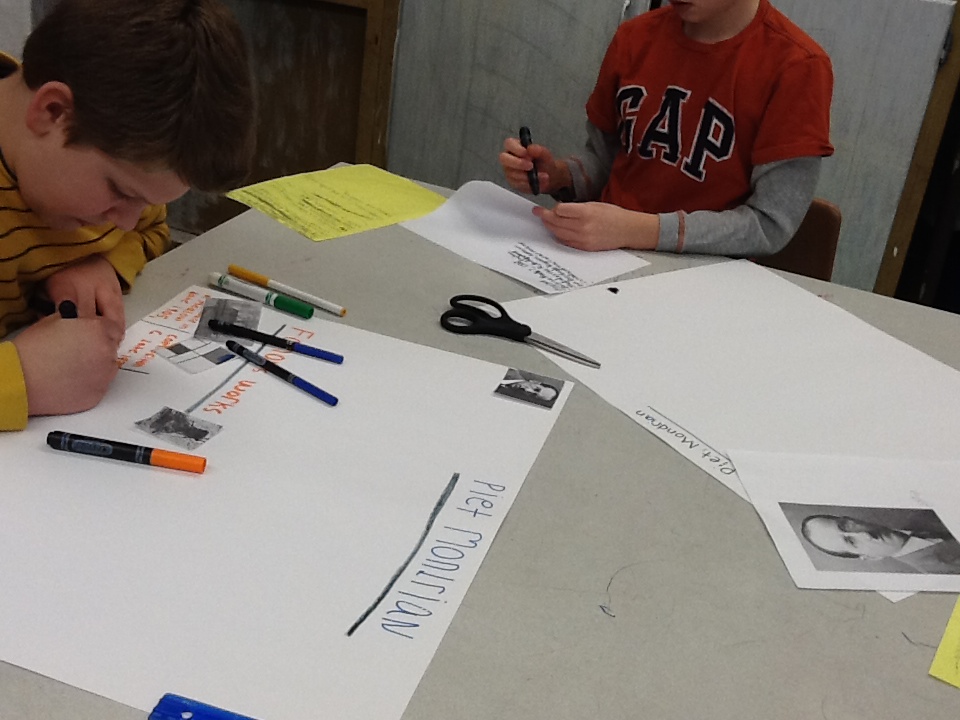
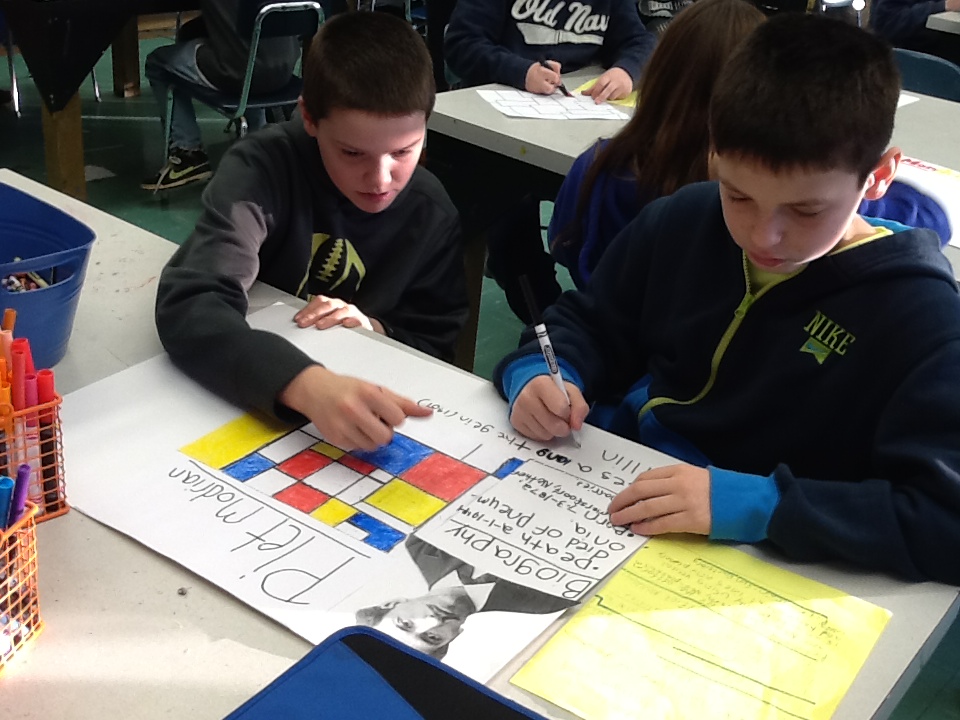
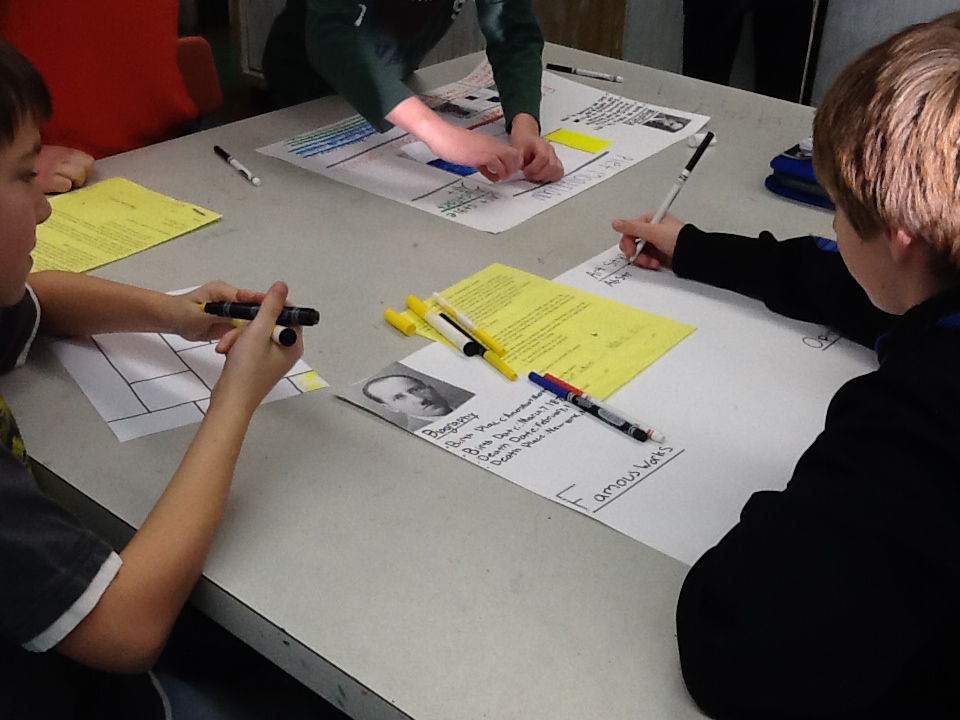
After reading our postcards from our Iowa friends, we thought it would be good to learn a little more about Piet Mondrian. ART 6 students are creating a giant "Powerpoint" slide to teach the rest of GLMS about Mondrian and his work. The first two days are dedicated to research. You can find my project description below.
days three, four and five: creating and constructing

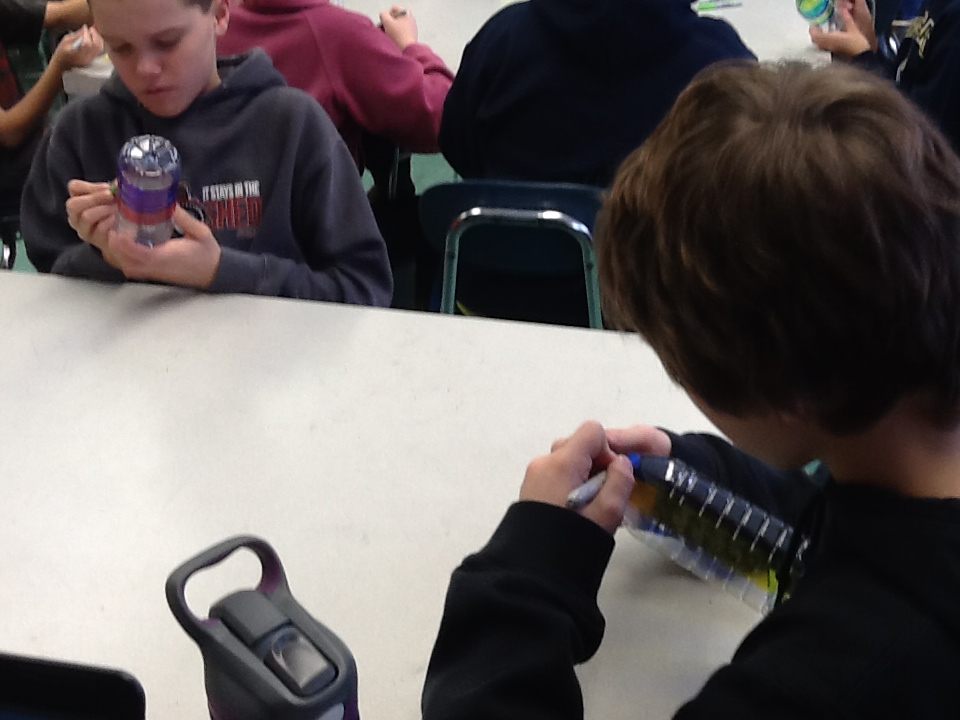
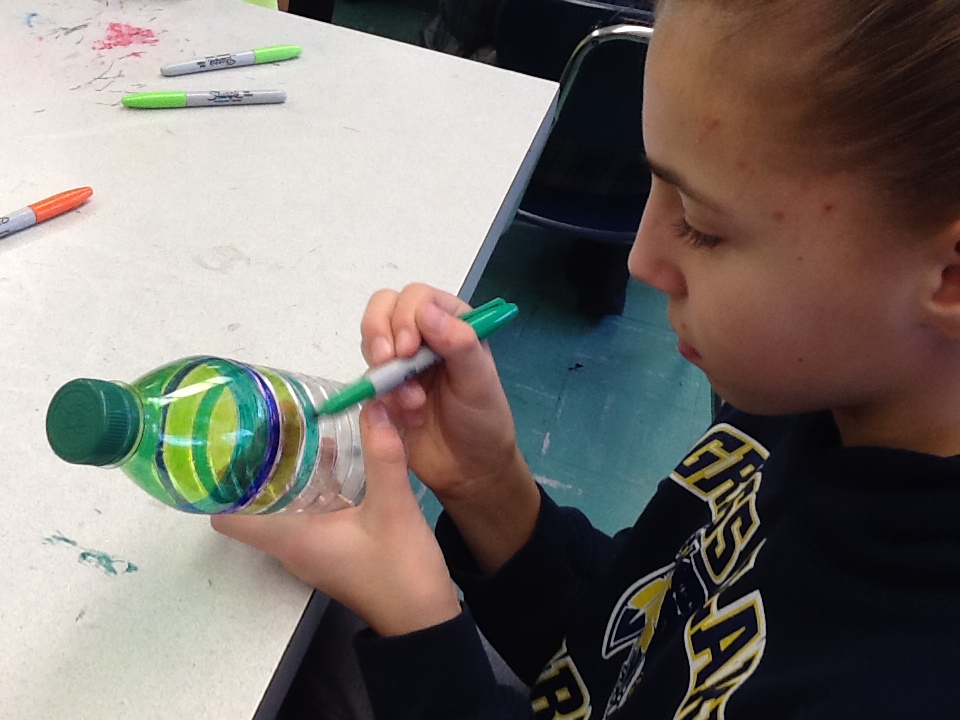
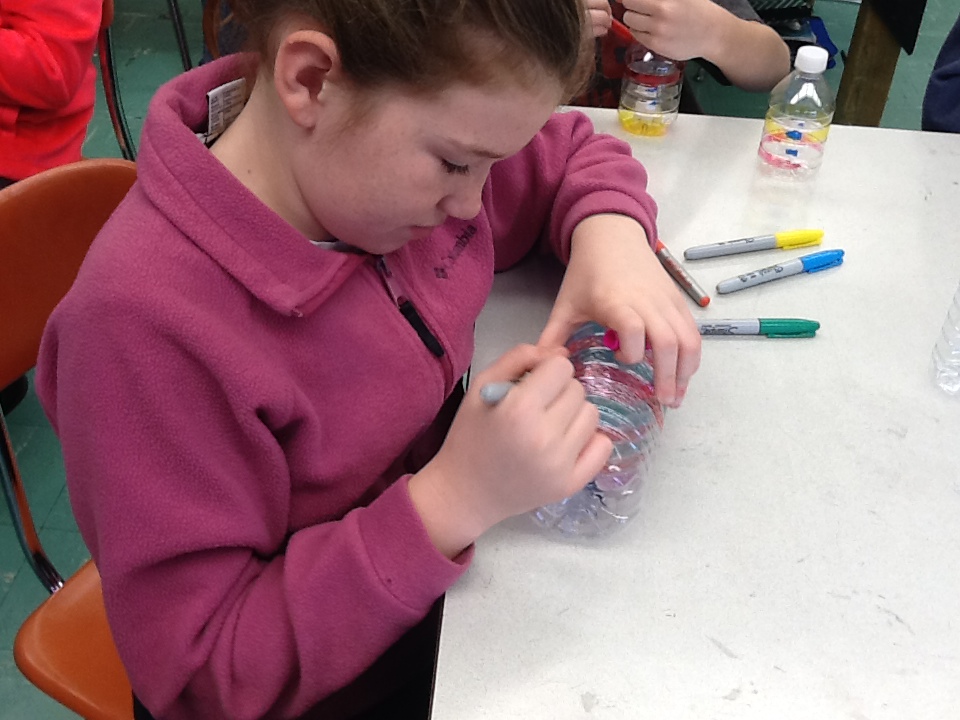
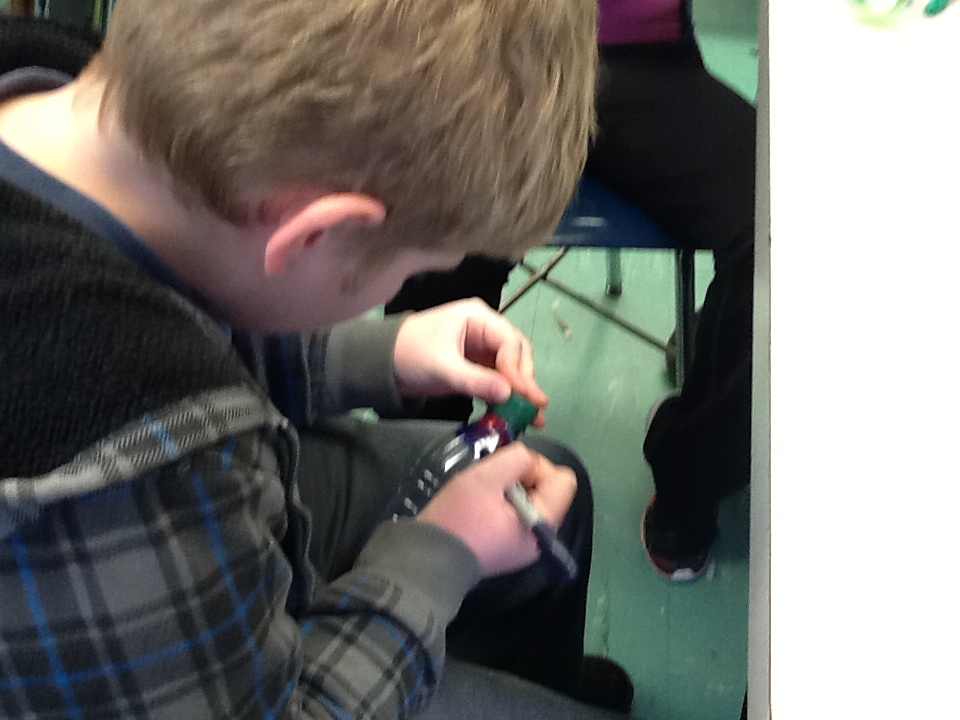
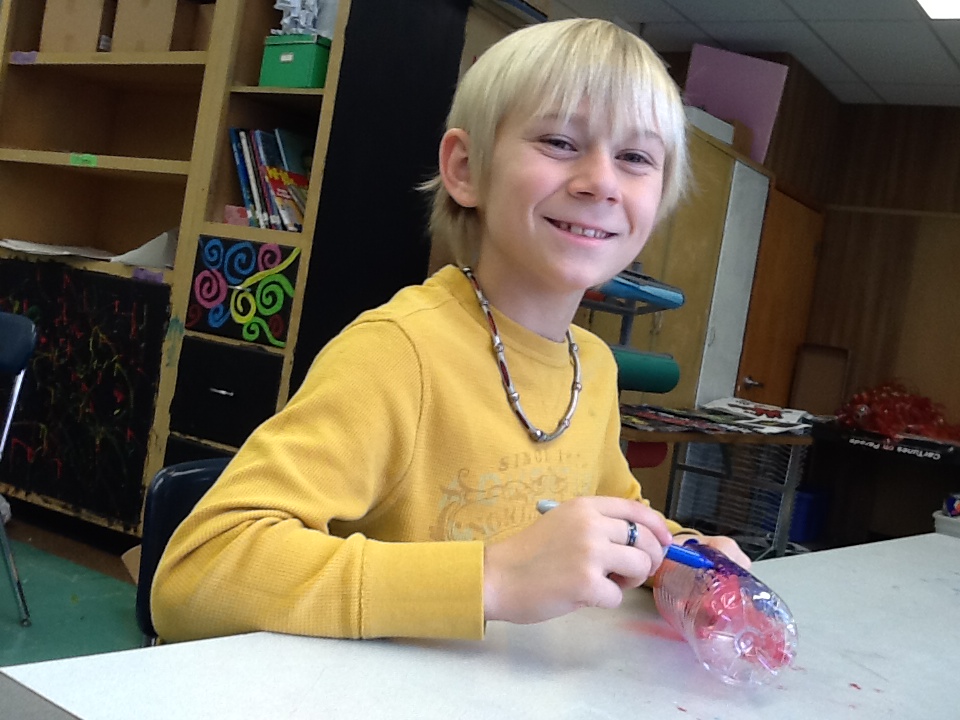
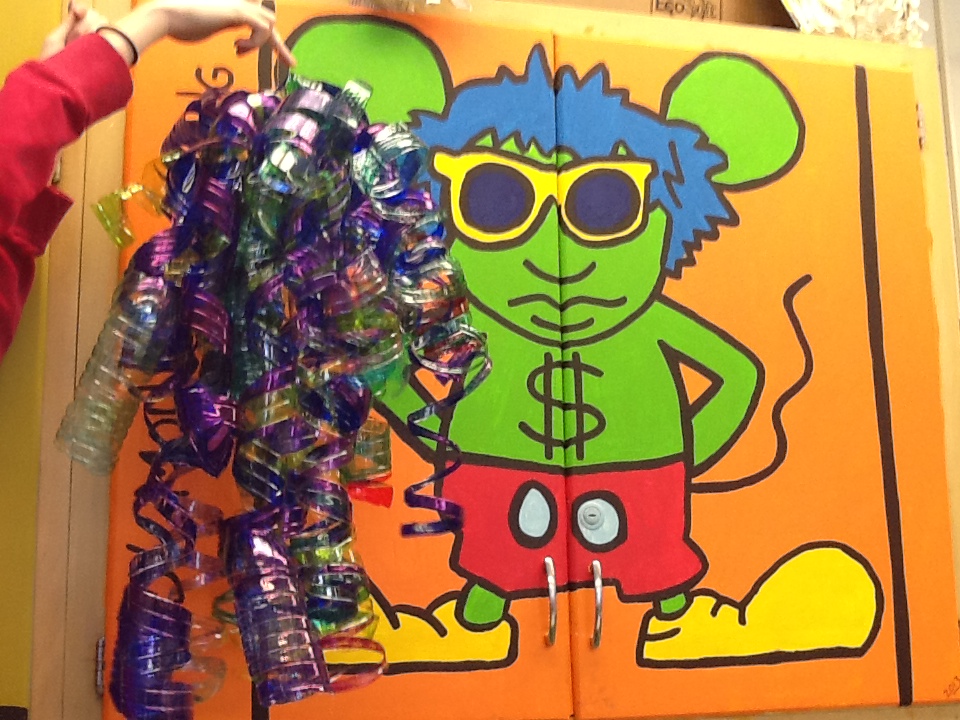
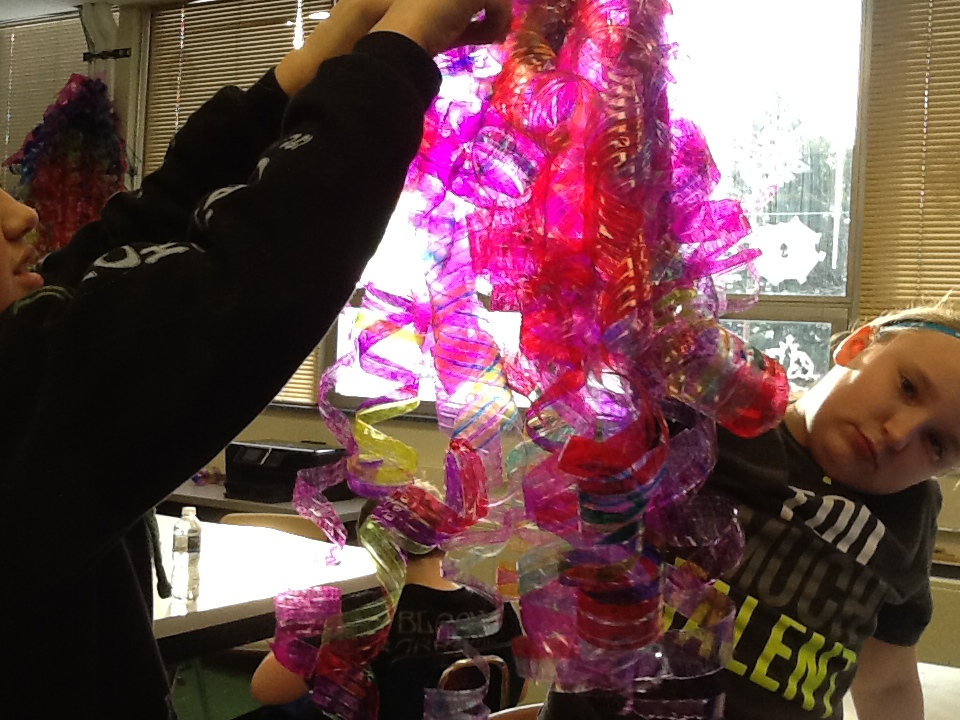
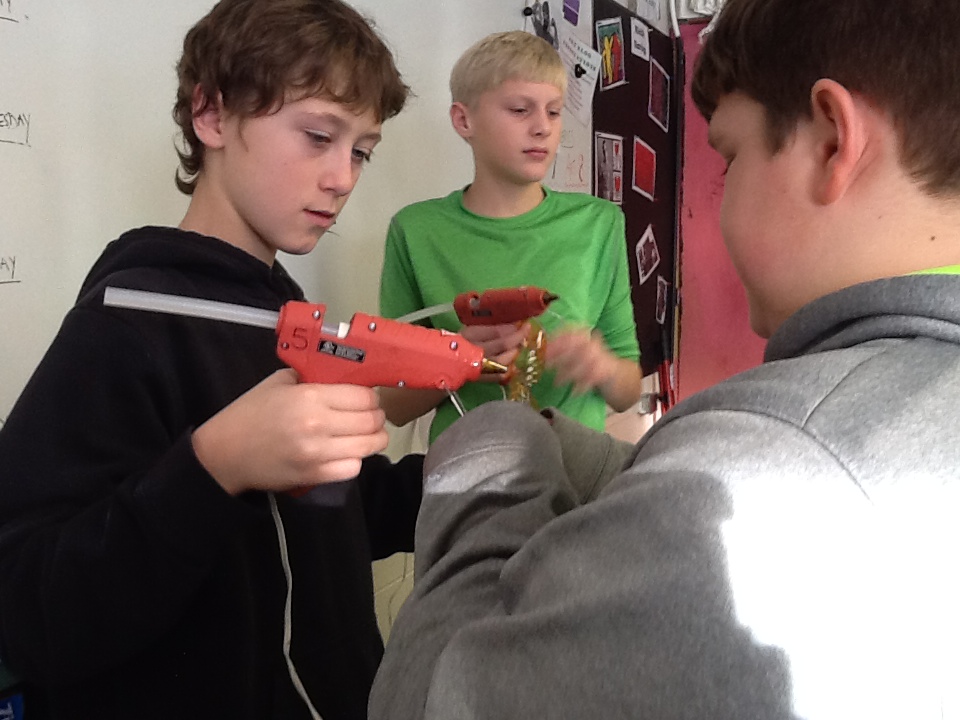
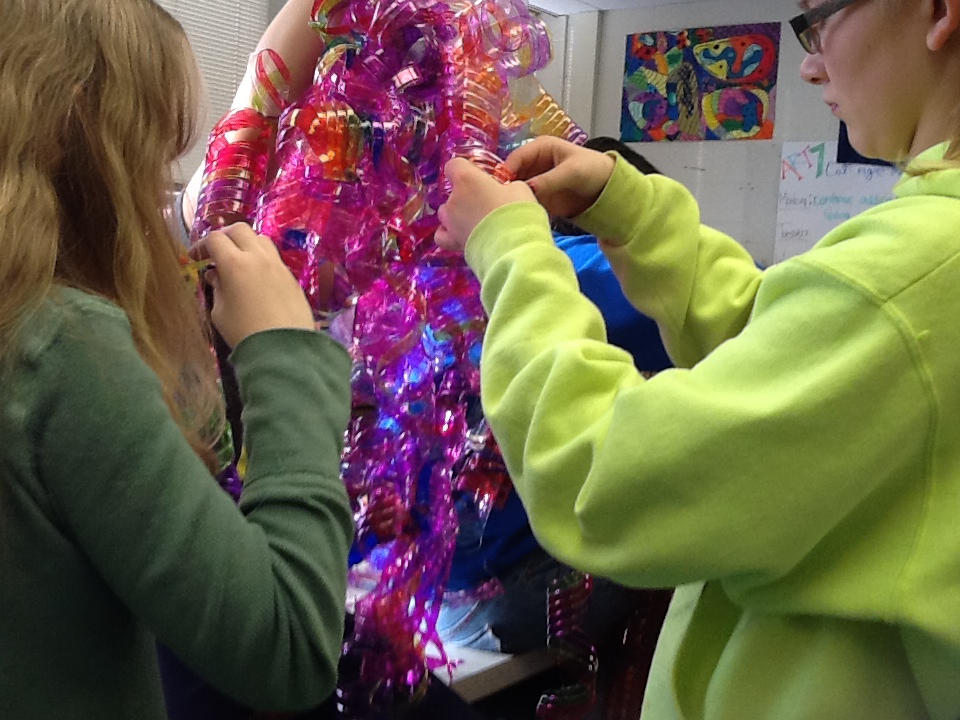
recycled water bottle chandeliers
To fill the last few days before Winter Break, ART 6 students are creating Dale Chihuly inspired chandeliers by reusing water bottles. We are going to gift these to our wonderful teachers at GLMS so they can add a bit of color to their rooms. The first couple day are all about coloring the bottles with Sharpies. Thursday we will start to cut them into spirals and glue them onto old paper towel and toilet paper tubes that were reinforced with duct tape. We plan on choosing different color palettes for each teacher.

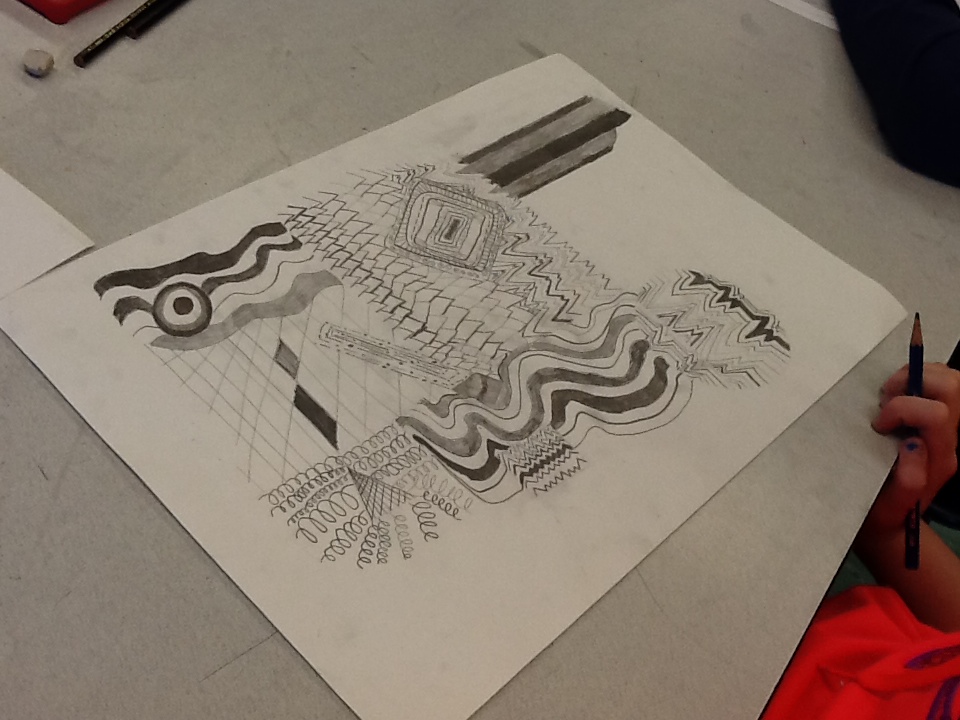
Elements of art abstracts
Now that we know about the seven elements of art, ART 6 students are going to use their foldables to create an abstract piece that demonstrates their understanding of the elements. Each piece has general guidelines for the rubric and the rest is up to the artist to create a visually unique piece that grabs the viewer's attention. This project is one of my favorites because it is so open to creativity, interpretation and really allows the students freedom within some vague guidelines. I find that some students flourish in this type of instruction and others tend to find the freedom overwhelming and intimidating. The piece always turn out great either way and each student walks away feeling successful. Check out our progress below!
abstracts in progress

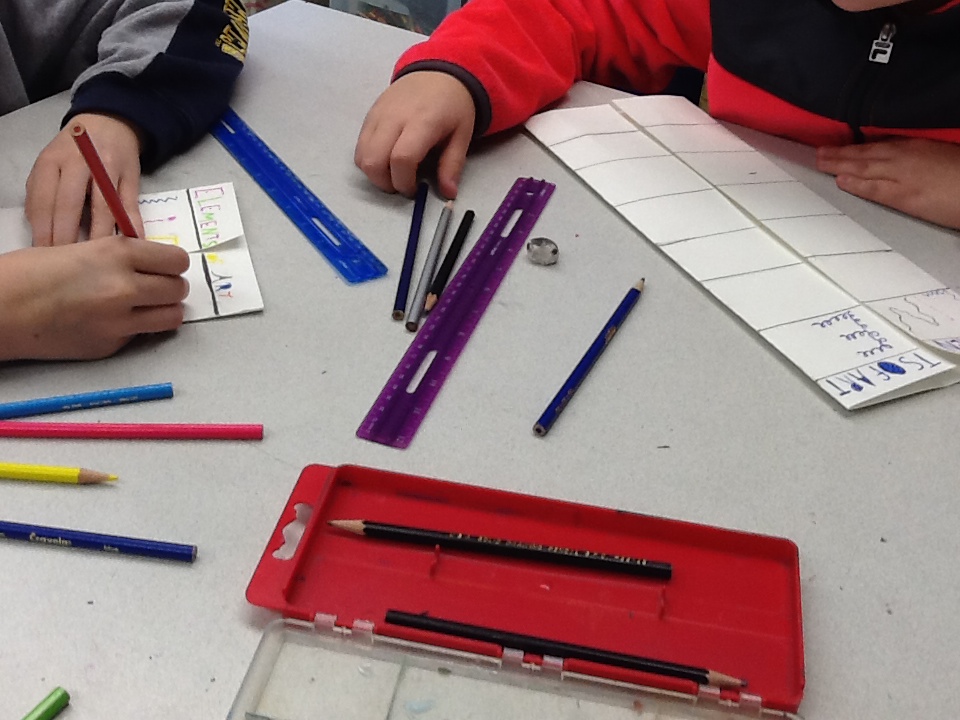
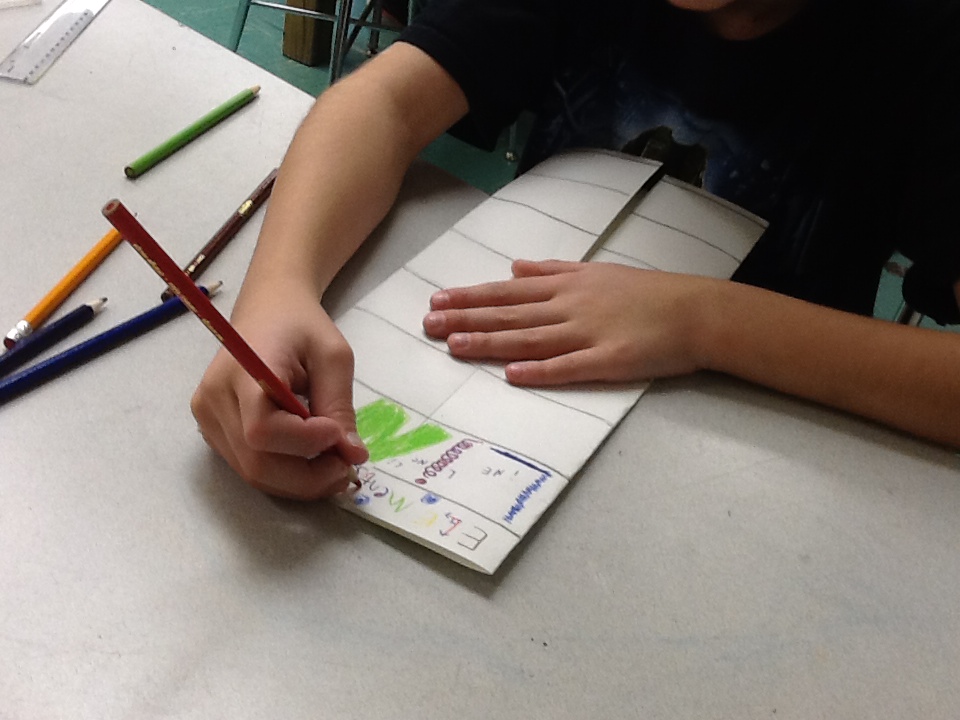
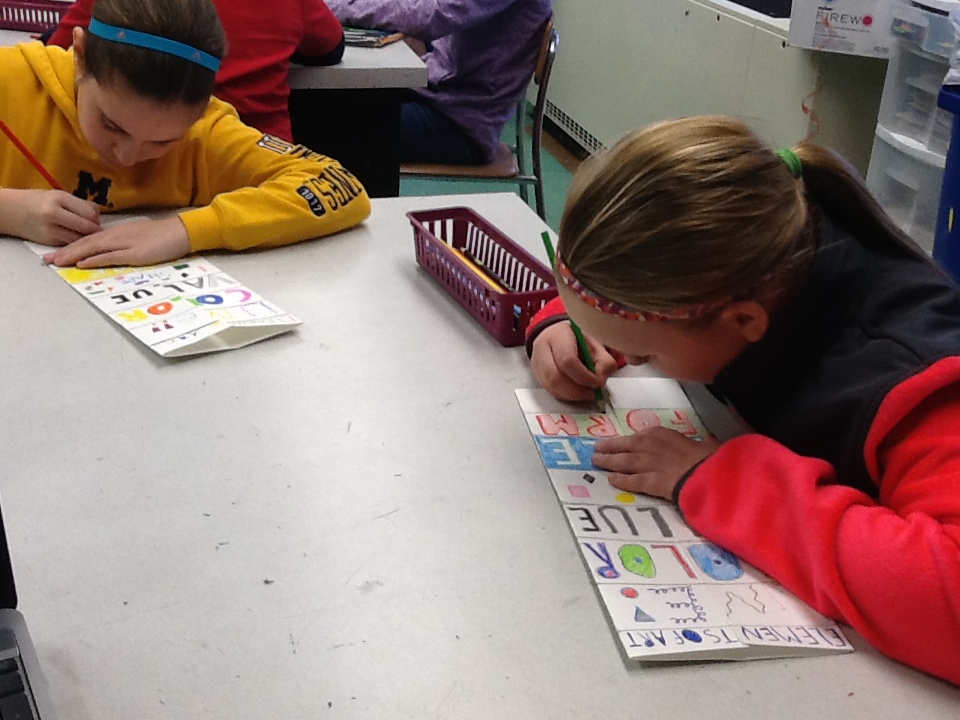
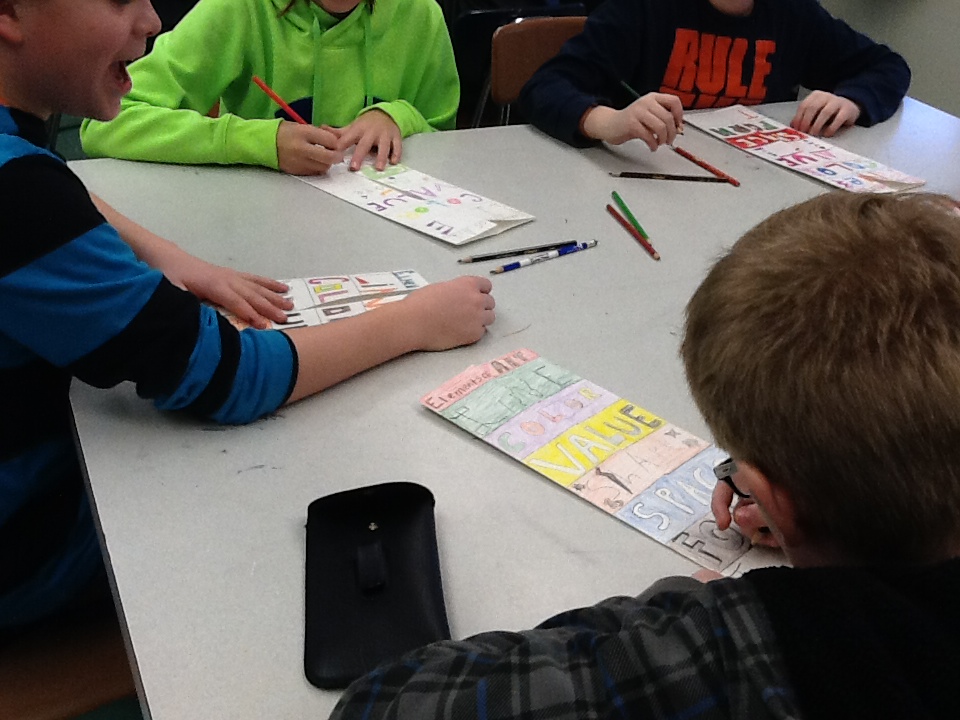
elements of art foldables
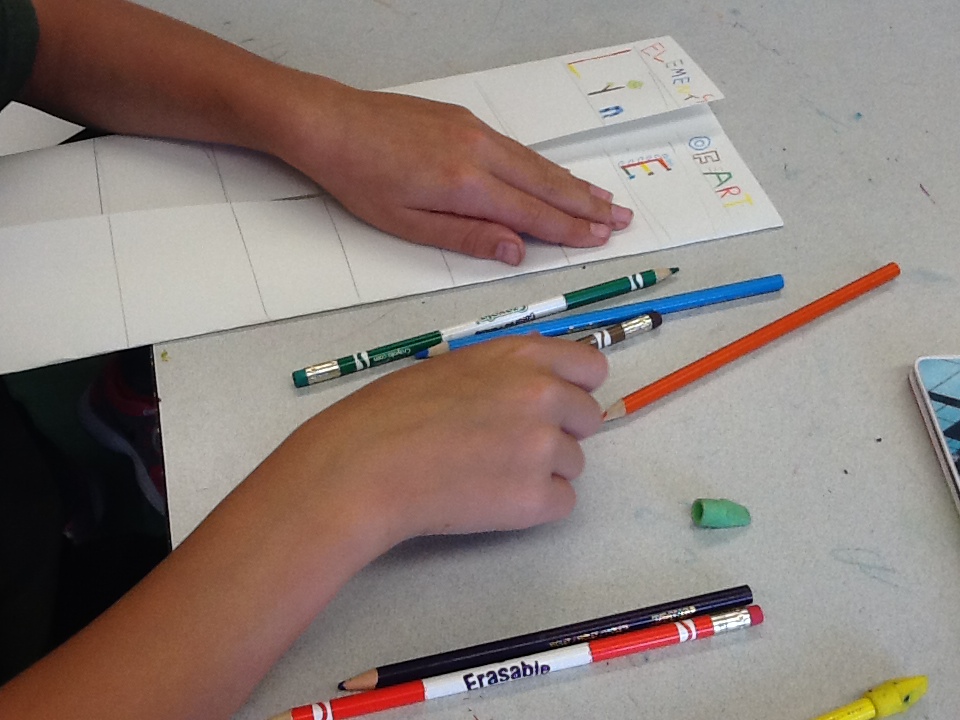
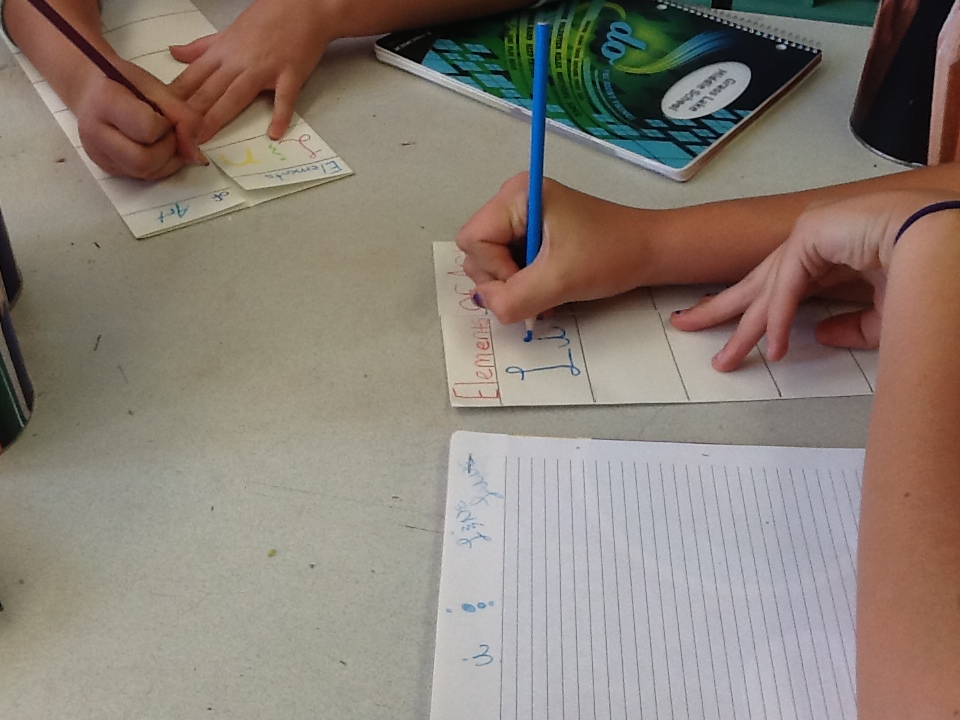
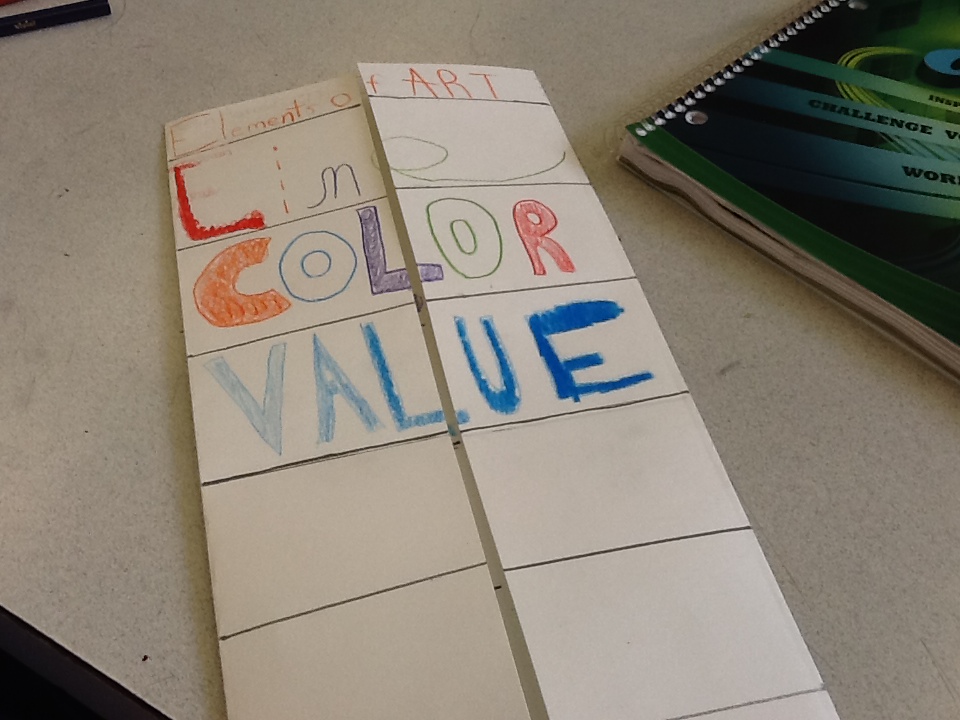
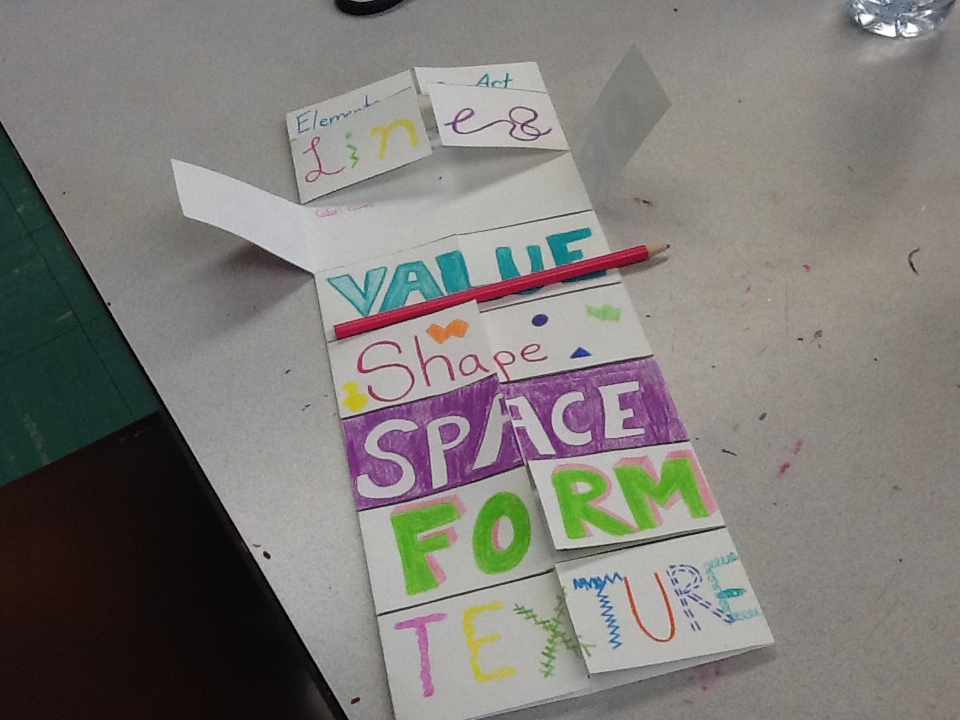
ART 6 students are going back to art basics and learning about the seven elements of art. These elements are like the alphabet of art- artists use them to create pieces. Even though they didn't know it, my students have been using the elements to create their artwork since they started drawing doodles as toddlers. Now we are diving in deep to explore the definitions, examples and techniques of each element. This foldable will travel with students all three years they are here in art at GLMS to be resources to refer back to as their projects become more complex.
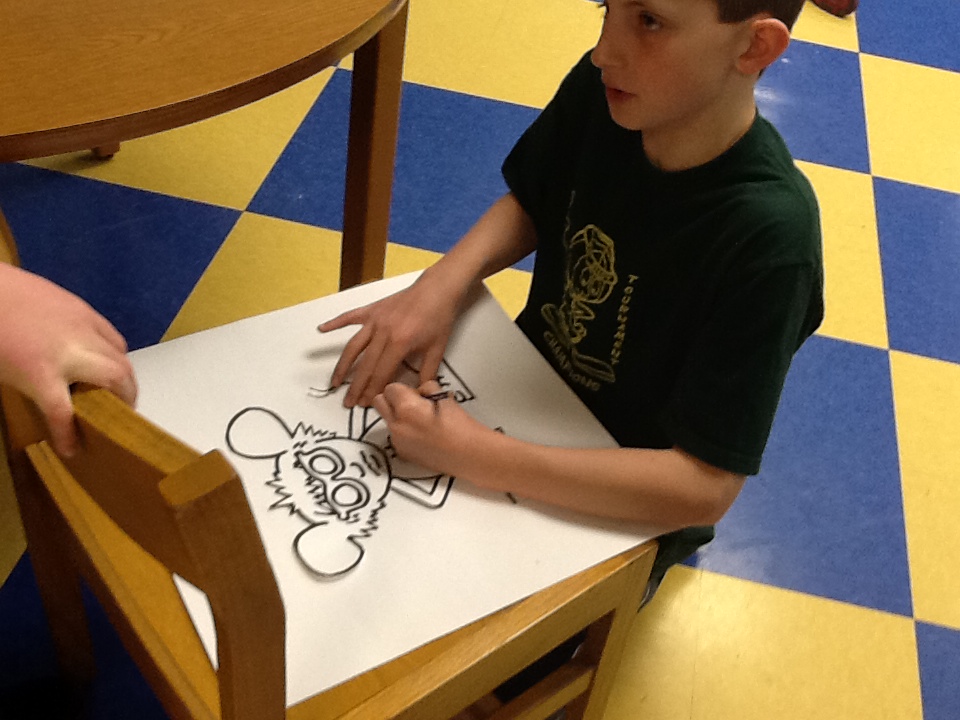
Keith haring graffiti people
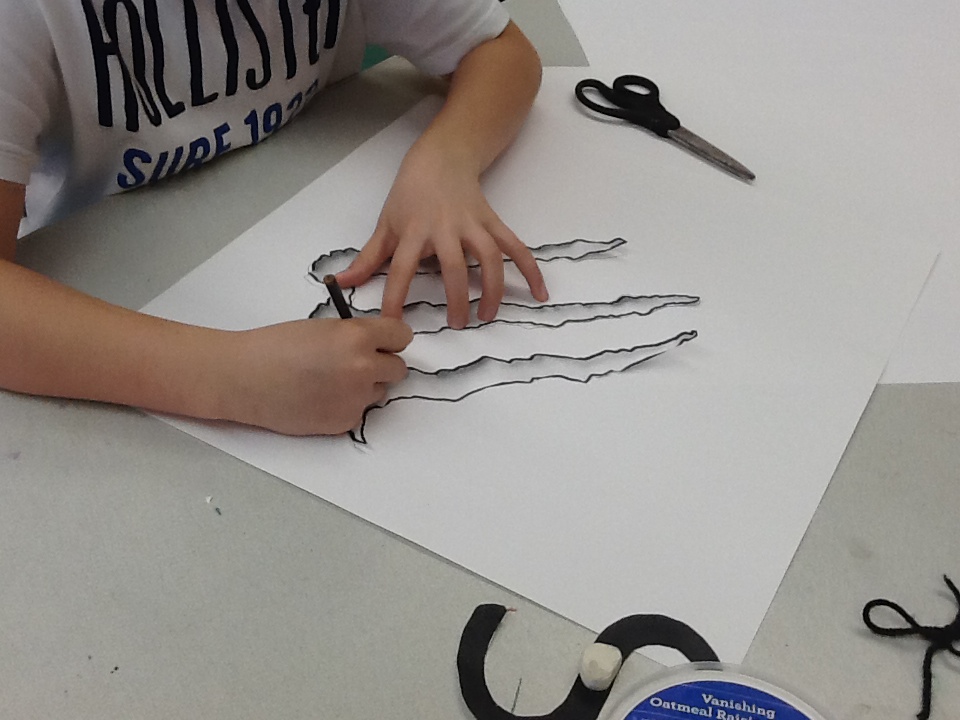
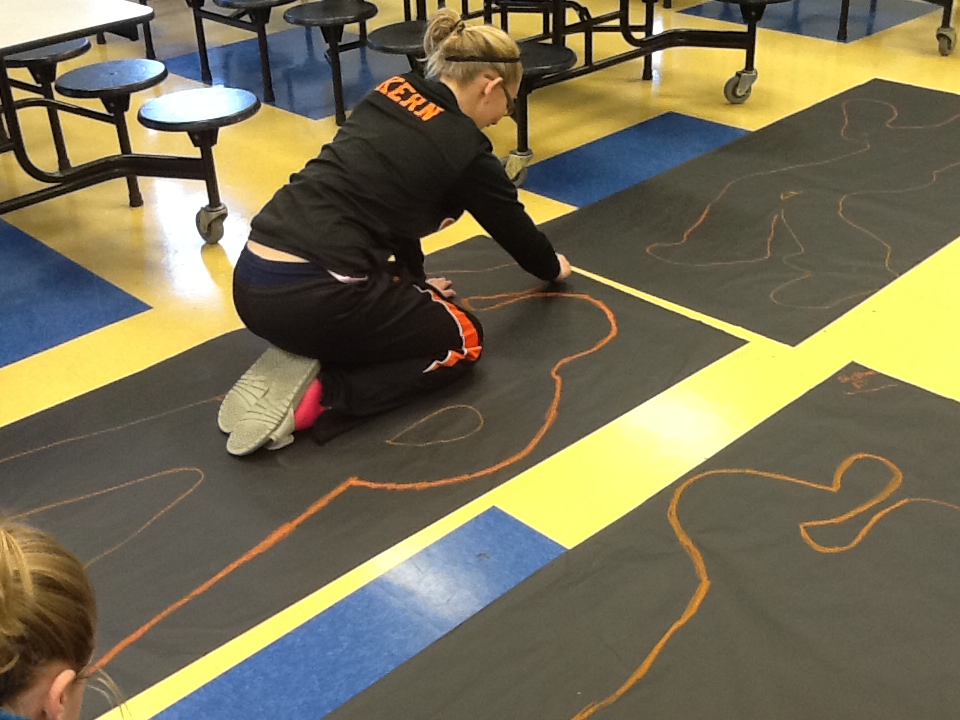
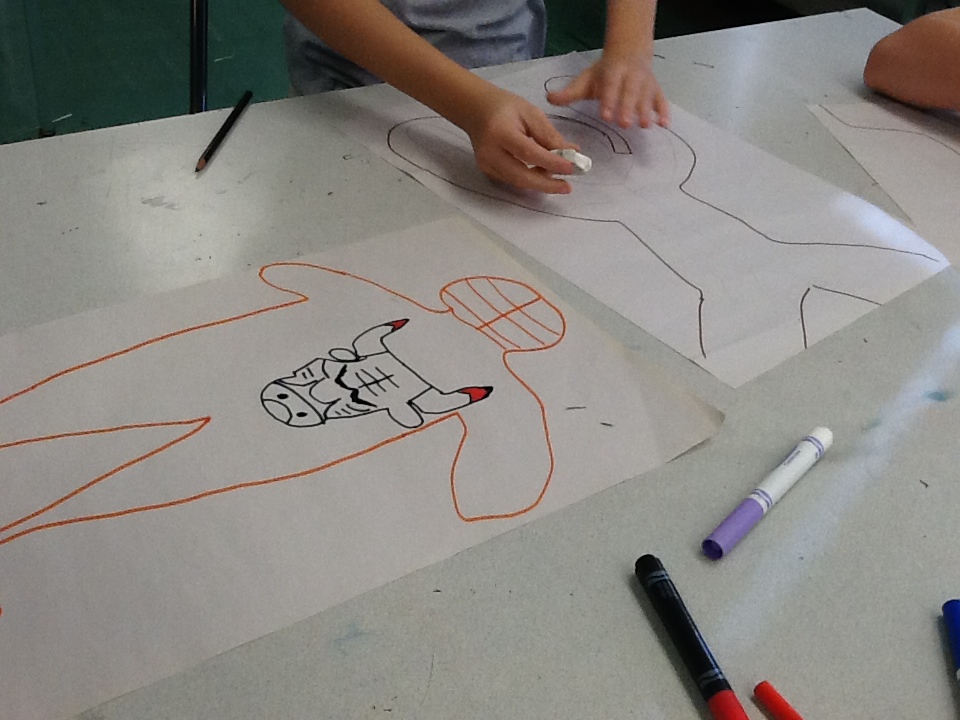
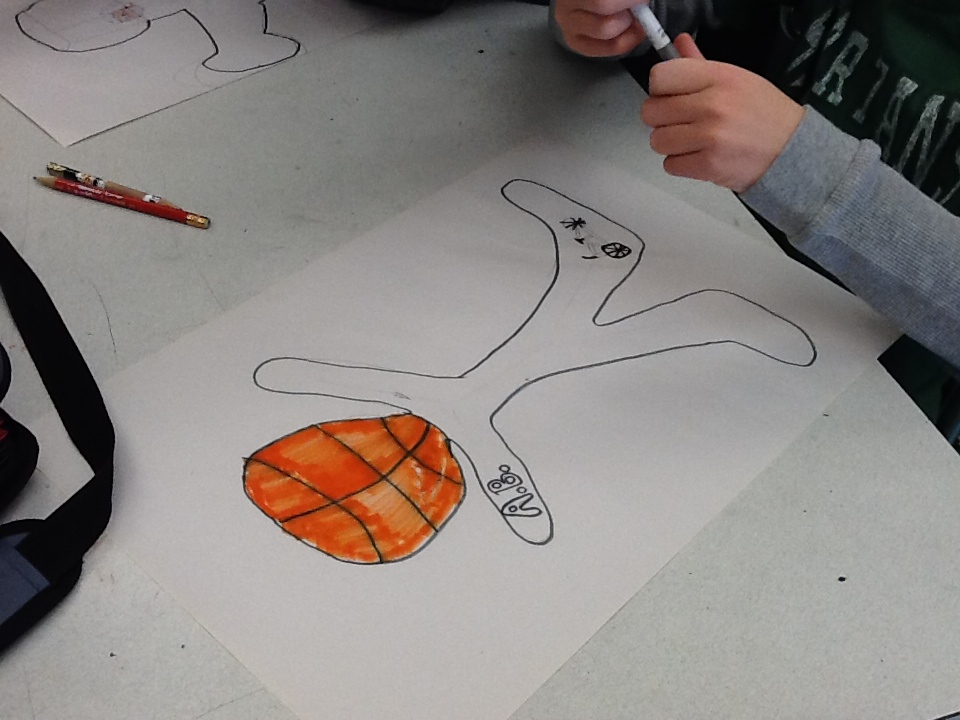
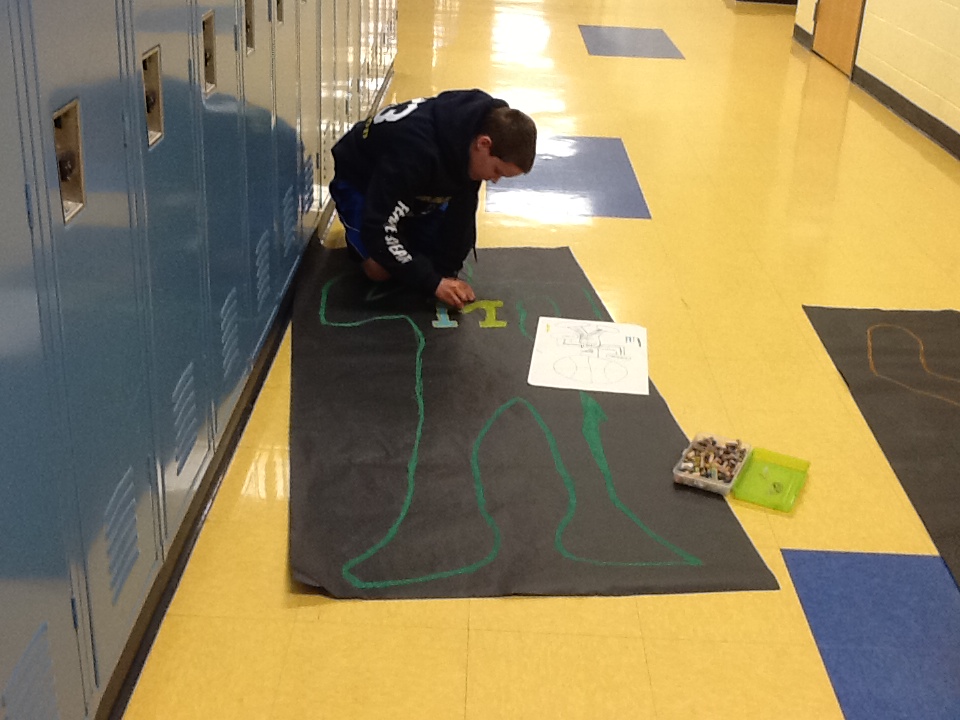
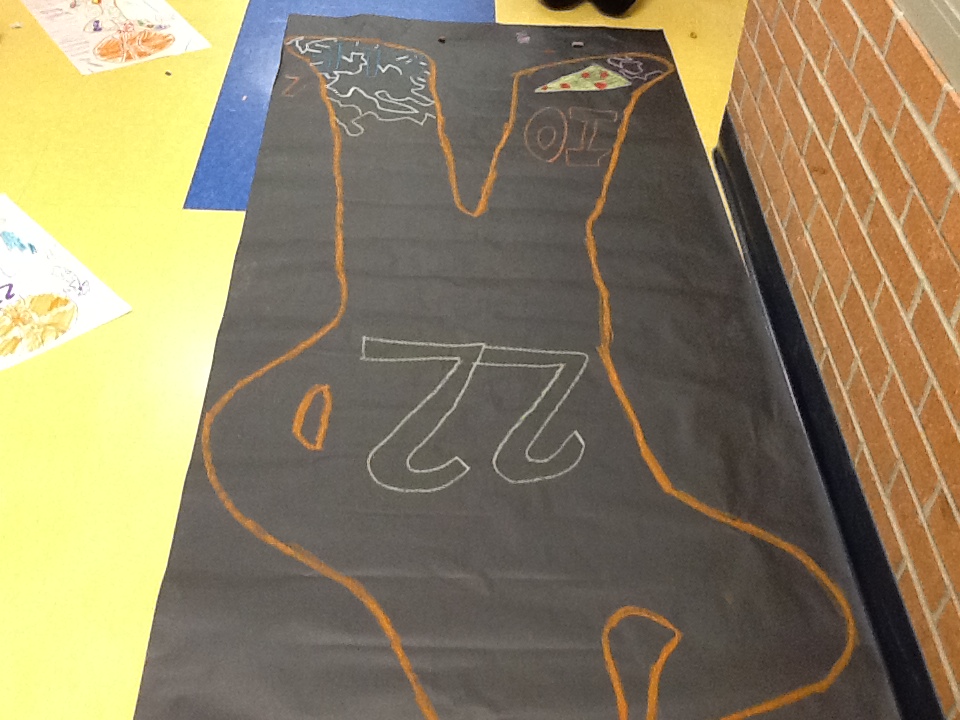
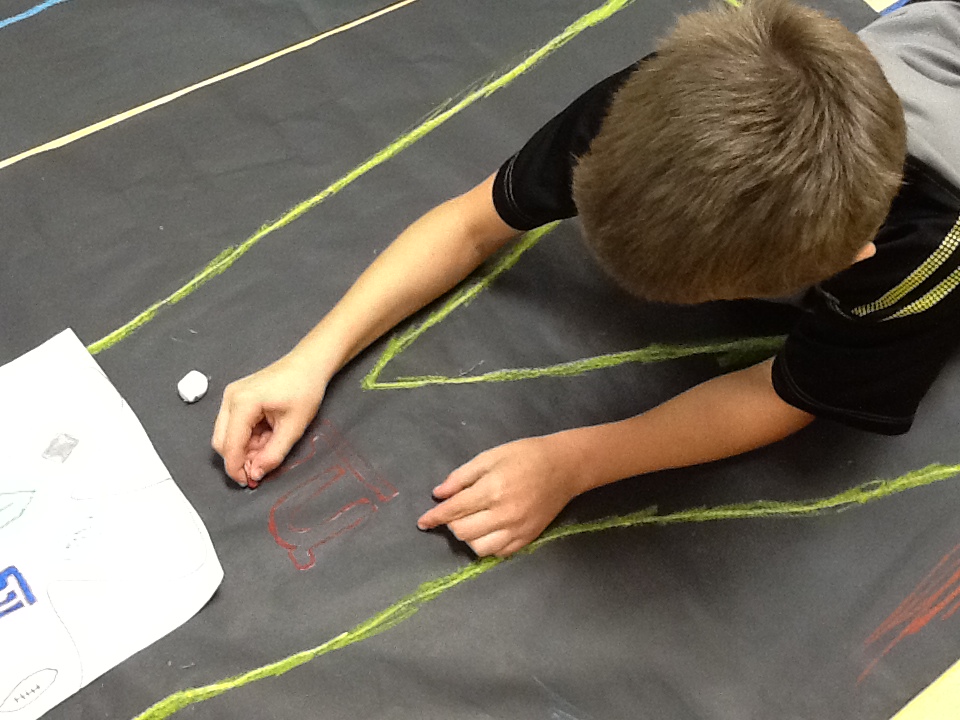
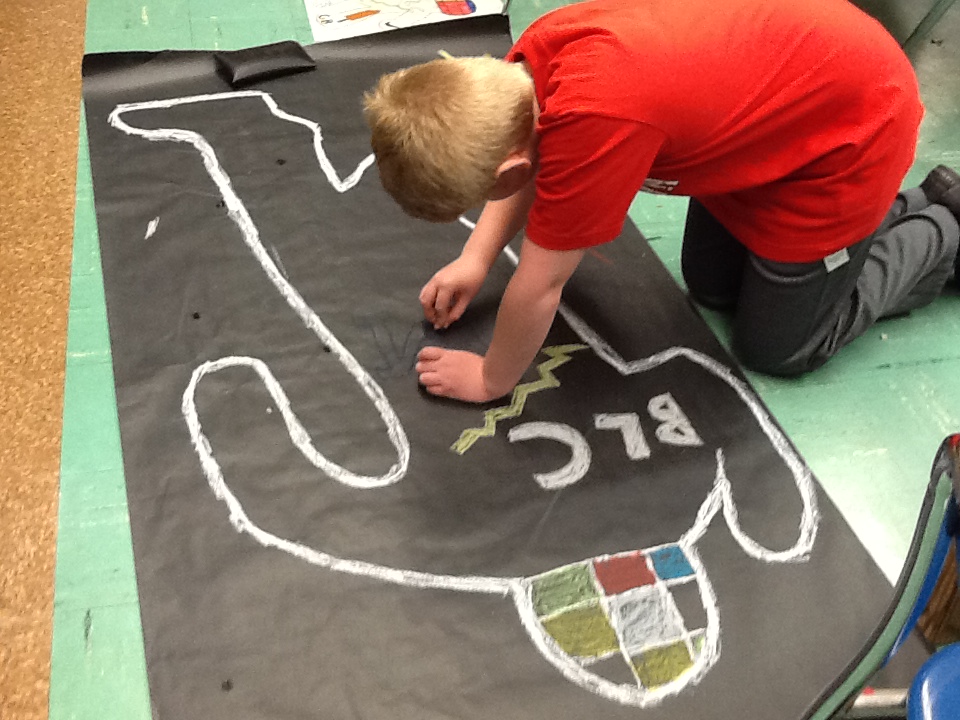
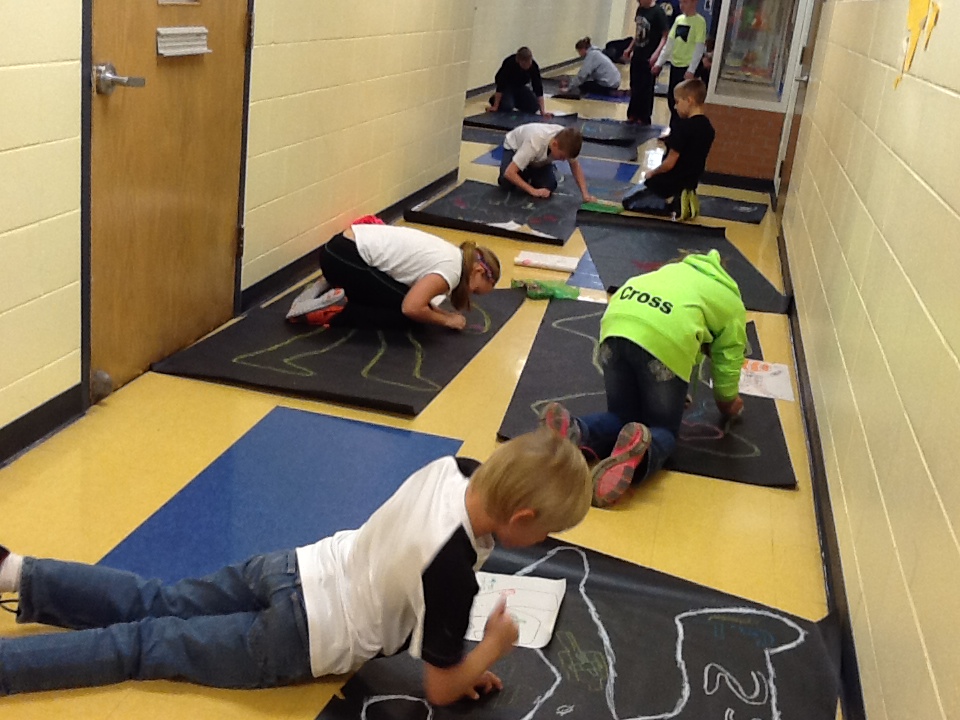
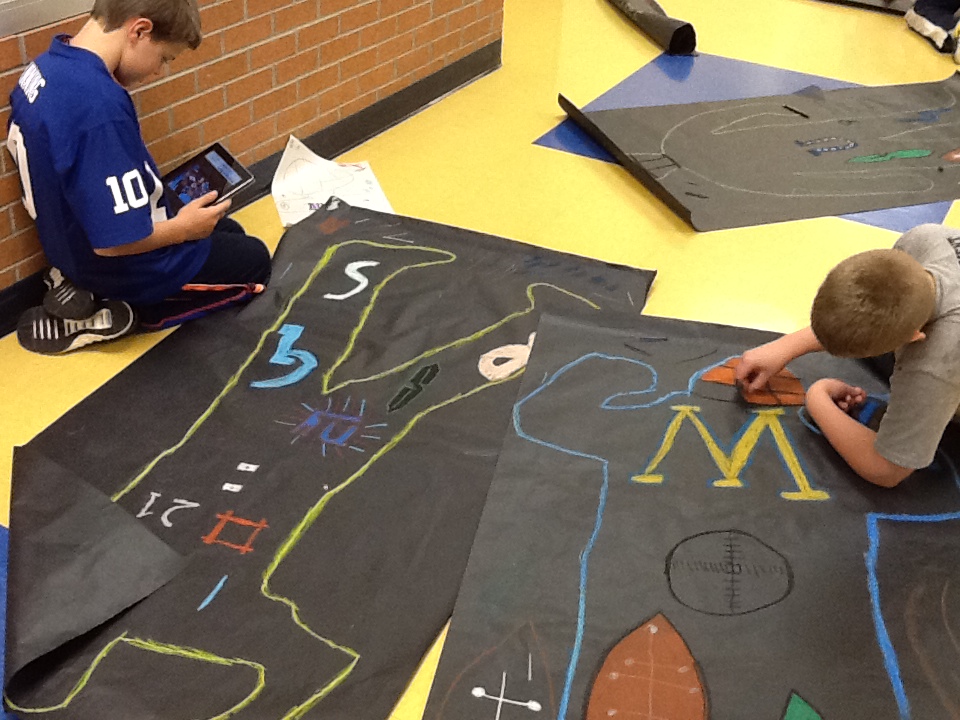
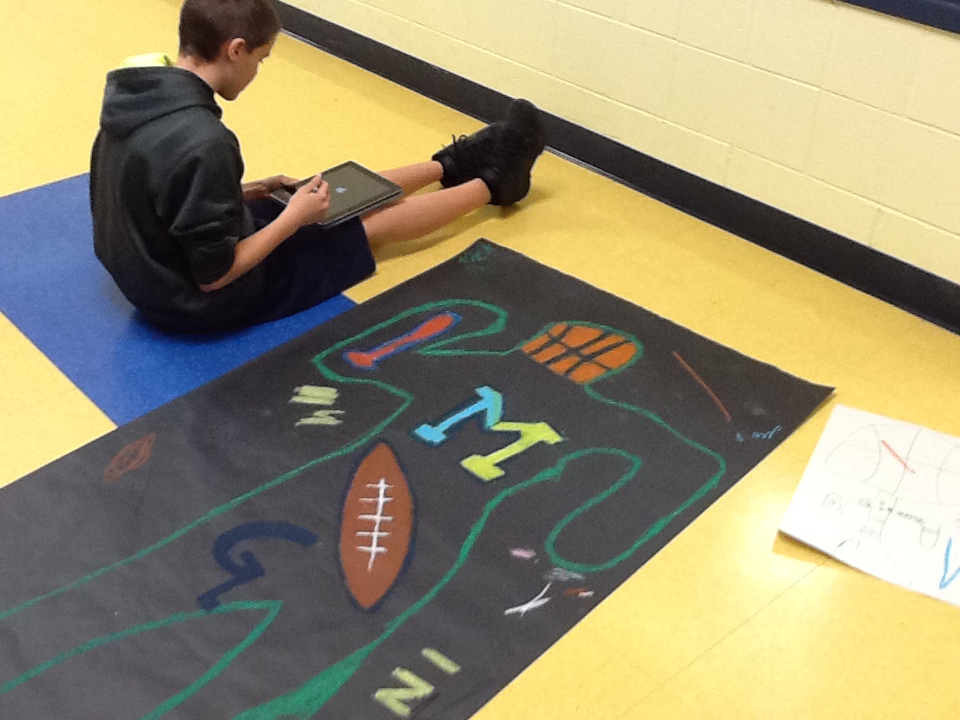
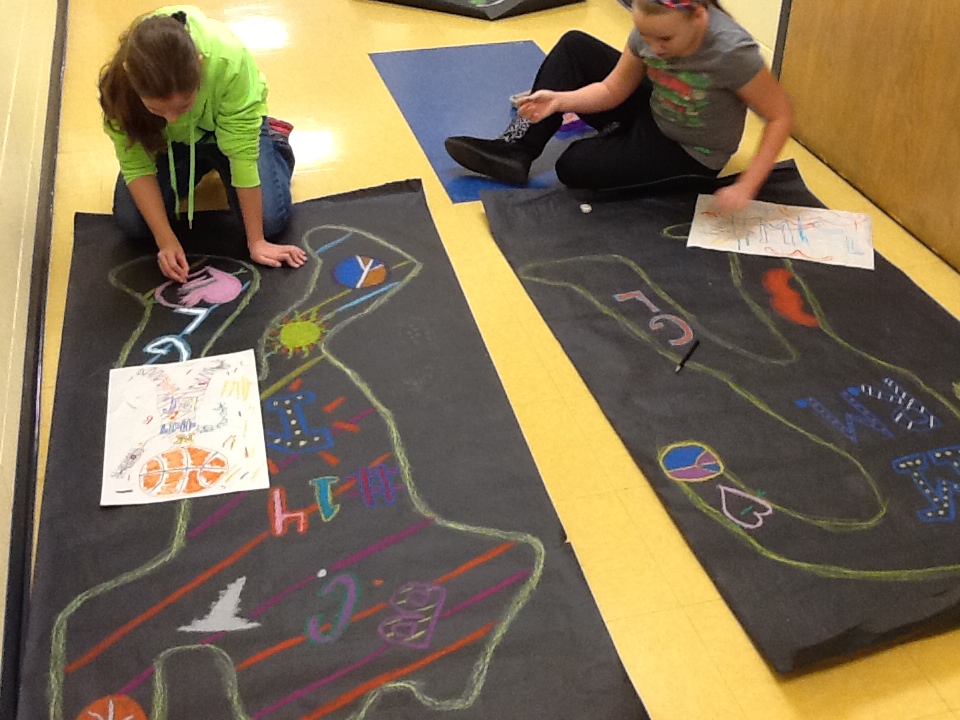
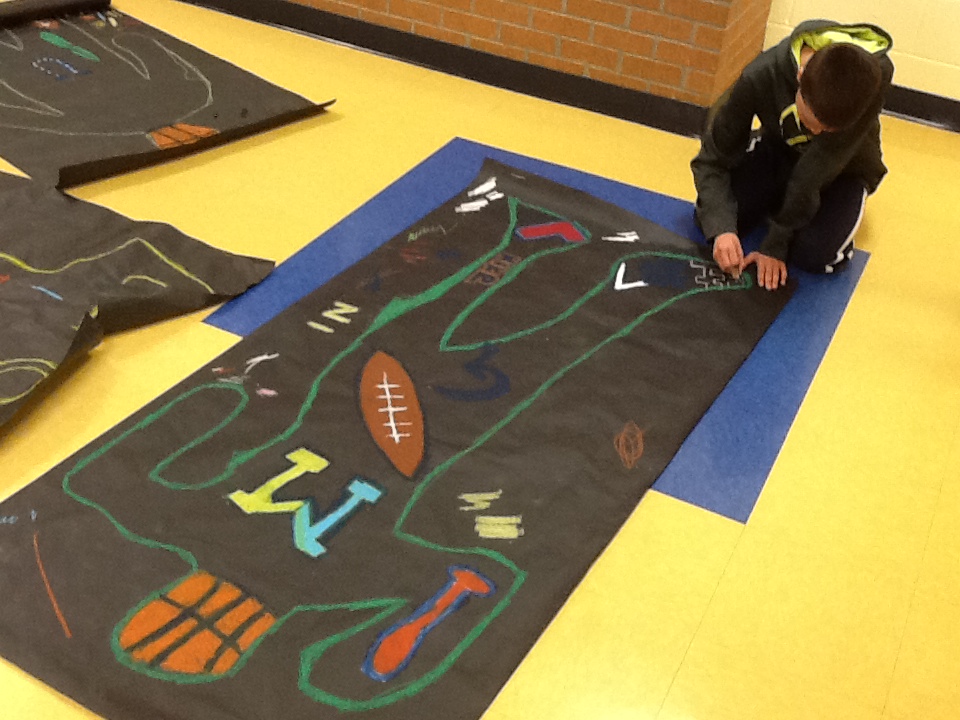
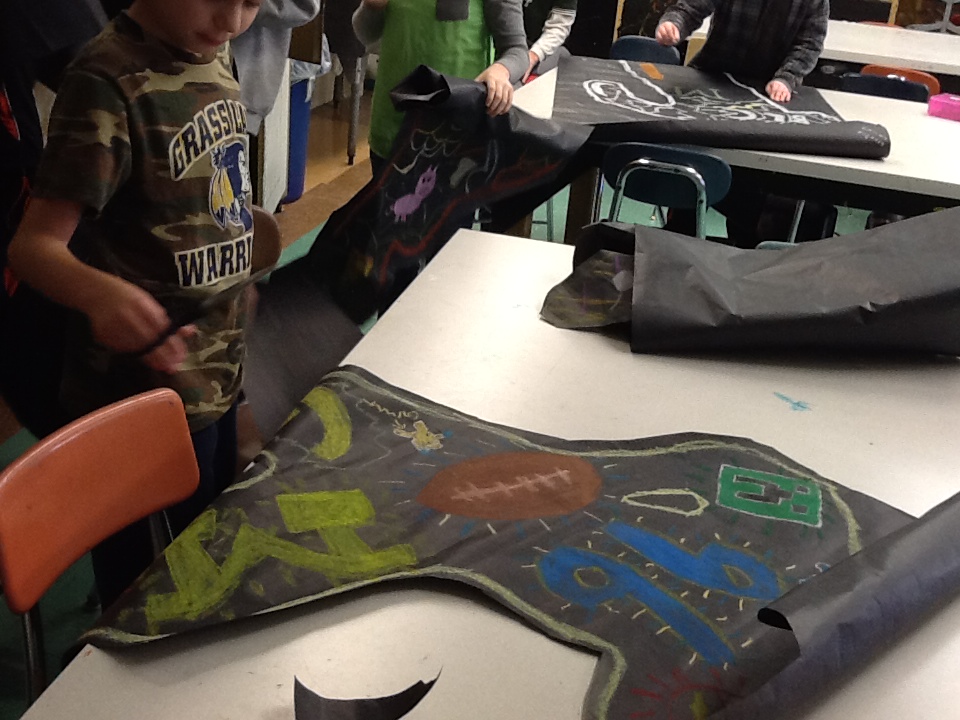
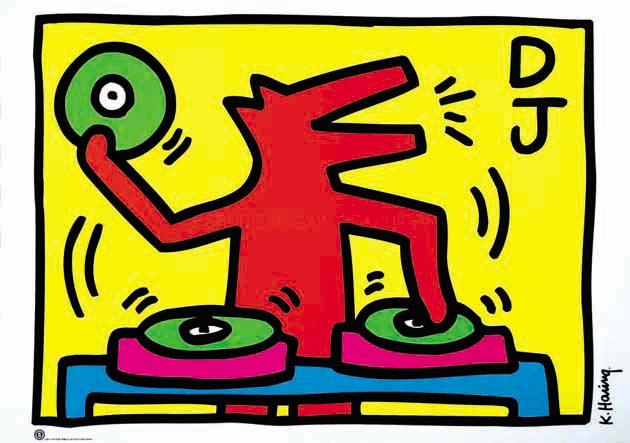
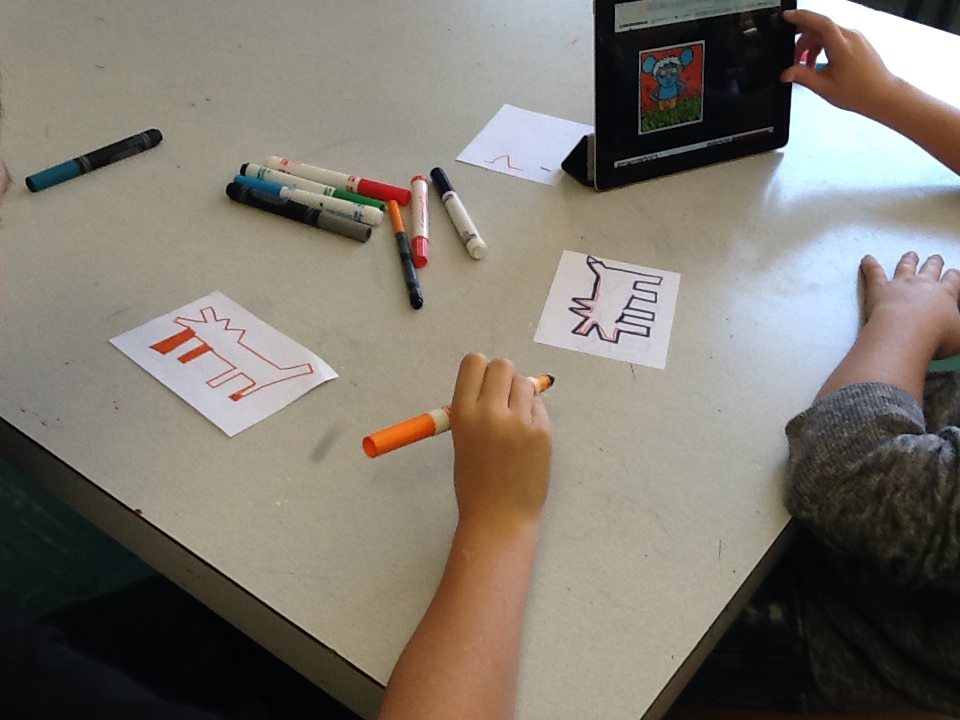
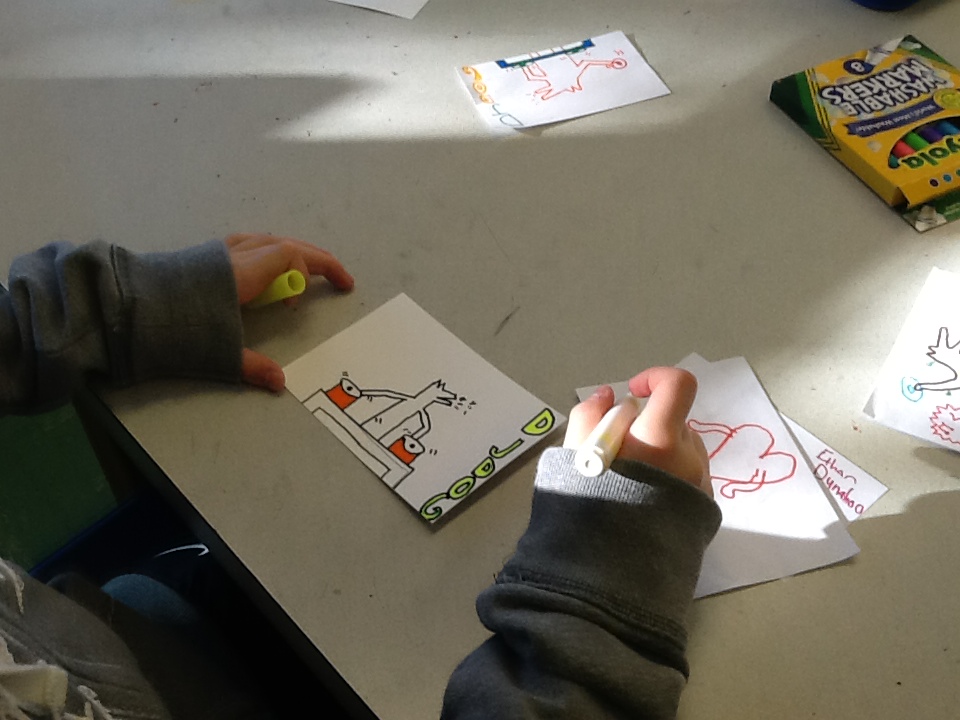
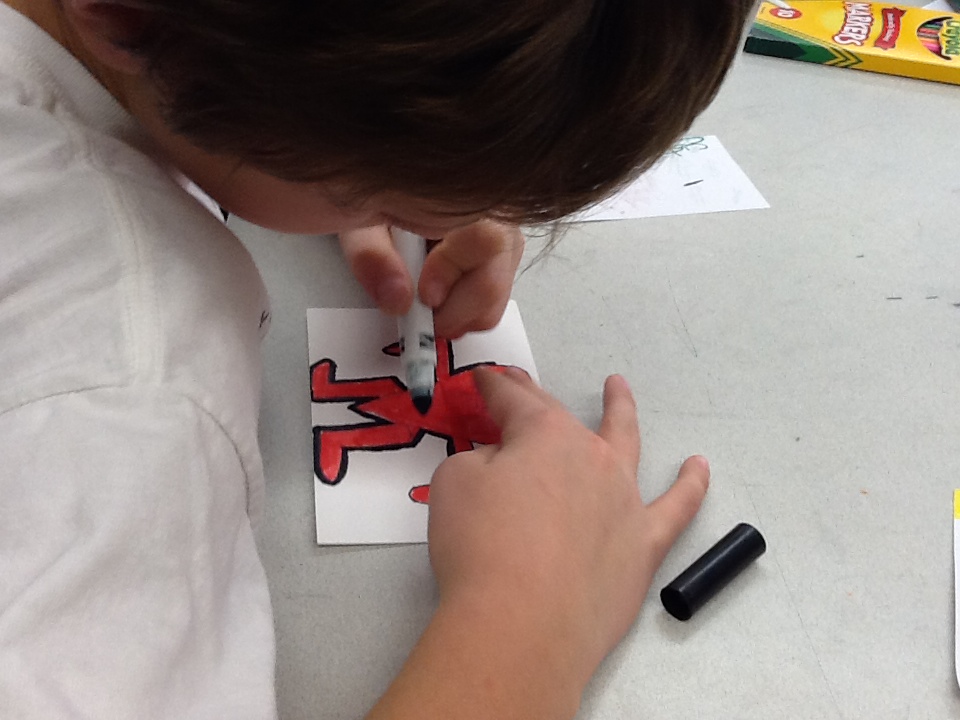
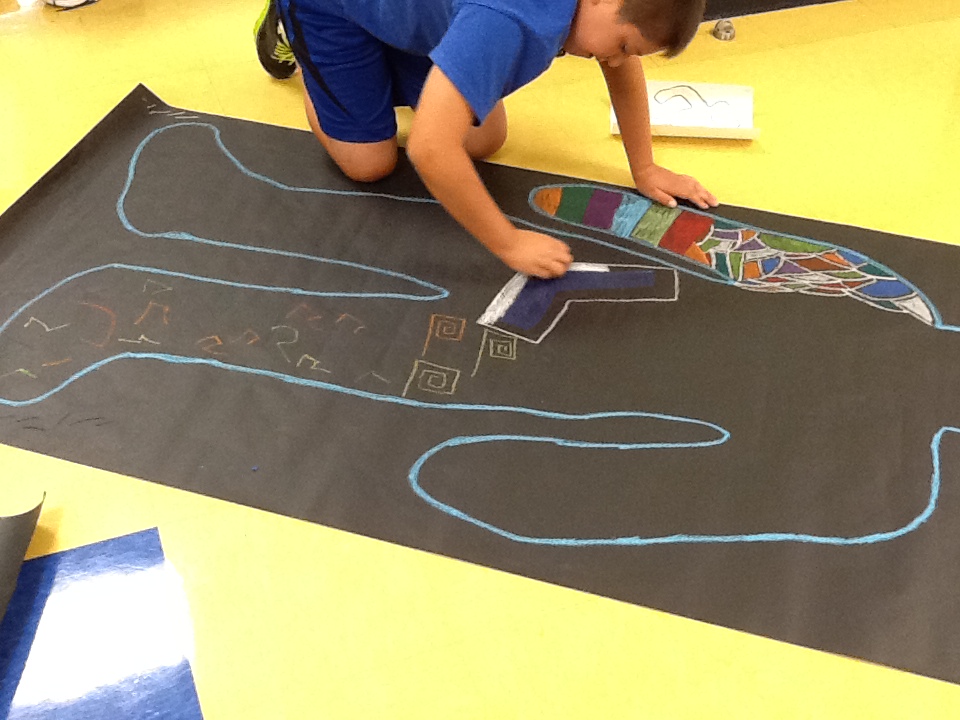
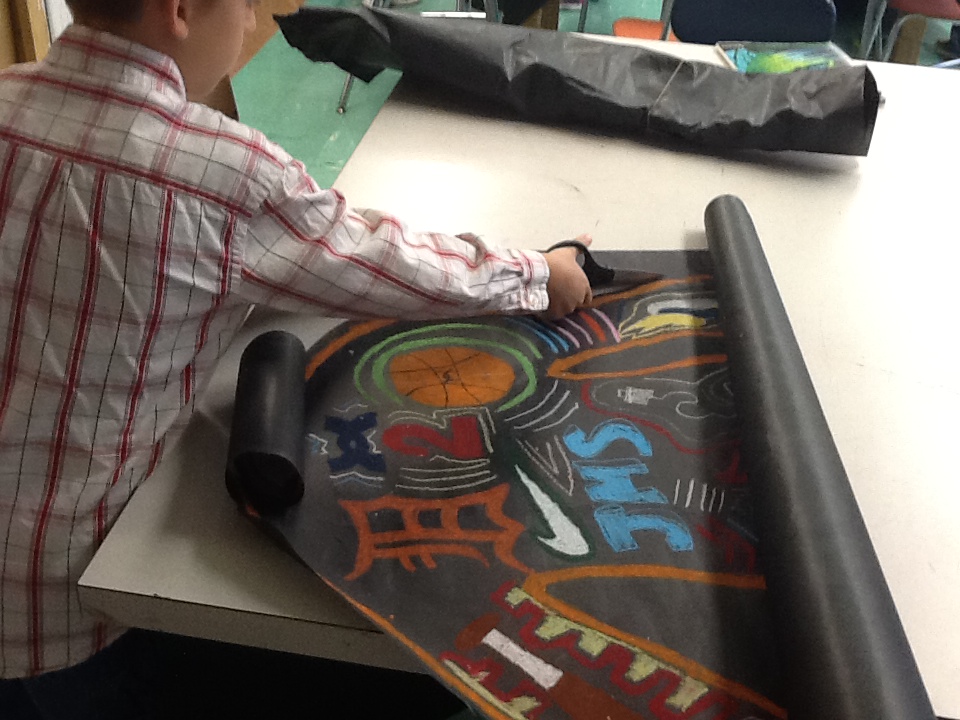
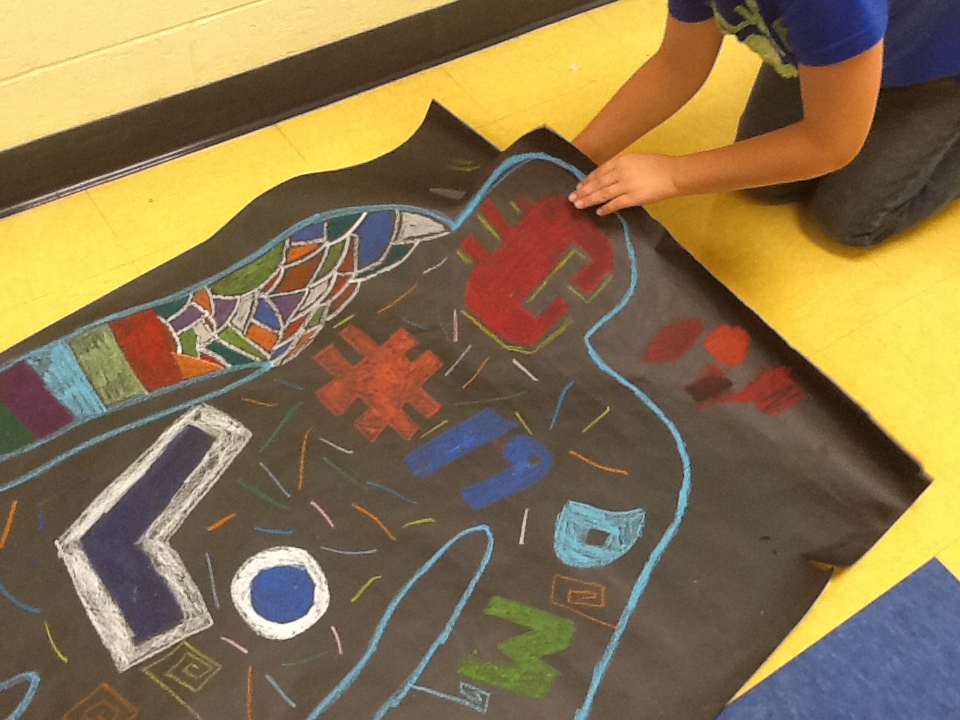
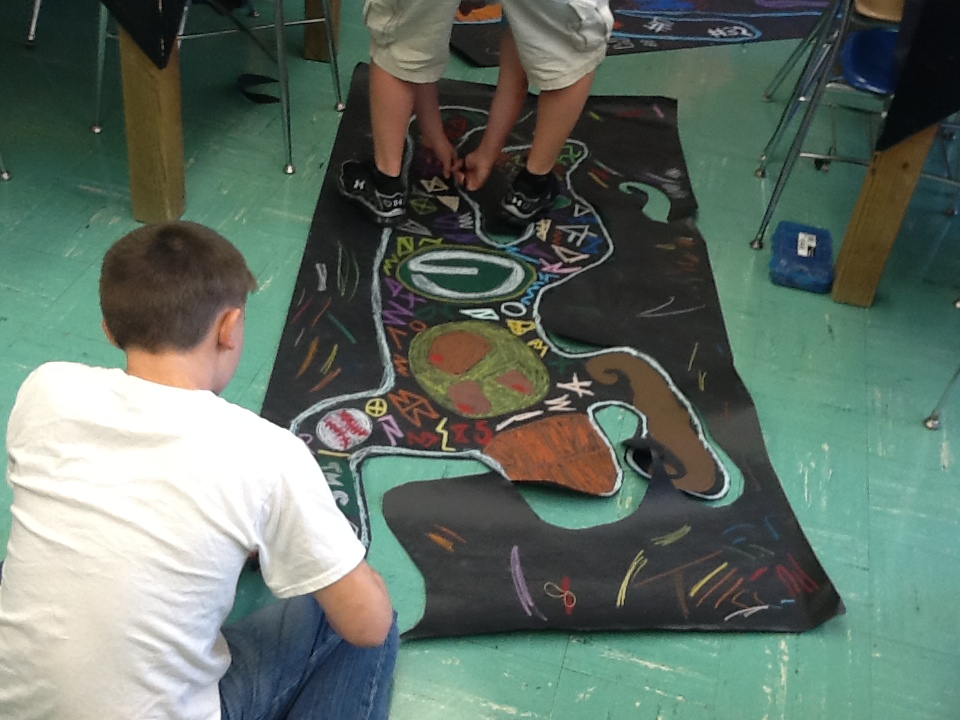
Our next project is an ART 6 all-time favorite!!! We are life-sized graffiti people in Haring's signature style that included bold lines, simplified drawings and bright colors! Each student will create a graffiti version that represents themselves and their interest and likes. Graffiti people are made with giant black "roll paper" and oil pastel. Check out our process below.
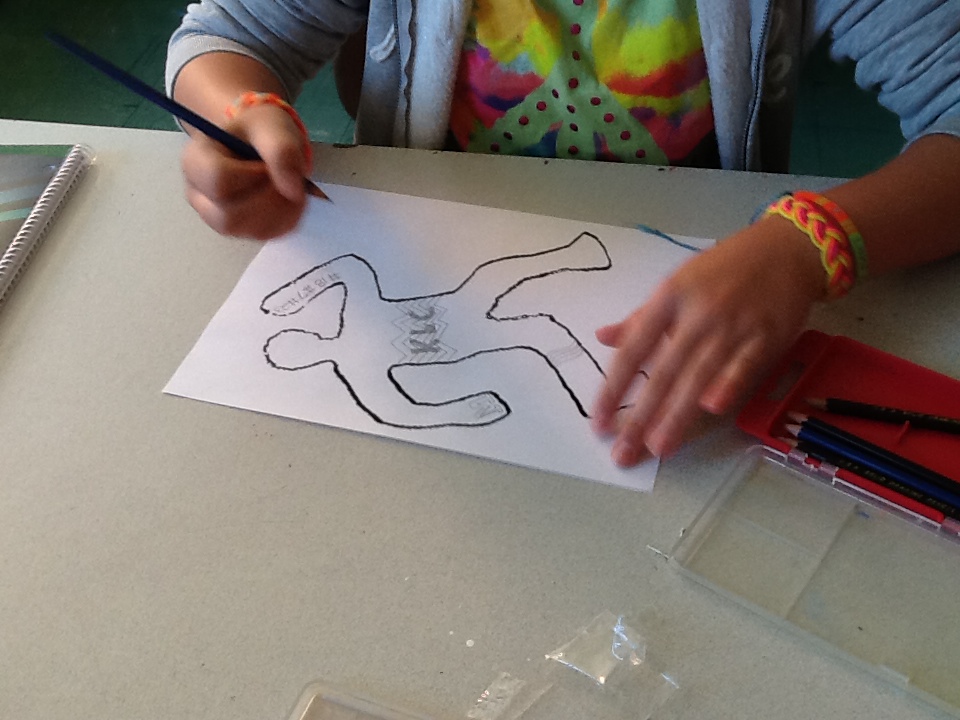
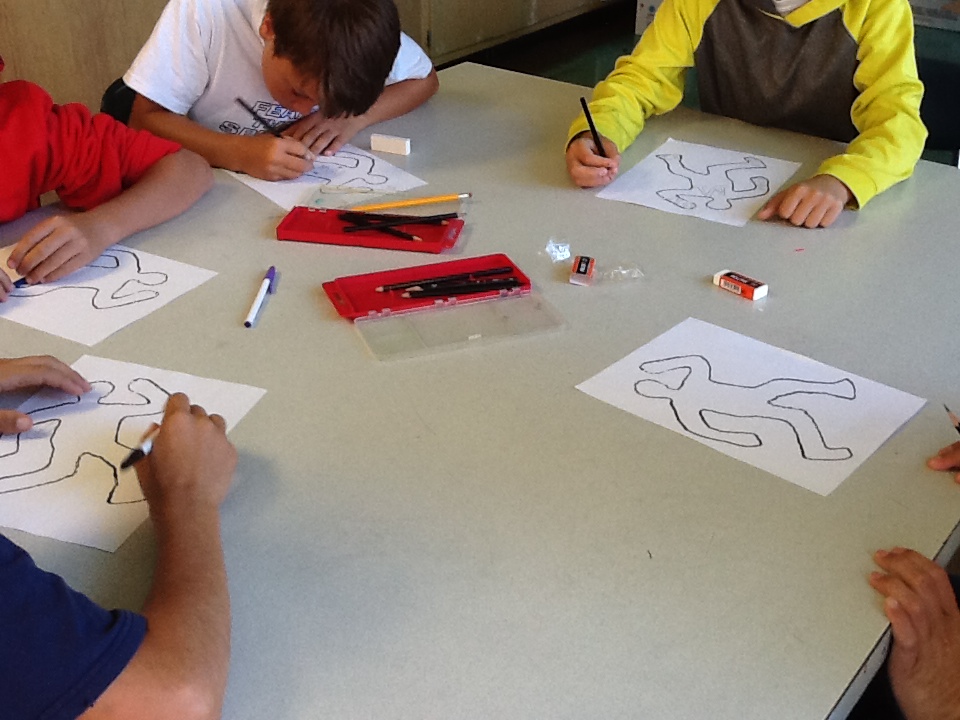
Day one: tracing ourselves and "bolding" the lines
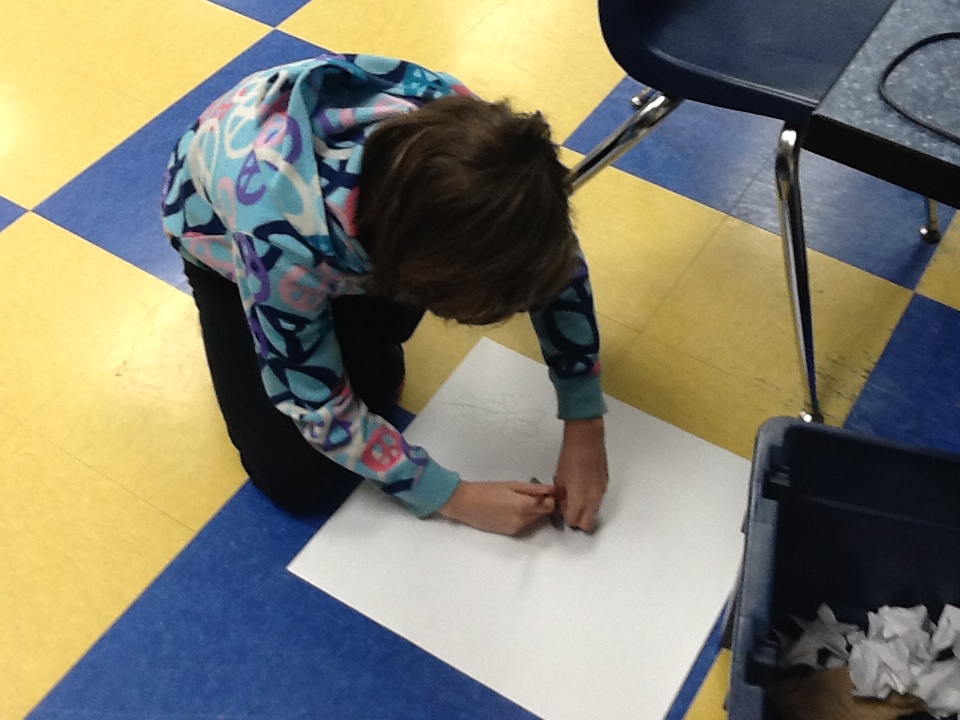
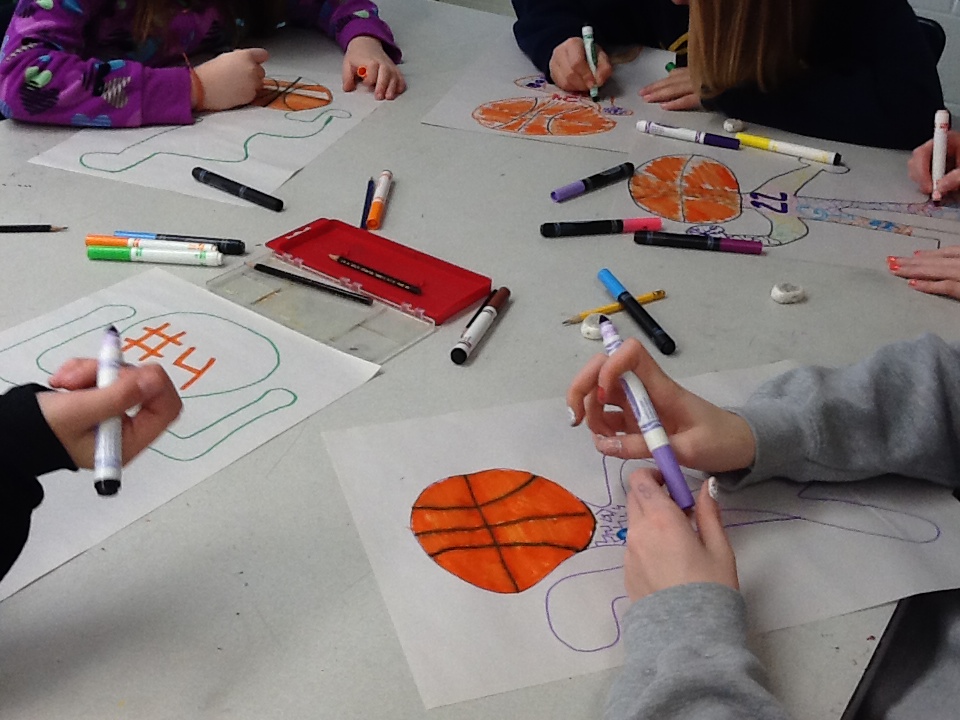
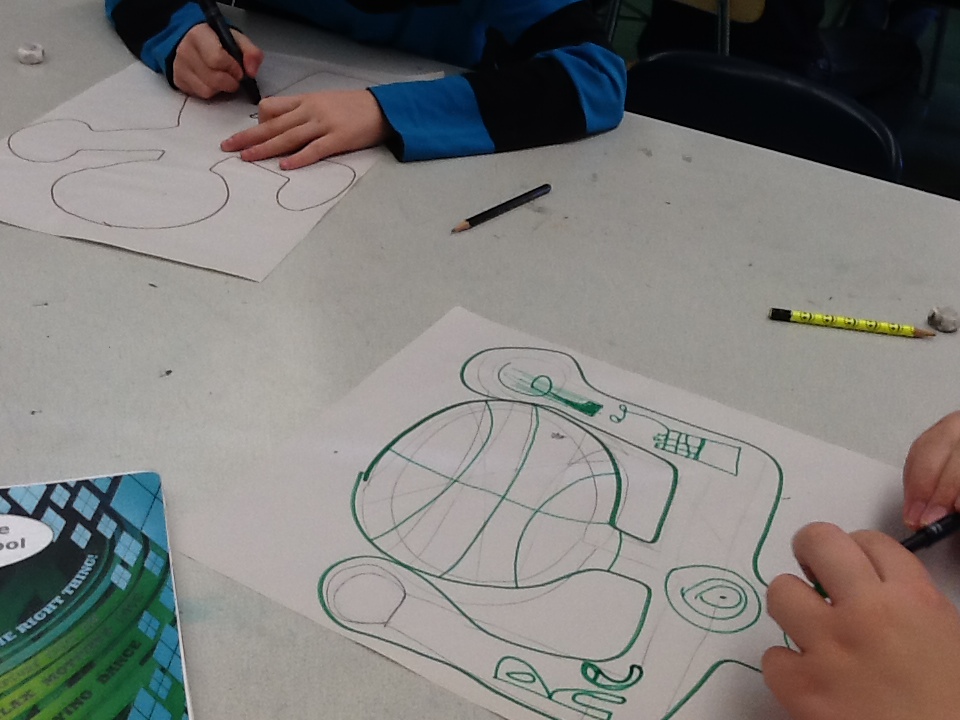
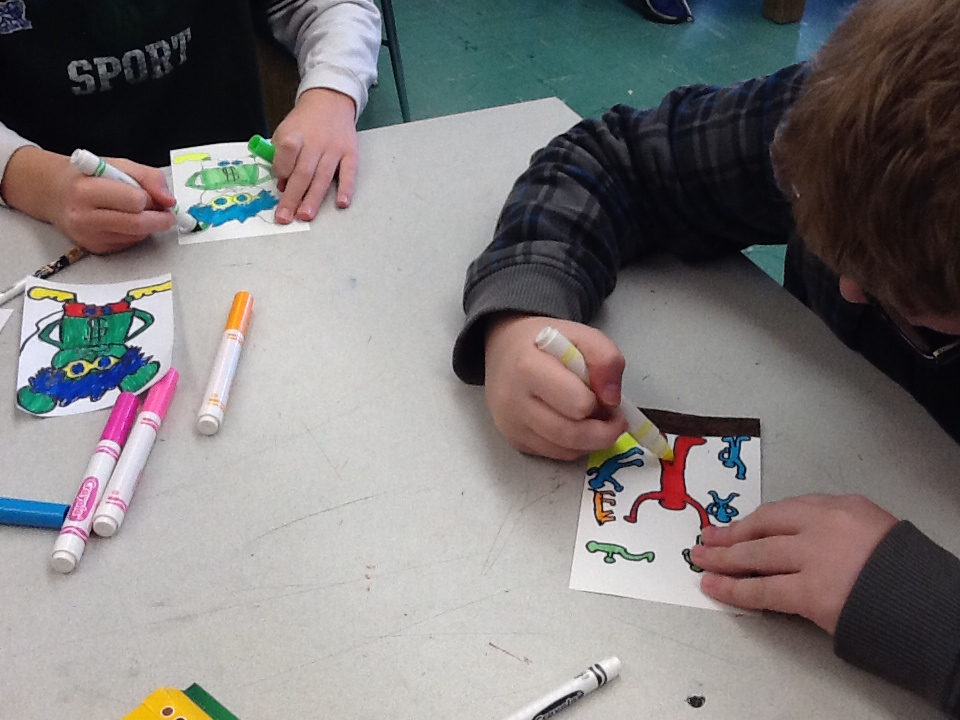
day two: mini rough drafts
Today the ART 6 kids did a practice drawing of their larger graffiti people. This gave them the opportunity to practice simplifying their drawings and the chance to brainstorm how to represent themselves in images.
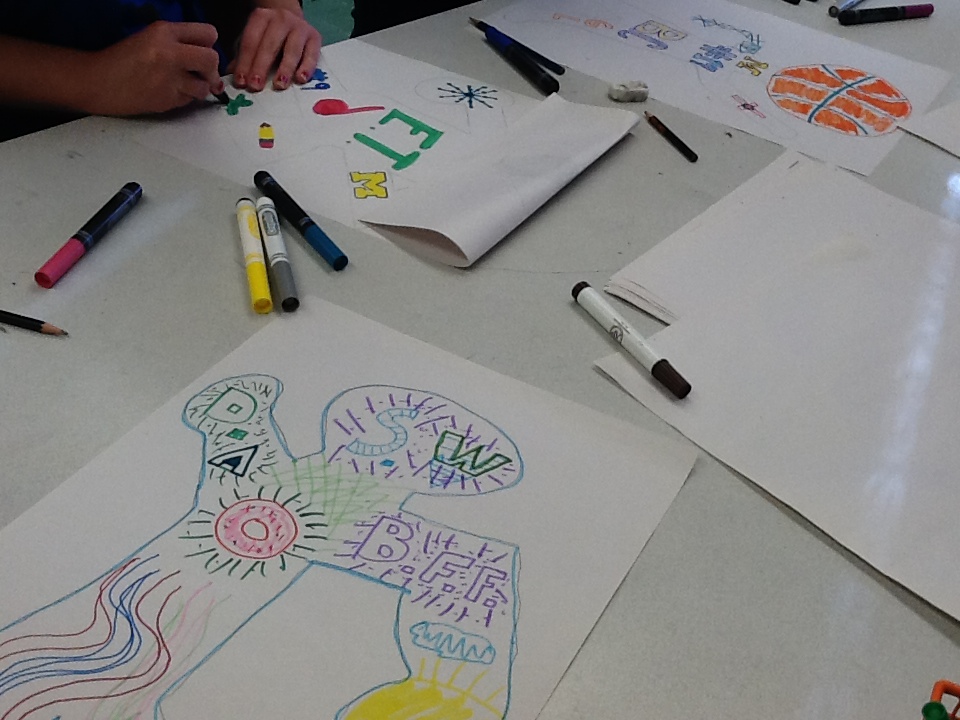
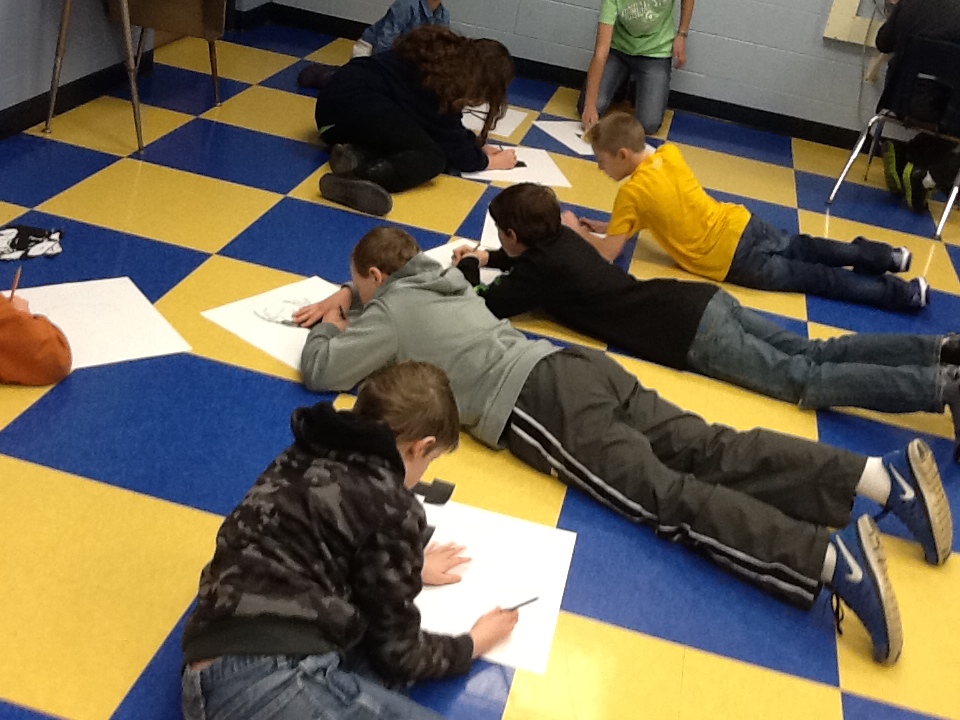
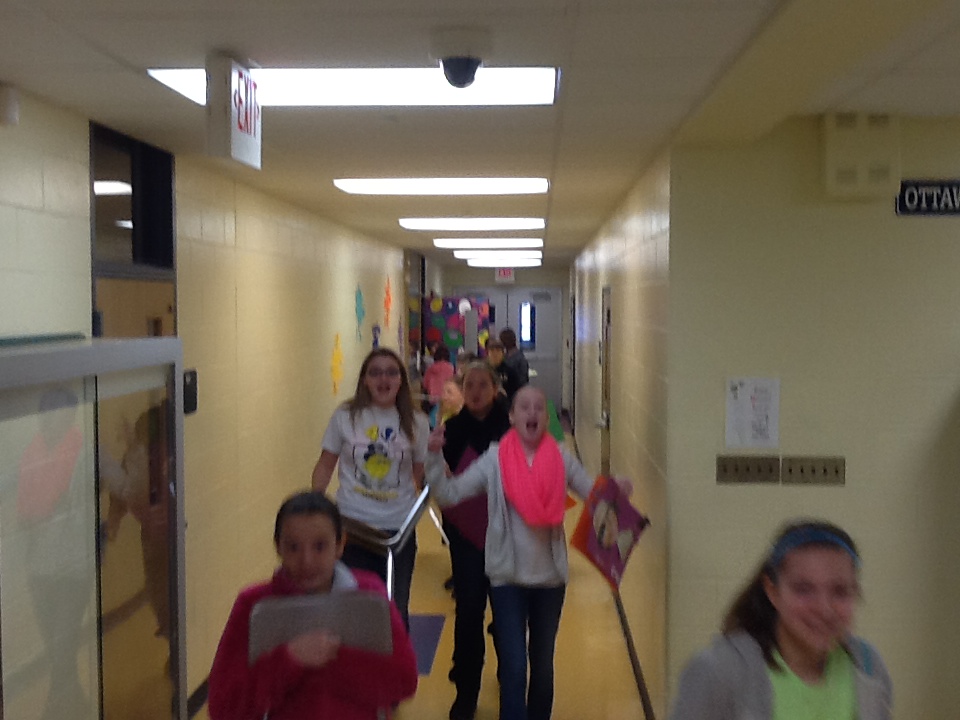
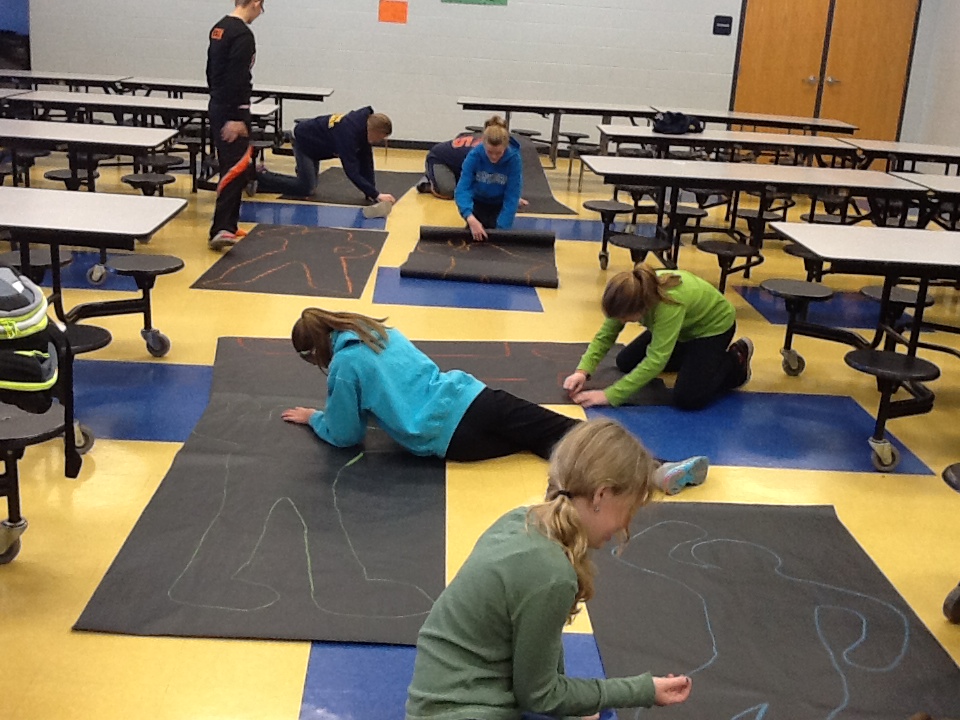
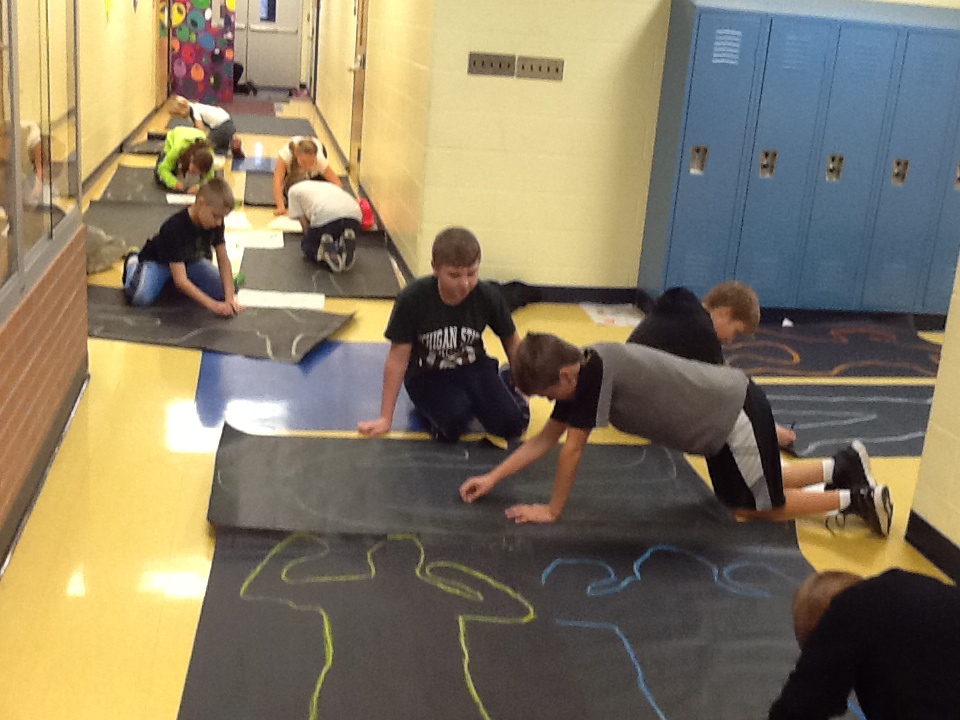
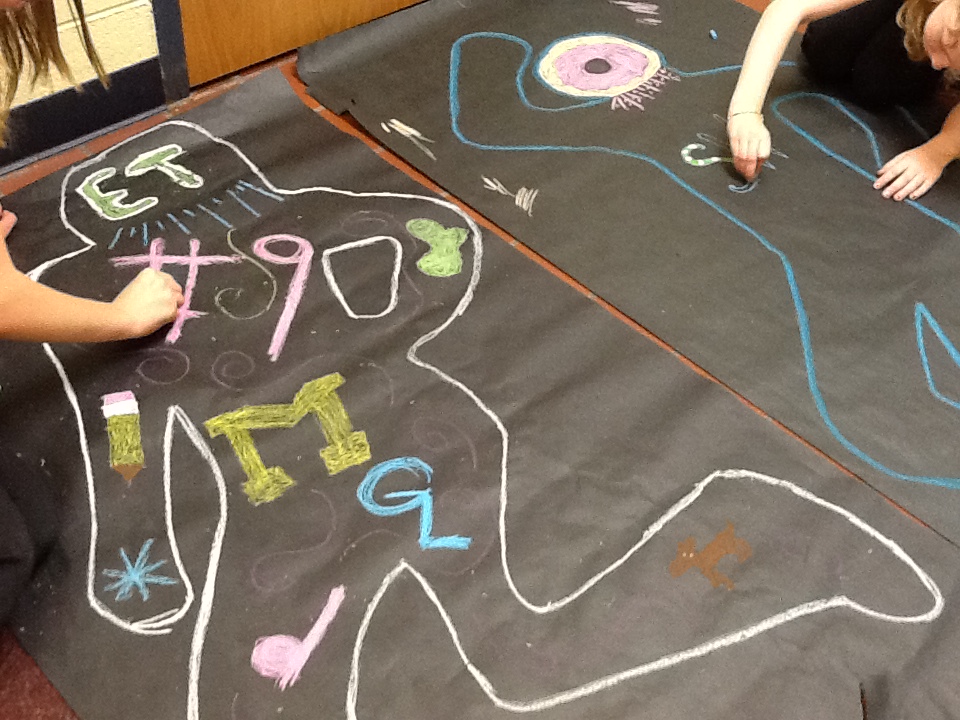
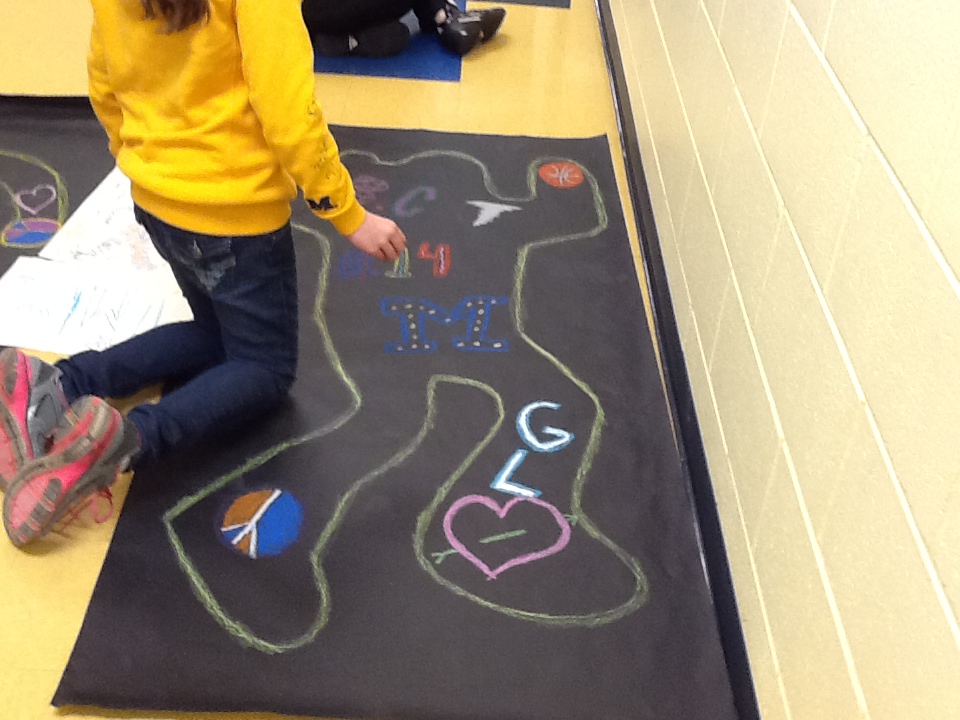
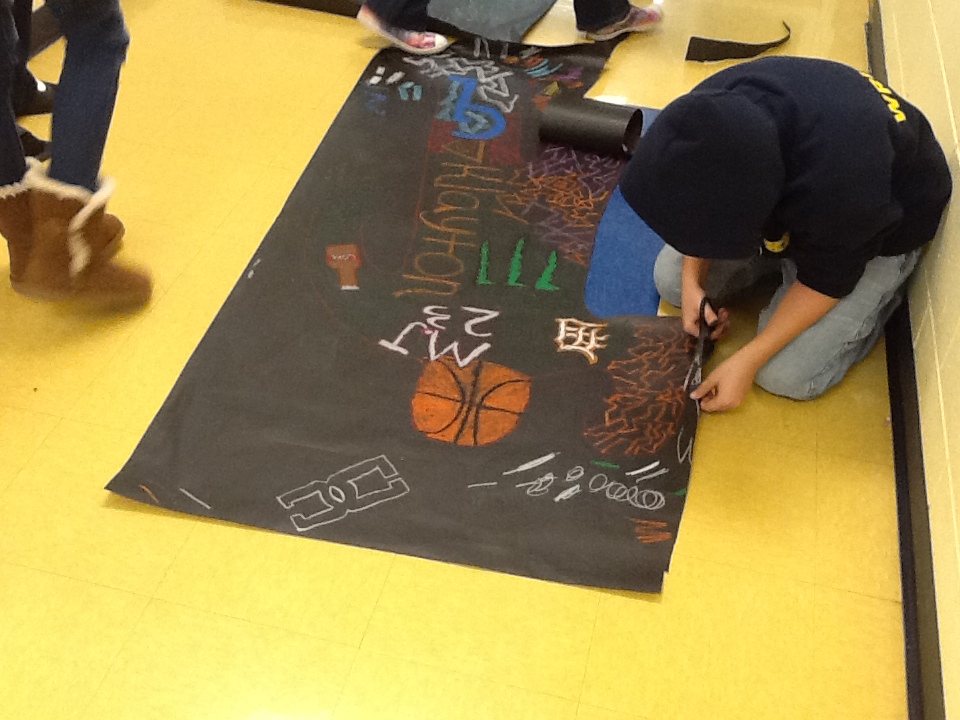
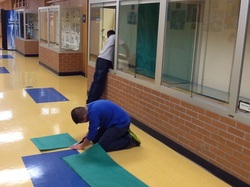
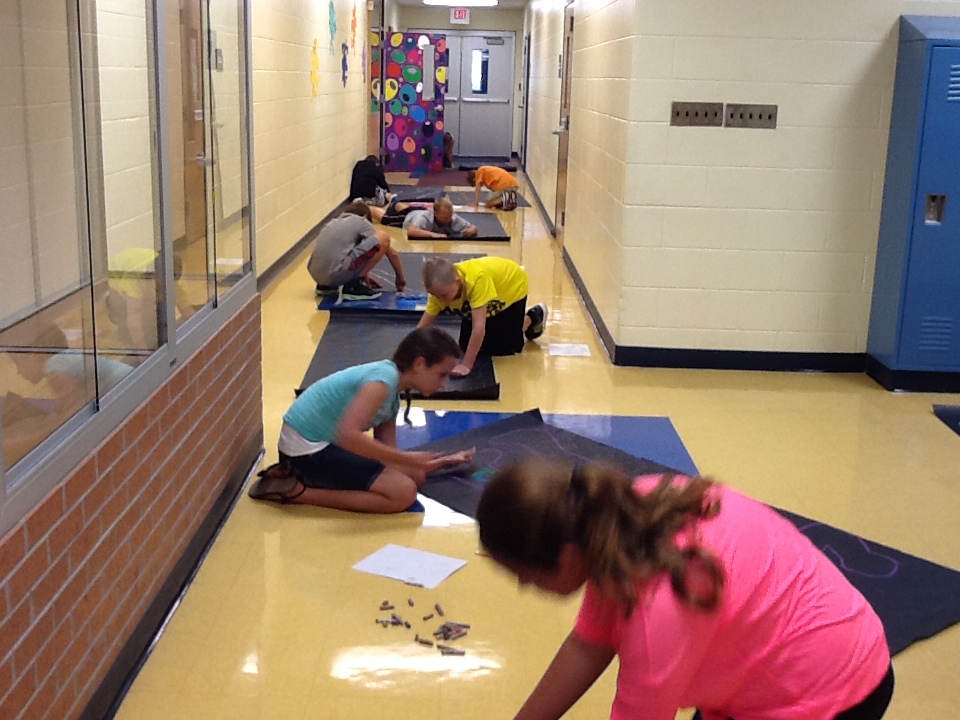
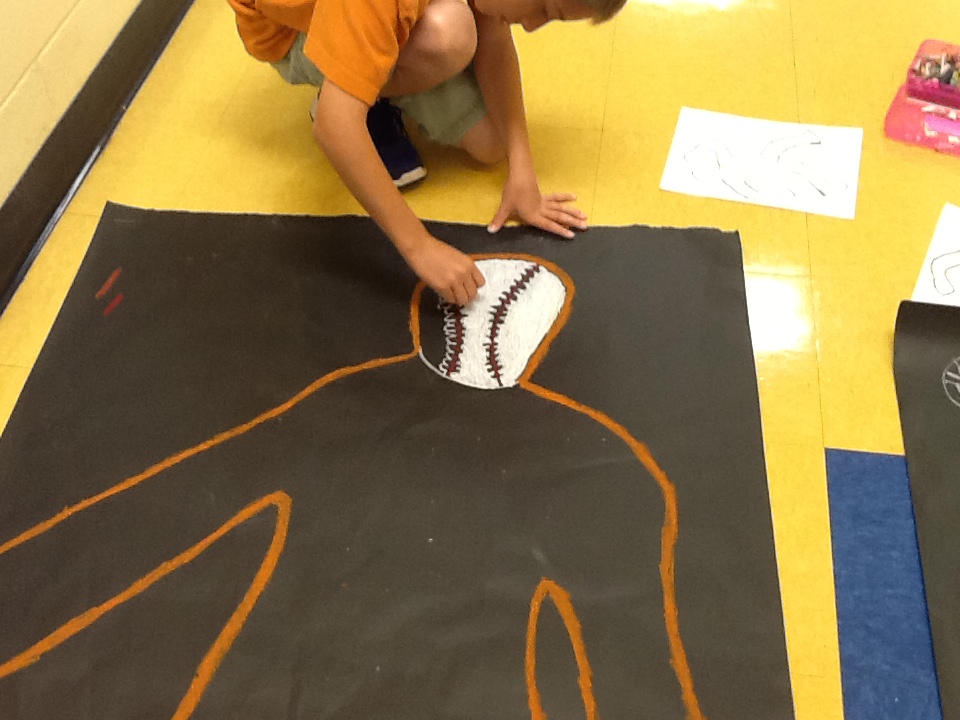
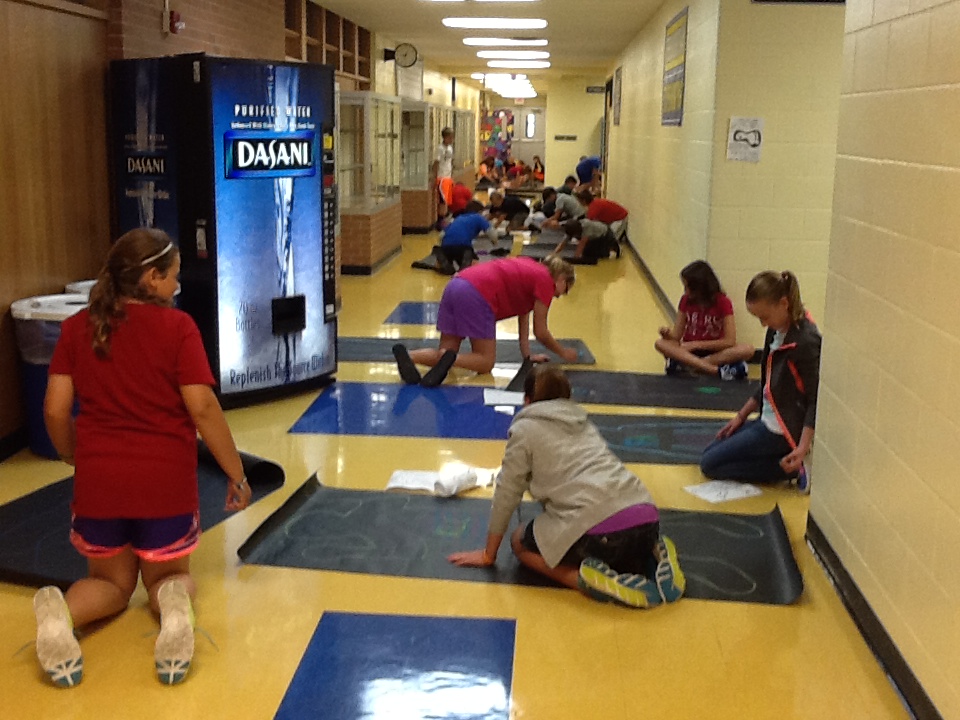
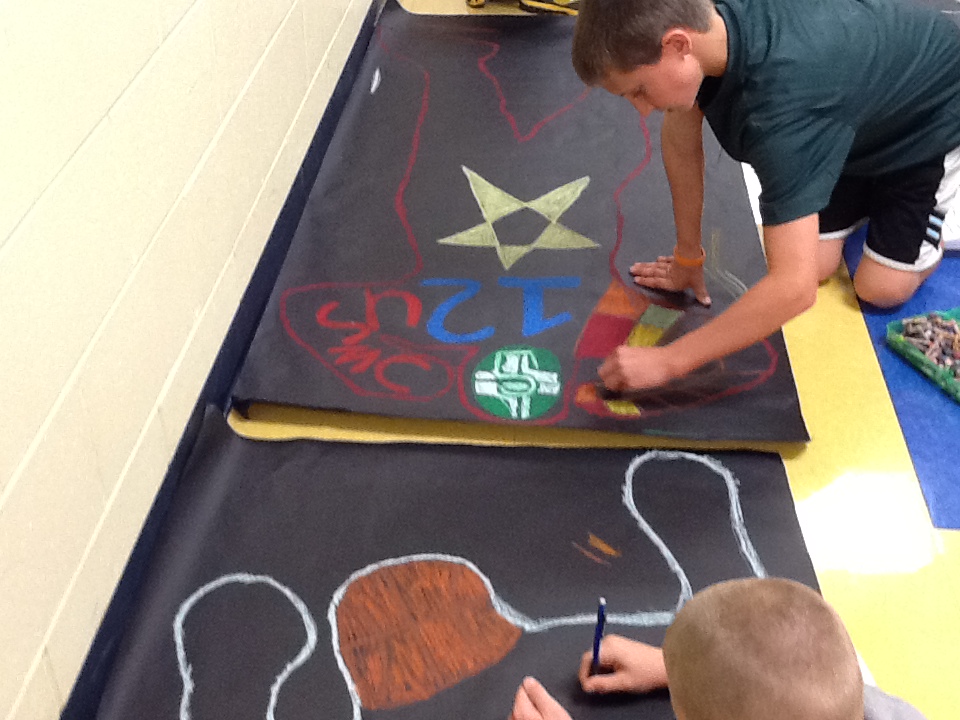
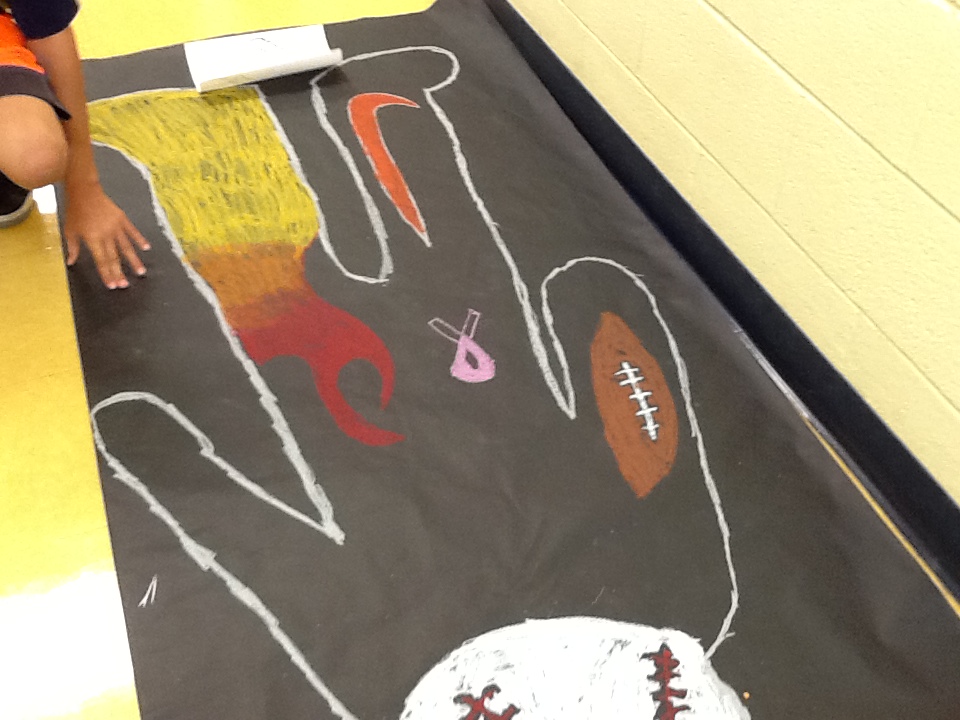
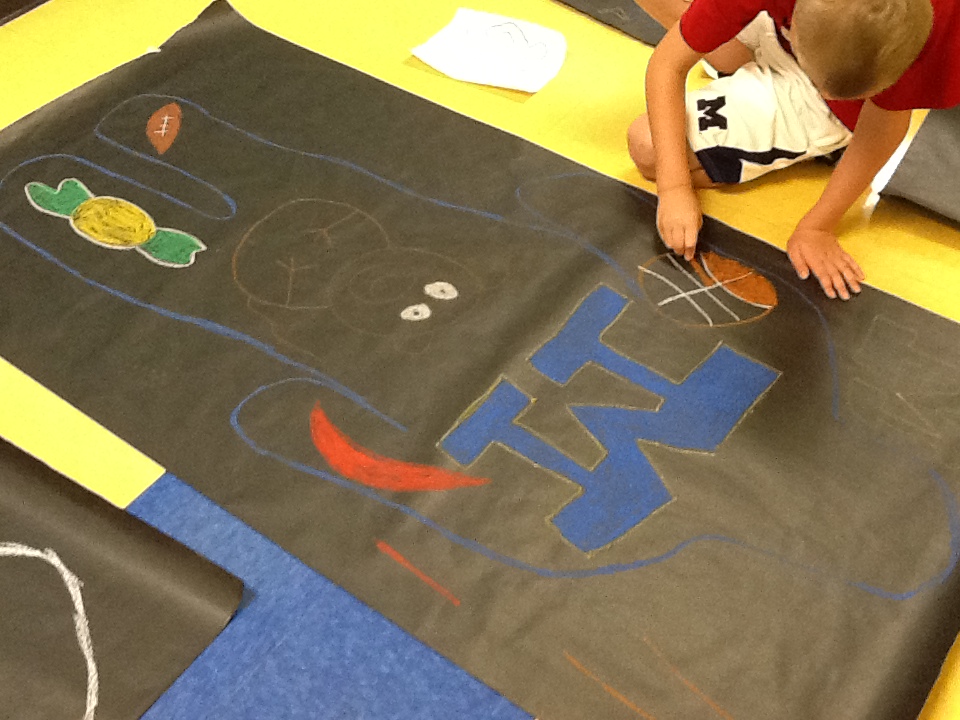
days three, four & five: final life-sized pieces
After coming up with a plan, ART 6 students started their life-sized final pieces. They took their rough draft drawings and transferred the images and ideas onto the large black outlines of their bodies. Since our classroom wasn't conducive to having the kids and their life-size shadows out, we got to spread out to the front hallway- the kids loved working outside our room! You can see our final pieces in the ART 6 Gallery starting tomorrow!


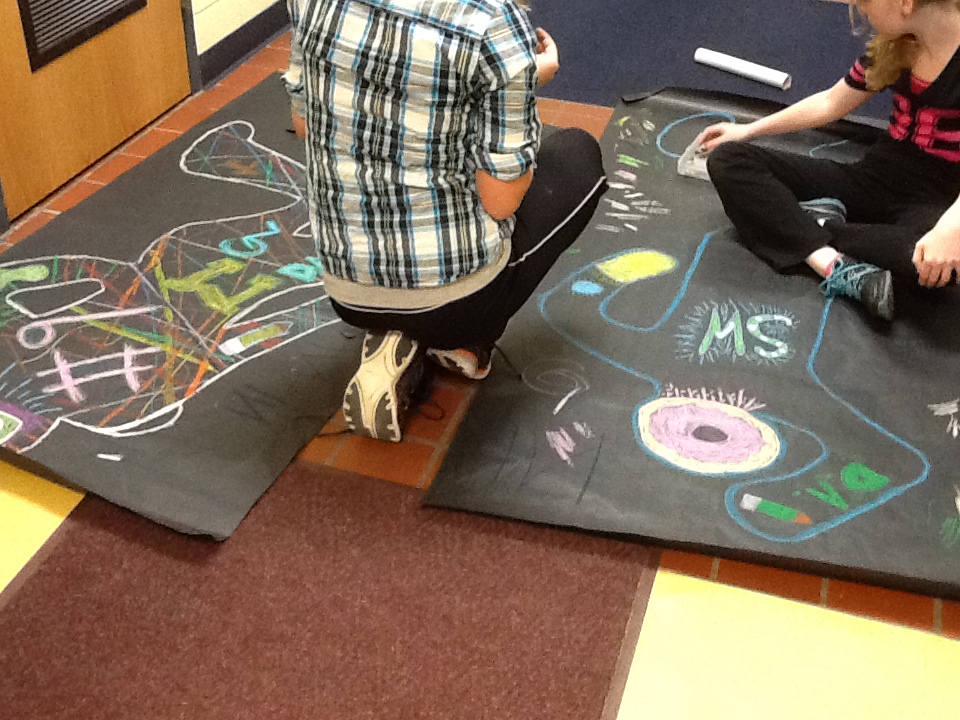

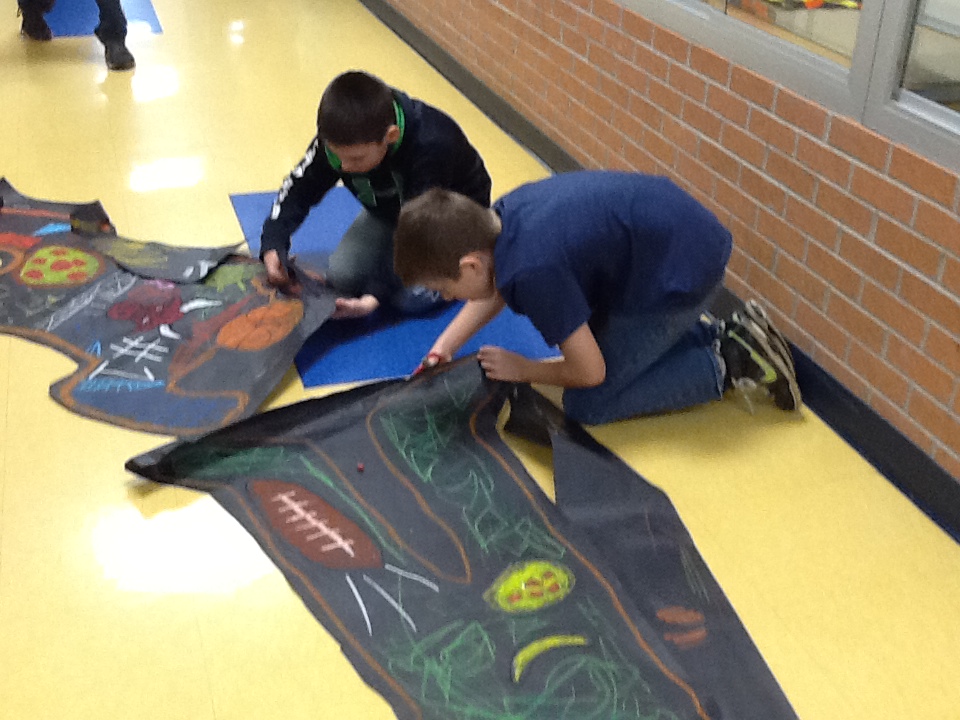
day six: cutting and hanging
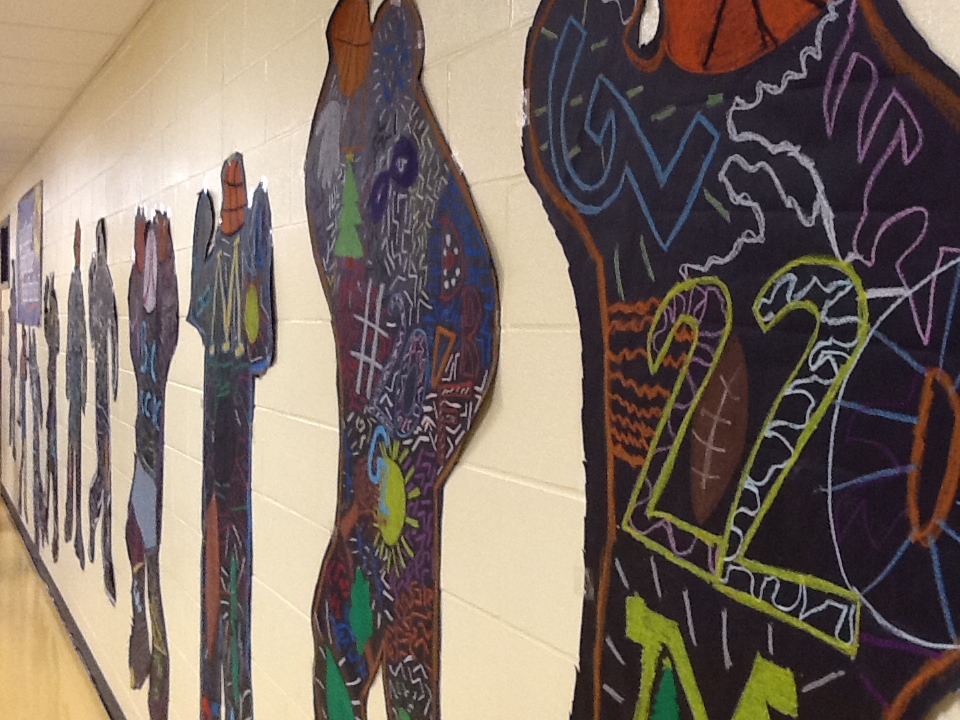
our favorite haring pieces!

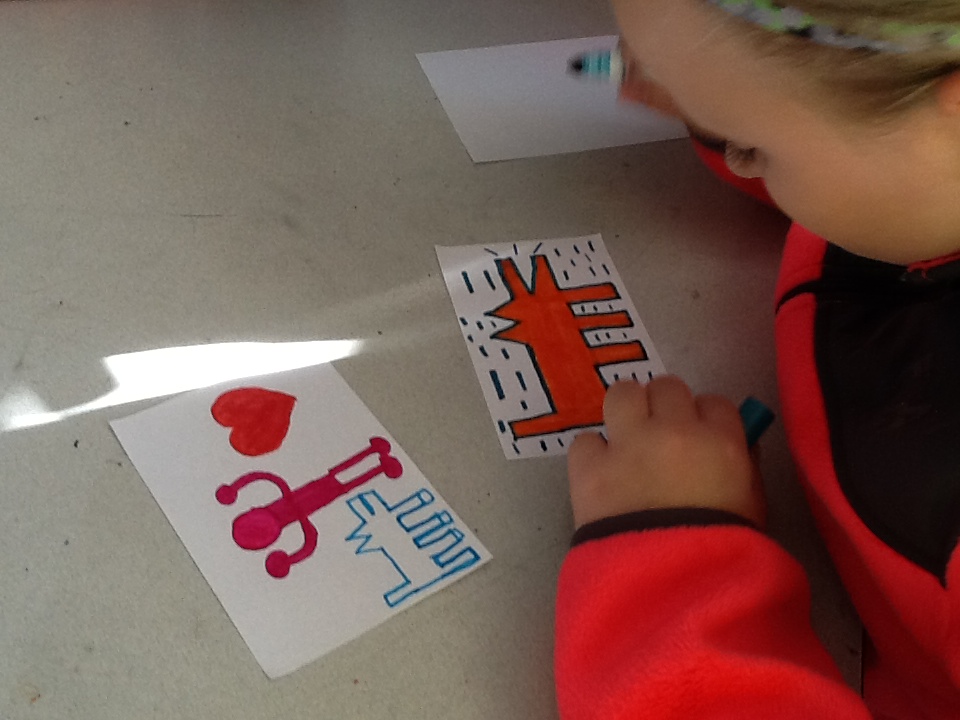
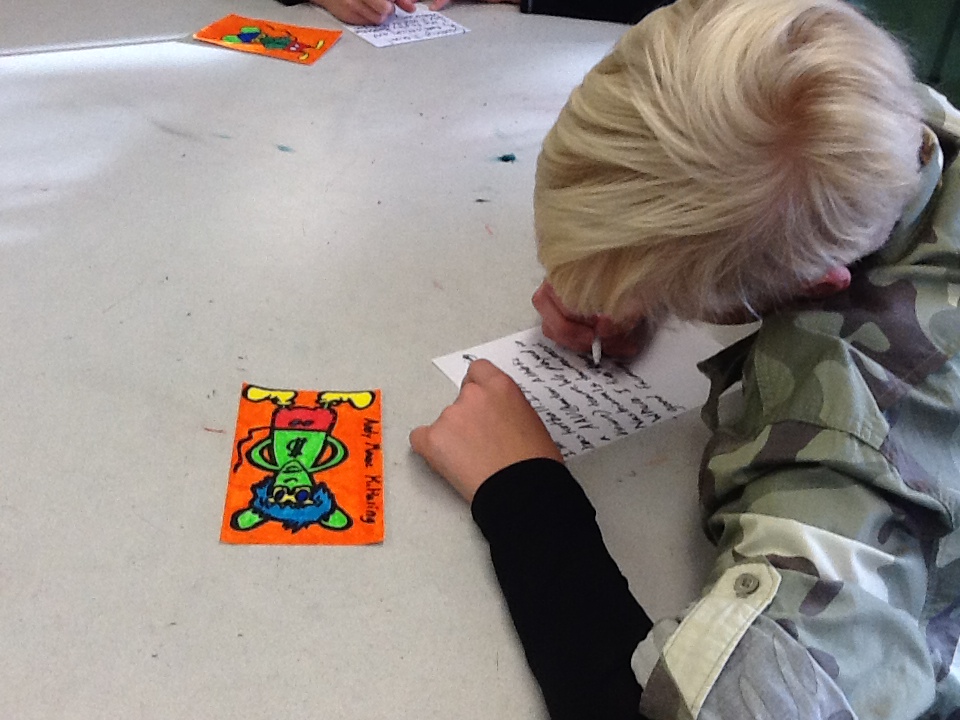
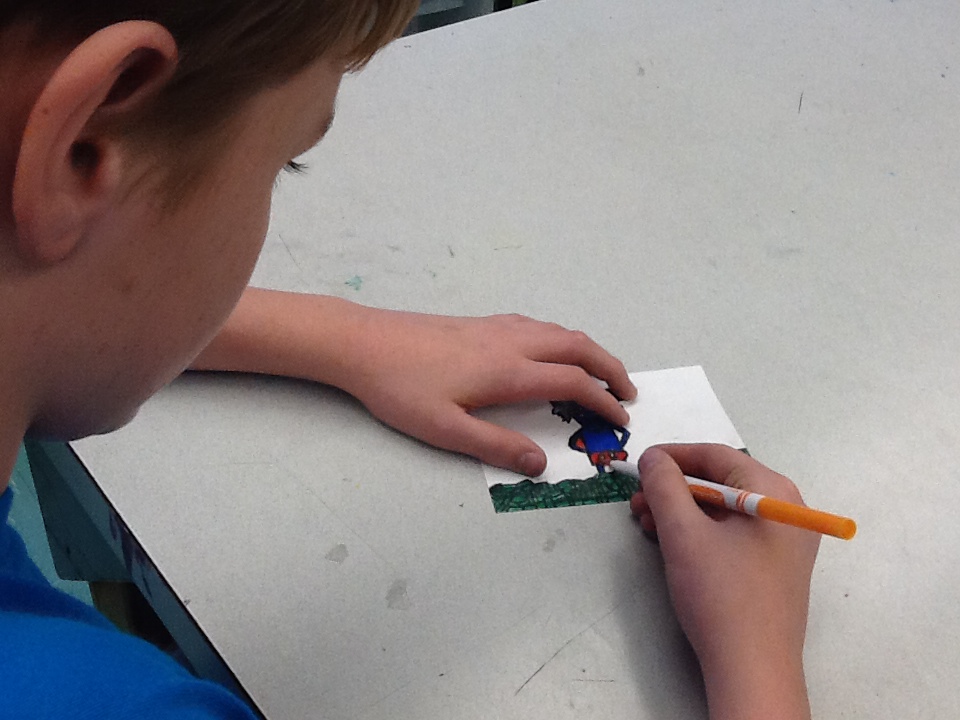
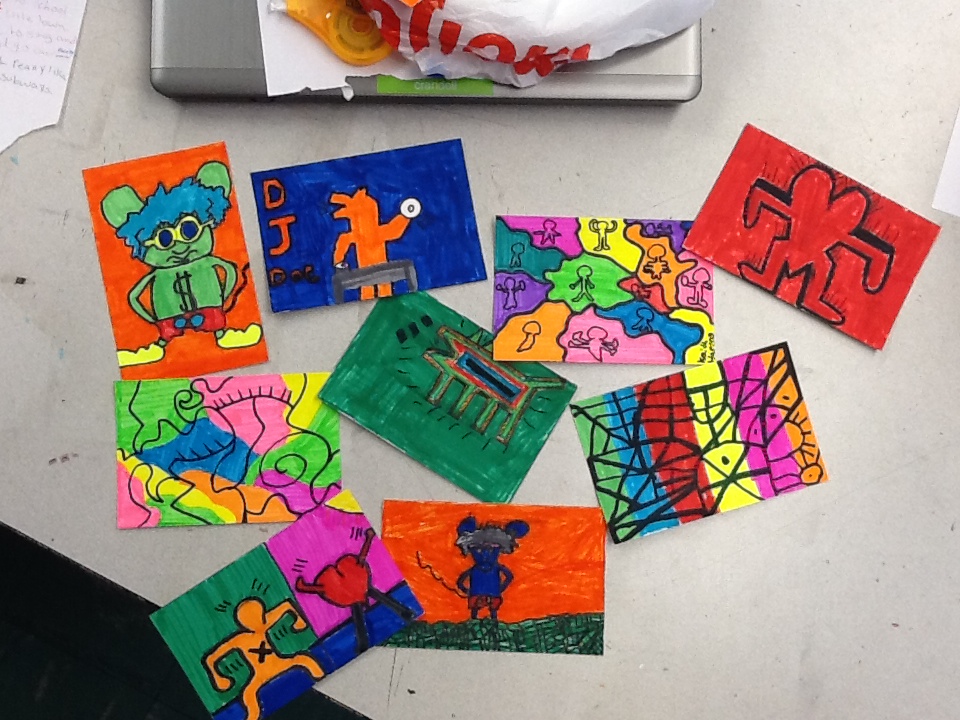
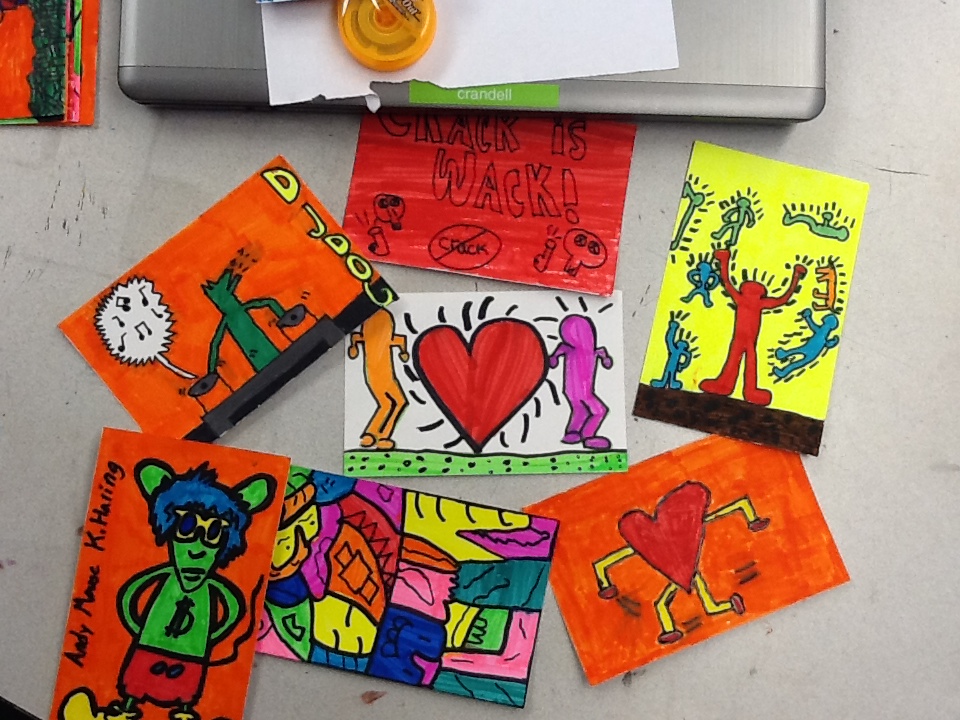
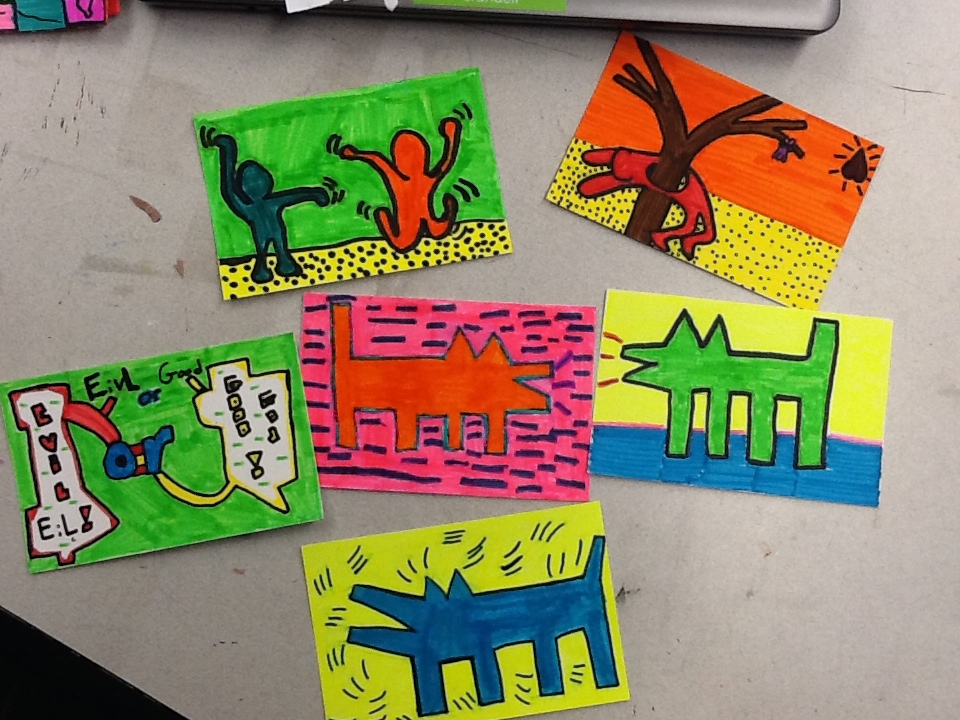
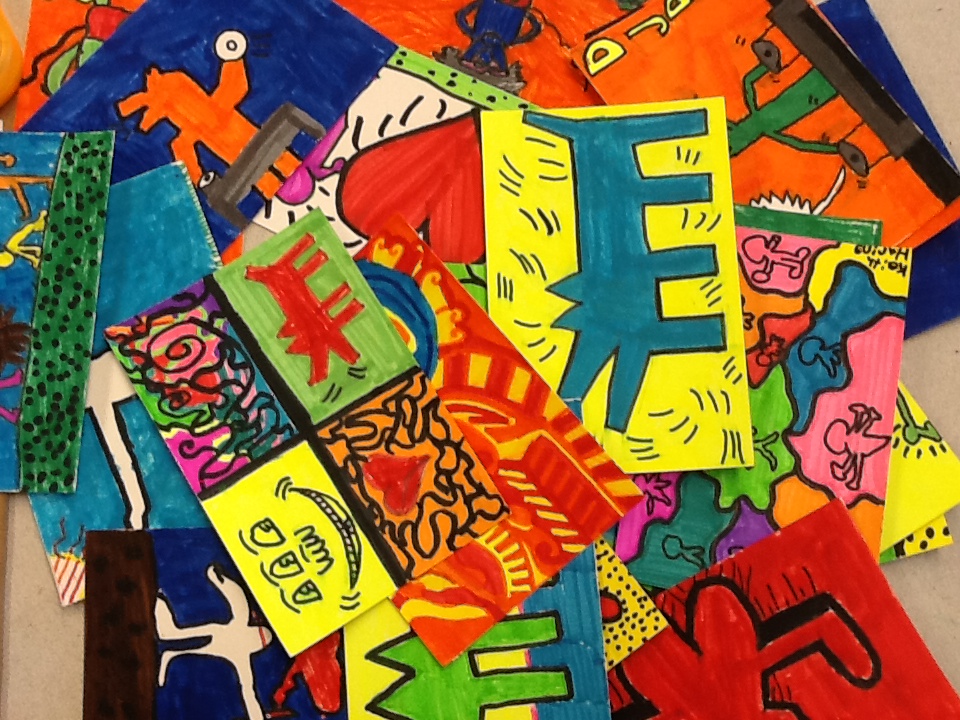
keith haring postcards and graffiti people
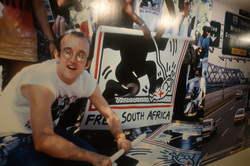
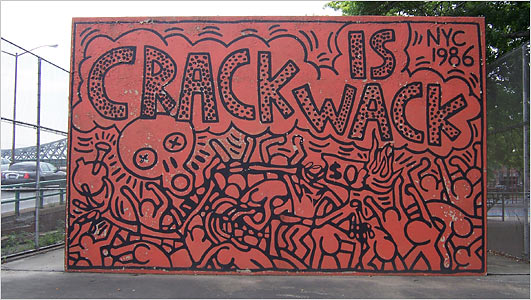
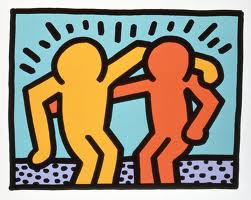
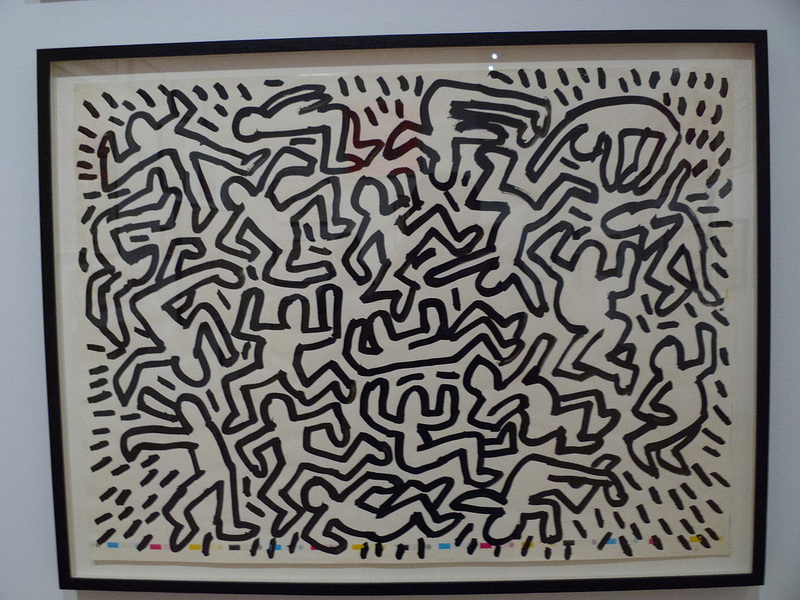
Over the next couple weeks, ART 6 students will be learning about and creating art in the style of American graffiti artist- Keith Haring, Haring was a talented artist whose social messages included AIDS advocacy, drug awareness and war. His message as a powerful one that testified that all people are essentially the same and should be loved and accepted by all- we are all interdependent and should care about one another. His style is always a fast favorite among our GLMS students with bold lines, bright colors and simplified drawings that carry a deeper message. First ART 6 students will be creating Haring-inspired postcards to send to our new art pen pals from Findlay Elementary School in Des Moines, Iowa. Be sure to check out our process below! Our finished postcards were sent out Monday, November 18. Stay tuned for our second Haring project next week!
Make sure you check out the Resources tab for some cool Keith Haring websites!
Make sure you check out the Resources tab for some cool Keith Haring websites!
Day one: Haring intro and sketches
day two: more sketches and choosing a final piece!


DAy three: making our postcards!
day four and five: writing and sending our postcards!

collage portraits
Our new batch of ART 6 students are starting their year in art off with a fun portrait project. Students learned about collage and will create their own silly, fun self portraits from different magazine sources. Each student will also use different typography from the magazines to create a unique name plate for their portrait. You can see our process below.
days one, two, three: collecting letters and pieces
Days four and five: assembling our work and hanging it up!

new quarter, new artists!
I am so excited to welcome my new group of artists to our art room at GLMS! If your student is leaving art, we will see you again mid-January, but you can still view our quarter's happenings below this post. If your student is new to art this quarter, all their classwork will be above this post starting next week.
an introduction to abstract art
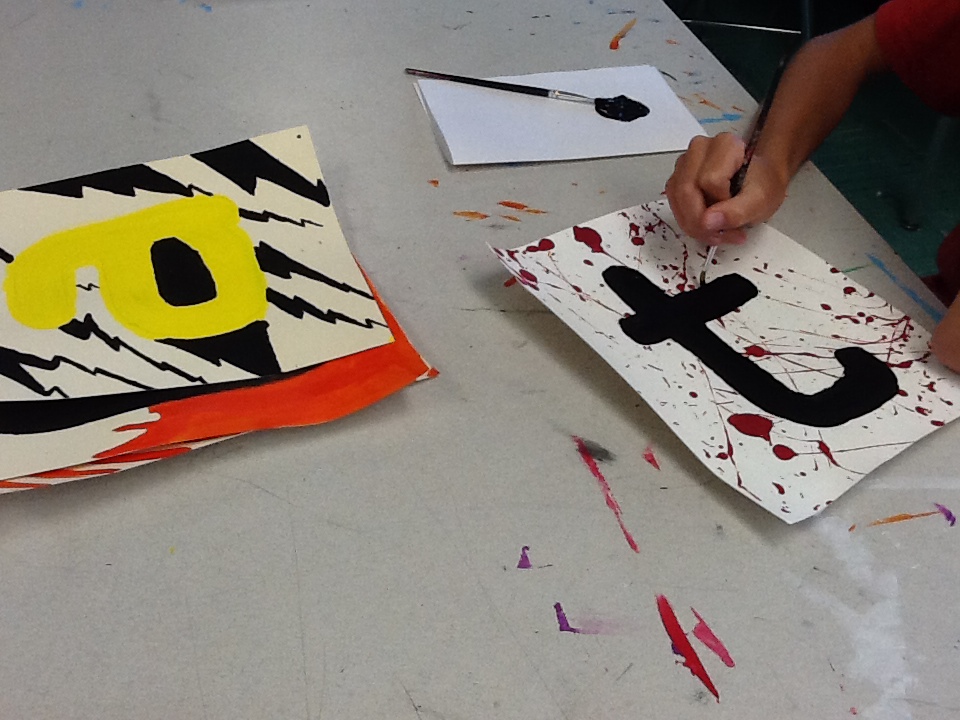
ART 6 students are getting introduced to abstract art for our final project of the quarter. Today, we went over a Powerpoint that gave a basic explanation of what abstract art is, the 2 main sub genres of abstract art and how one can view an abstract piece. Then we practiced "reading" a couple pieces together.
Abstract art is often viewed with a skeptical eye and many often wonder "Why is that considered art?". "My toddler could do that!" and "What the heck is this?!" are comments often associated with abstract art. But believe it or not, abstract art does have meaning and it often holds secrets that the artist alone holds. Abstract art can be about the action of creating the piece, as with Jackson Pollack or it can be about colors invoking emotions or memories, as with Frank Stella. In the resources tab you will find the Powerpoint that the kids and I went over today in class. Try using some of the suggestions to analyze the pieces at the end.
See below for the process of how we are creating our final initial pieces!
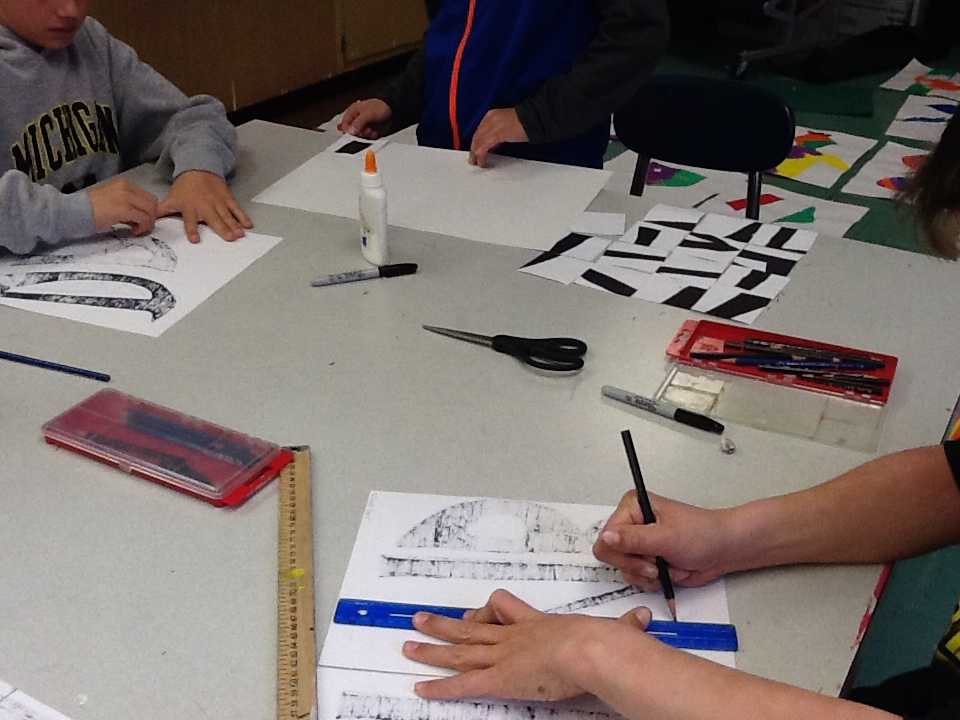
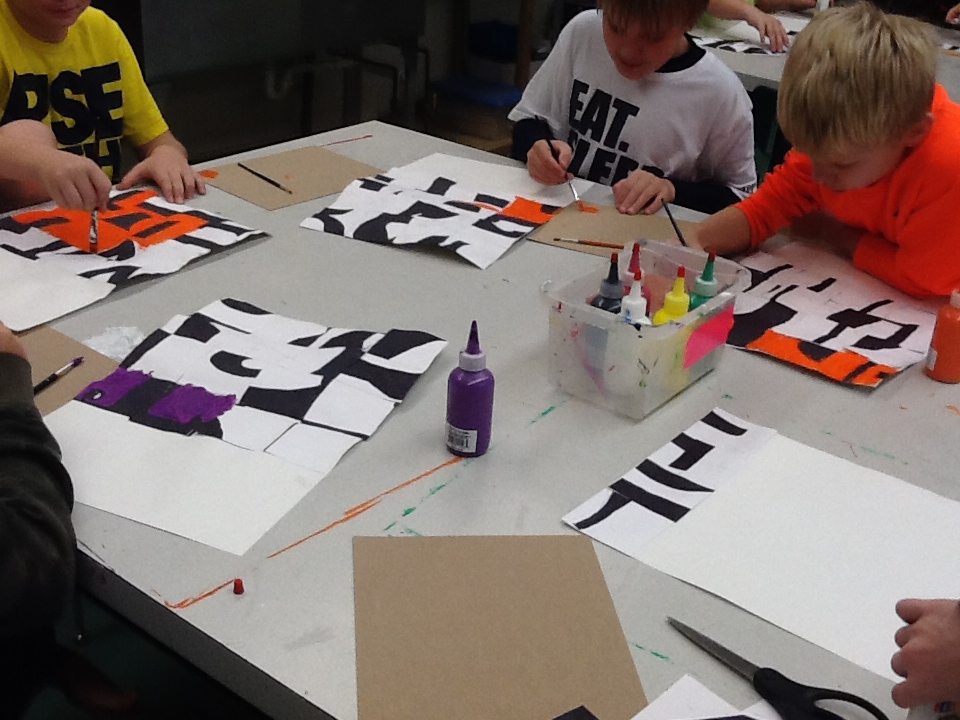
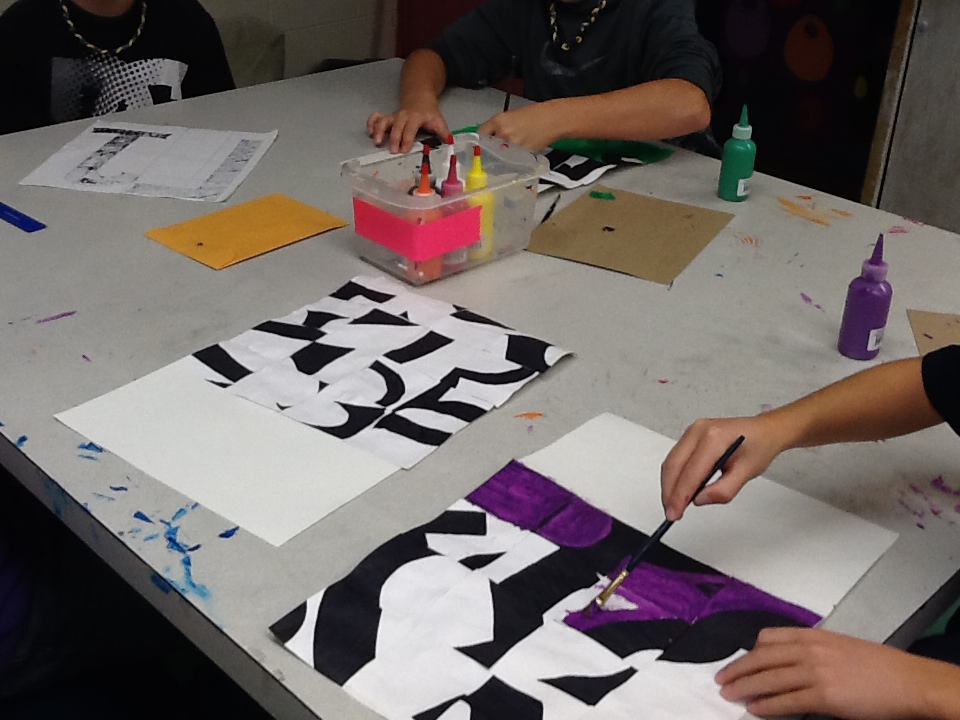
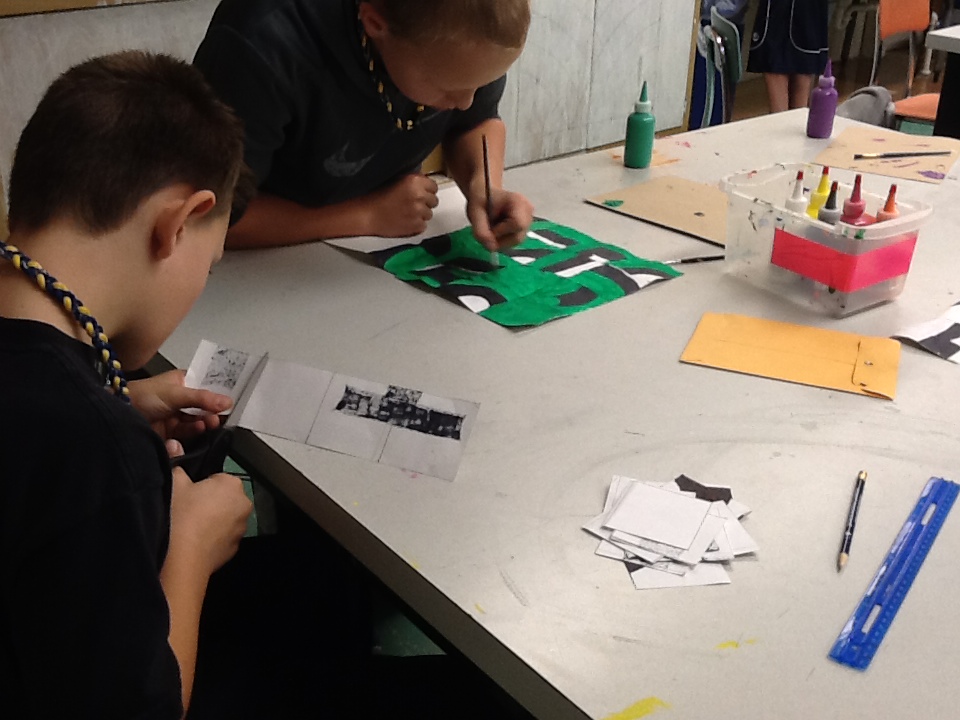
day one: introduction, sketching and filling
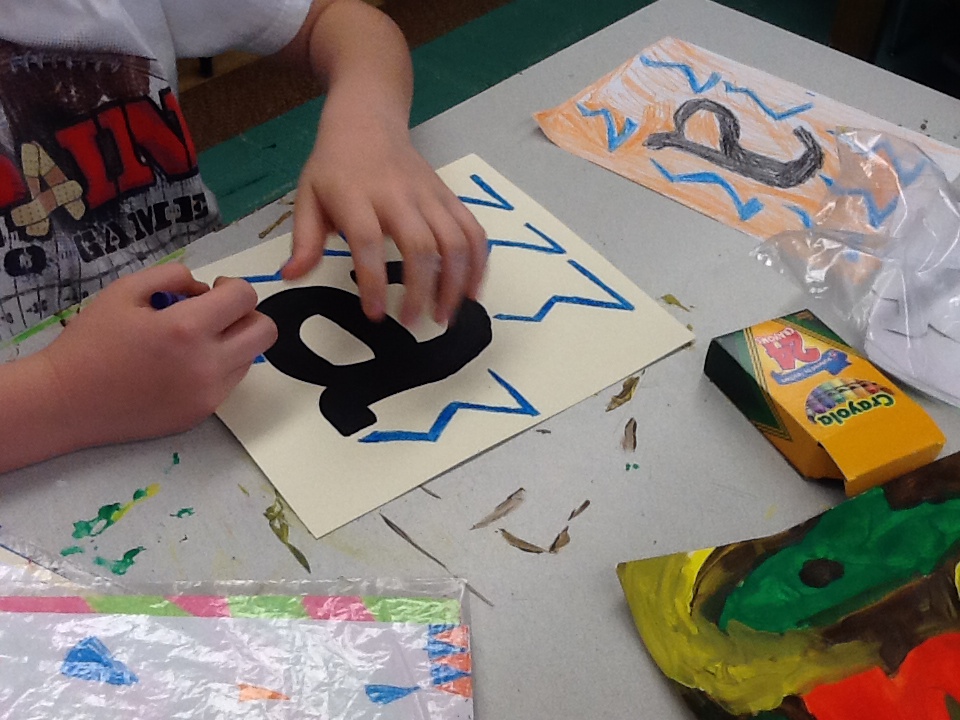
day two: more filling and starting the grid

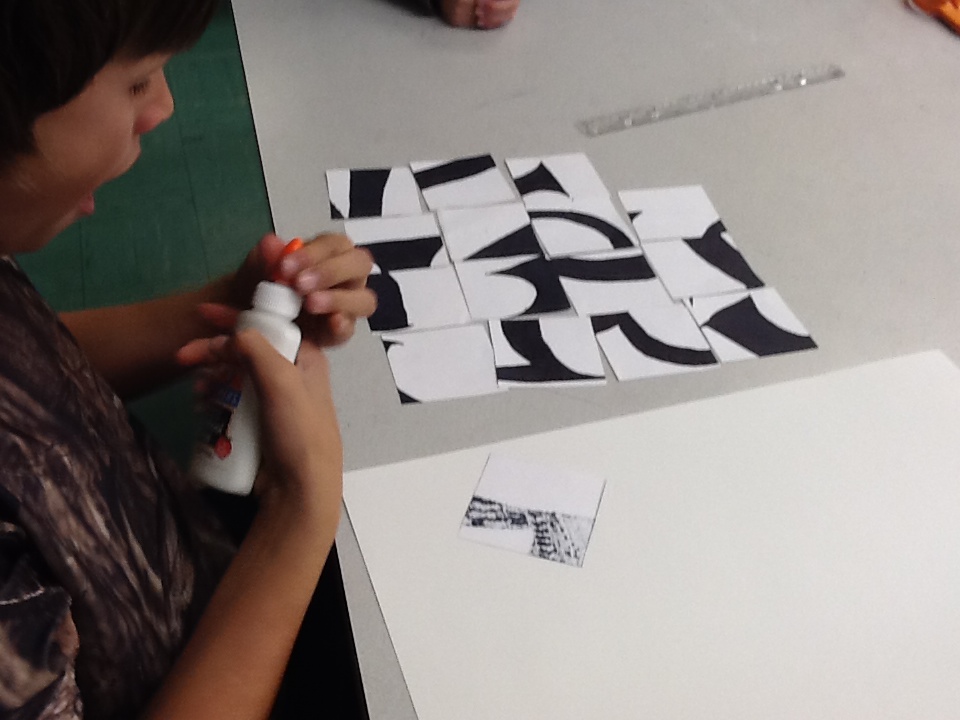
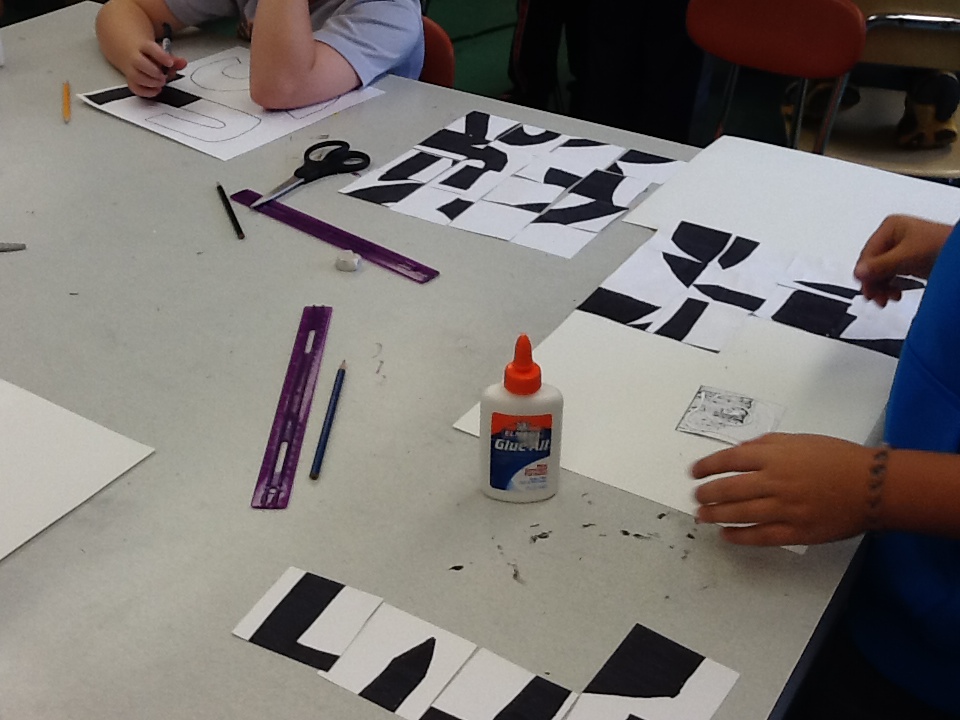
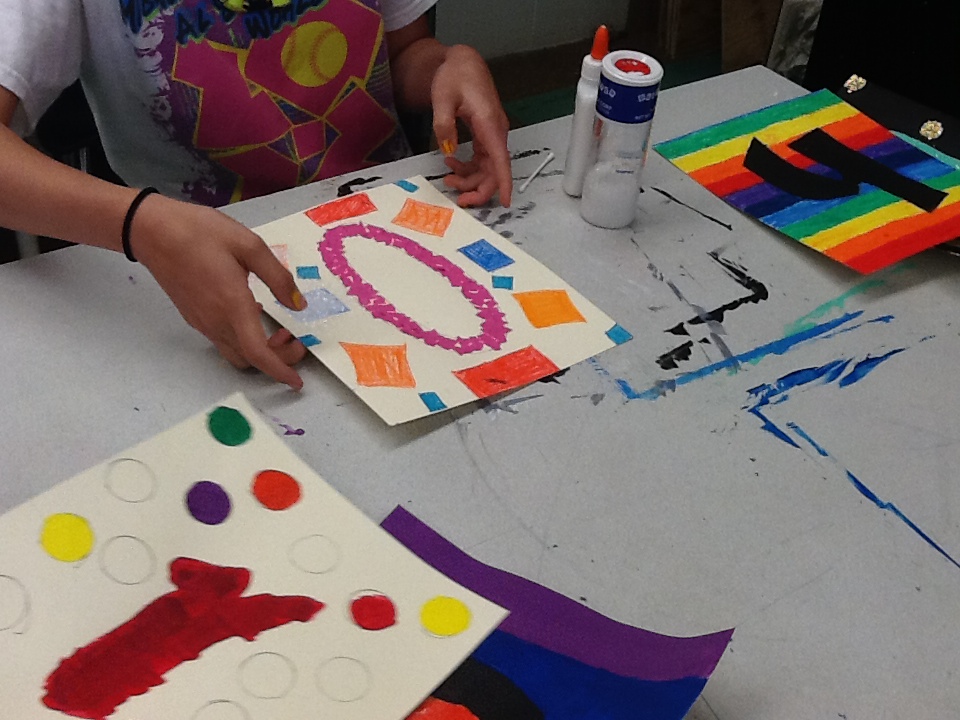
day three: grids, cutting, rearranging and gluing
Today students were anywhere from finishing the coloring of their initials to already gluing down their final composition and choosing paint colors. Today's end of the hour goal was for the coloring to be done, the 3 inch grid on the back finished and get squares neatly cut out. If students completed that portion, they rearranged their squares into abstract compositions and then glued them back down onto paper. Tomorrow, some with rearrange and glue while others will start painting. I love the chaos of the art room!
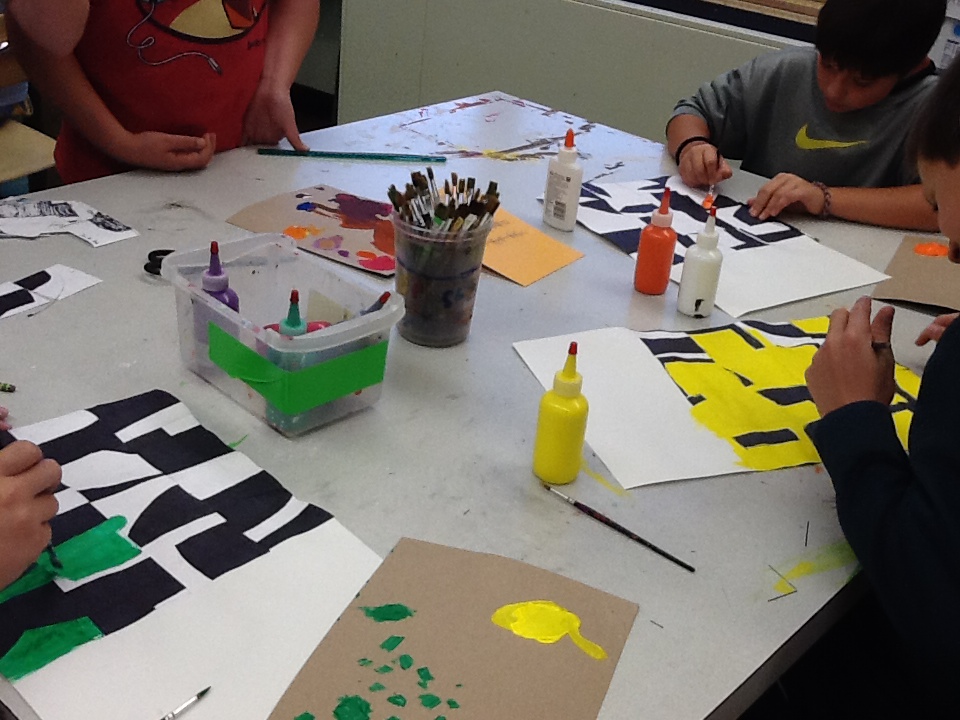
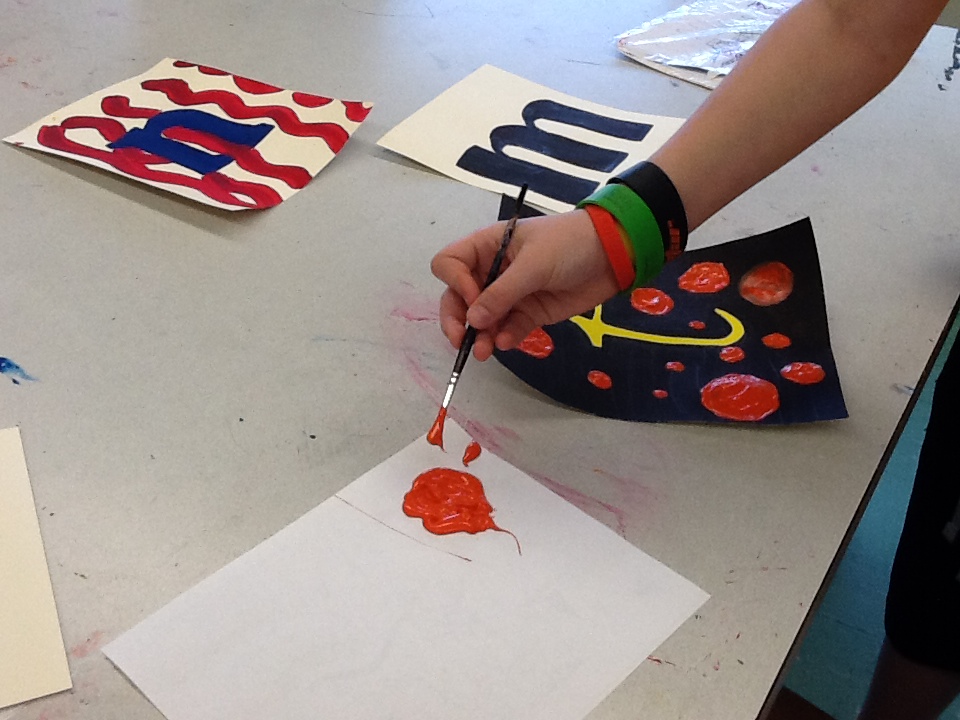
days four, five and six: gluing and painting
special thanks to drew and josh for helping out!
Thanks to Drew and Josh for helping me out! These boys did a great job on their Los Dias De Los Muertos sketchboards and offered up their free time to prepare our display case. If you are out to the school check out our Posada sketchboard display!
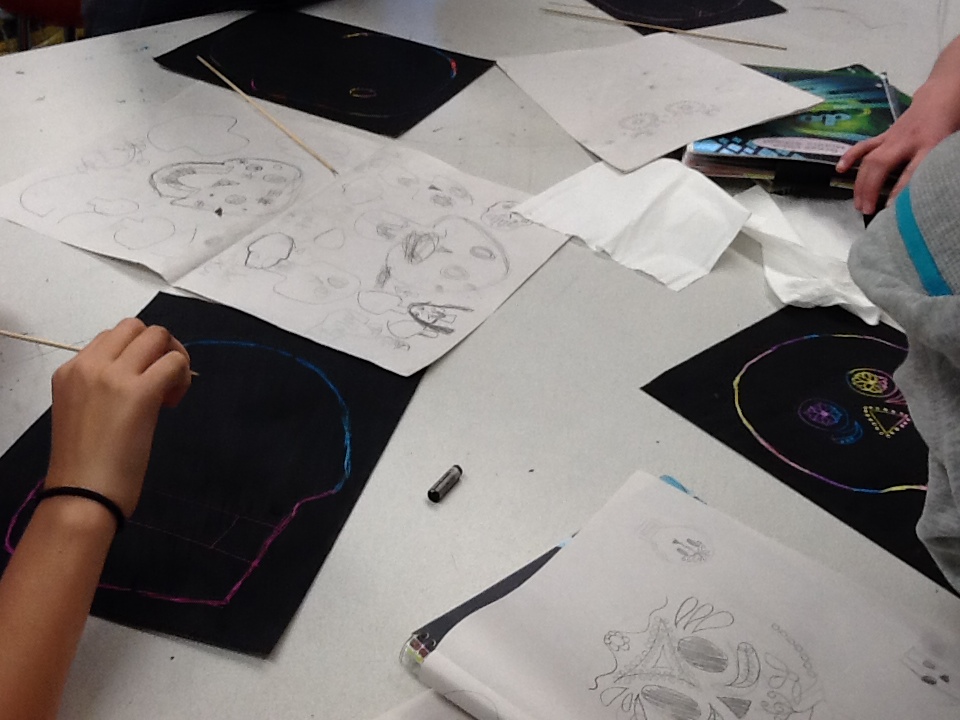
Los Dias De LOS MUERTOS and Posada sketchboards
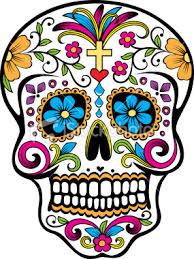
 La Calvera Cantrina, Jose Posada
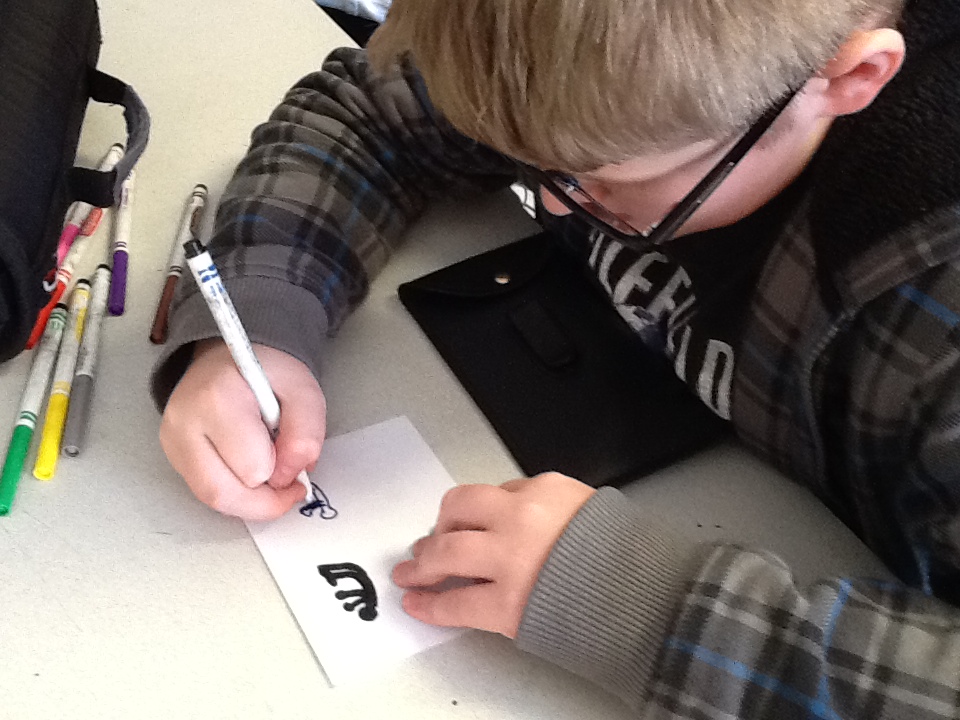
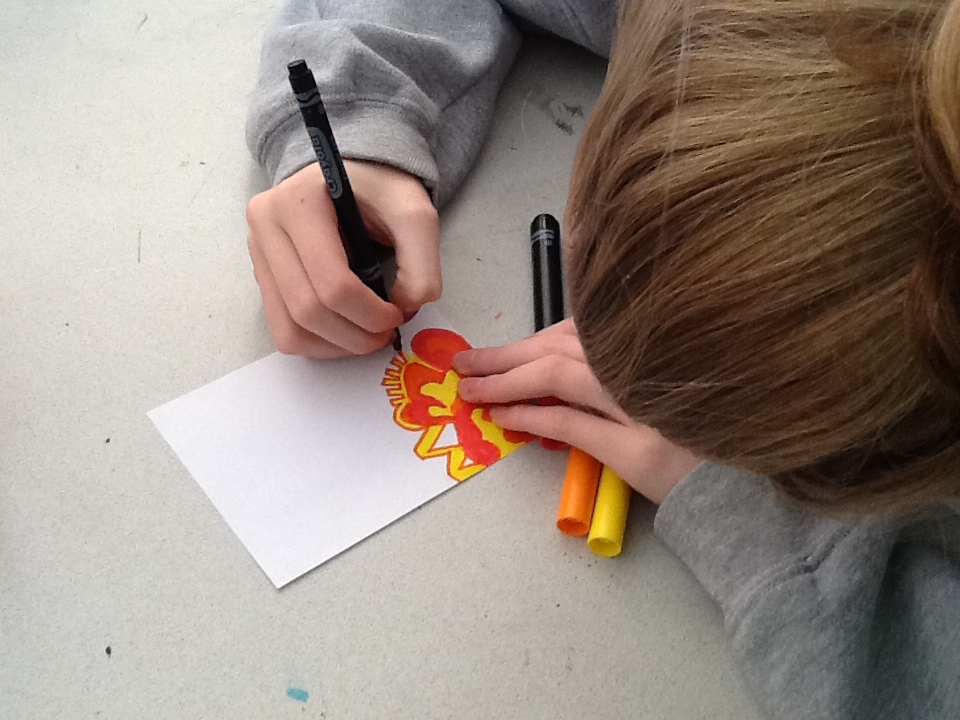
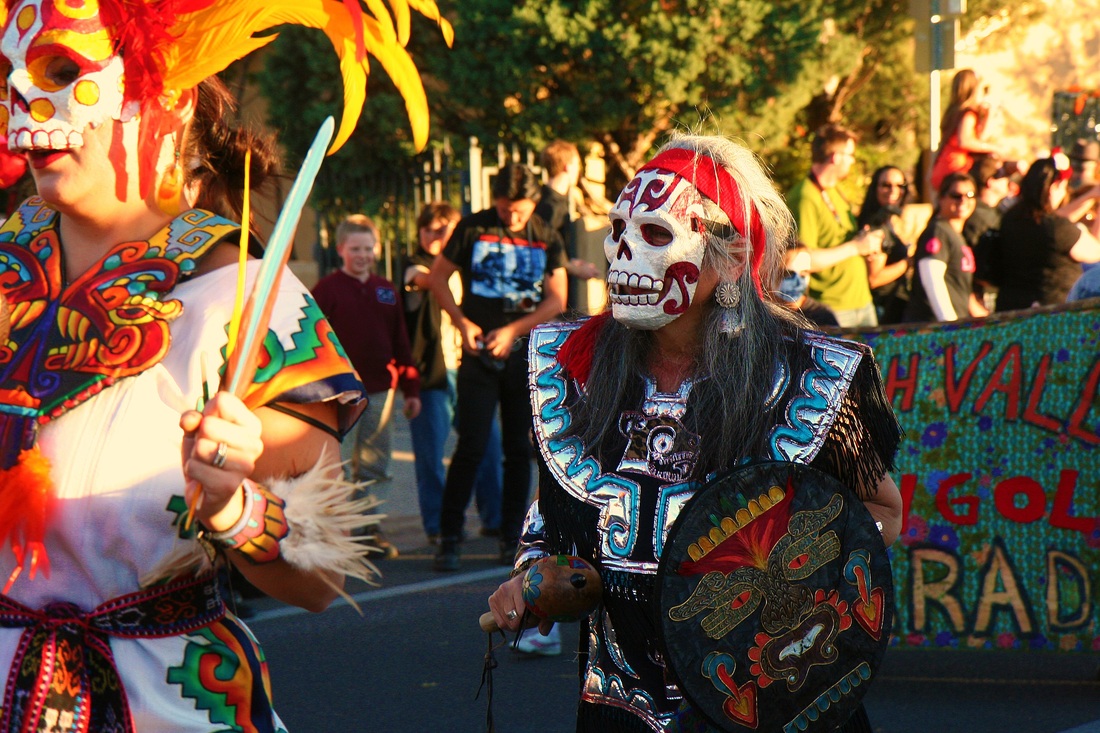
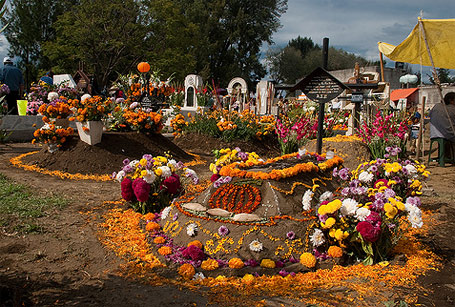
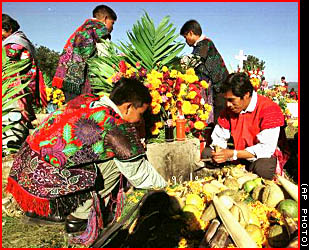
ART 6 students are diving into the Mexican holiday, Los Dias de Los Muertos, or the Day of the Dead. This unique holiday is a celebration over several days where honoring your departed loved ones is a happy occasion. See our student blog page next week for an explanation on this celebration from the students.
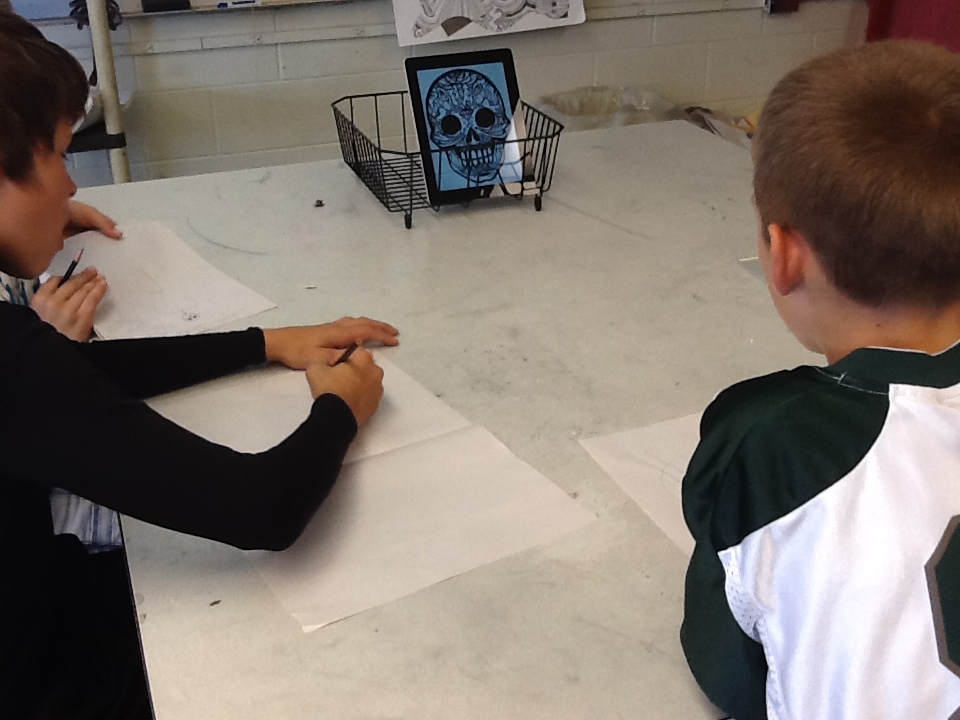
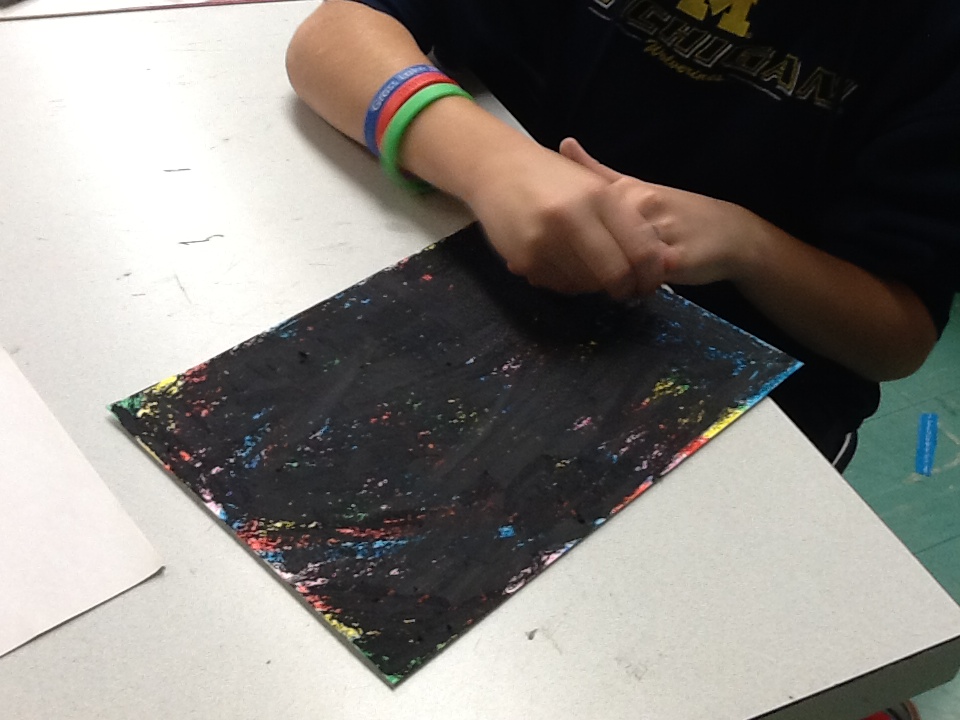
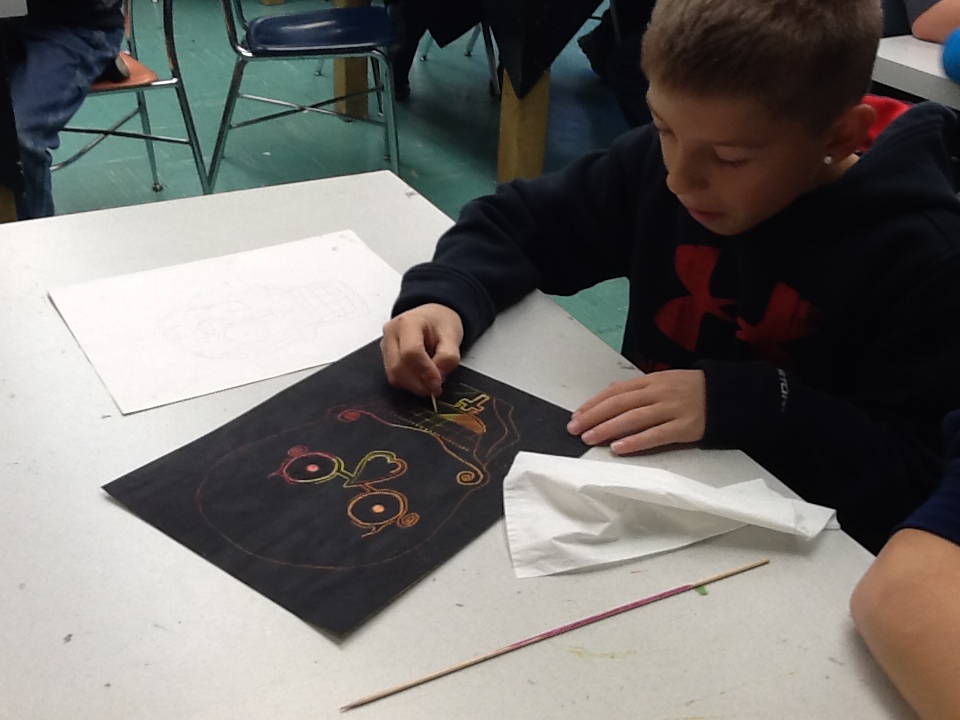
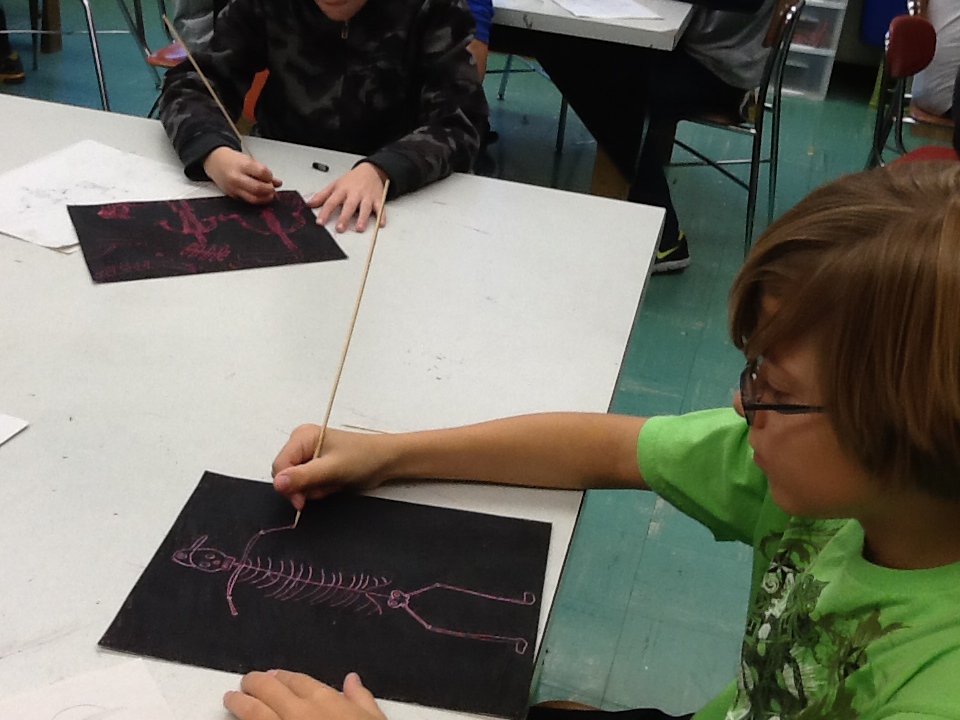
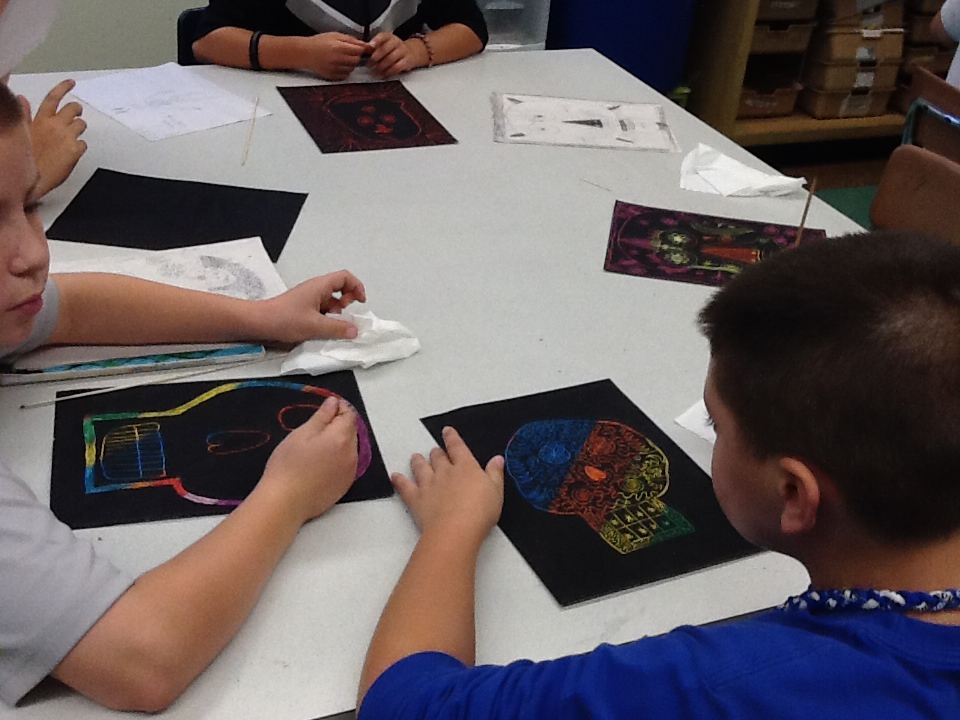
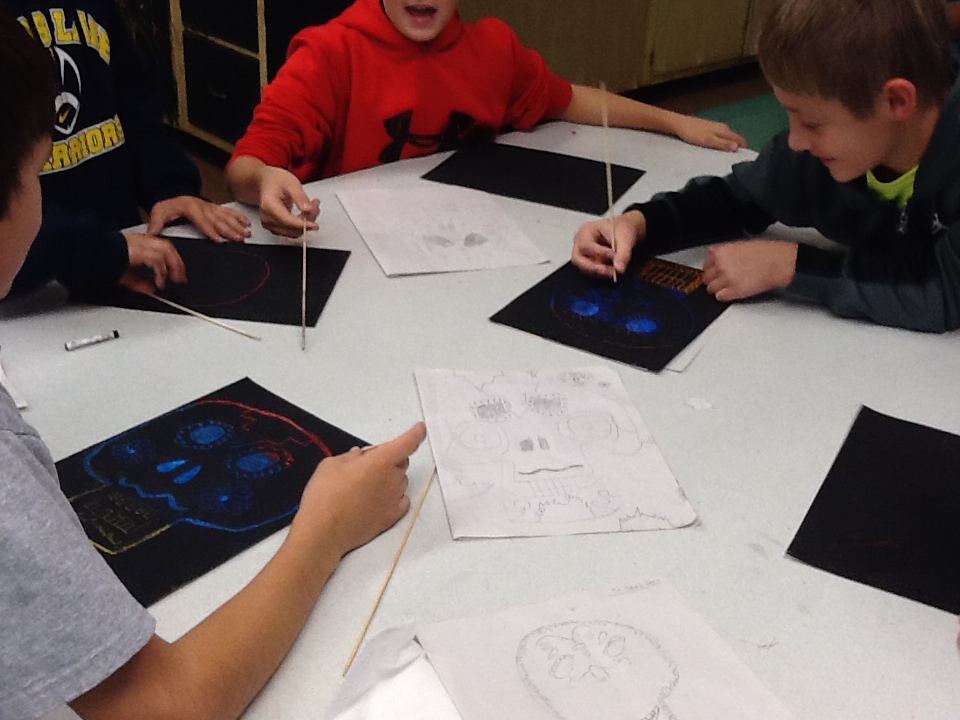
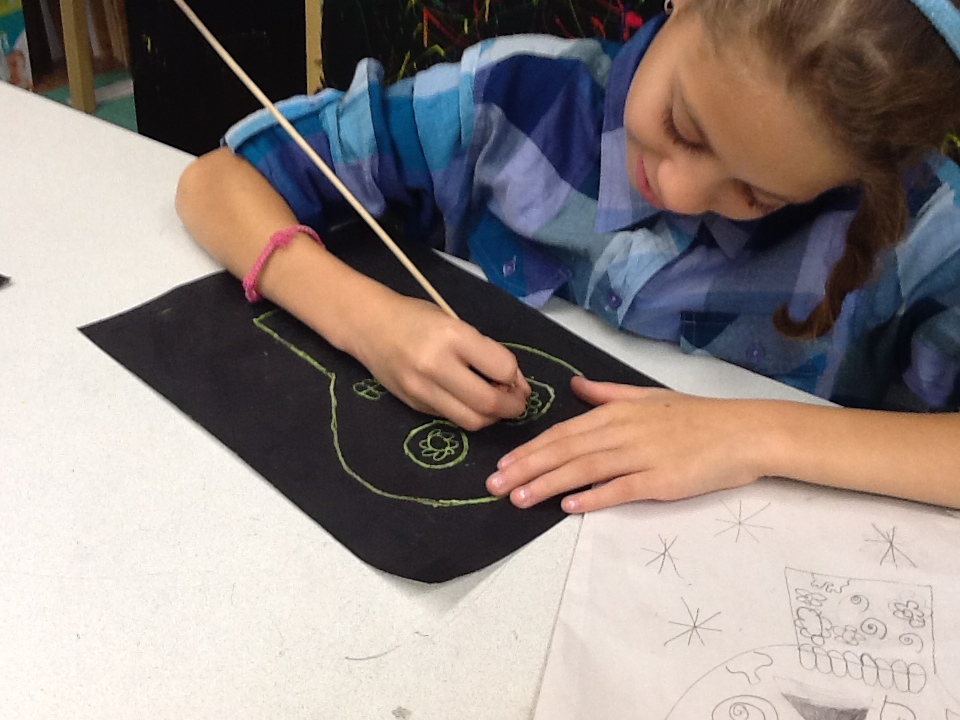
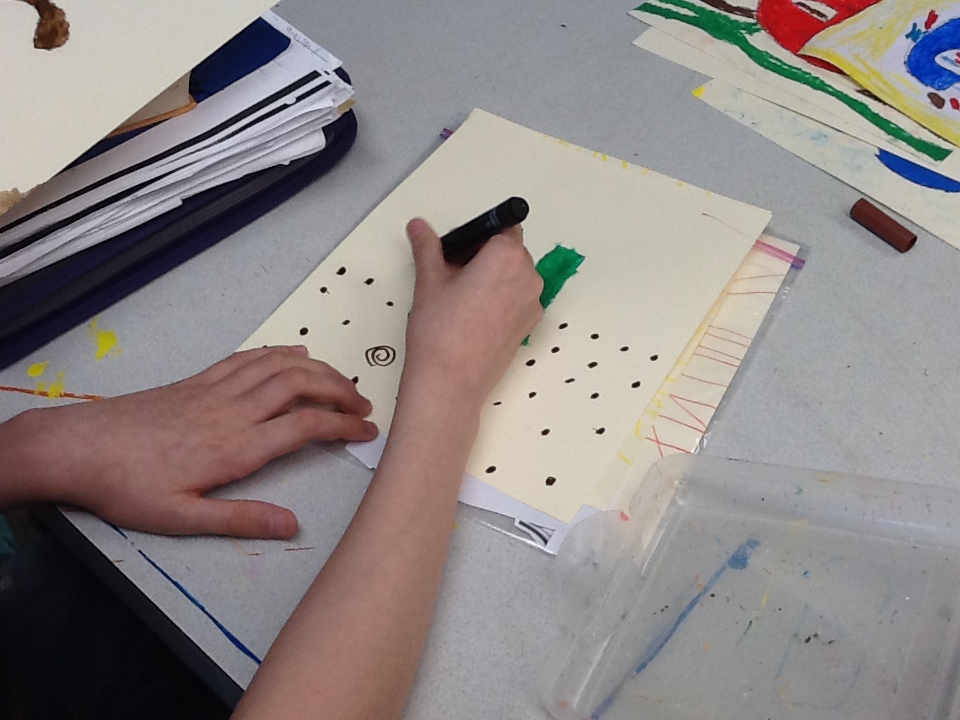
To celebrate the upcoming holiday, which is celebrated from October 30/31 through November 2, ART 6 students are creating their own homemade sketches in the style of Mexican illustrator and engraver, Jose Posada. While Posada used metal and acid to create his simple calacas (skeleton) etchings, our students are using crayon and oil pastel to create a sketchboard where they will scratch their calacas or calveras (skull) drawings in with kabob sticks and toothpicks.
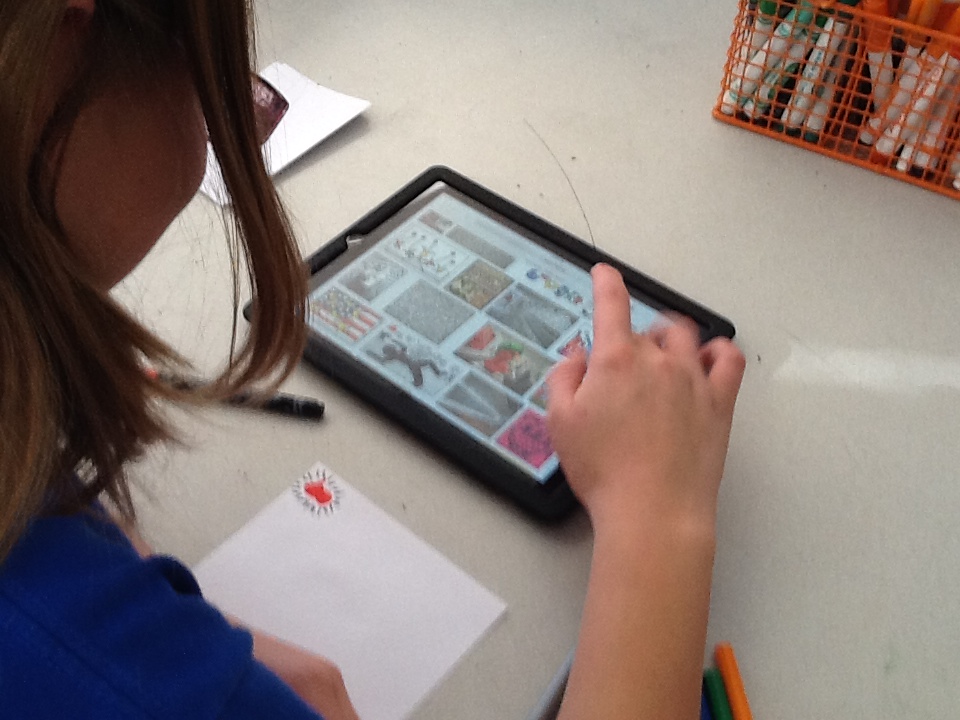
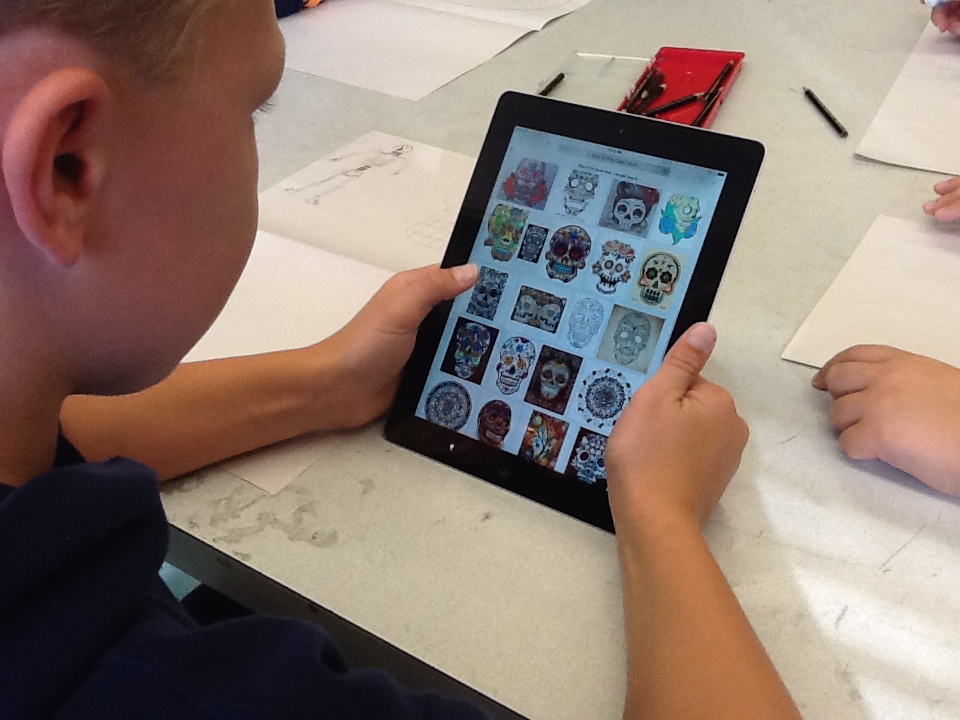
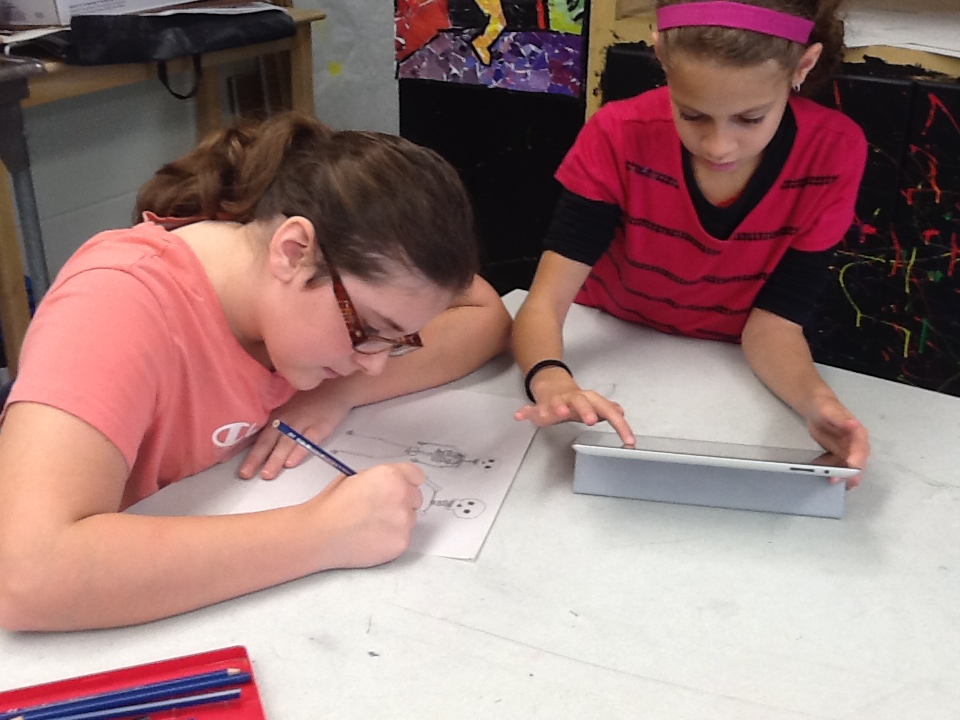
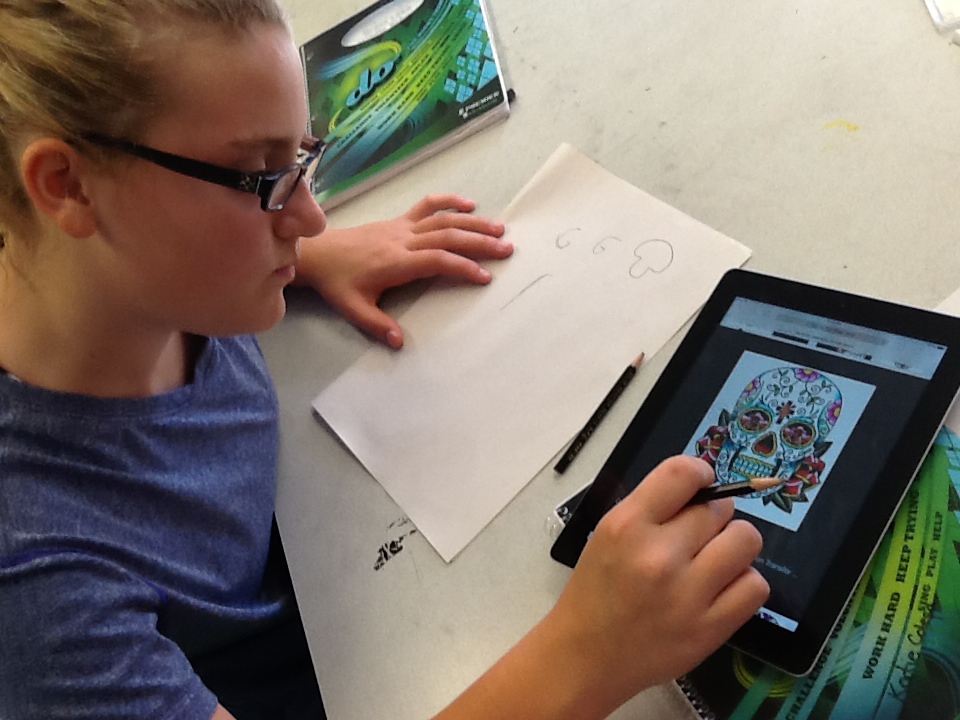
First, we learned about the holiday and watched a short animated film on the true meaning of Los Dias De Los Muertos. Then we spent two days honing our skeleton and skull drawing skills, using the IPads to find inspiration for our designs. Thursday and Friday of this week we will make our sketchboards by coloring our tag board super dark with crayon colors of our choice. To finish, black oil pastel will be applied over top. Below you can see photos of the process.
To celebrate the upcoming holiday, which is celebrated from October 30/31 through November 2, ART 6 students are creating their own homemade sketches in the style of Mexican illustrator and engraver, Jose Posada. While Posada used metal and acid to create his simple calacas (skeleton) etchings, our students are using crayon and oil pastel to create a sketchboard where they will scratch their calacas or calveras (skull) drawings in with kabob sticks and toothpicks.
First, we learned about the holiday and watched a short animated film on the true meaning of Los Dias De Los Muertos. Then we spent two days honing our skeleton and skull drawing skills, using the IPads to find inspiration for our designs. Thursday and Friday of this week we will make our sketchboards by coloring our tag board super dark with crayon colors of our choice. To finish, black oil pastel will be applied over top. Below you can see photos of the process.
posadas in progress


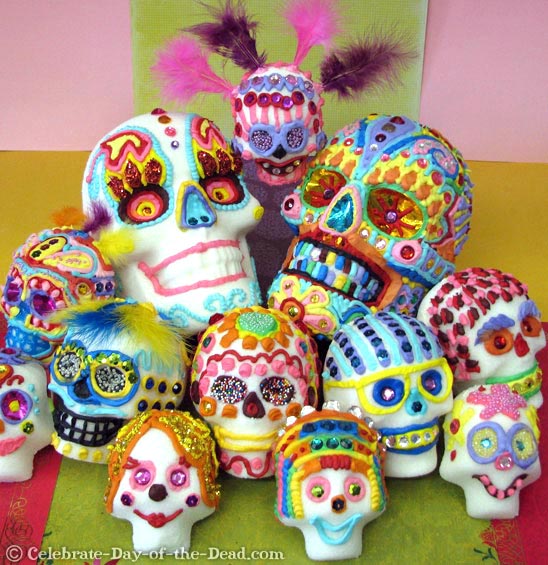
Los dias de los muertos images
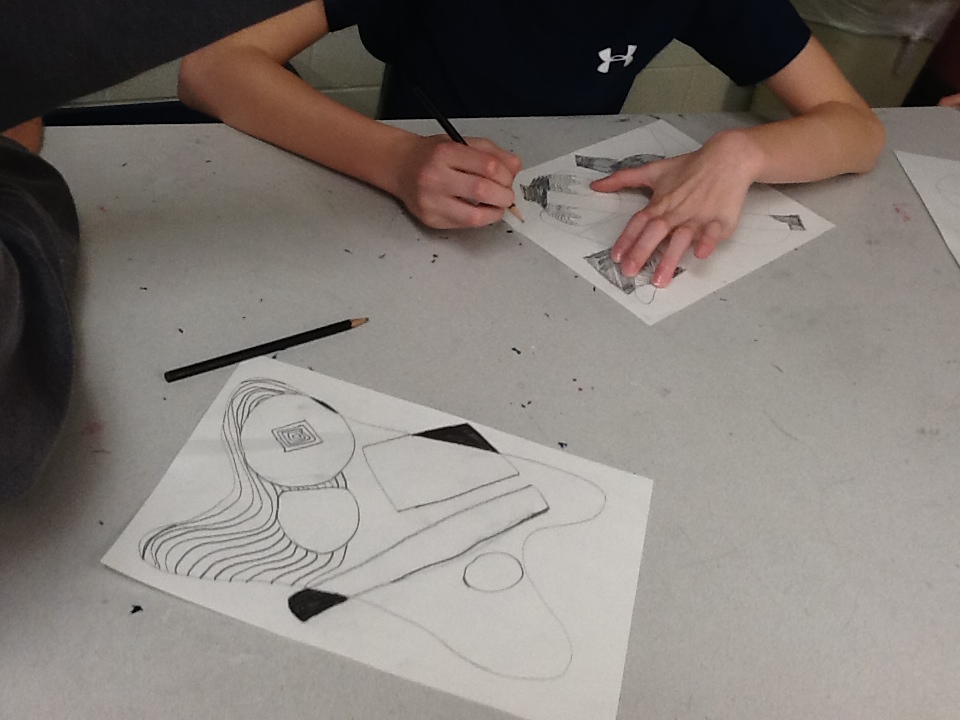
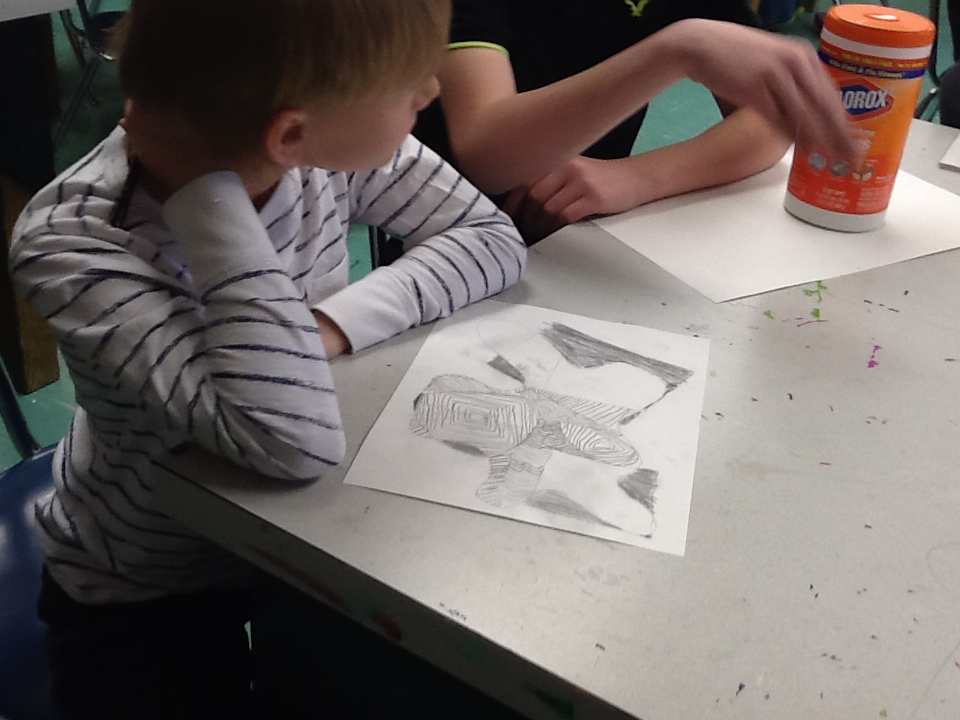
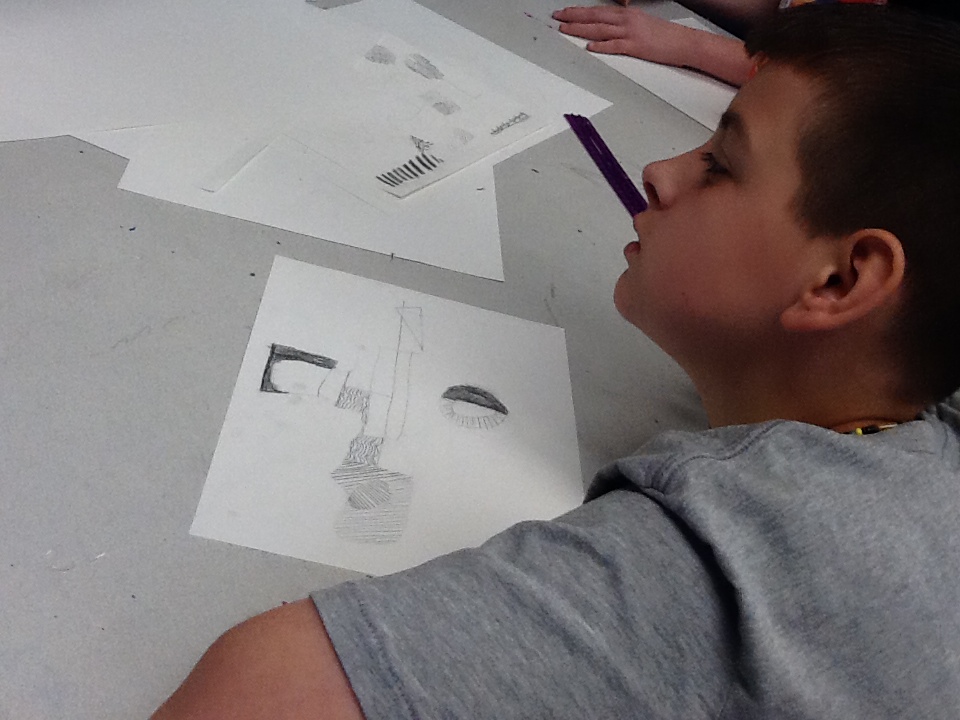
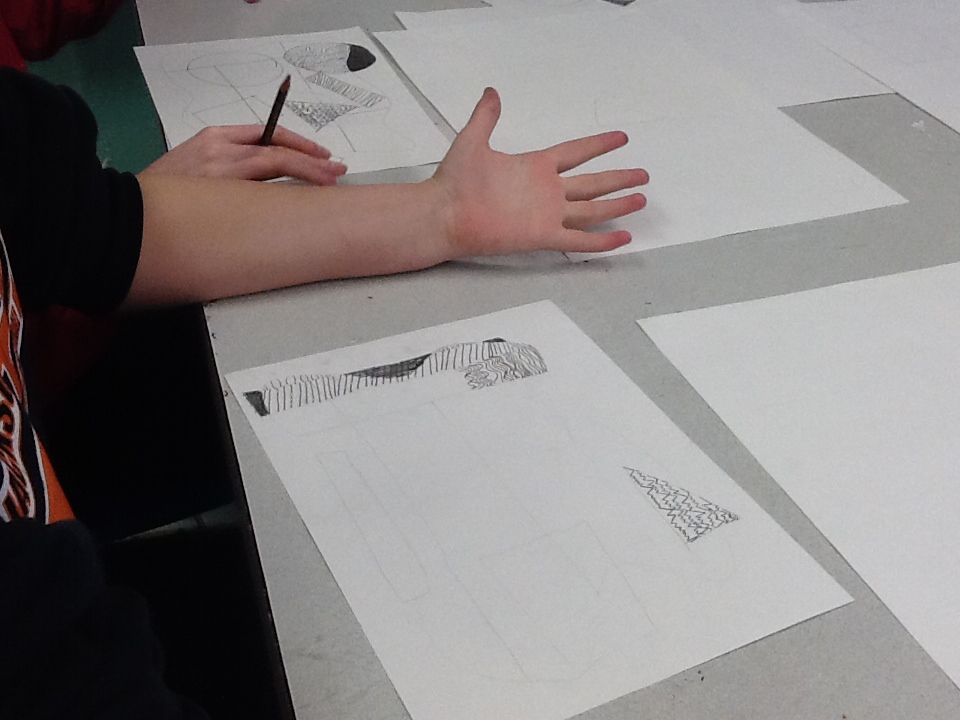
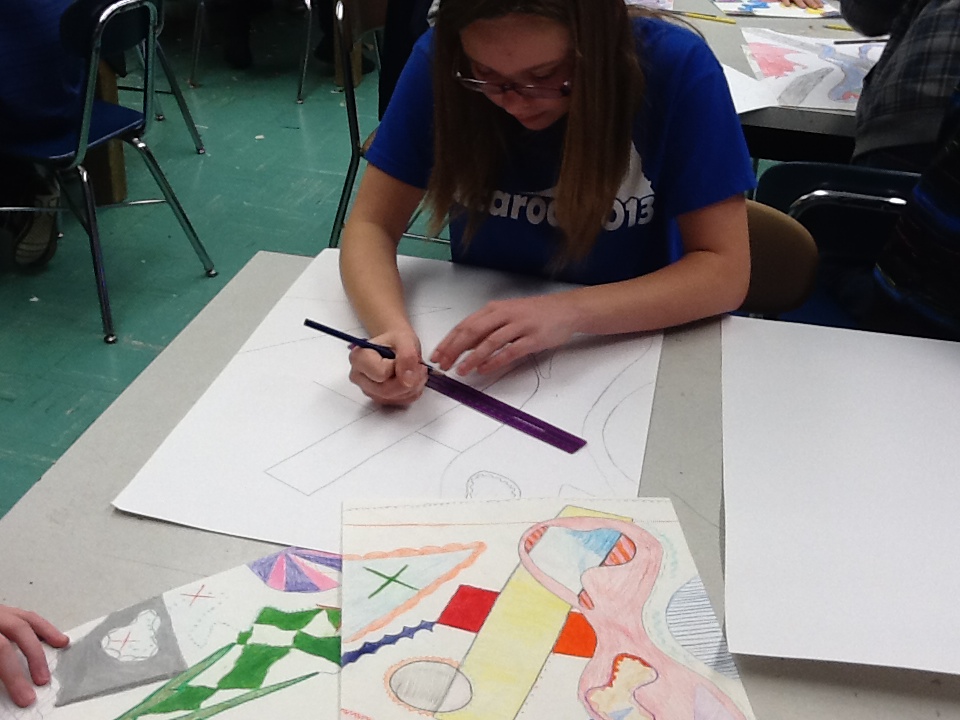
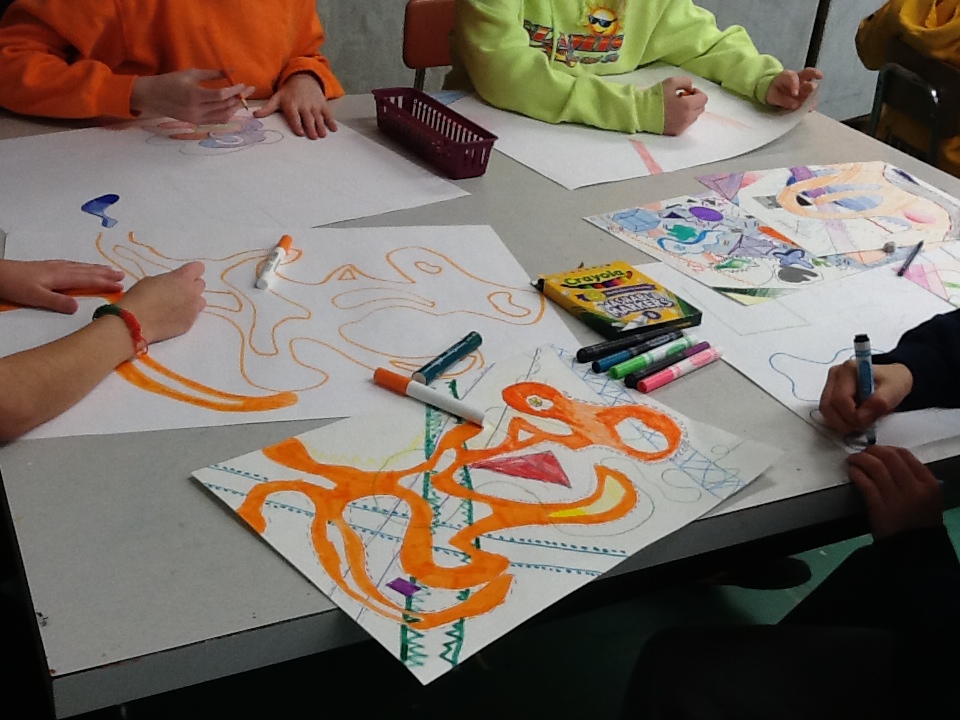
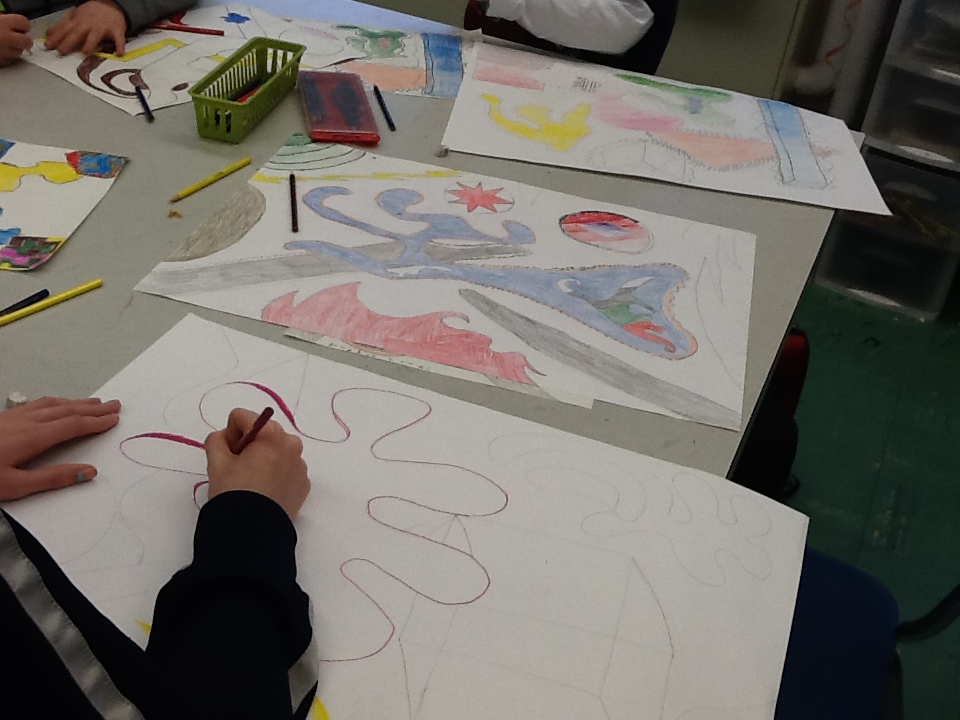
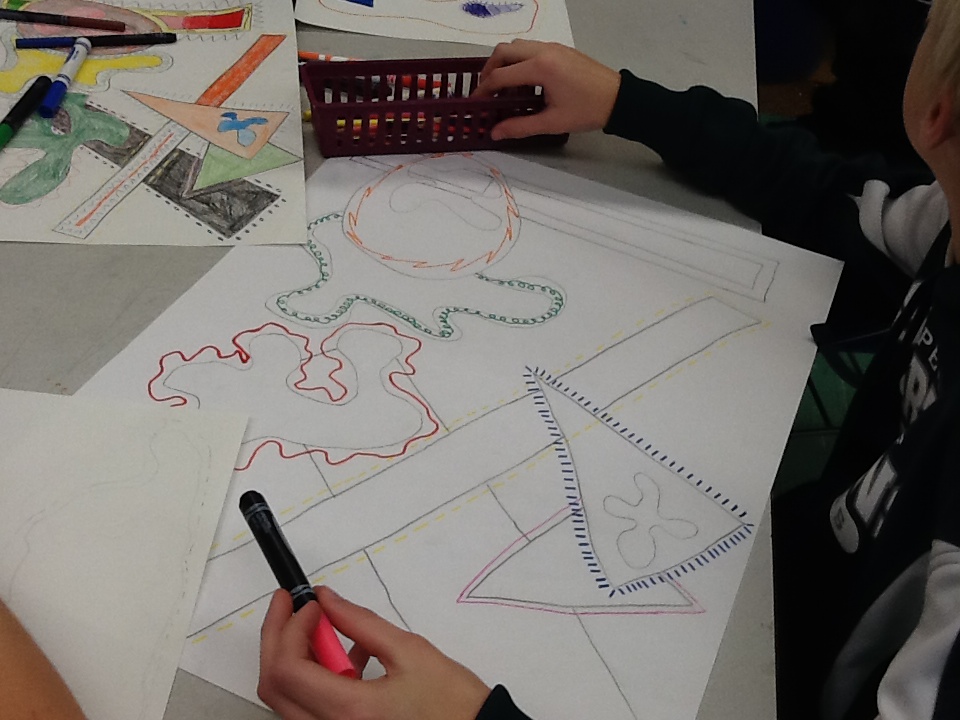
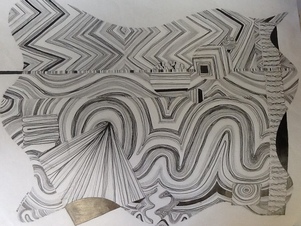
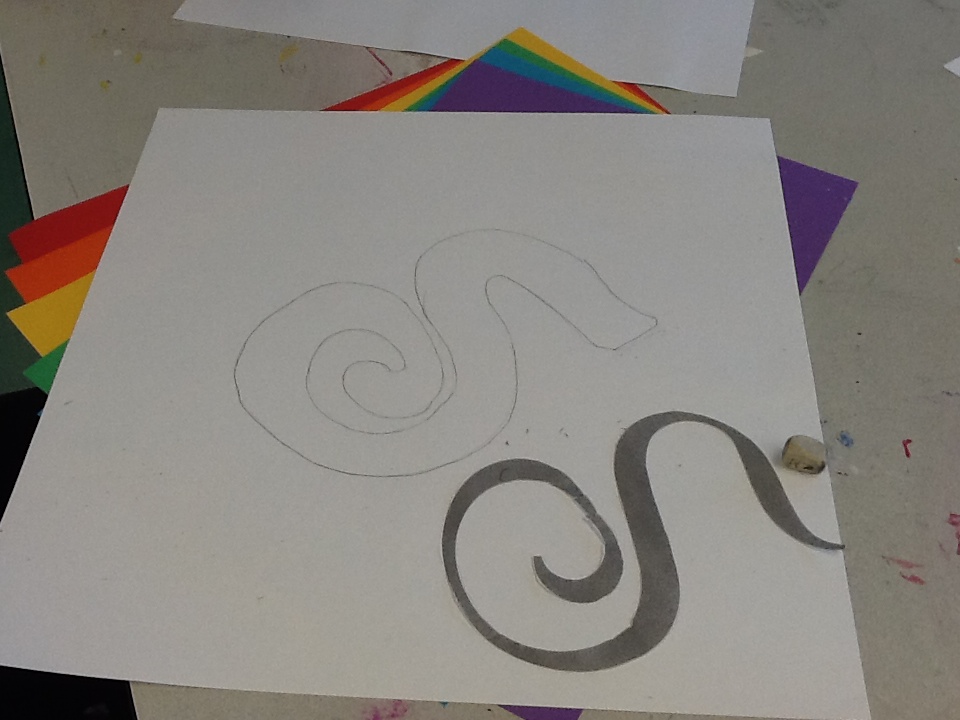
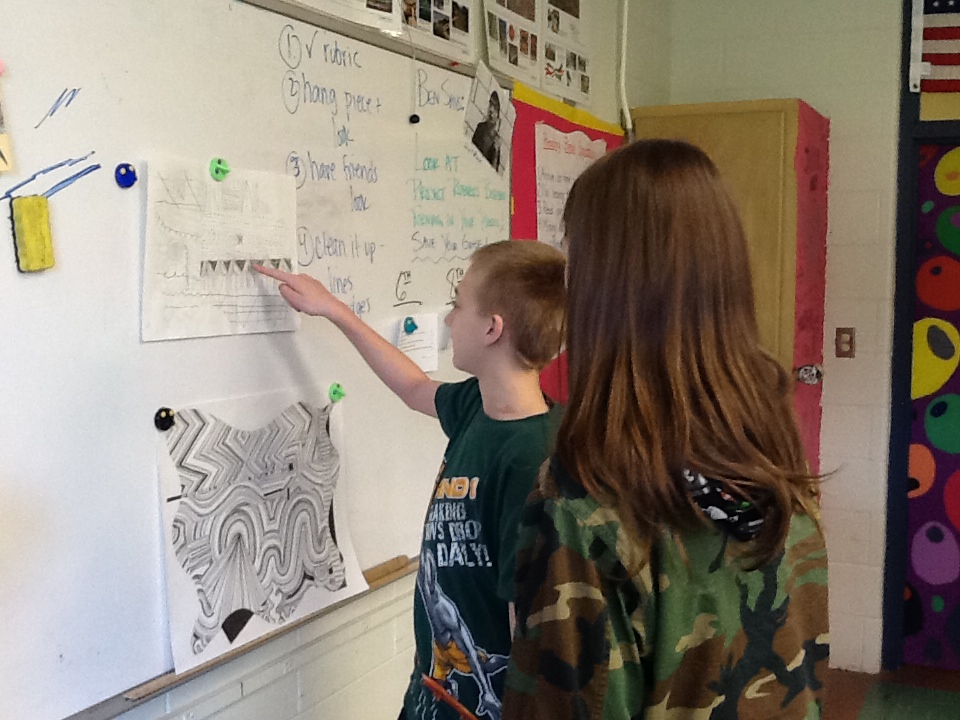
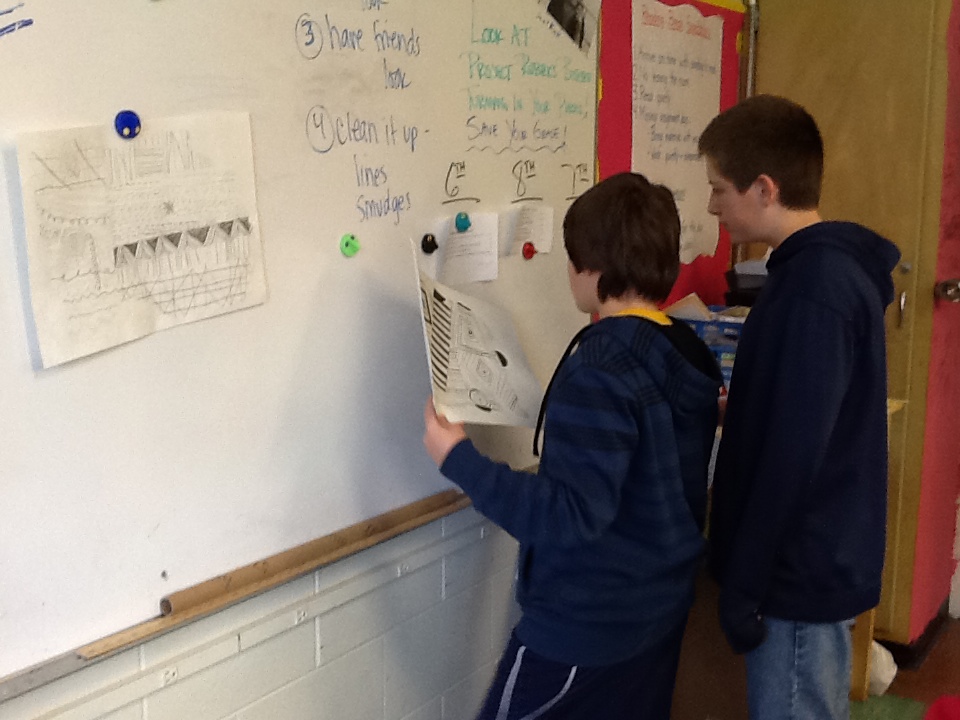
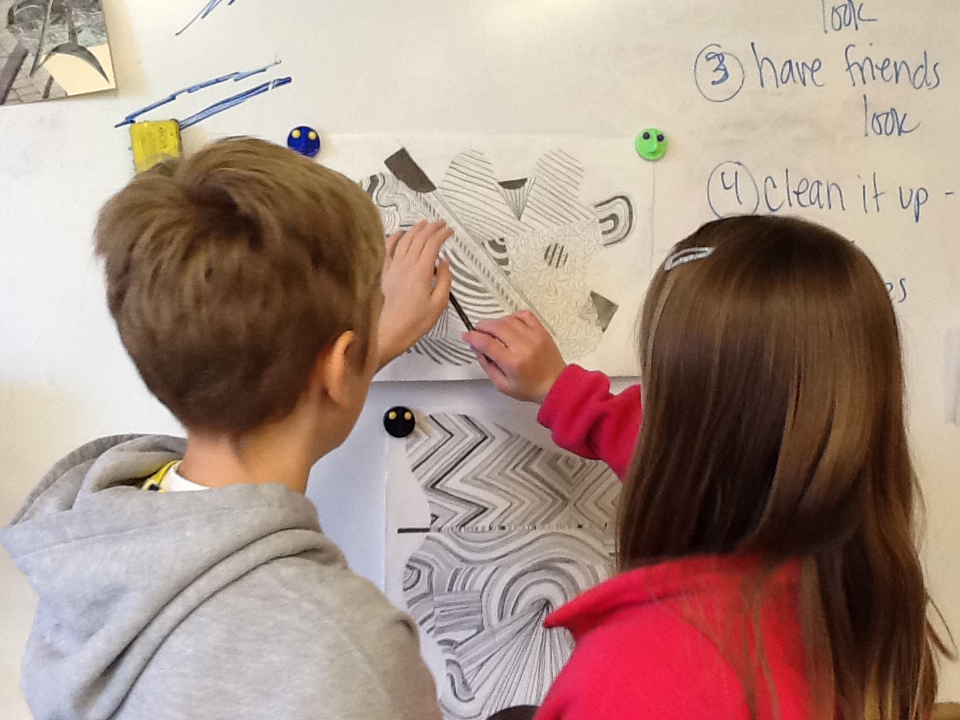
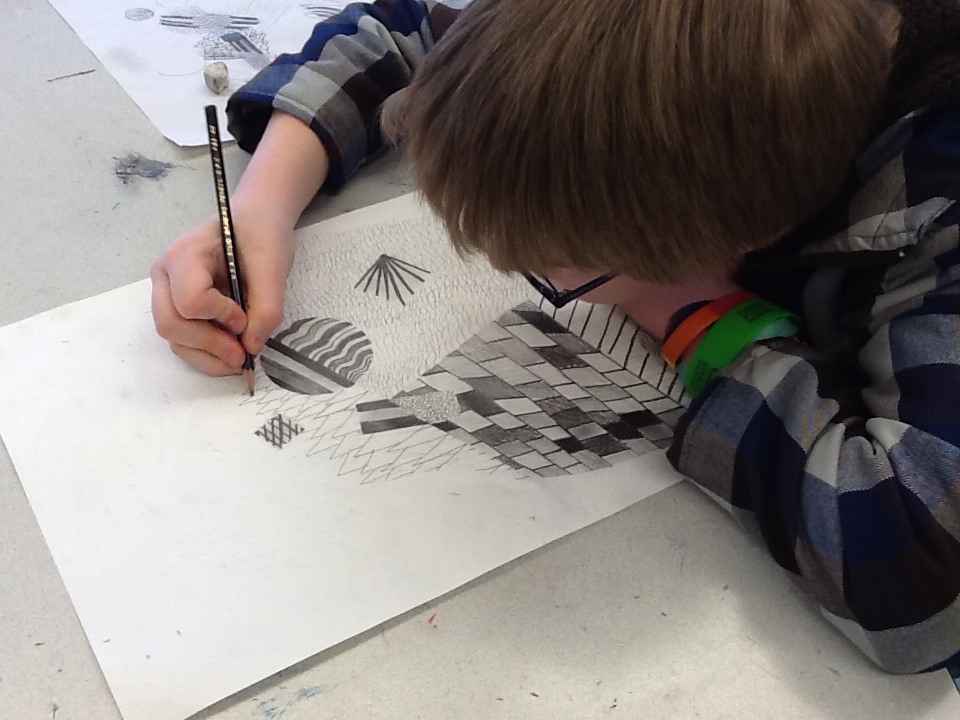
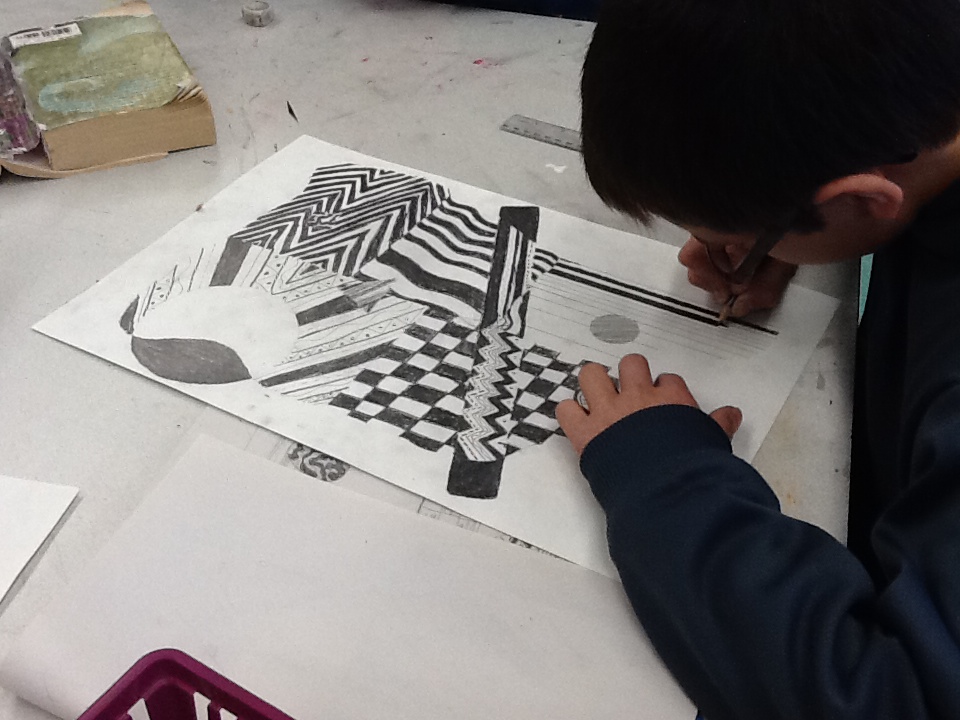
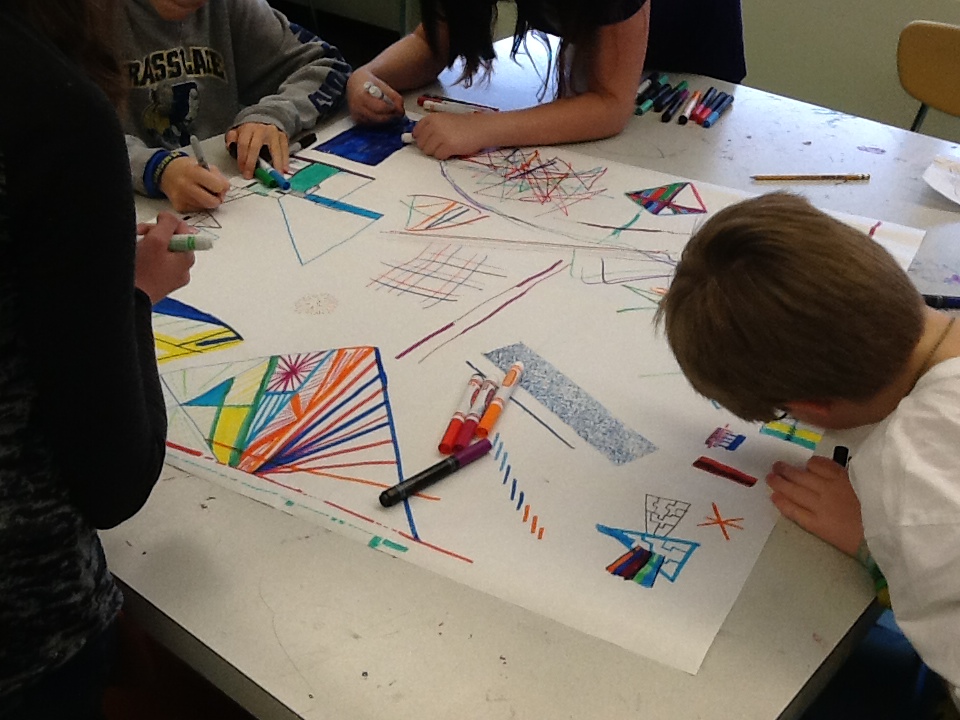
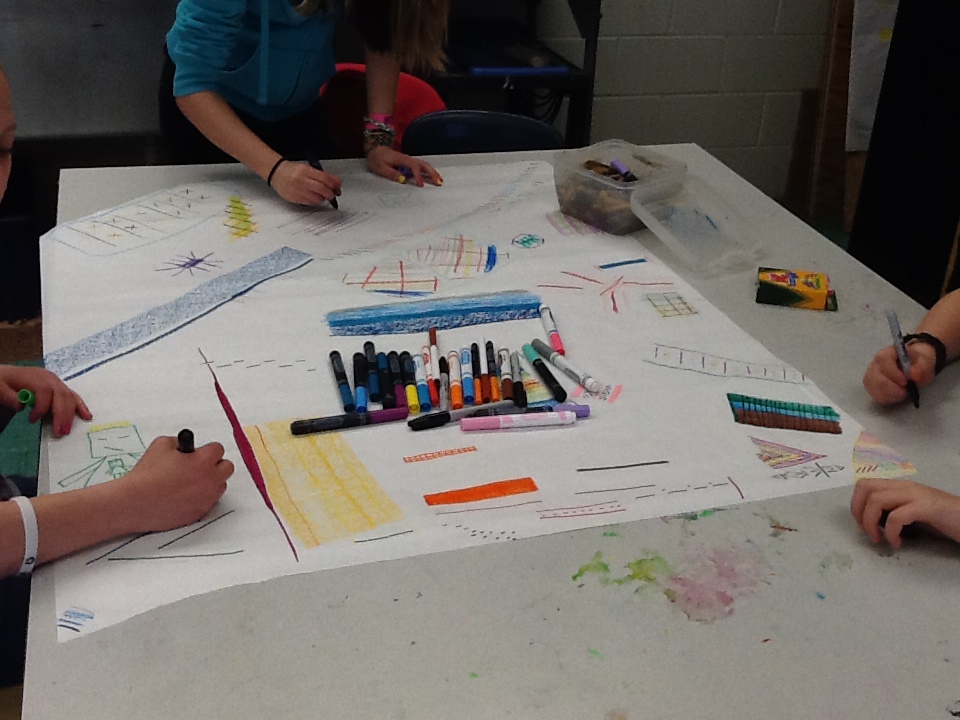
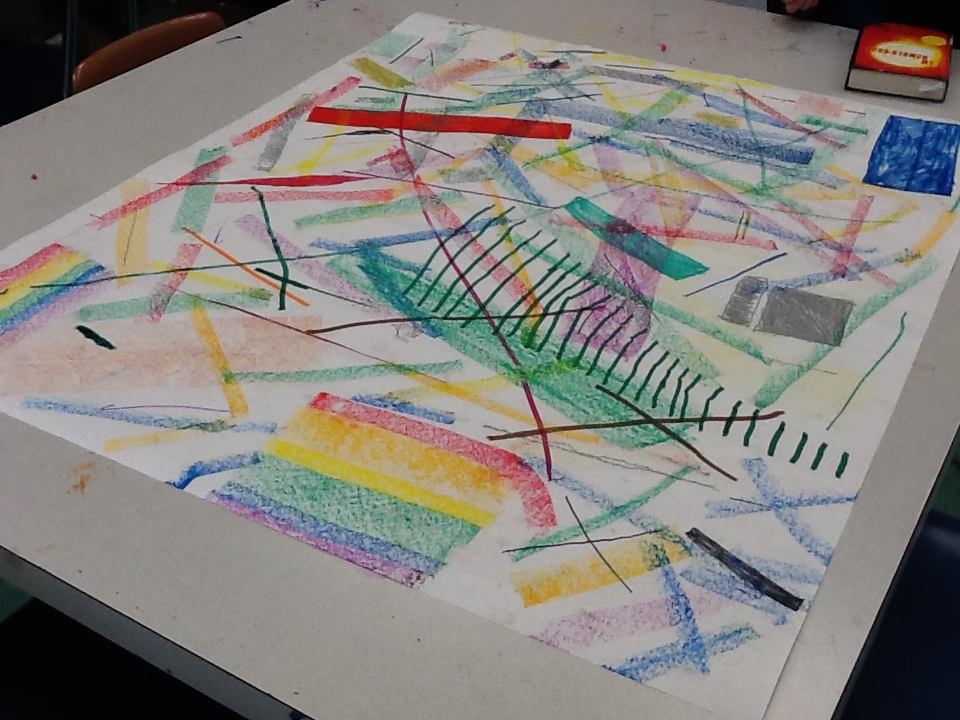
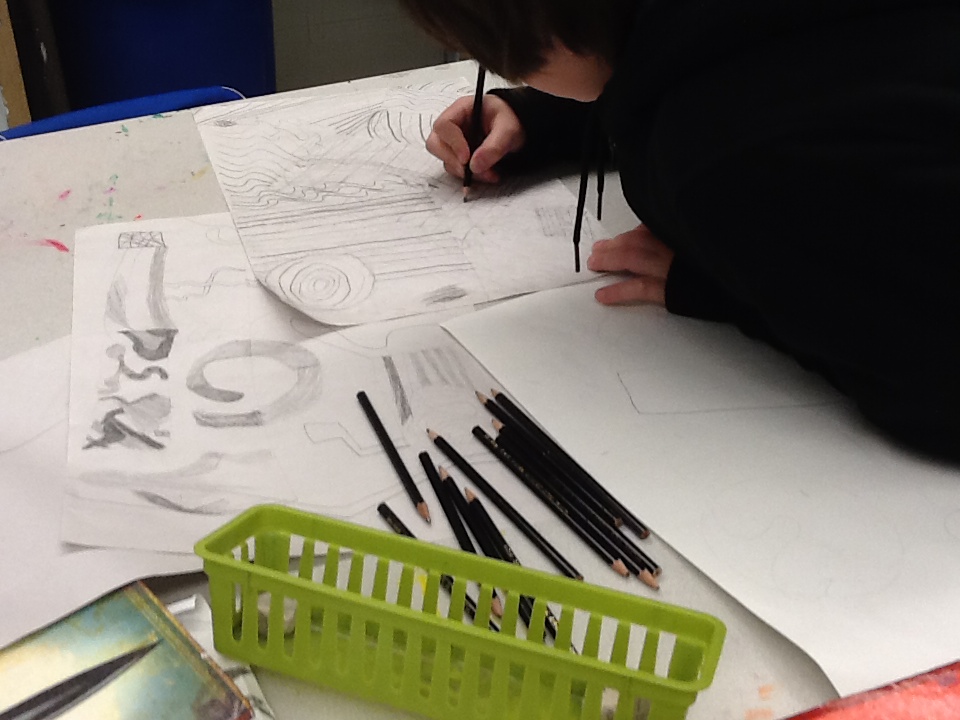
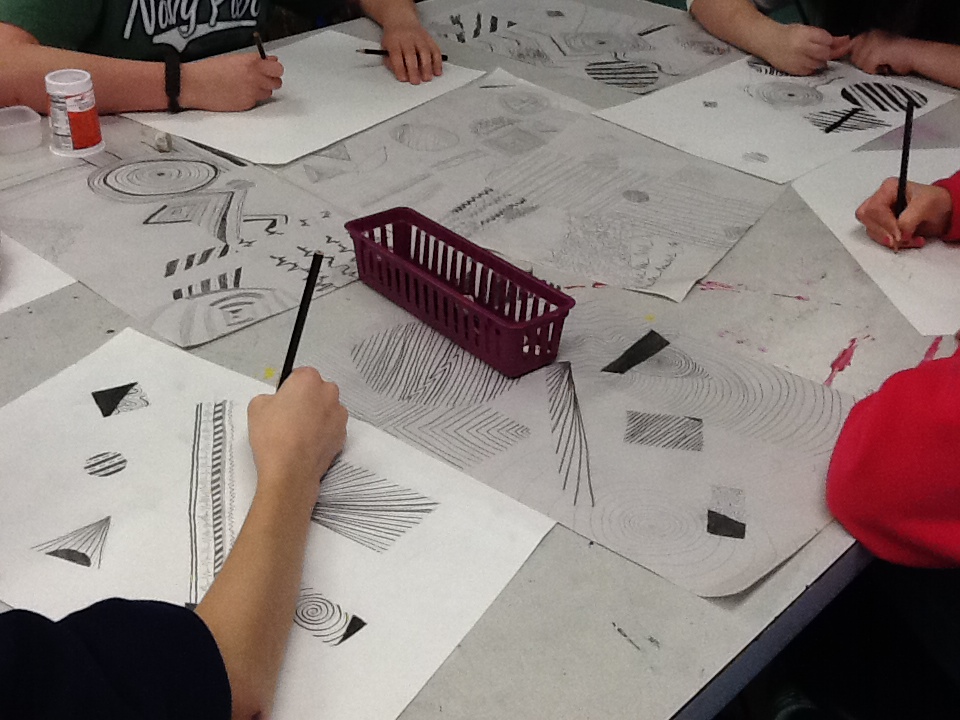
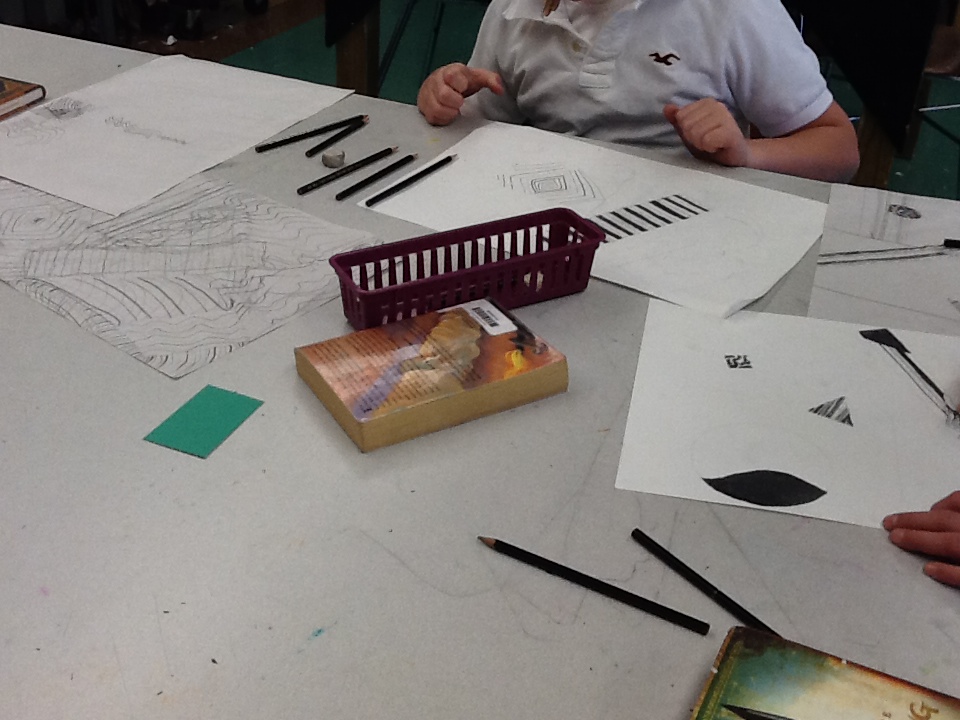
line-shape pieces
 Untitled by Mrs. Crandell Untitled by Mrs. Crandell
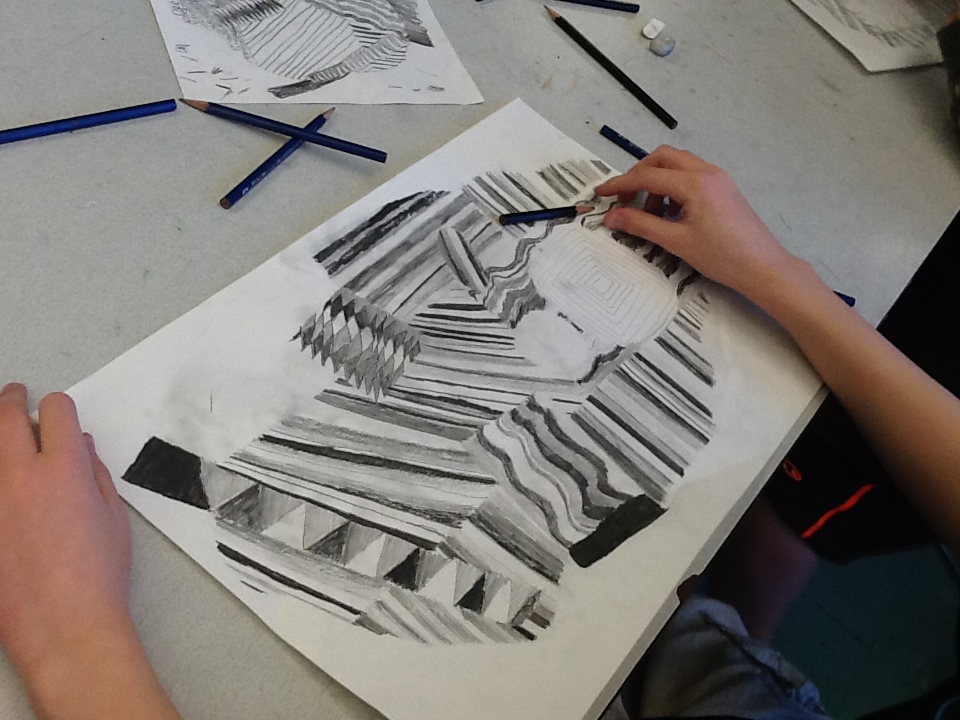
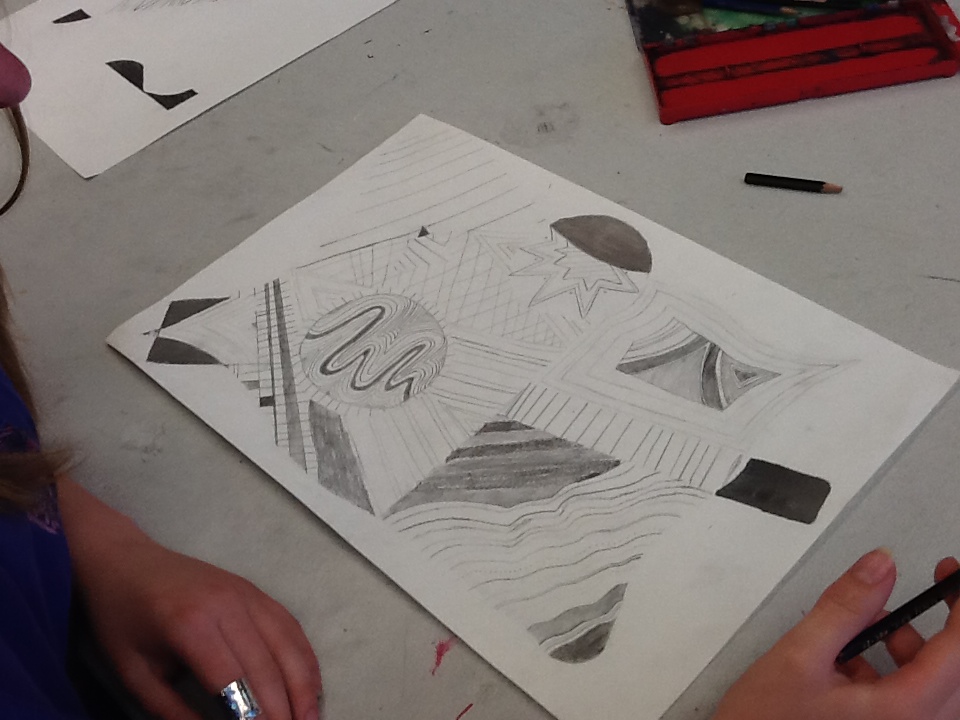
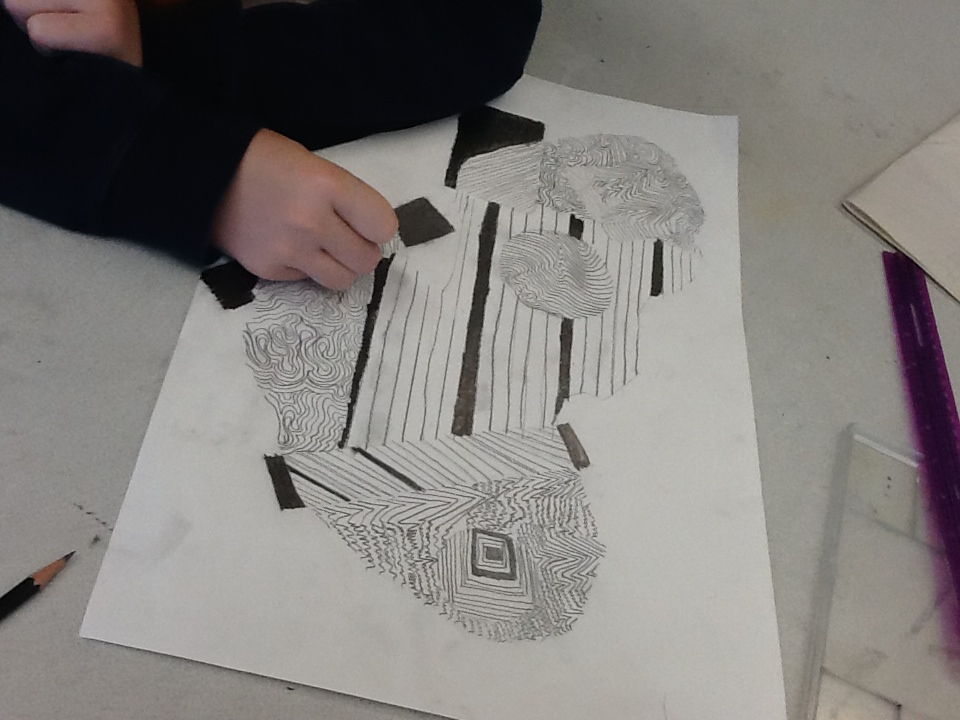
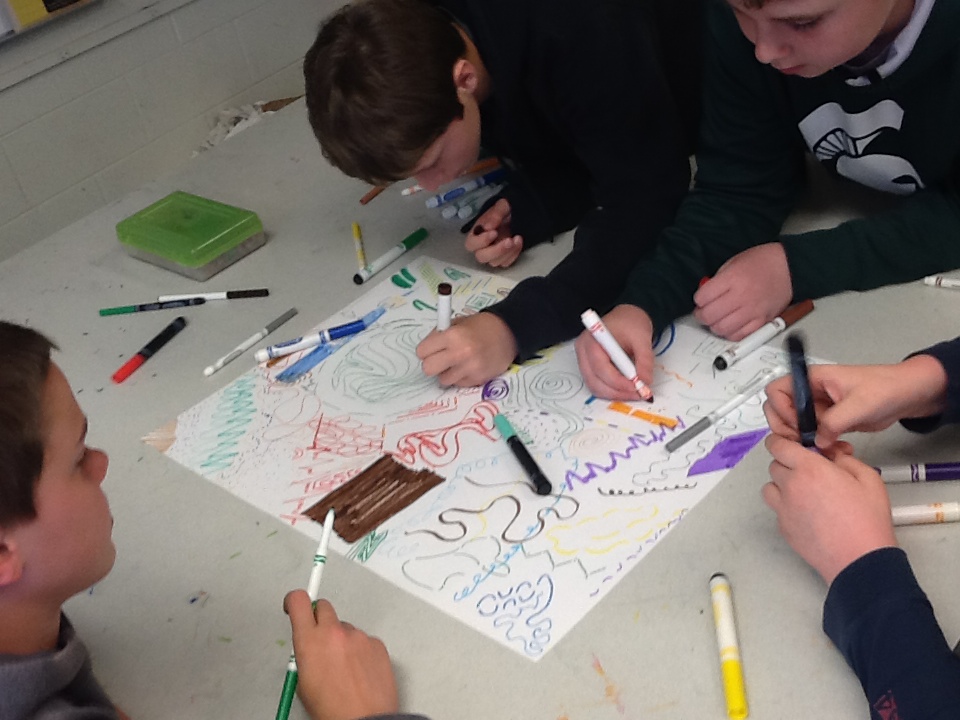
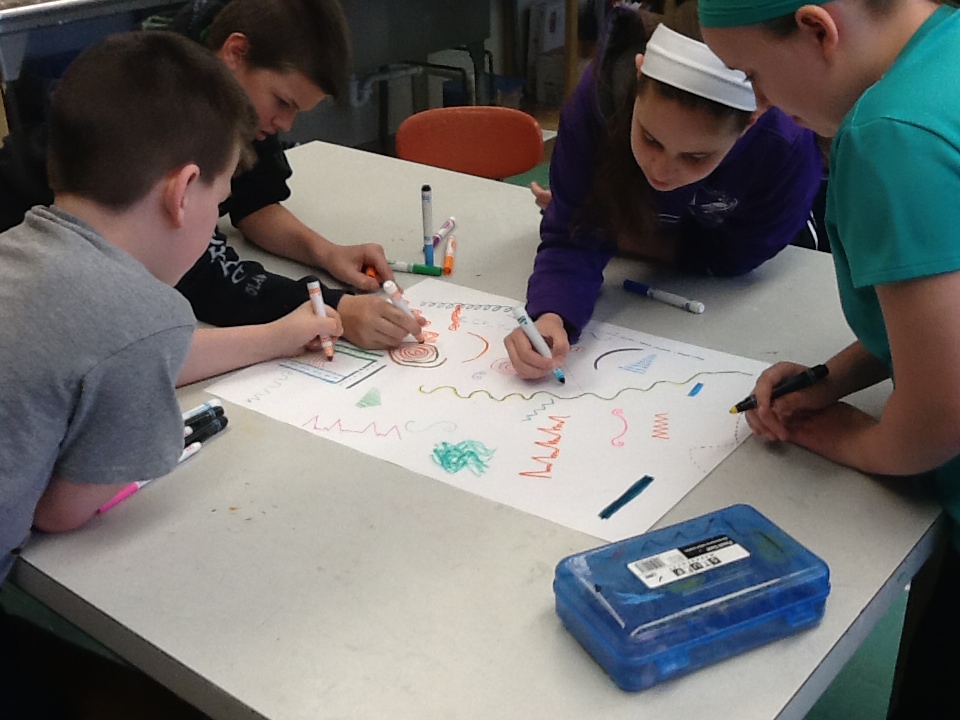
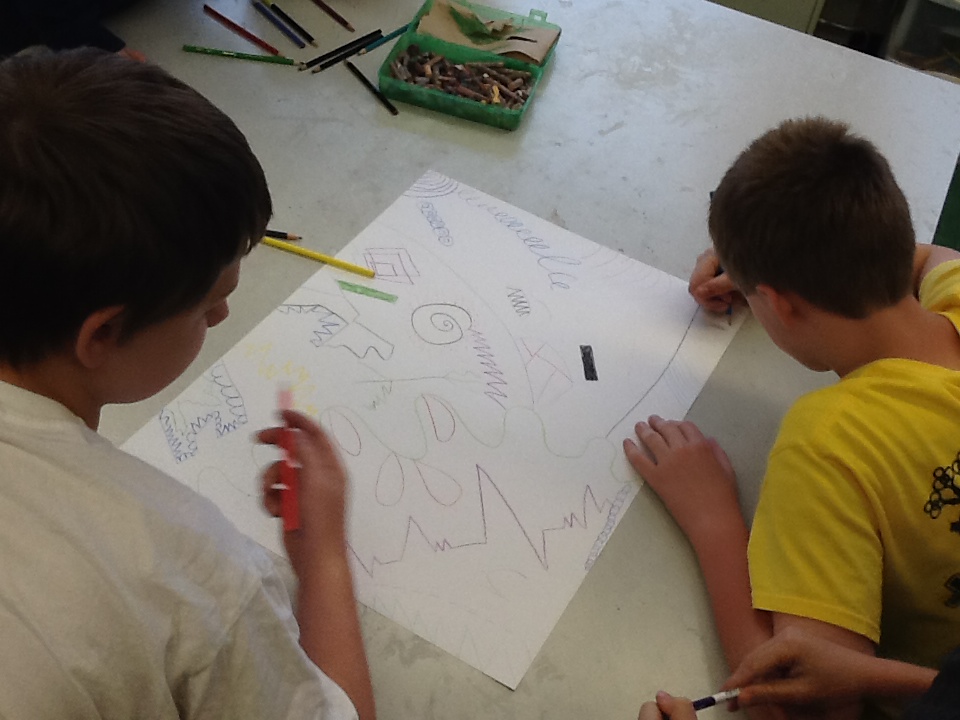
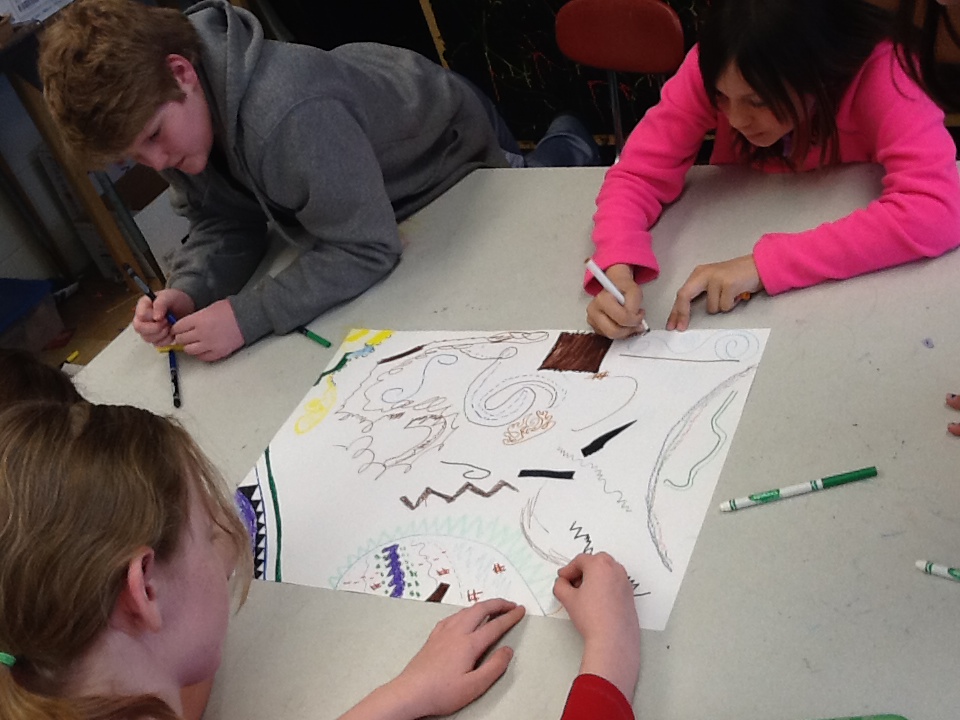
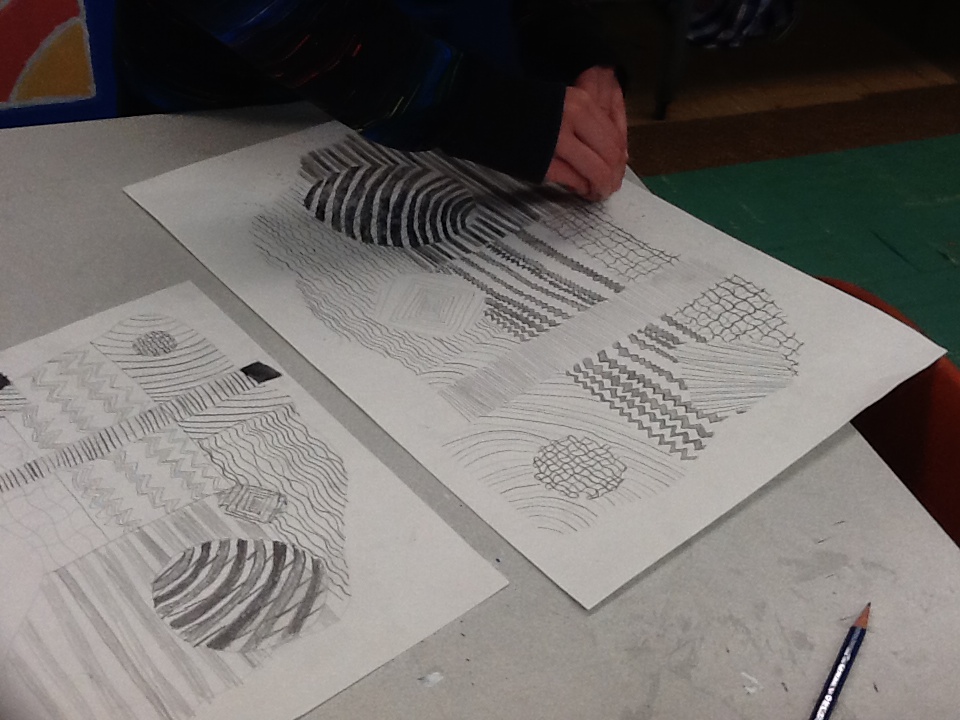
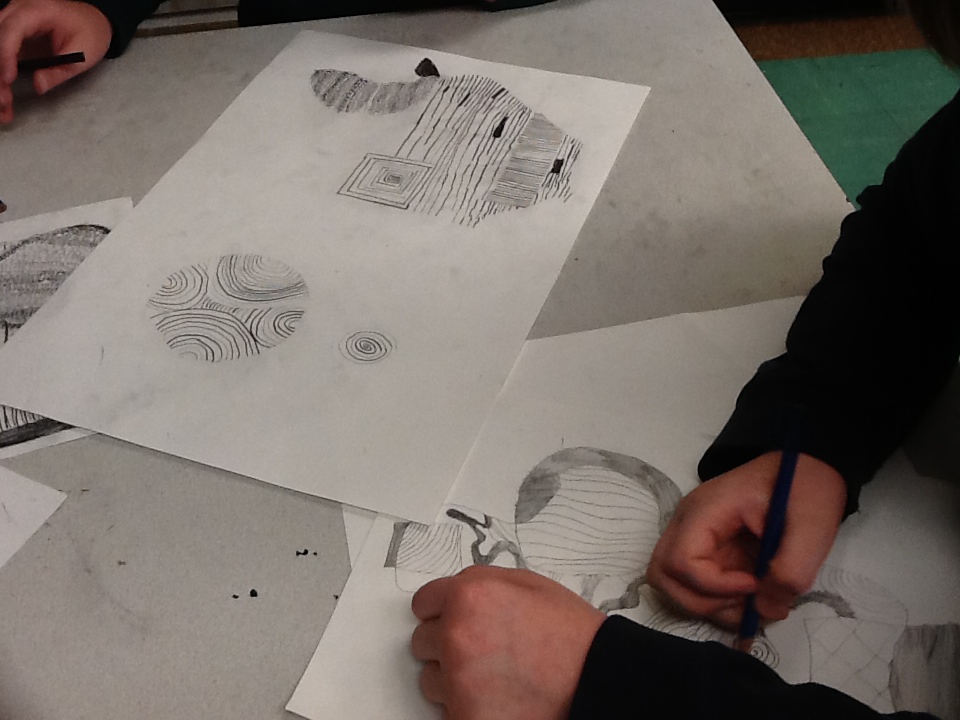
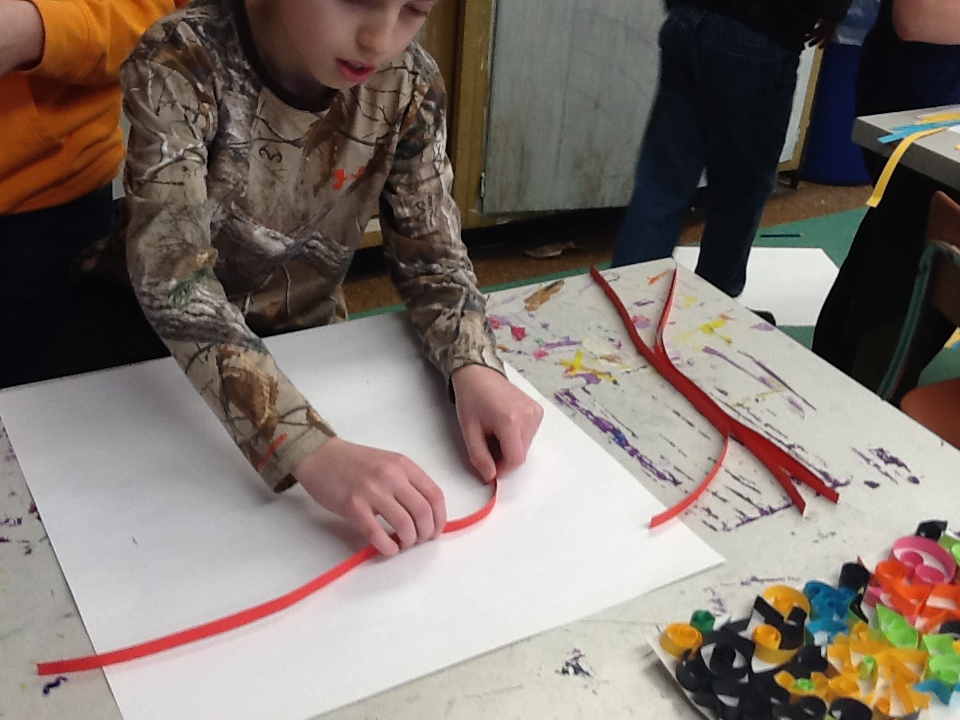
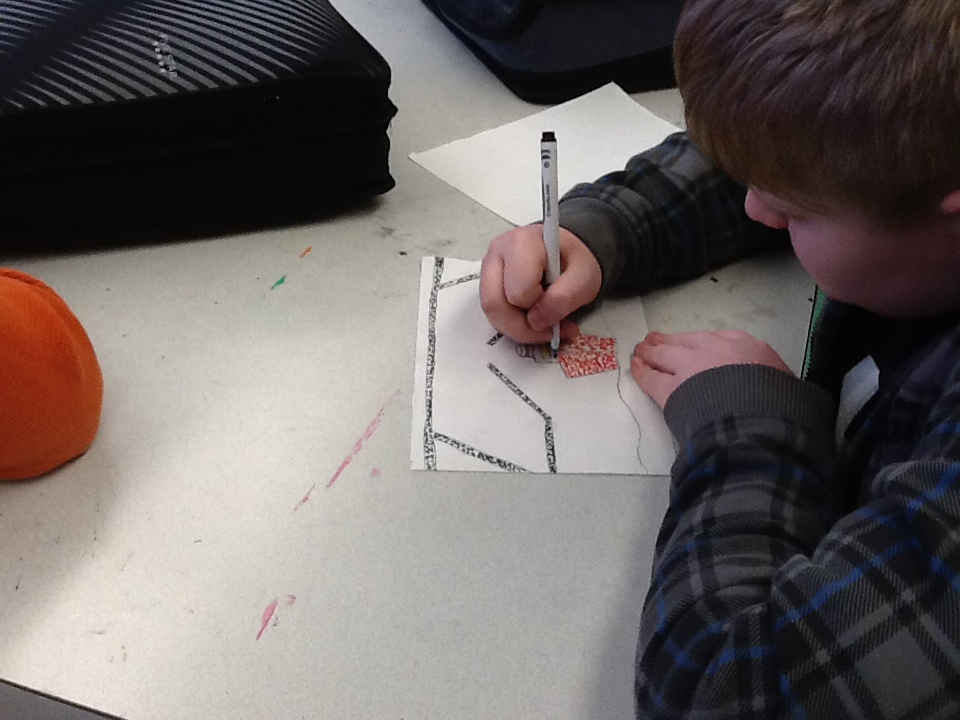
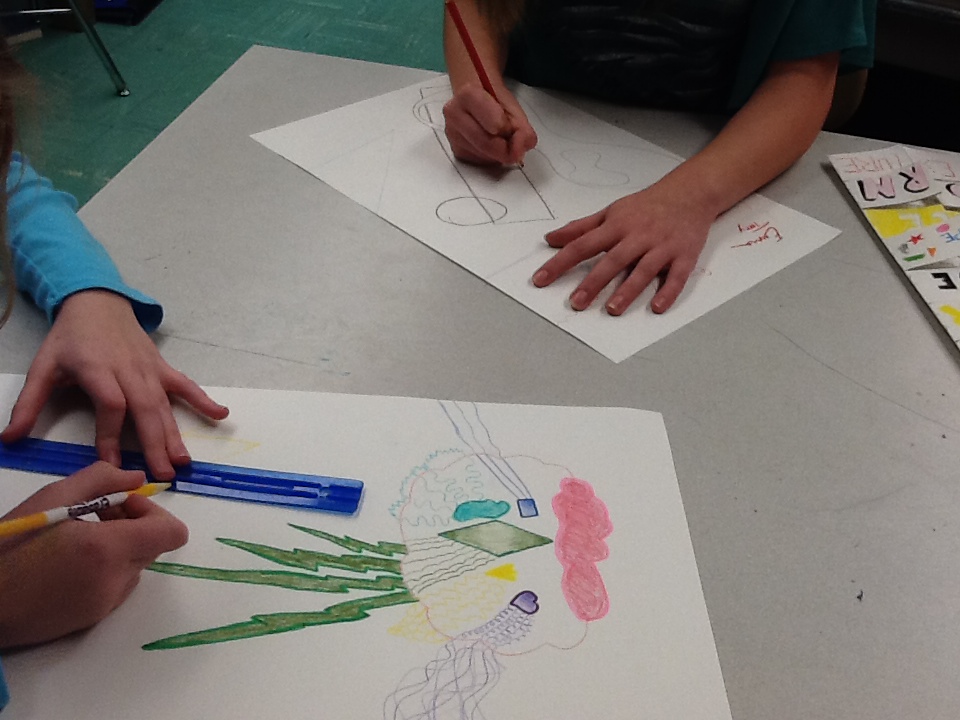
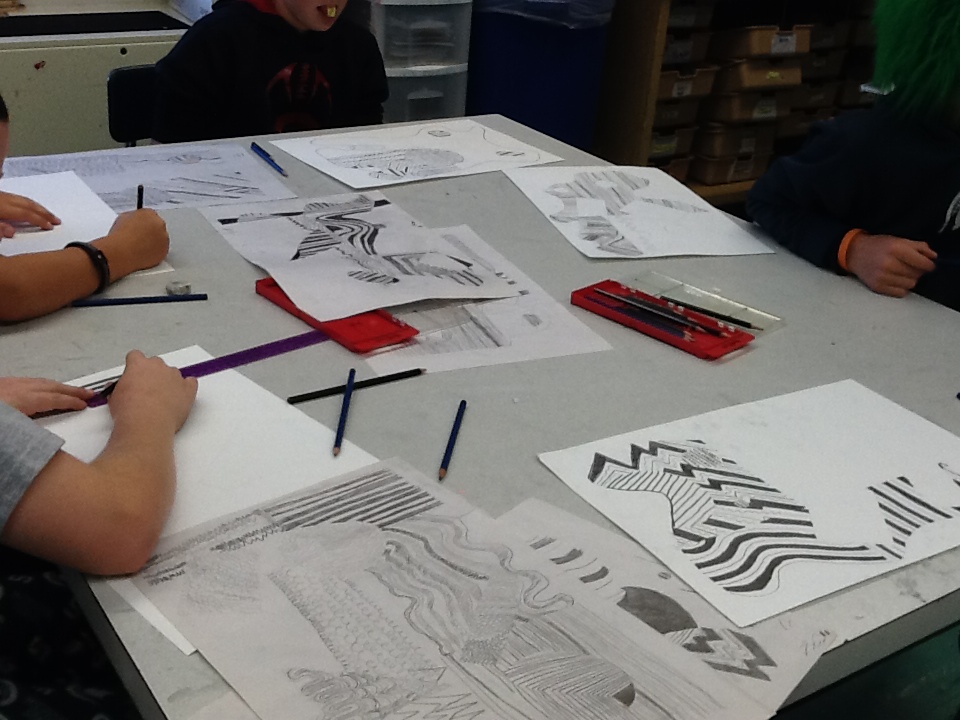
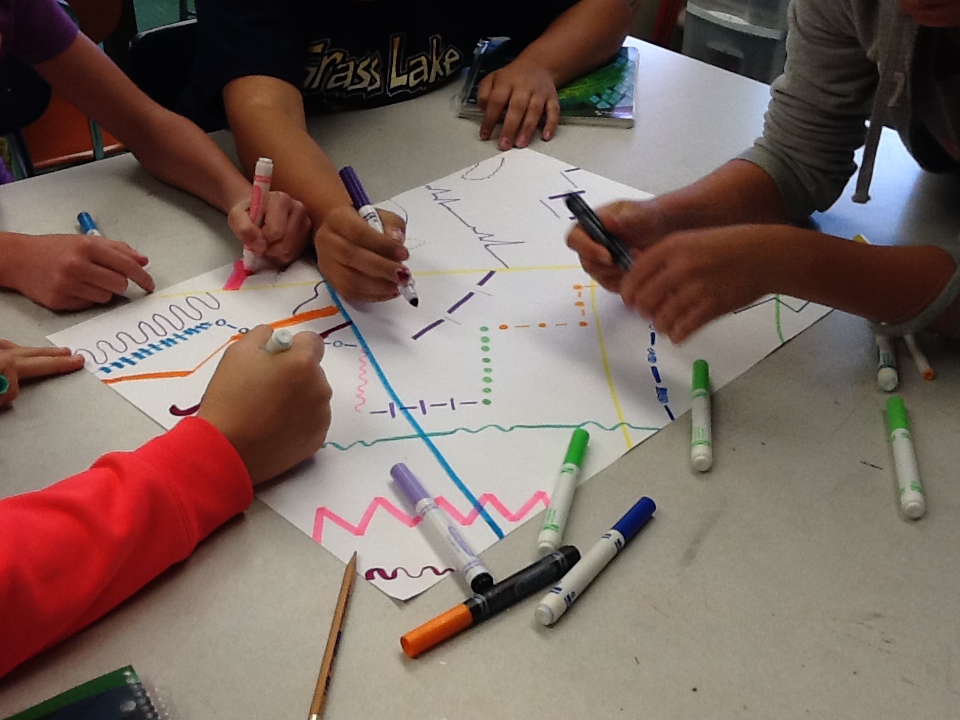
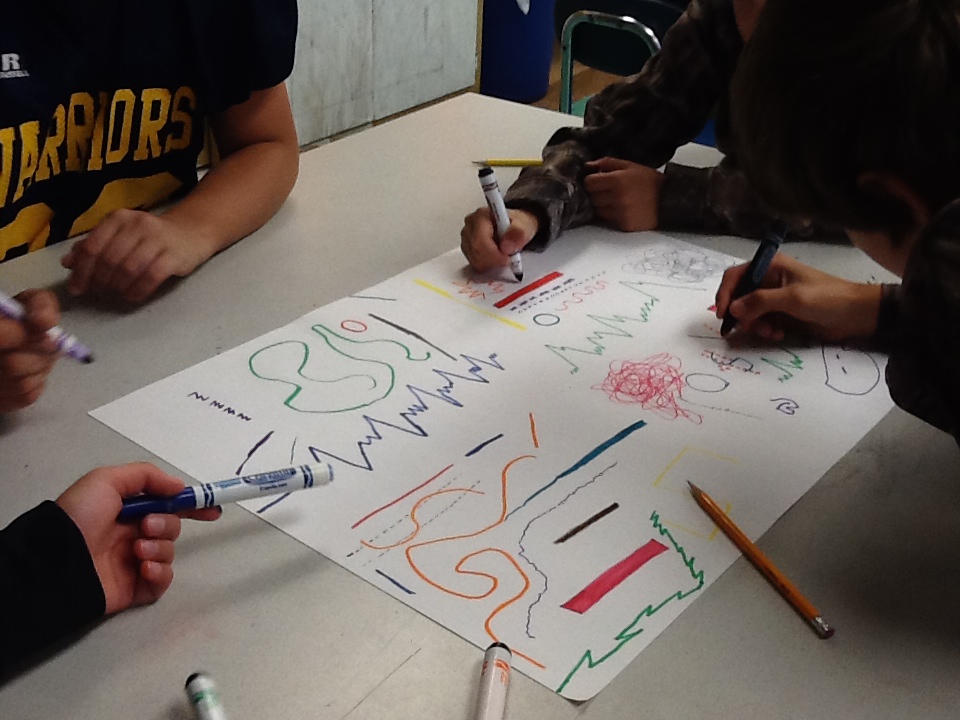
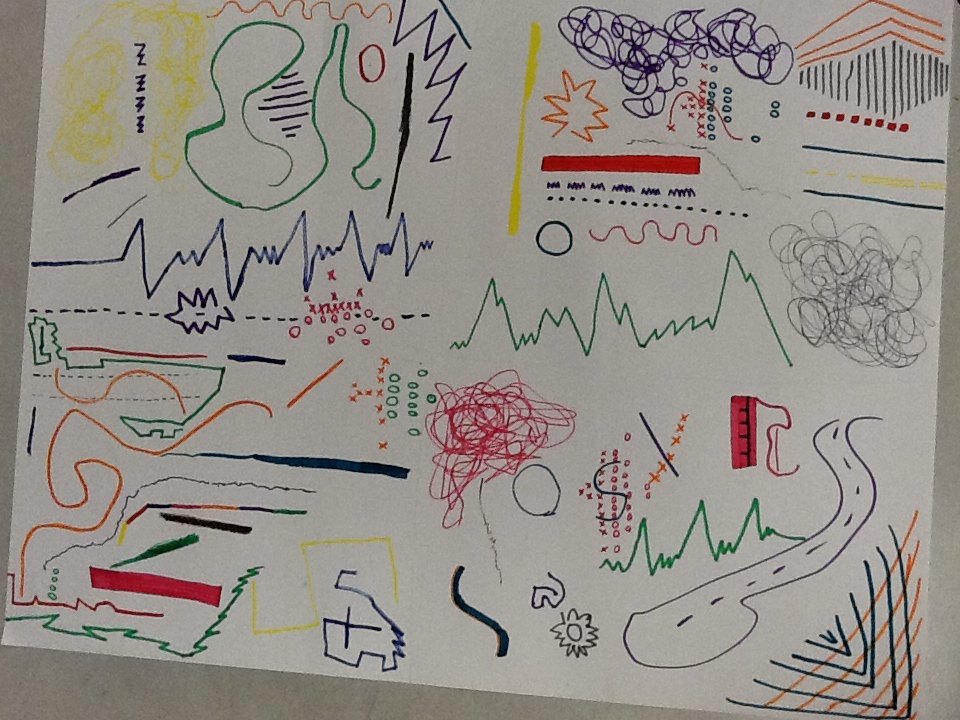
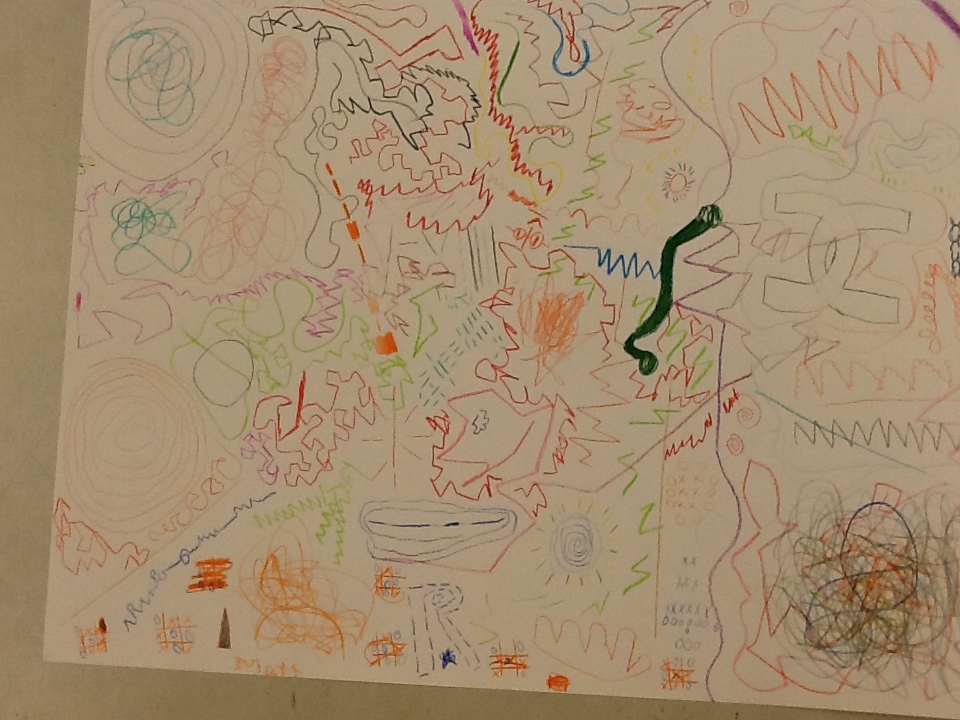
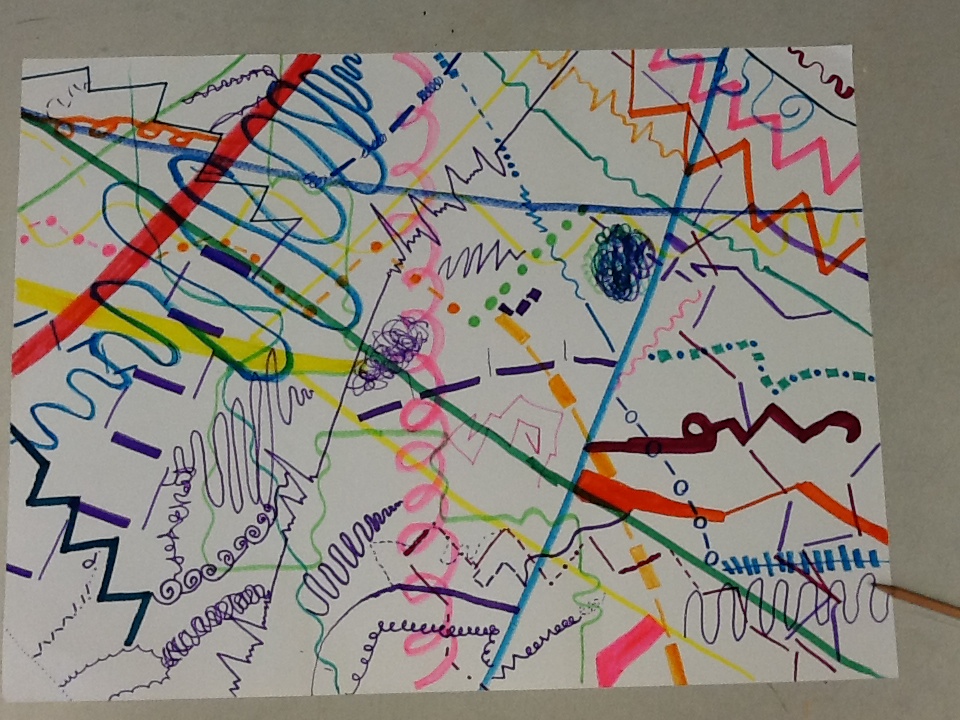
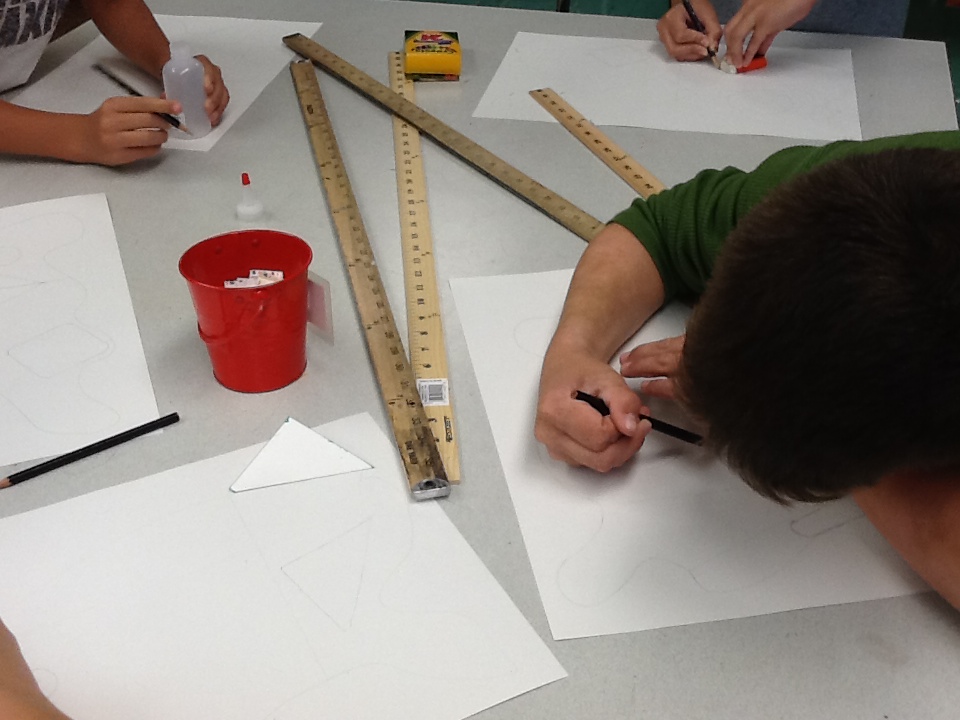
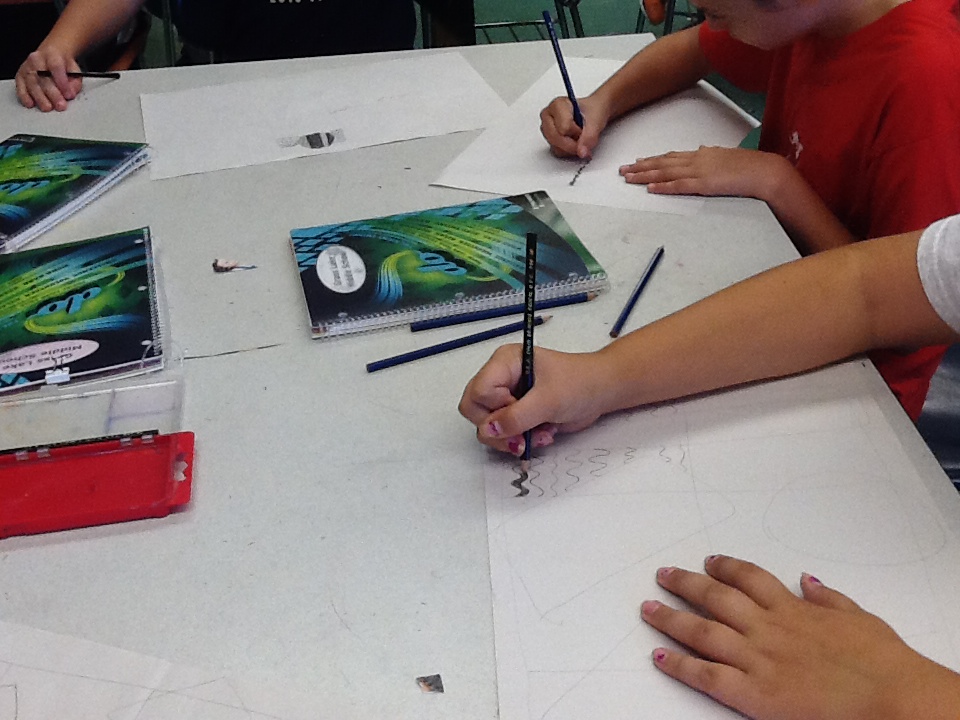
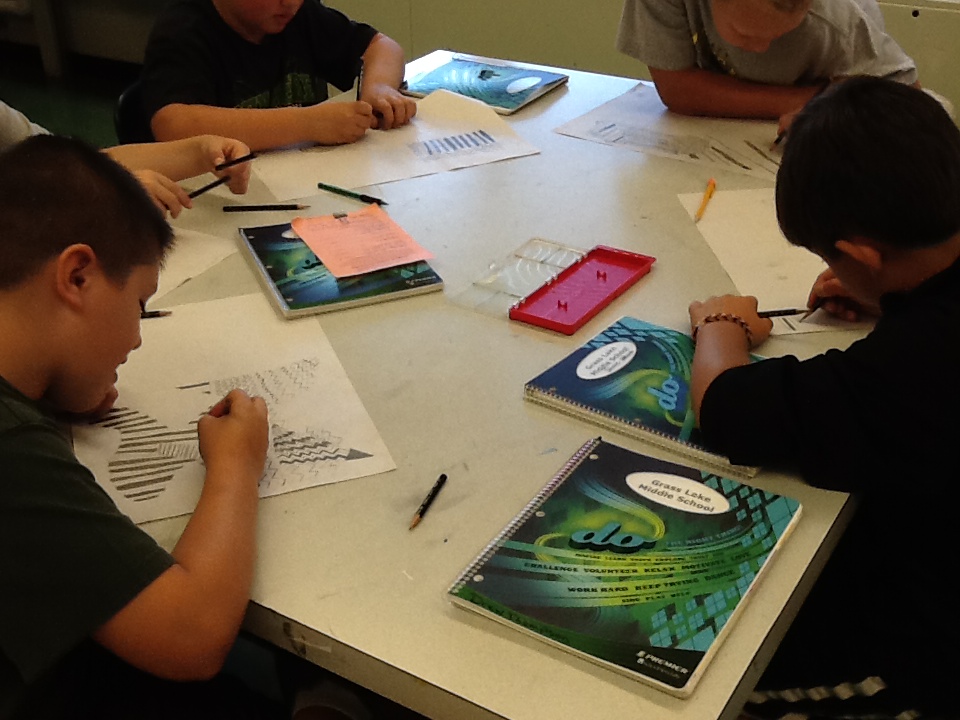
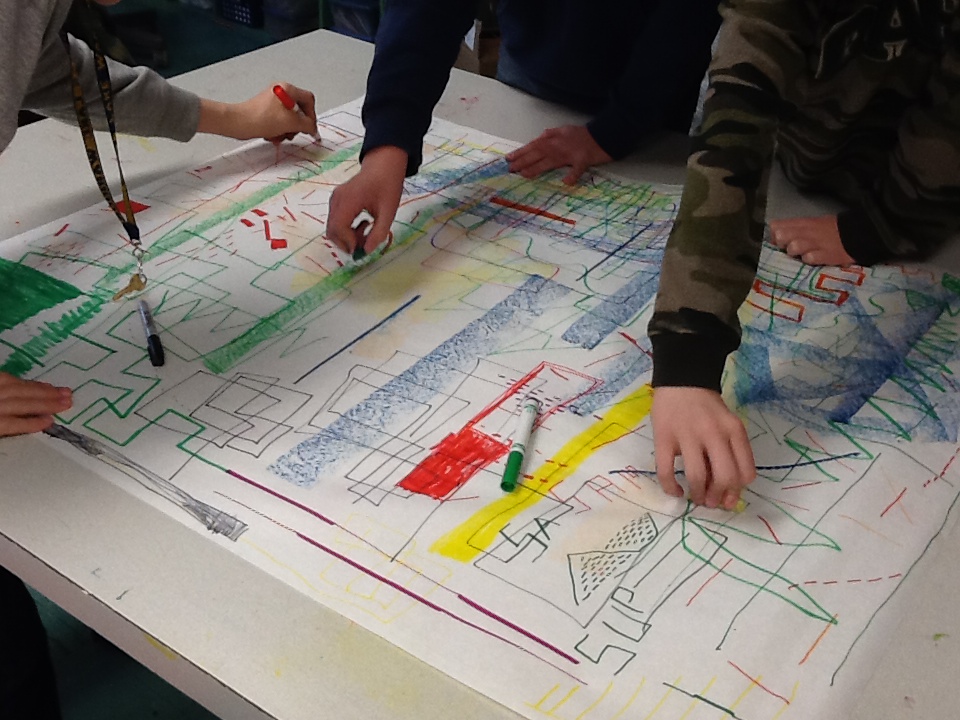
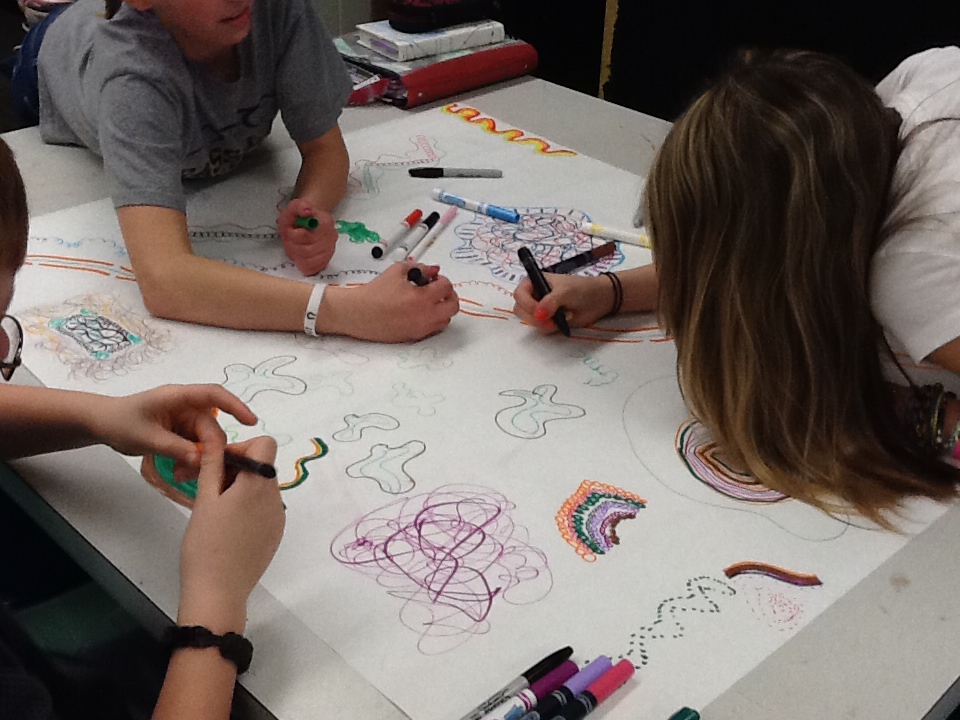
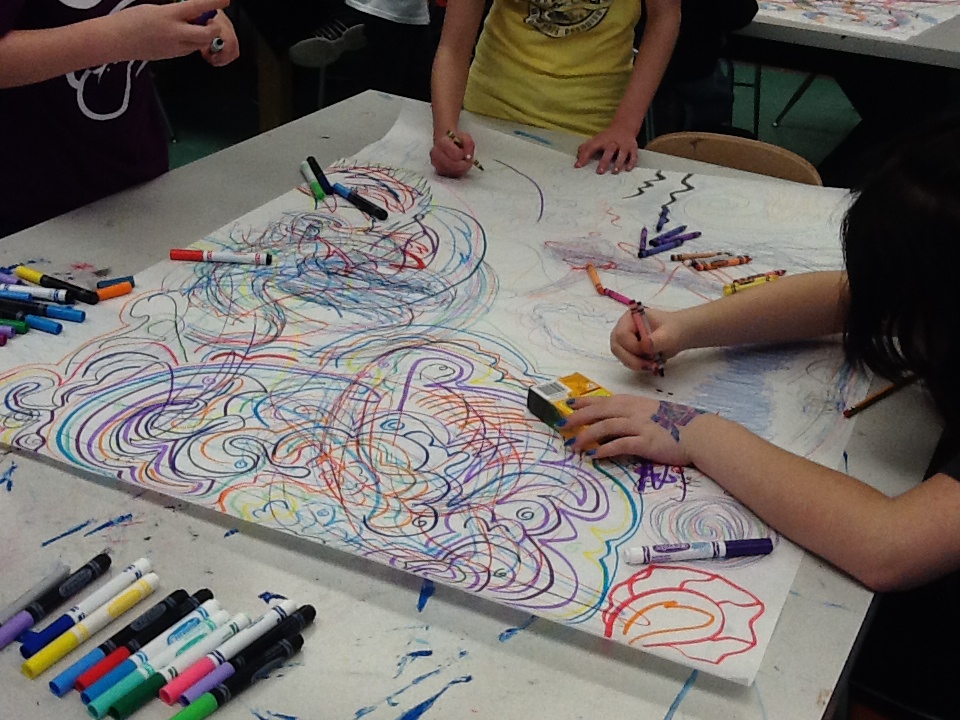
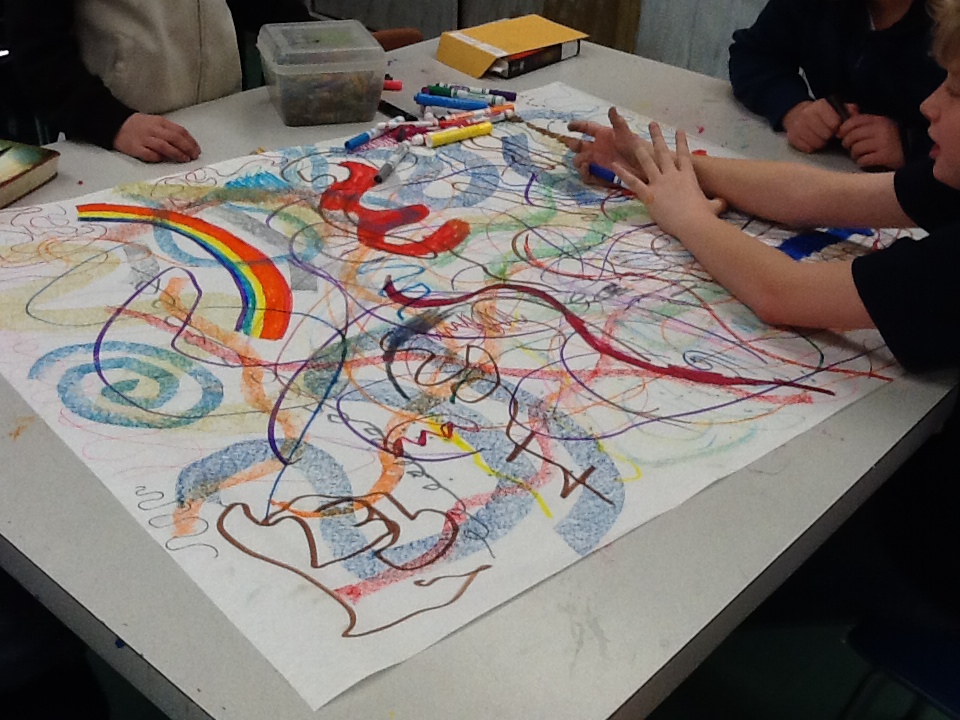
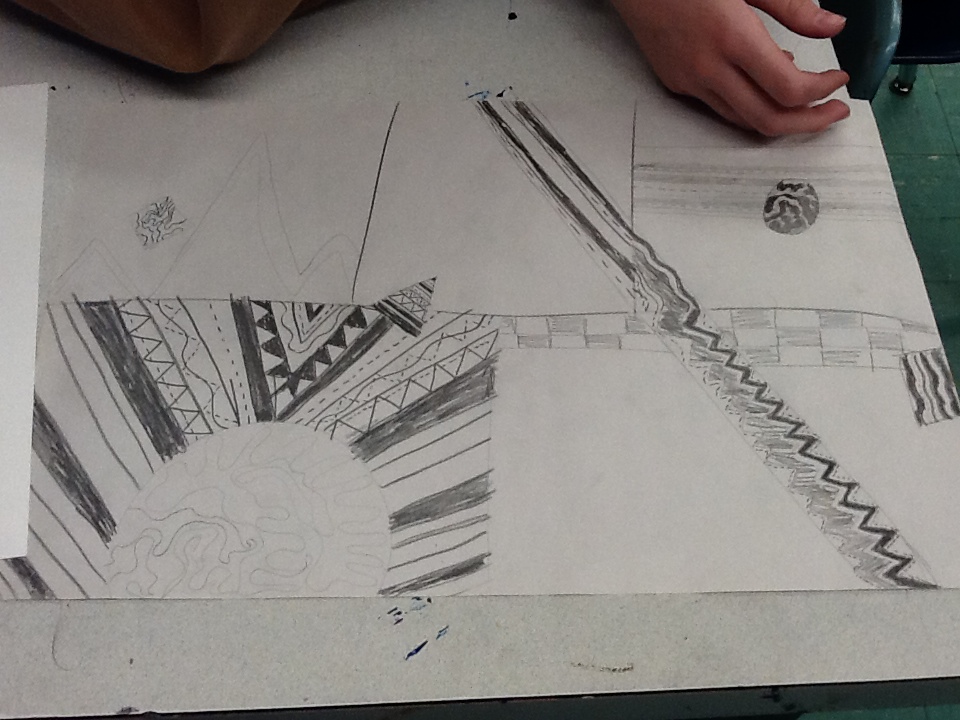
Fresh off of 6th grade camp, ART 6 students are experimenting with the two most basic elements of art- line and shape- in this piece. To start our pieces, we took a day to review our elements by writing blog posts, which will be posted later this week. Then we had a class discussion on line and what exactly is a line? We addressed misconceptions that line are the same width, height,value, etc. Students then were challenged to create collaborative pieces that showcased as many different kinds of lines they could think of using different materials, such as, crayon, oil pastel, marker and colored pencil.
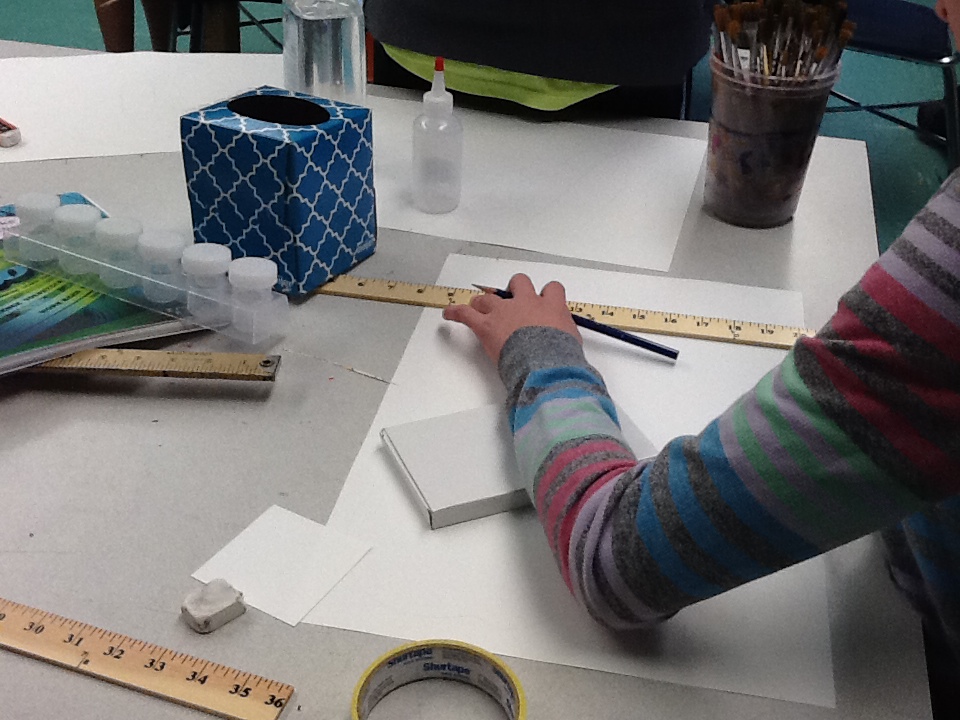
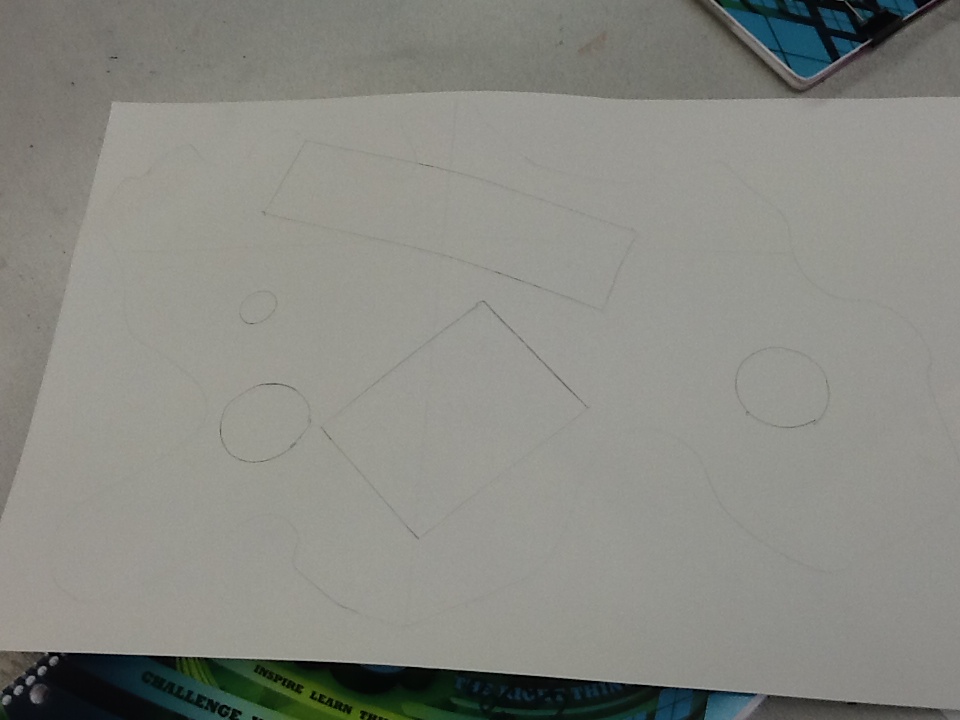
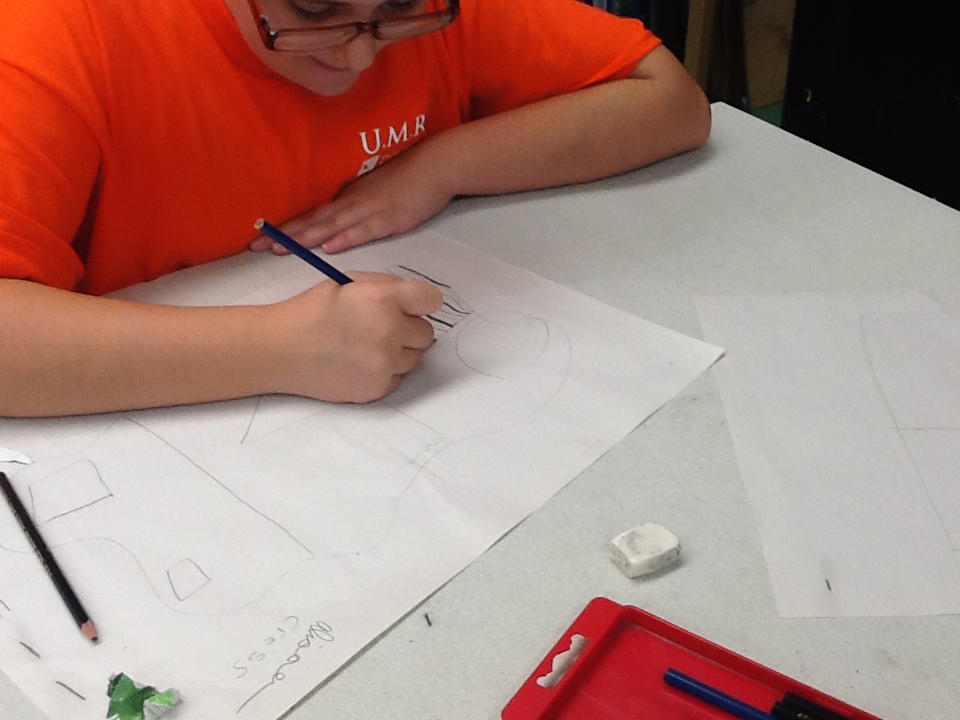
To start our actual final pieces, we walked step by step through the requirements of the rubric. Students drew their organic shape "canvas" keeping composition in mind, then divided their background space. After they finished their background spaces, they added two-dimensional geometric shapes to create an interesting foreground composition. The final pieces will be filled with contrasting line to accentuate the different shapes within the piece. Wednesday, we drew rough sketches of our final piece to play with contrasting line and practice the lines we want to use in our final pieces. You can see what the final pieces will resemble above. Our progress is to the right. |
pieces in progress |


taking a break in art-6th grade camp
Today GLMS sixth graders departed for 6th grade camp- a time honored and much anticipated Warrior tradition! I will be busy preparing for our upcoming projects while they are gone this week. Our projects will be back in full swing once they return! Check back next week for our newest creations!
elements of art foldables
 Our elements of art classroom bulletin board
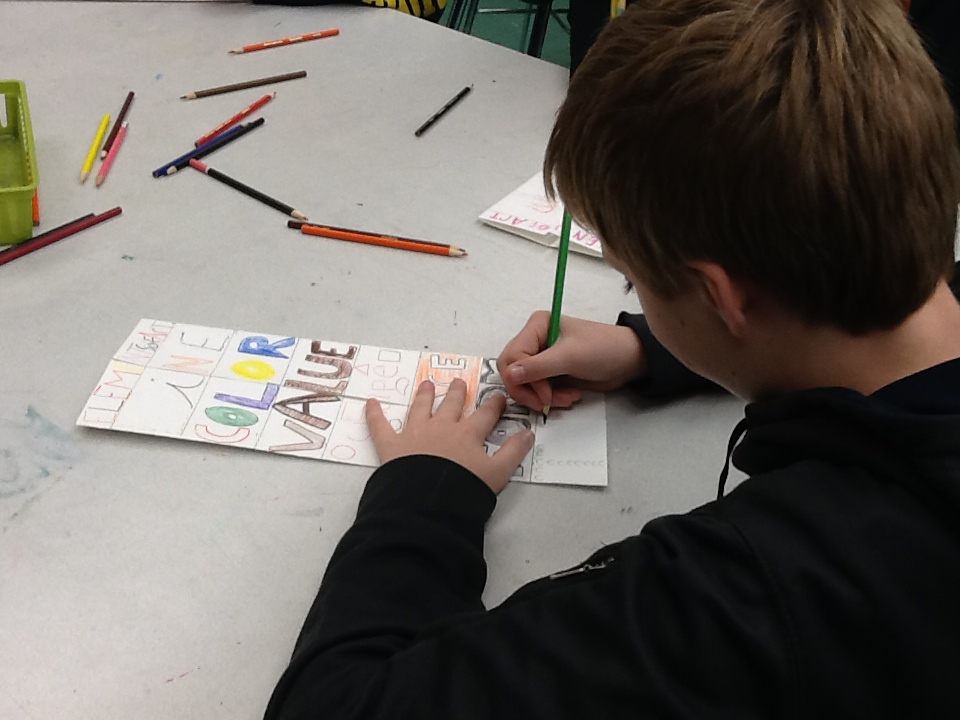
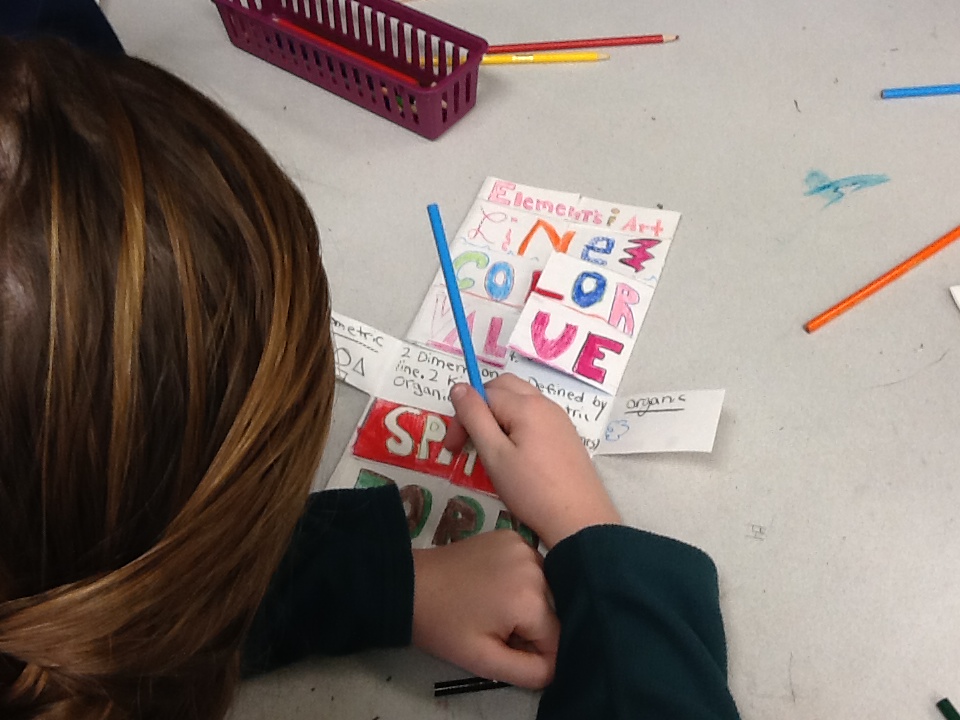
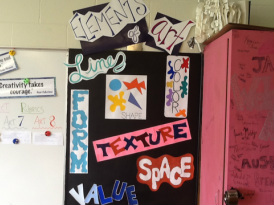
ART 6 is going back to the basics for our next project. We are studying the seven elements of art. Artists use the seven elements (along with the six principles of design) to create their pieces. The seven elements are used to create interest, focus attention and invoke emotion in artwork. ART 6 students are making a foldable organizer to learn about the seven elements. The seven elements of art are: Line, Color, Value, Shape, Form, Space and Texture. Students will use these as guides while creating their own mini-pieces of each element, as well as, larger pieces throughout the year. Below you can see our progress.
welcome to art 6!
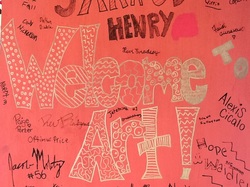 Graffiti Wall in our Art Room
I want to welcome you to our class website! This is the page where you will find all things ART 6- what we are doing in class, artist and project descriptions and student works in progress. Please check back often as I update the site almost daily. You will be able to find resources in the form of links, videos and forms that tell about the artists we are studying, art genres we are working on and the materials we are using.
Below you will find our first project: Keith Haring Graffiti People.
Below you will find our first project: Keith Haring Graffiti People.
keith haring graffiti peopleOur first project is based on the graffiti works of late 20th century artist Keith Haring. Haring was a NYC artist whose works provided social commentary on the time's biggest issues- AIDS education, drug addiction and world peace. His graffiti style artwork could be seen in subways, on buildings and he is know considered one of the greatest graffiti artists of all time. Haring died at 31 due to AIDS complications in 1989 but his art is still known and collected all over the world.
To create Haring-styled graffiti people, our ART 6 students first were introduced to Keith Haring via an internet scavenger hunt. You can access these website in the resources tab above. This activity gave them a chance to build a first impression on Haring's works on their own. The next day in class, they refined their notes from the scavenger hunt by listening, participating in and taking notes on a Powerpoint presentation about Haring. We talked about the characteristics of Haring's graffiti styled drawings and they were given a chance to sketch 6-8 things that represented themselves on the practice paper. Monday was the fun day that we traced each other to create our body outlines. We refined our preliminary sketches to reflect what the rubric required and got to work on our final pieces the next day. You can see the rubric below. 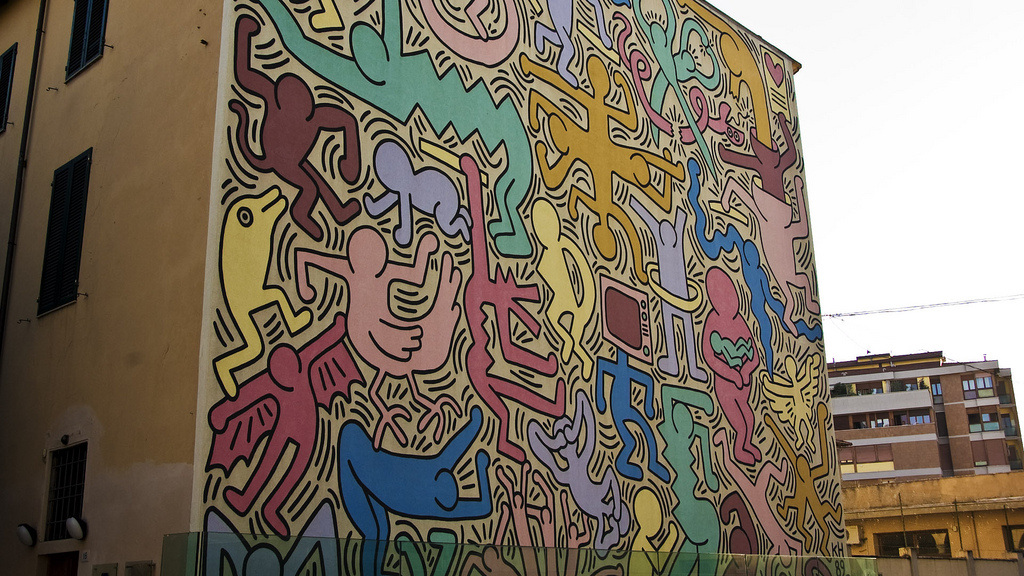
keith haring graffiti people rubric
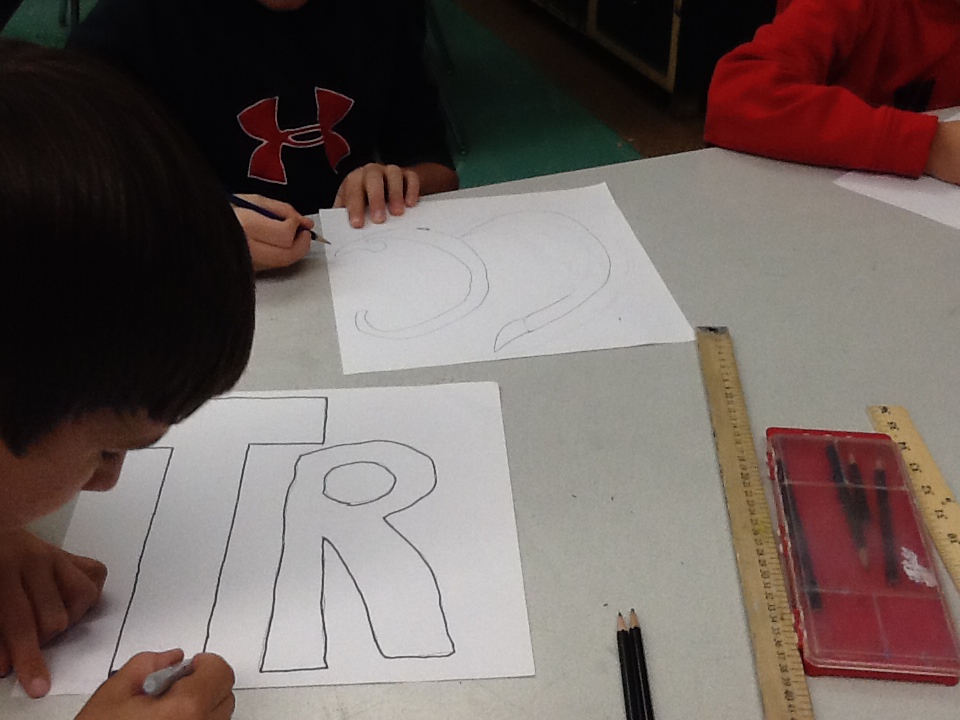
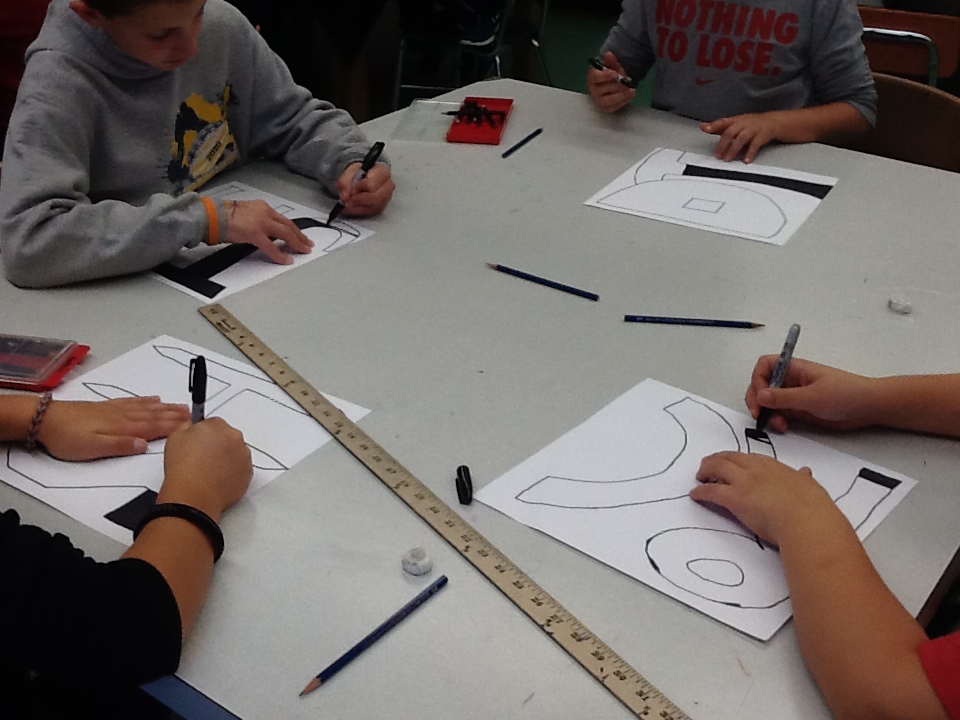
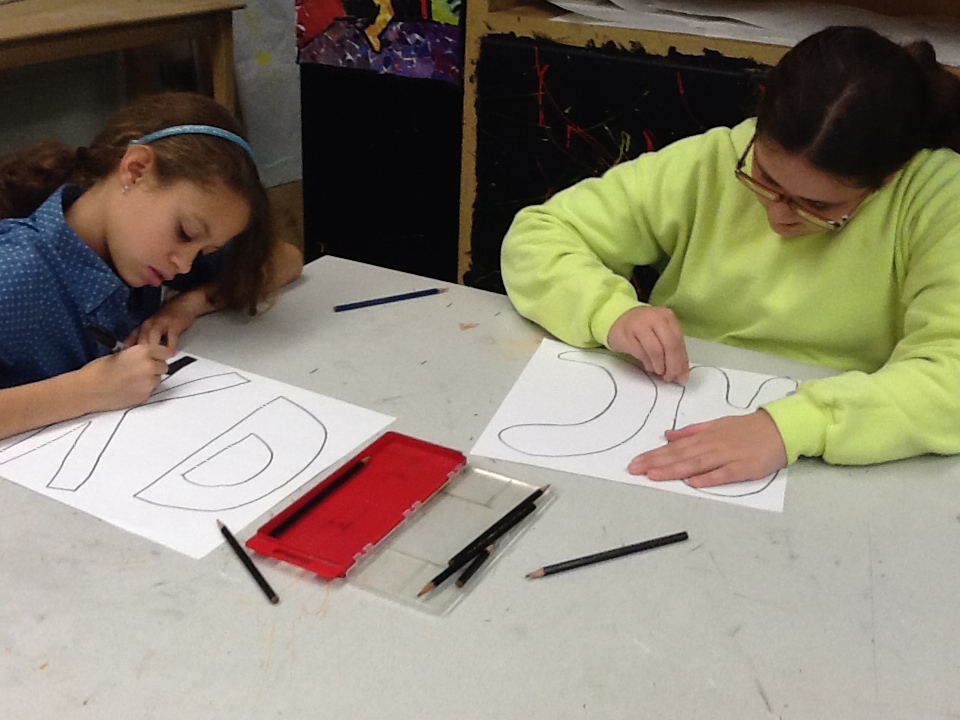
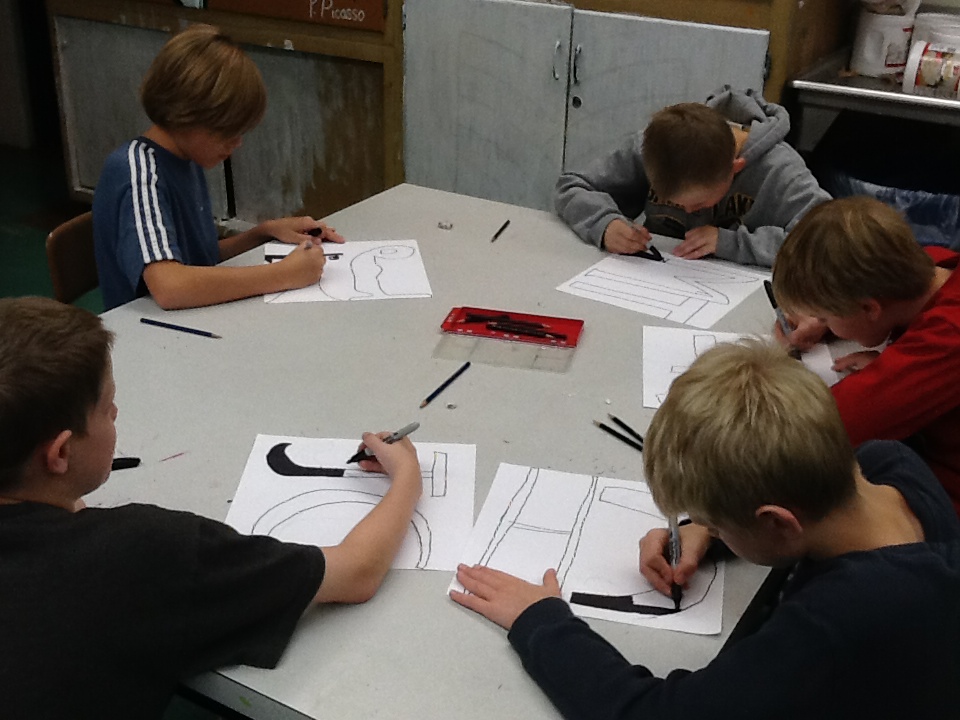
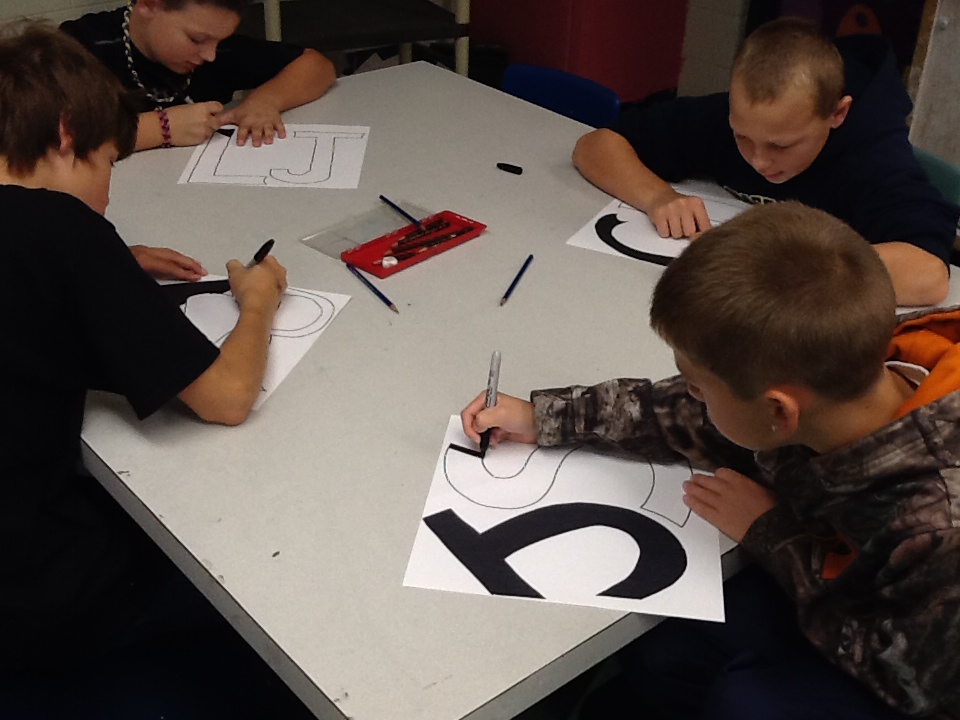
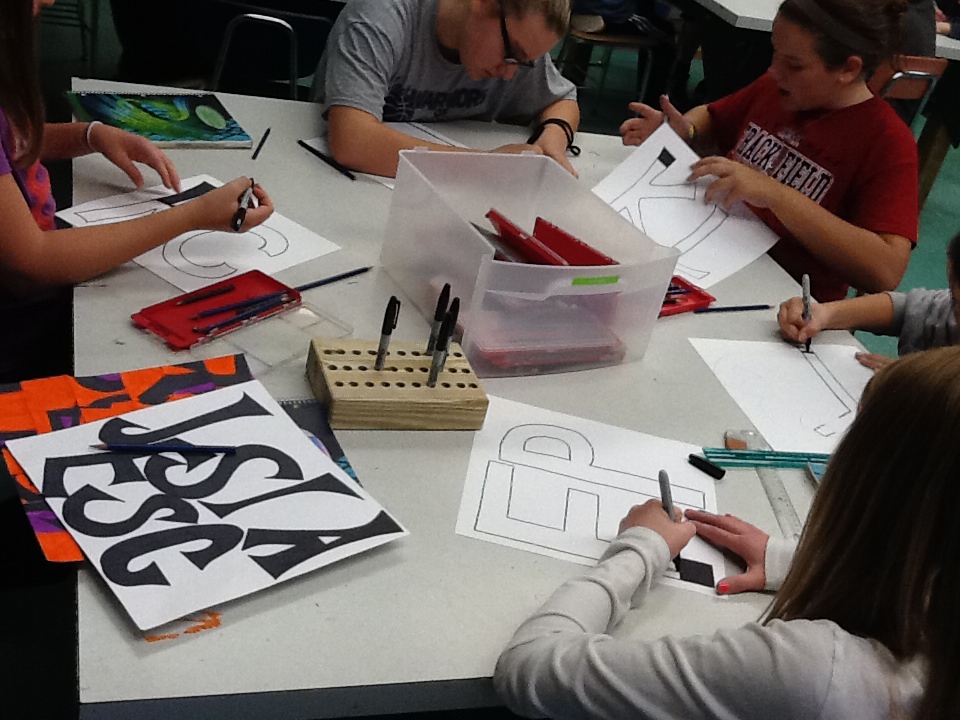
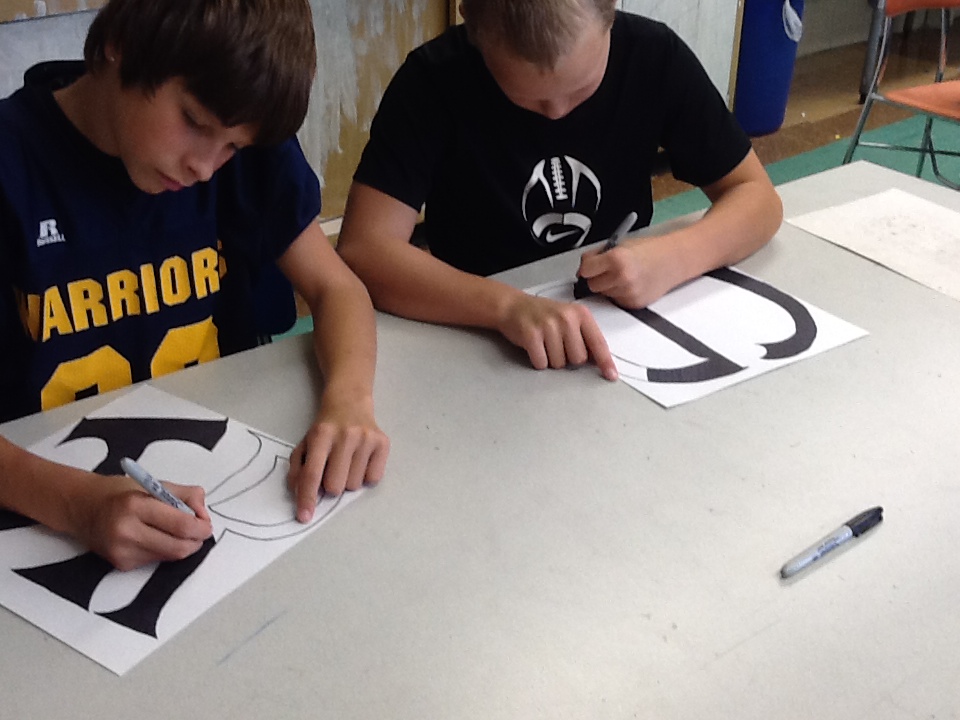
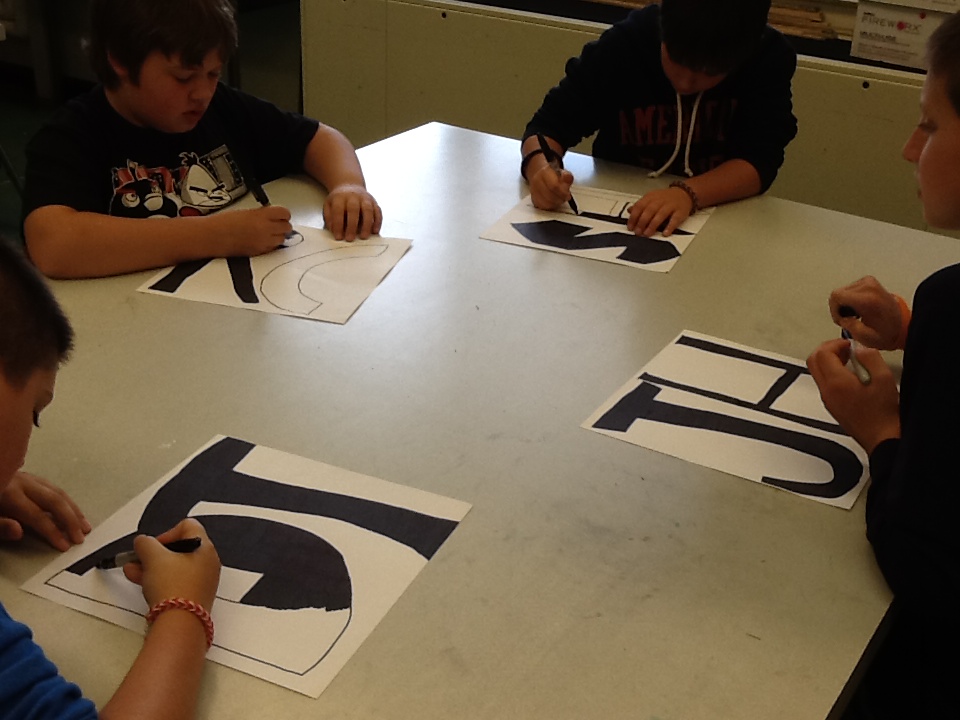
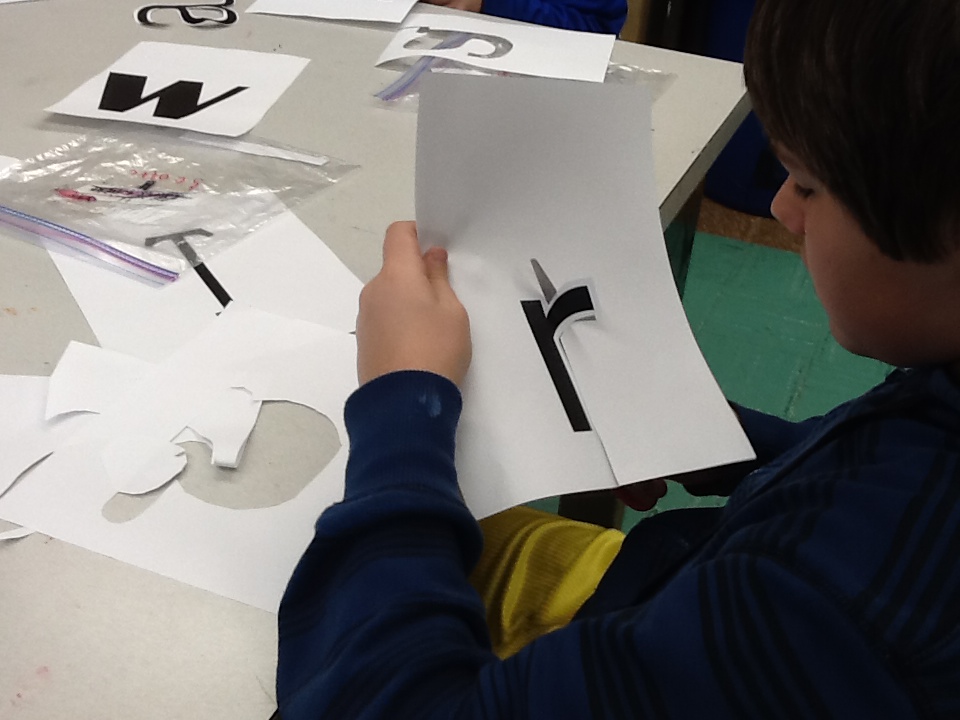
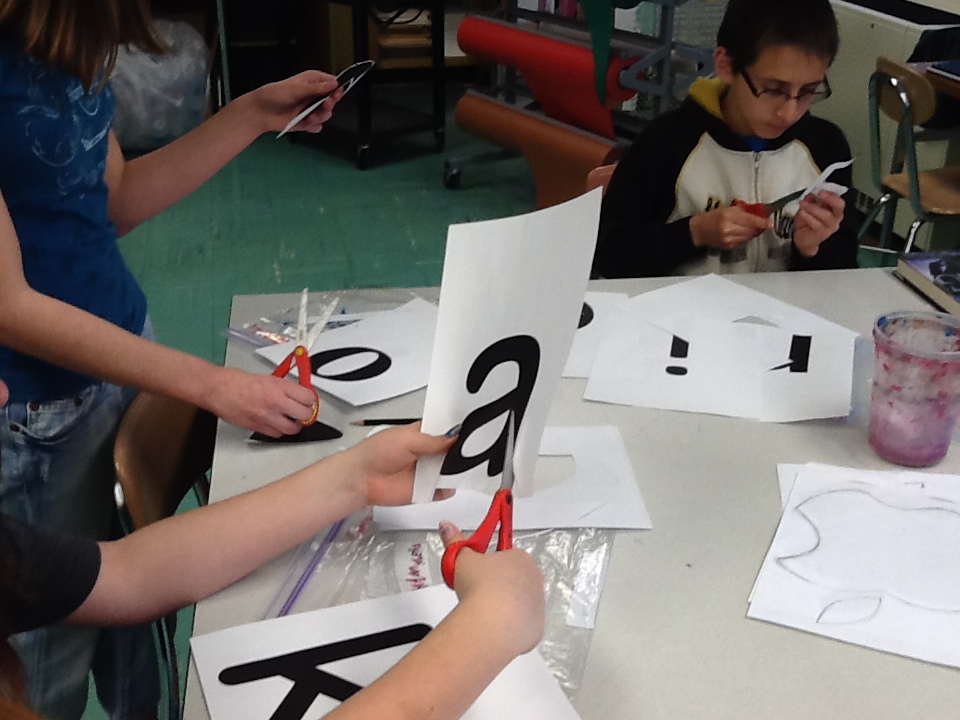
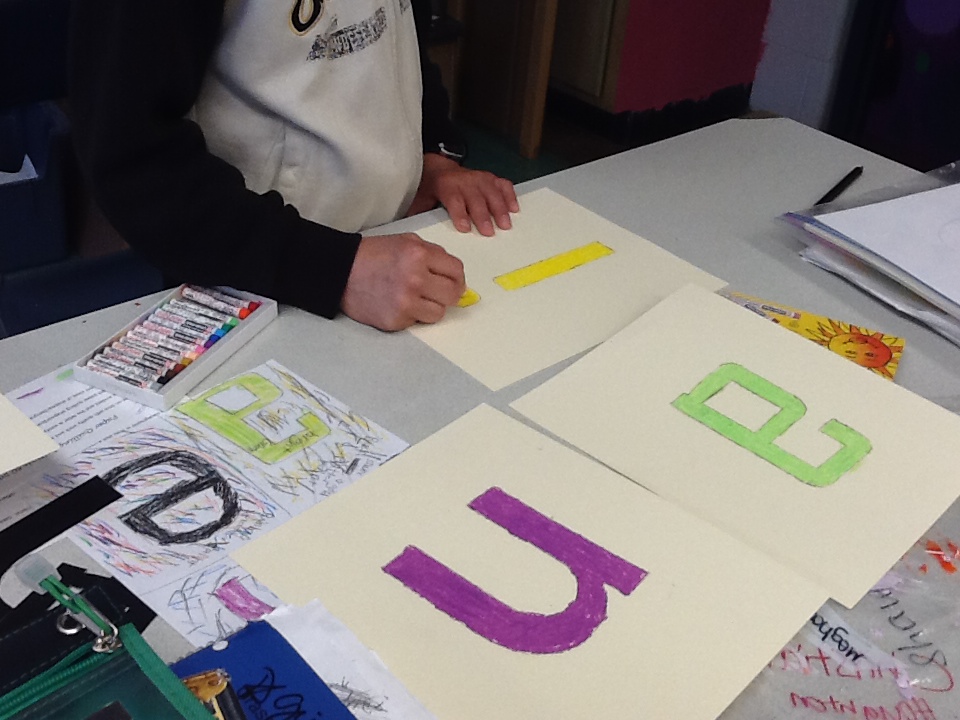
collaborative quotesART 6 is doing a collaborative group project this week. Students are creating 2 art quotes using letter tiles. They do not know what the quote is, what order their assigned letters will go in or who the quotes are by. Students were assigned 4 letters to create our 2 quotes. They took those 4 letters, created Word documents for each letter and found a different font for each letter. They then cut out their large letters, traced them onto card stock and then planned their background designs. Each letter will be painted, colored, etc. in a solid color of the student's choice but each background - the sky's the limit! Each student is responsible for creating 4 different letter tiles in any medium they choose- paint, oil pastel, crayon, marker, collage, colored pencil, watercolor, etc. Once finished, we will hang up our tiles in the correct order in our hallways and watch the quotes come to life!!!
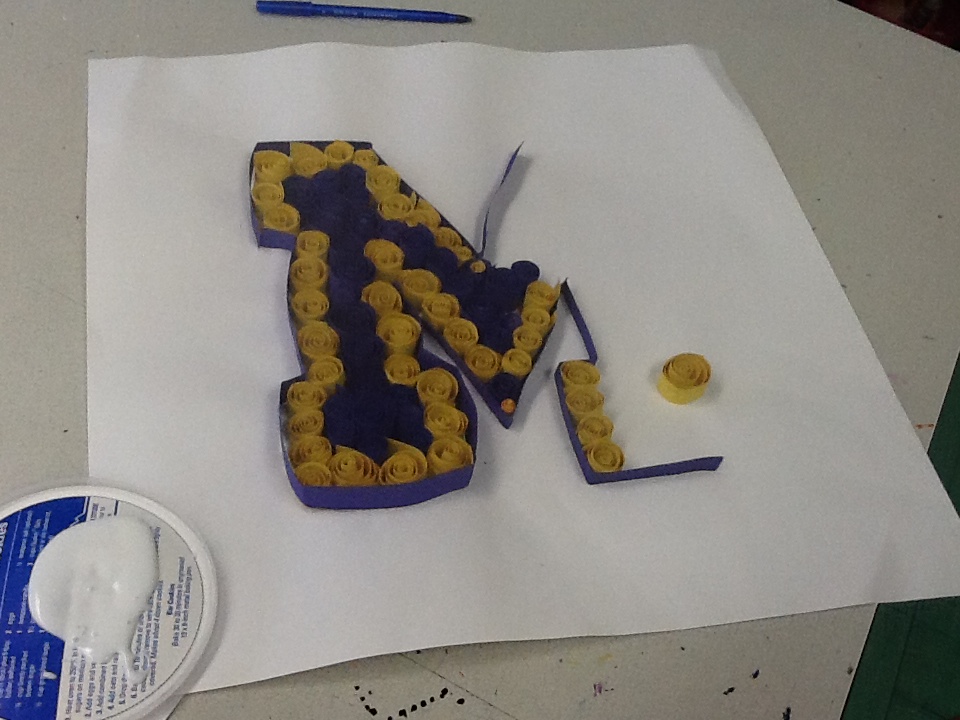
paper quilling initials
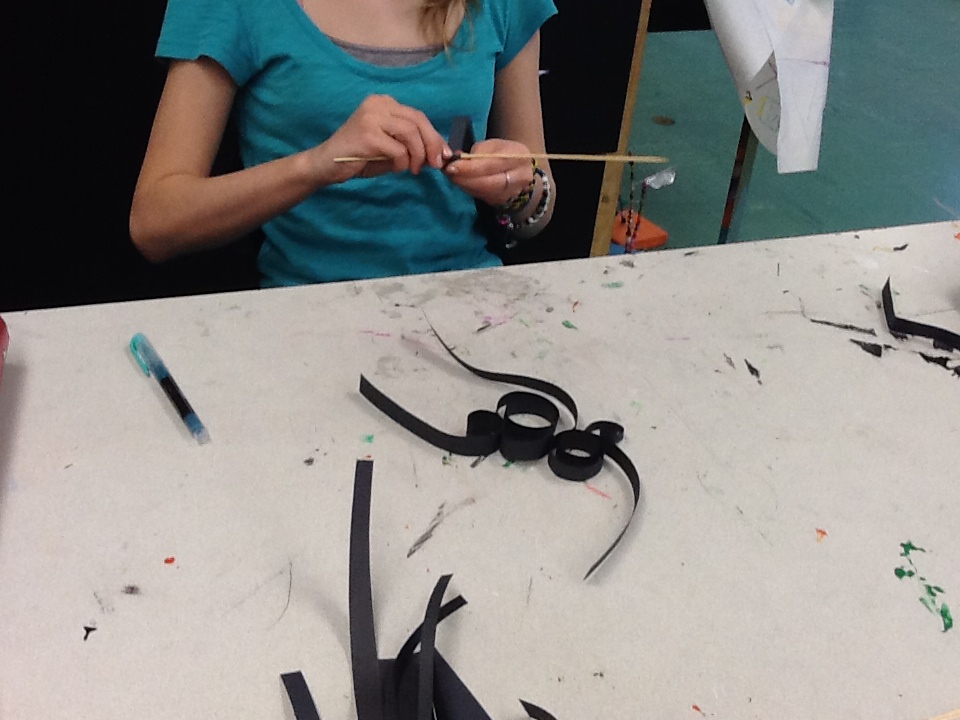
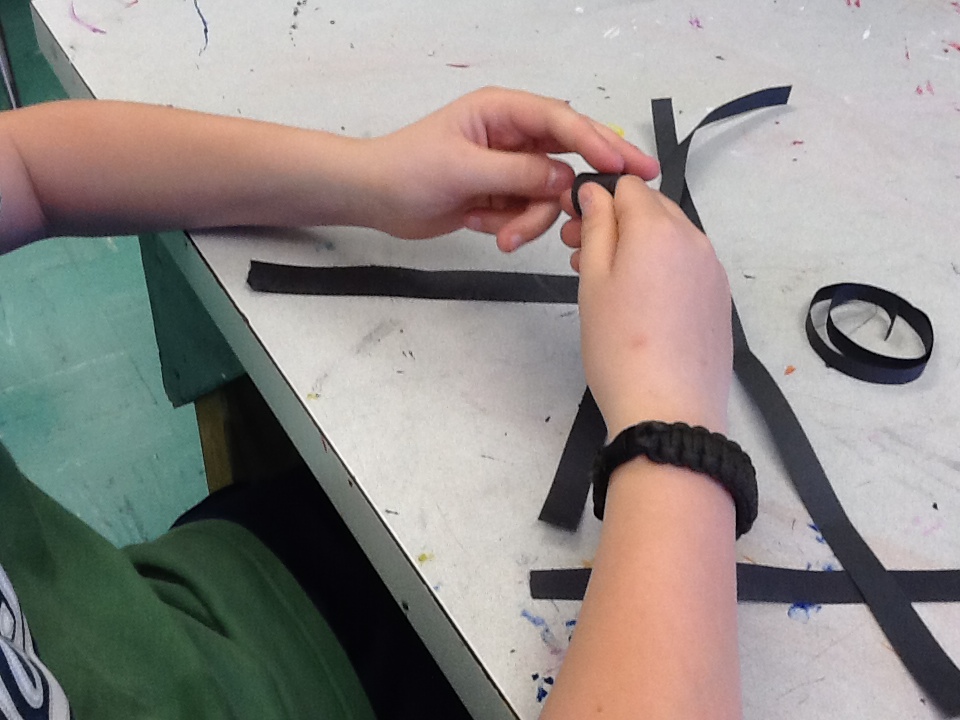
Paper quilling is the art of curling, folding and manipulating paper to make artistic designs. ART 6 students created paper quilled initials of their first name They got to use black and colored construction paper mounted onto white paper as a background. First we practiced paper quilling techniques, sketched our designs the got to work manipulating our paper strips with everyday art room materials. We used markers, pencils, kabob sticks, rulers, scissors, etc. The suns turned out great and each one is unique to its maker. Check them out in the ART 6 Gallery and see our process to the right!
lively line pieces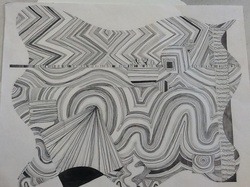 Untitled by Mrs. Crandell
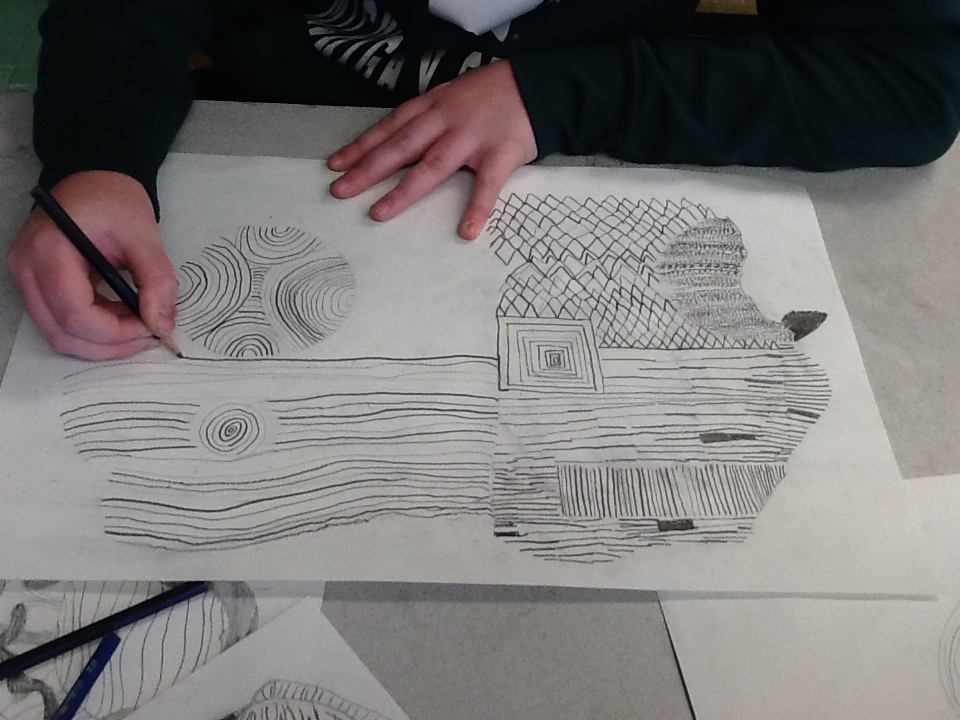
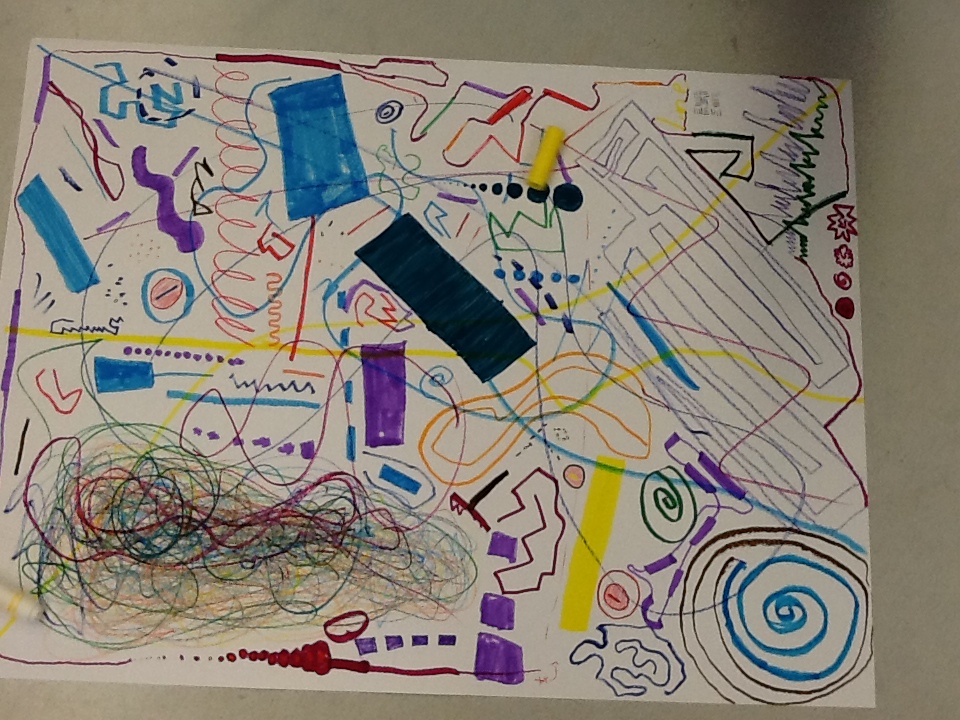
What is a line? Are all lines the same? When is the last time you played with lines? ART 6 is playing with line this project. Looking at line heights, widths, color and shape. Final pieces will be a stunning combination of lines and creating the illusion of shape with line. To start, students reflected on line- how they draw lines, what lines look like and then were challenged to create a table piece to show as many different kinds of straight, then curvy lines as possible. To start our final pieces,students created a "blob" shape on drawing paper, divided into background spaces, added shapes int he foreground to create an interesting composition then planned the lines they would use to fill each space. The idea is to create the illusion of shapes jumping off the paper by anchoring it with a contrasting yet interesting line combination. Check out our process over the next week on the photo gallery to the right and check back late next week to see our final pieces in the ART 6 Gallery!
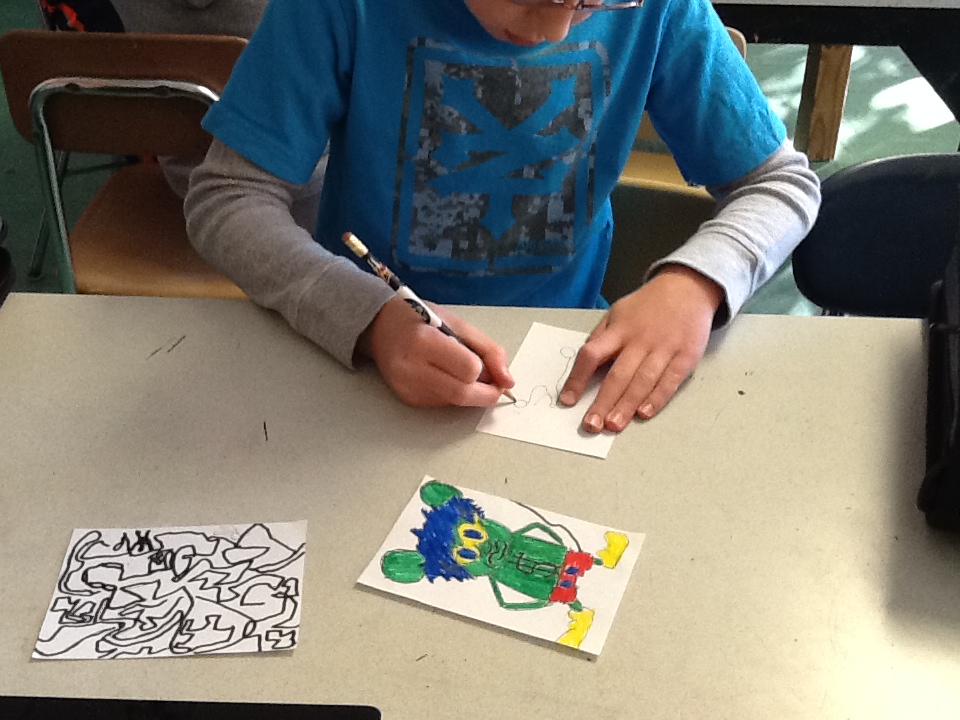
goofy collage portraits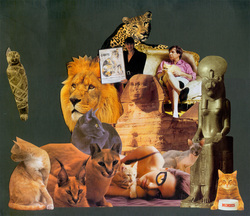
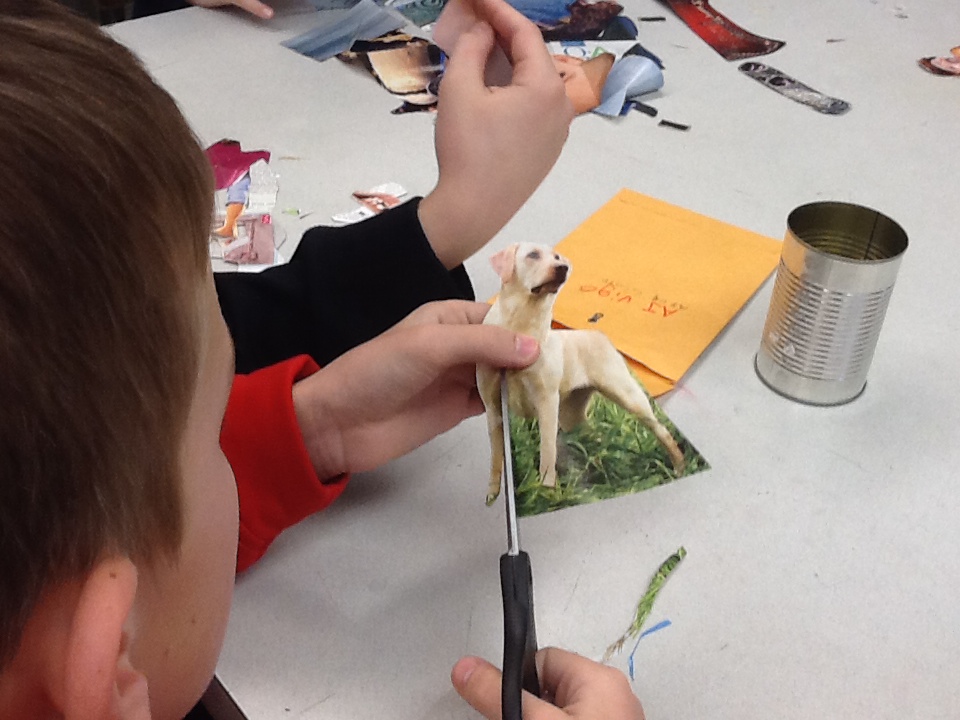
Collage is a form of art that combines many smaller pieces or elements to make a larger piece of art. Our ART 6 students are playing artistic Frankensteins and creating their own collage people. Each student is responsible for creating a unique person that is captured mid-activity. Student ideas range from eating Oreos, modeling and taking pictures of dogs. Check the final products out in the ART 6 Gallery!
|
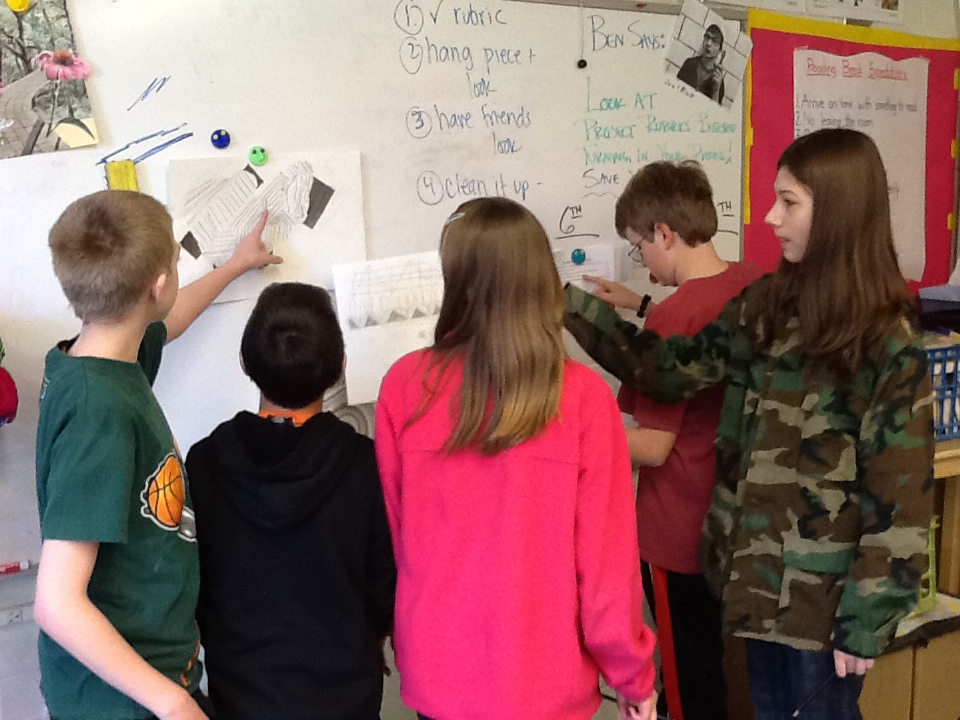
haring pieces in progresscollaborative quotes in progresspaper quilling practice and progresson our way to final pieces!As we headed into the final stretch, students reflected on their pieces as they neared the end of their projects. With peer evaluations. they consulted the rubric, sought critique from peers and found ways to improve their pieces.
Lively Linescollages in progress | ||


4th quarter artists!!!
We are happy to have our second quarter artists returning to end the year with art. The new quarter started this past Monday, April 8. Everything below this announcement is produced by 3rd quarter students and everything above is made by our current 4th quarter artists.
goofy collage portraits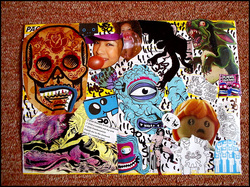
ART 6 students are playing Frankenstein and creating collage portraits. They are using magazines to build a person piece by piece. Each piece will depict a person in the middle of an activity- student ideas range from eating hot dogs, chopping down trees to swimming and running to cooking. Check out upcoming pictures of our work in progress to the right starting next week. Finished pieces will be in the ART 6 Gallery starting next Thursday, March 14.
eye popping paper quilling suns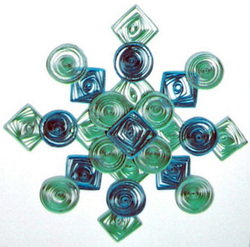
Paper quilling is the art of curling, folding and manipulating paper to make artistic designs. ART 6 students created suns with black paper mounted onto white paper. First we practiced paper quilling techniques, sketched our designs the got to work manipulating our paper strips with everyday art room materials. We used markers, pencils, kabob sticks, rulers, scissors, etc. The suns turned out great and each one is unique to its maker. Check them out in the ART 6 Gallery and see our process to the right!
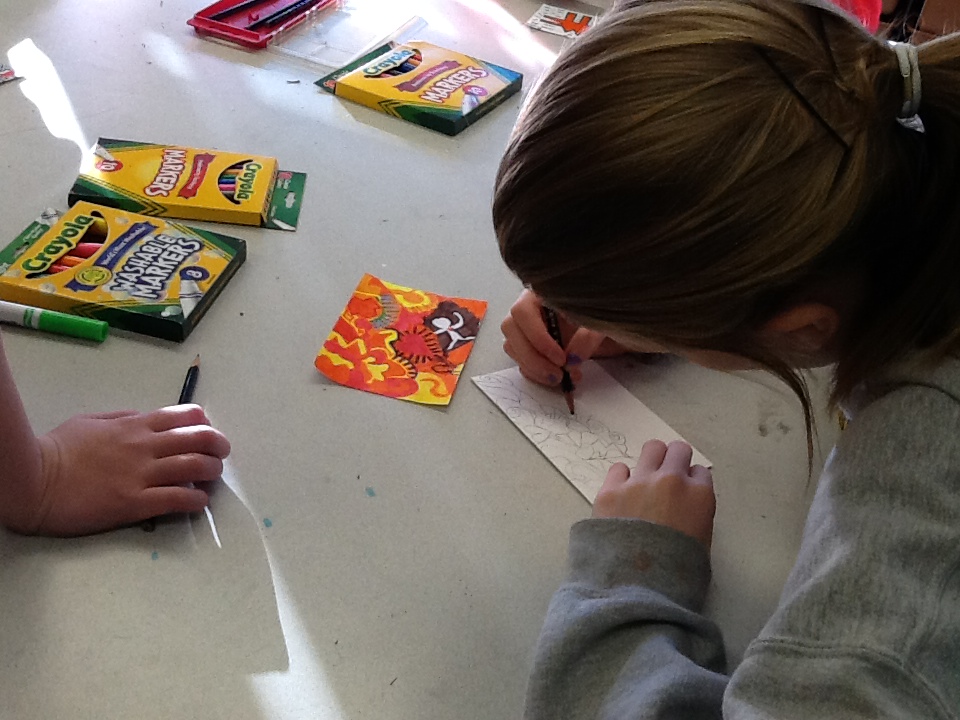
creature watercolor pointillism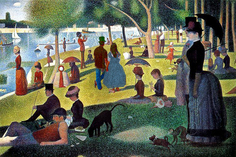 Sunday Afternoon on the Isle of La Grand Jatte
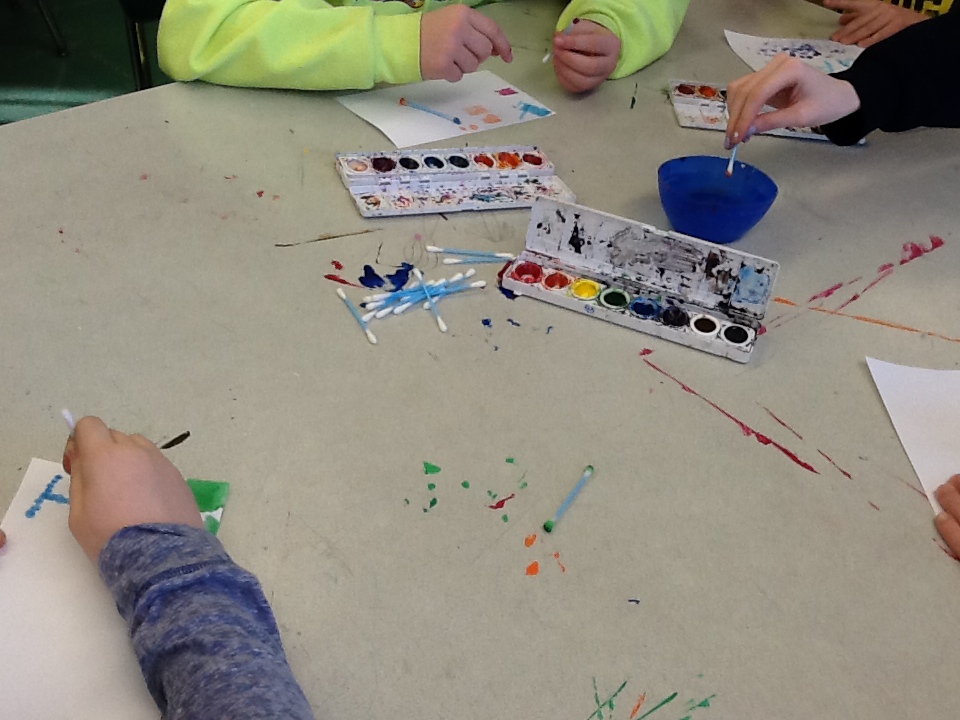
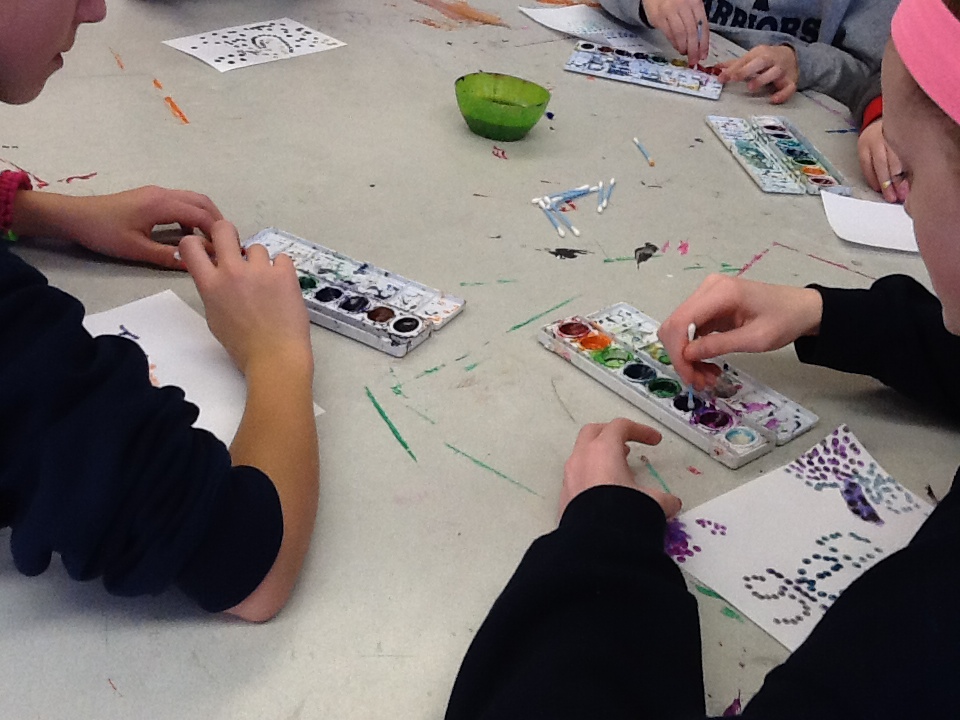
Our next project of the semester has students creating a watercolor pointillism piece in the style of the pointilist pioneer himself, Georges Seurat. Instead of blending colors on the canvas, Seurat placed unmixed color onto the canvas and let our eyes to do the work for him. By placing color dots near each other, we look at his piece and blend the colors ourselves. This is called optical blending. Students chose a creature- insect, fish or amphibian to paint. We started by doing many practice drawings of a "zoomed in" portion of our creature. In order to draw our creatures, students were introduced to the grid drawing method. After that we did a final drawing onto watercolor paper and then used q-tips to make our dots. The q-tips allow students to break the habit of painting in strokes with a paintbrushes. See the process at the right and our final pieces in the ART 6 Gallery!
wire animal drawingsQuarter 3 artists were thrown into a new medium right off the get go! We worked with wire of all gauges, ranging from 14 to 28 to construct wire drawings of an animal of choice. Even though wire was a new medium, this batch of artists created awesome drawings of their animals. There were finger pokes, frustration and trial and error for the past week and a half but all of them did a wonderful job! See pictures of our pieces in progress at the right and look in the ART 6 Gallery for final pieces!!
|
making collage portraitspaper quilling in progress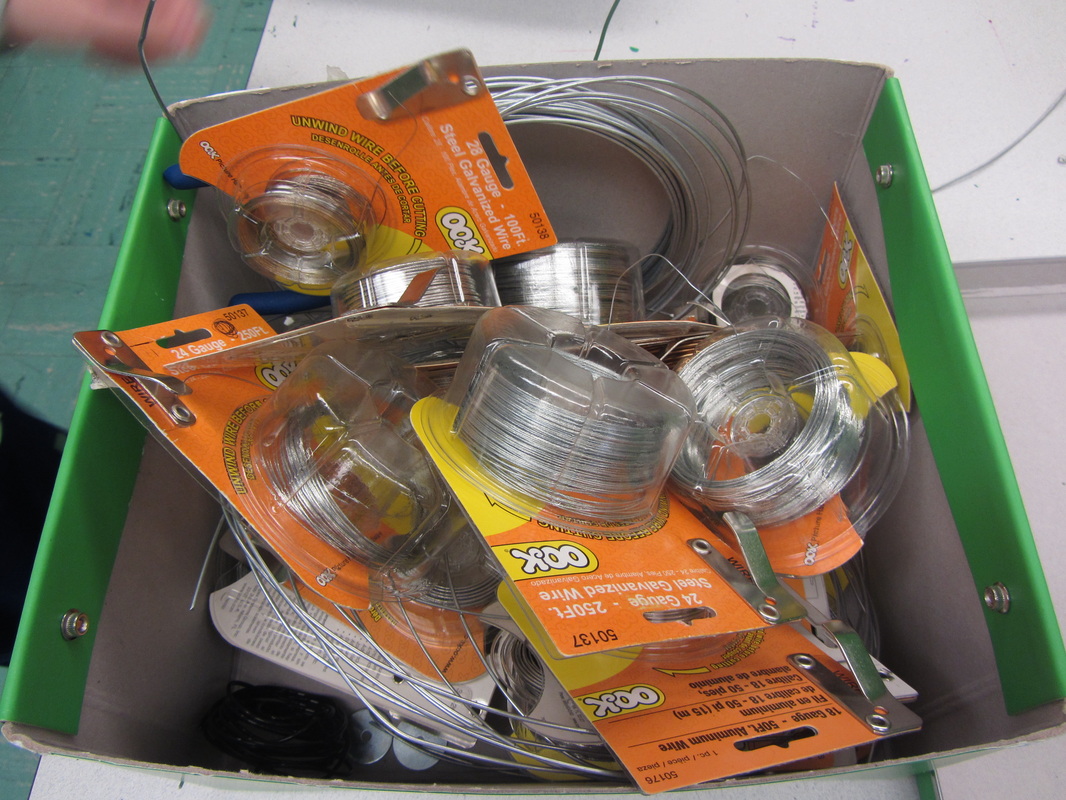 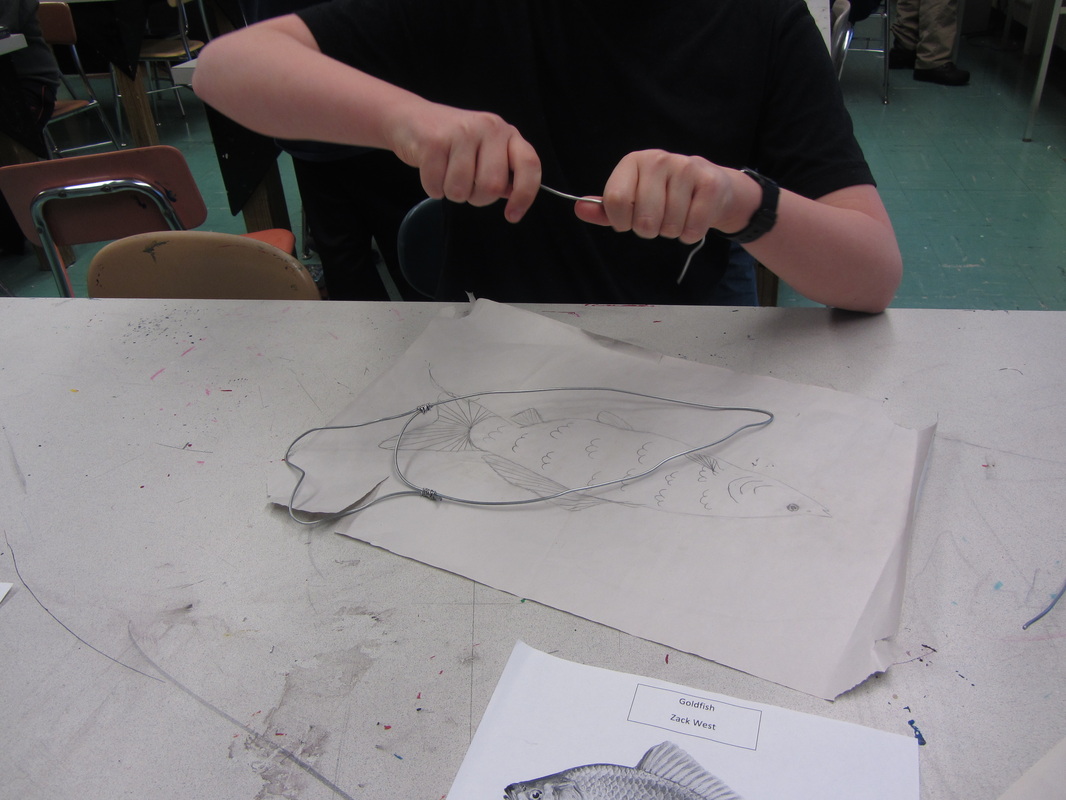 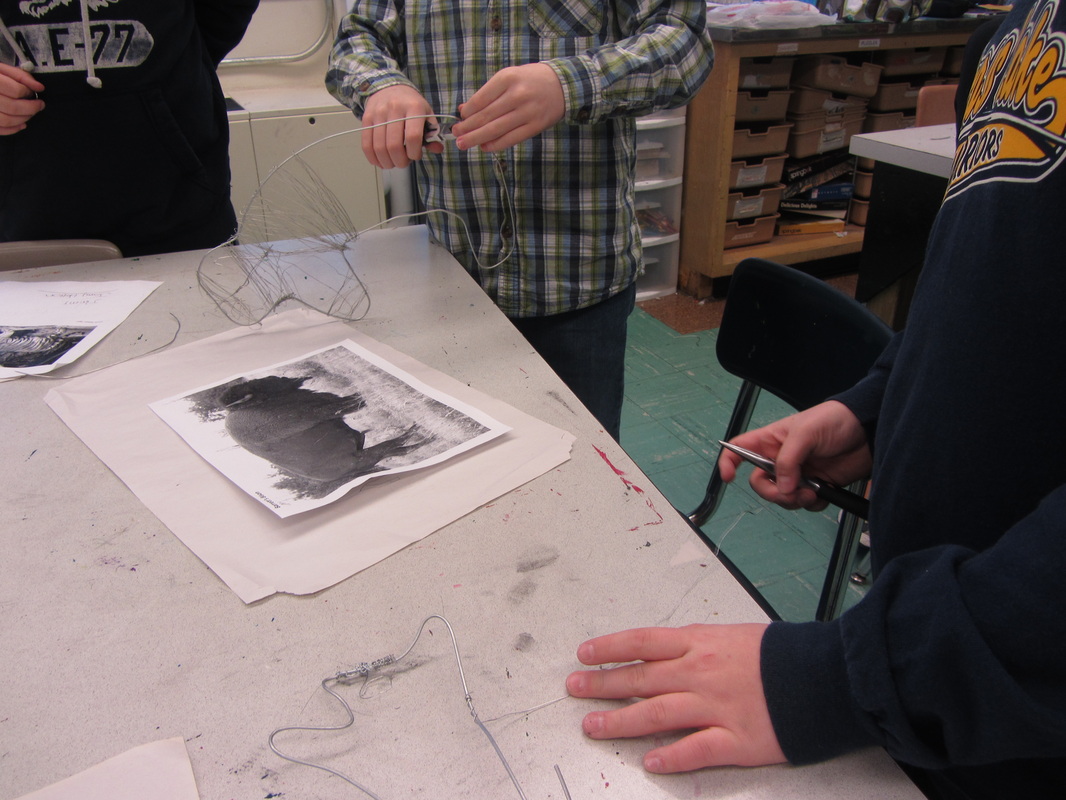  |
new quarter, new artists!
As of Monday, January, 28, we have our first quarter artists back! Everything below this announcement is from quarter 2 and all quarter 3 art projects and pieces will be posted above!
creature watercolor pointillism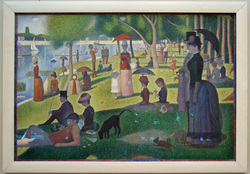 Sunday Afternoon on the Isle of Le Grand Jatte- Seurat
Our final major project of the semester has students creating a watercolor pointillism piece in the style of the pointilist pioneer himself, Georges Seurat. Instead of blending colors on the canvas, Seurat placed unmixed color onto the canvas and let our eyes to do the work for him. By placing color dots near each other, we look at his piece and blend the colors ourselves. This is called optical blending.
Students chose a creature- insect, fish or amphibian to paint. We started by doing many practice drawings of a "zoomed in" portion of our creature. In order to draw our creatures, students were introduced to the grid drawing method. After that we did a final drawing onto watercolor paper and then used q-tips to make our dots. The q-tips allow students to break the habit of painting in strokes with a paintbrush. They are coming along wonderfully and I can't wait to see the final pieces. Pictures of our steps so far will be available on Monday, Jan. 14. jose posada sketches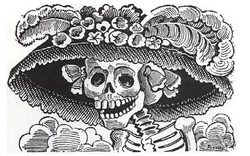 La calavera catrina by Jose Posada
Jose Posda was a Mexican artist who created relief etchings for the penny papers in Mexico. Instead of showing his political and social views using people, he substituted skeletons or calaveras. Although his work was unappreciated during his life, it is now valued and collected. Our ART 6 students created their own relief sketches using handmade sketchboards. Posada used zinc, nickel and other metals to create his acid etchings. Our students created their boards with heavy crayon colors covered with a thick layer of black crayon. They then sketched their drawings into the crayon using kabob skewers and toothpicks. Students depicted a winter time scene with calaveras, in homage to Posada. Check out pictures of the process at the right and the final pieces in the ART 6 Gallery.
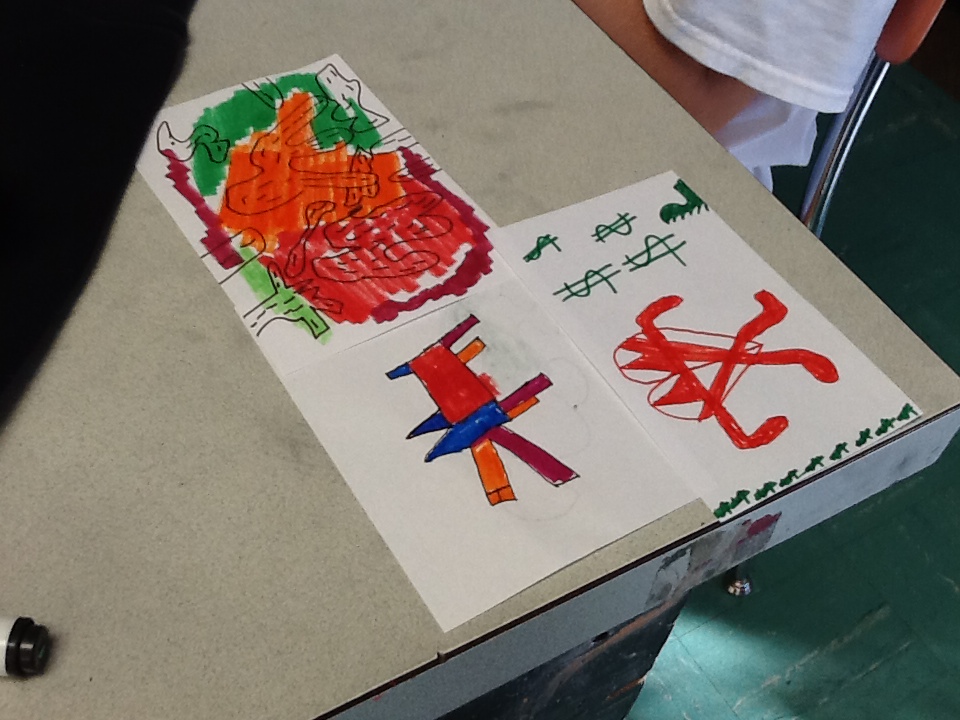
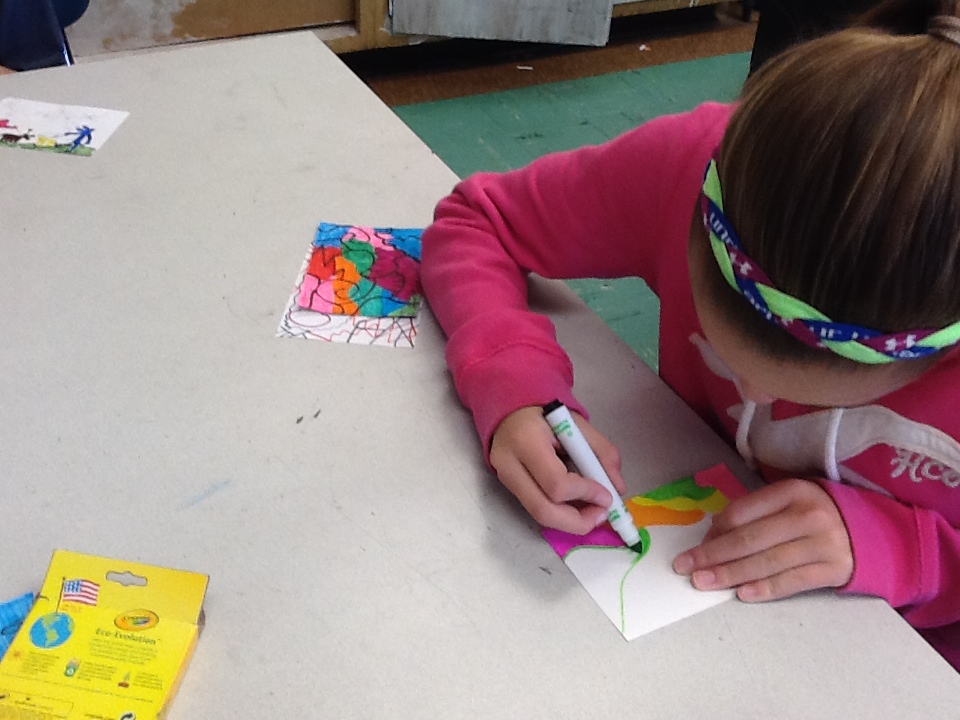
abstract paint collages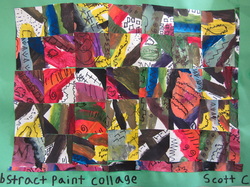
After letting our fingers rest from the wire project, we dove into paint to create our abstract paint collages. Students were given a blank piece of paper and tole to paint it with as little blank space as possible. The only rules- they had 45 minutes, no pictures of anything and get creative mixing and experimenting! Afterwards, we added details to our abstract works by adding different abstract detail with Sharpie markers. Students were pretty impressed with their work..... until I told them to make a grid on the back and chop it all up into 2 inch squares!! They were happy to see that their work turned into a completely different, but equally awesome. piece once we placed them all back onto a background mixed up! You can see pictures of the process at the right and the completed pieces in the ART 6 Gallery.
Wire animal drawingsART 6 got to create animal drawings using wire as their medium. Wire was a new expeience for all of them and even though we poked a couple fingertips, we had a lot of fun creating art with this home improvement supply.
First students chose an animal image that they wanted to create. Then they practiced drawing a simplified version of their image in the size they wanted to create their wire drawing in. Next we played with wire- attaching it, bending it, creating 90 degree angles, circles, etc. When their confidence was up and ready, we "drew" our animals in wire. Then attached them to posterboard using higher gauge wire. The photo gallery at the right shows our work in progress. |
posada sketches in progress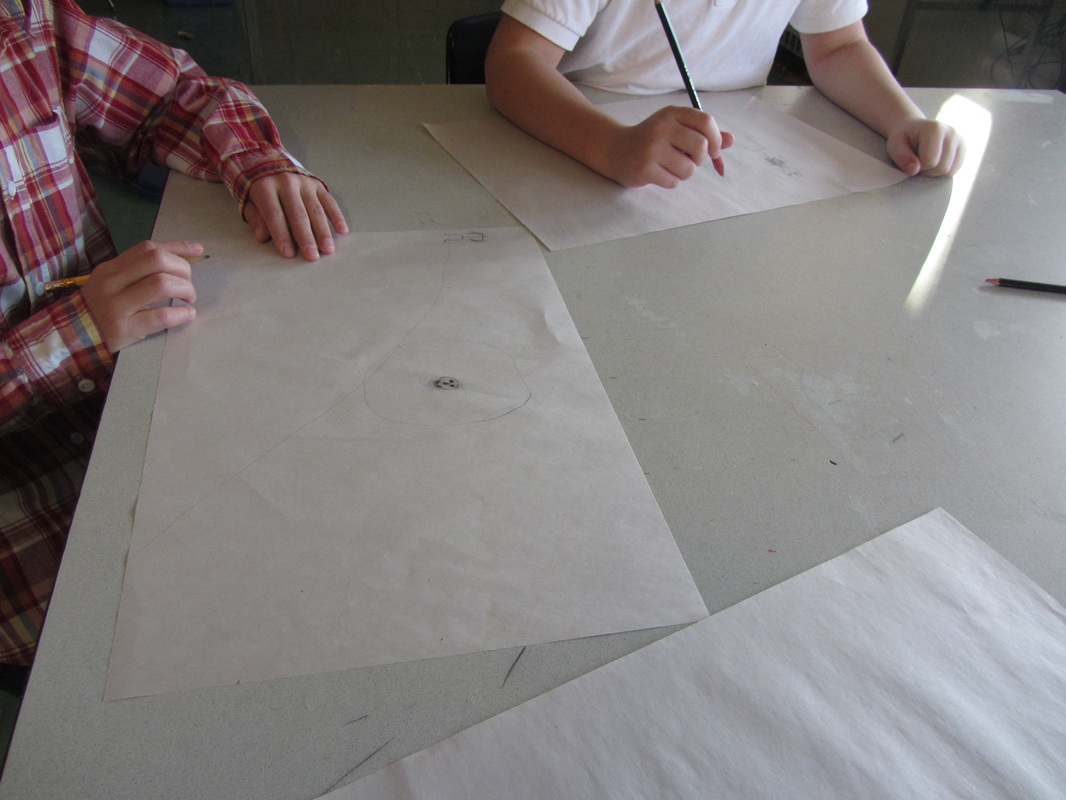  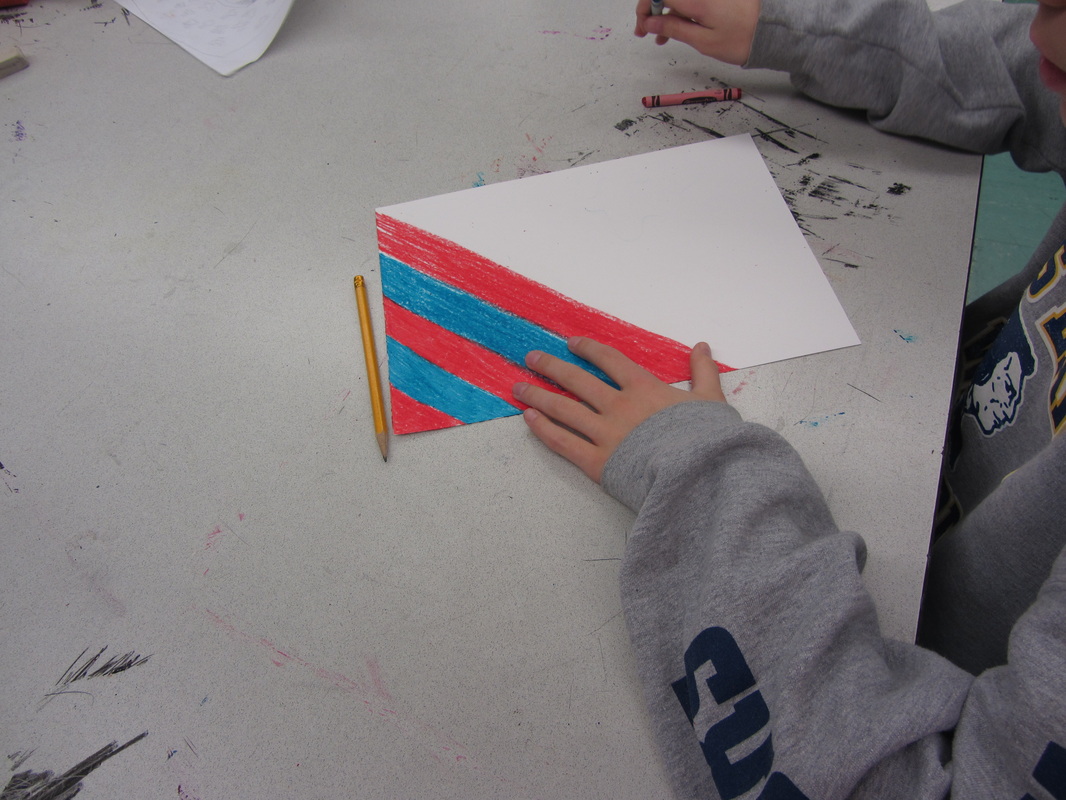 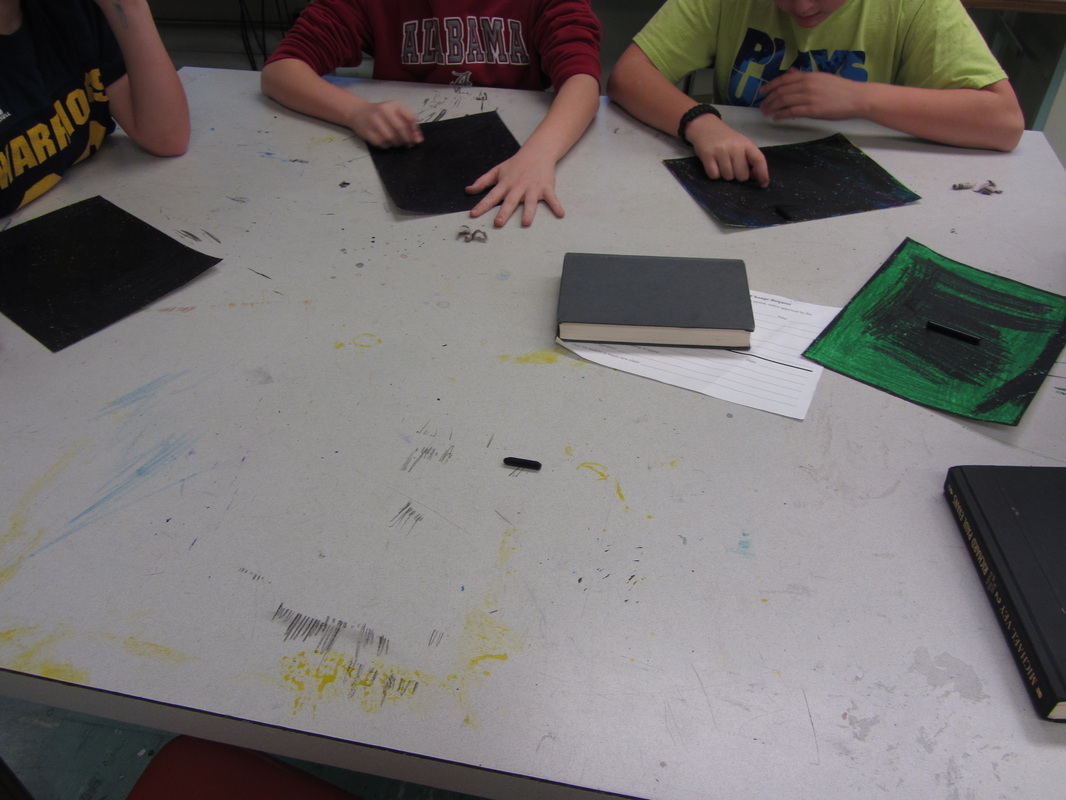  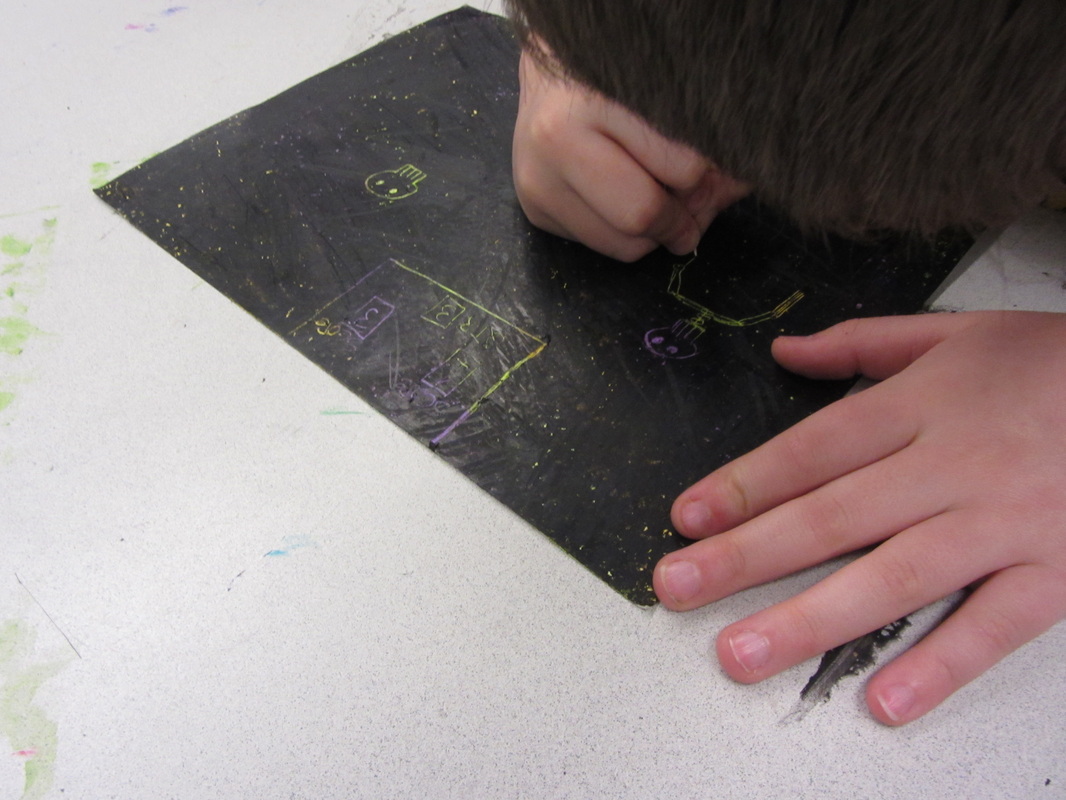 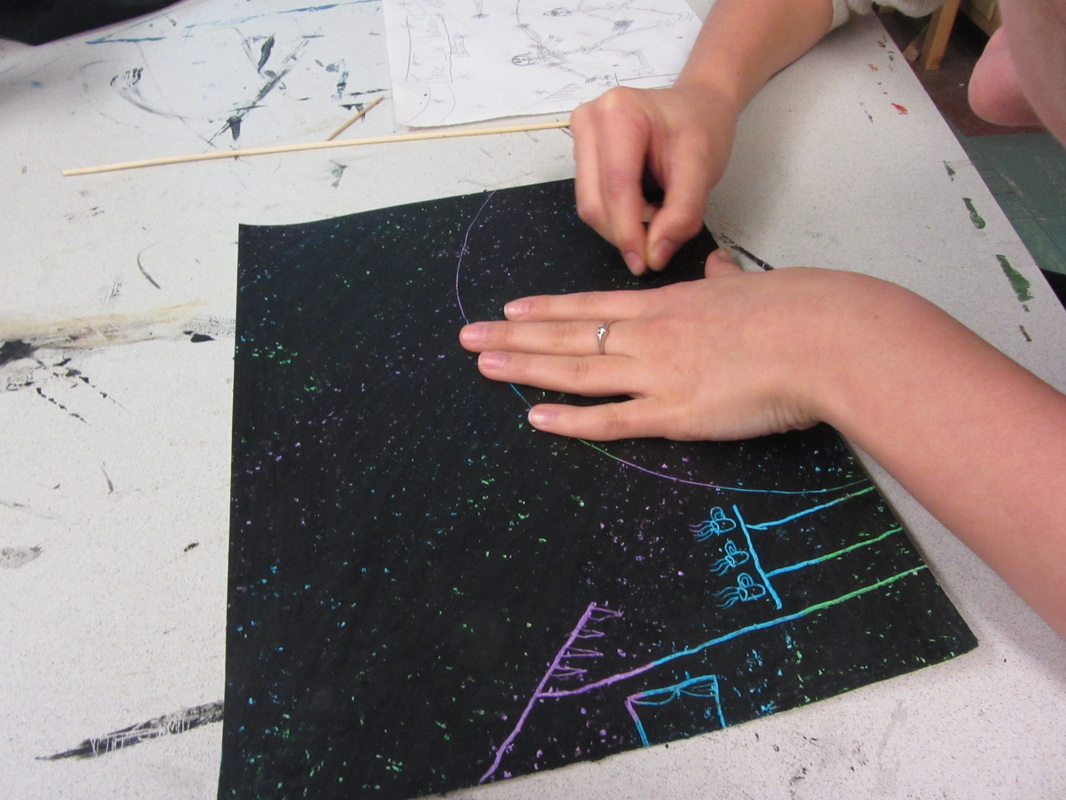 Abstract paint collage process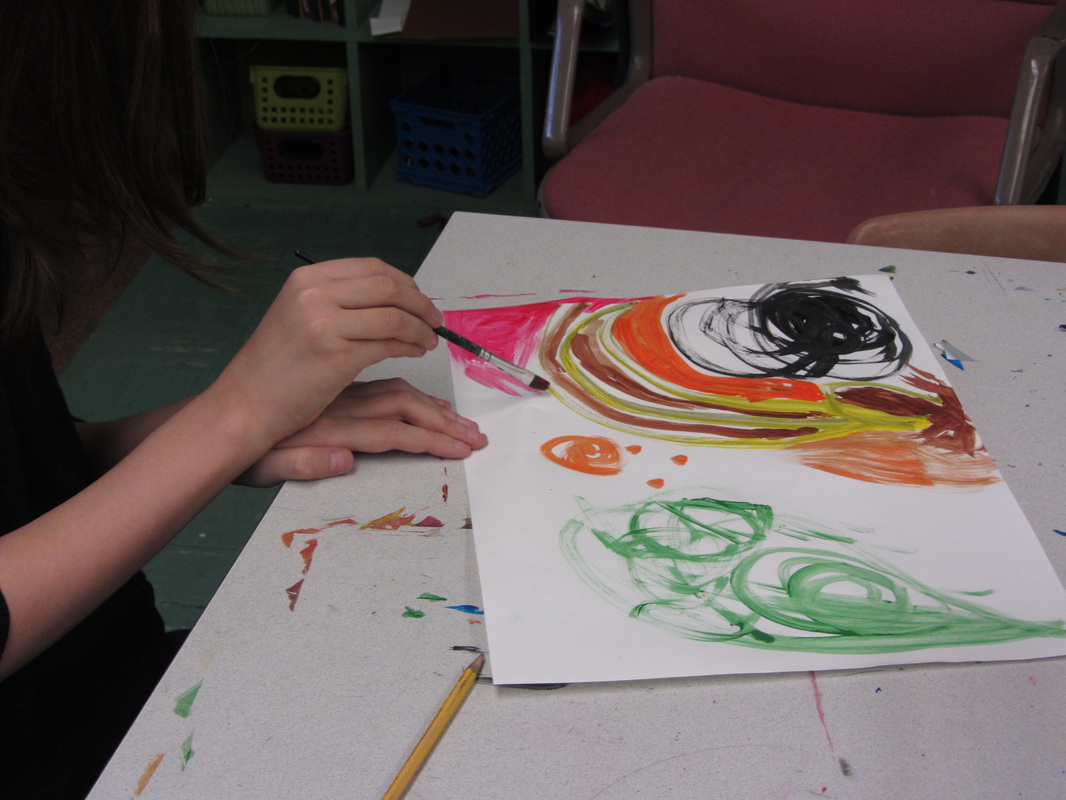 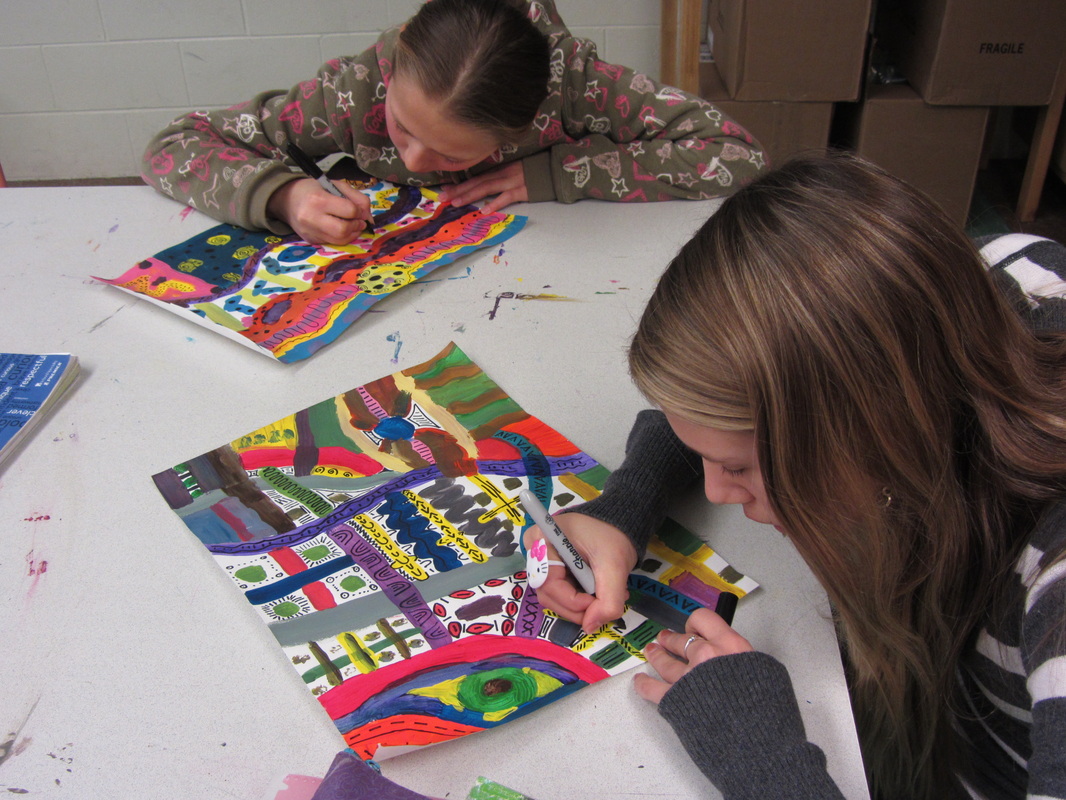 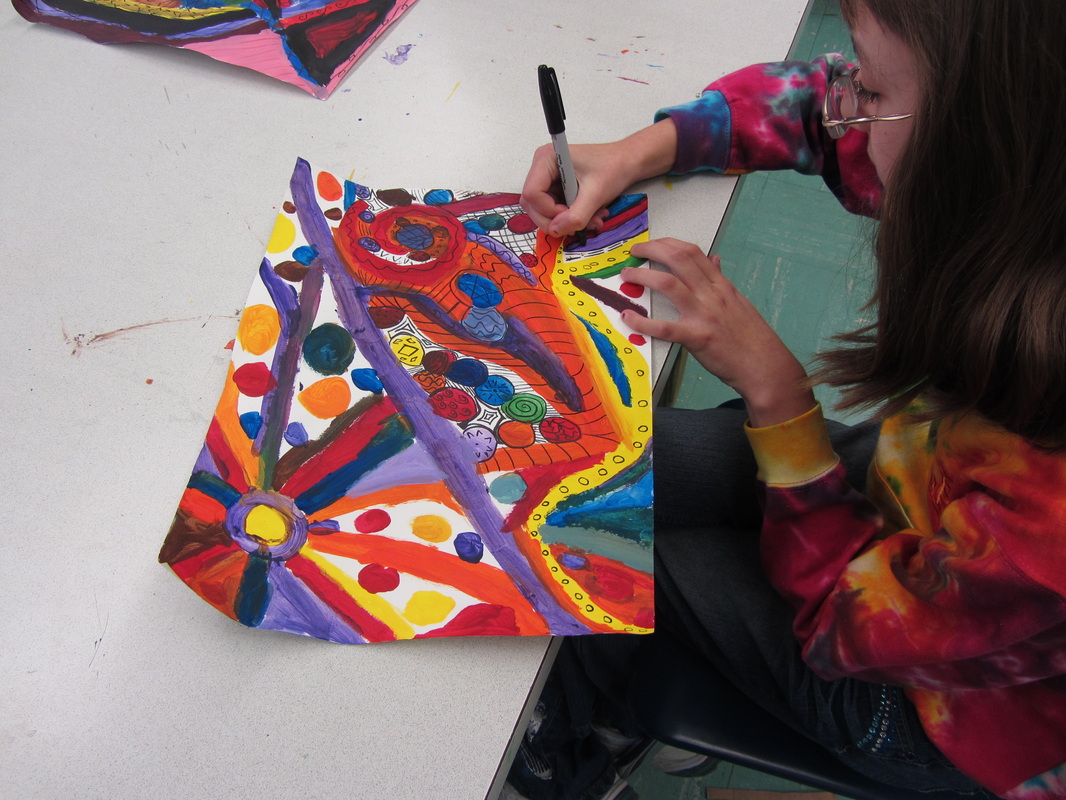 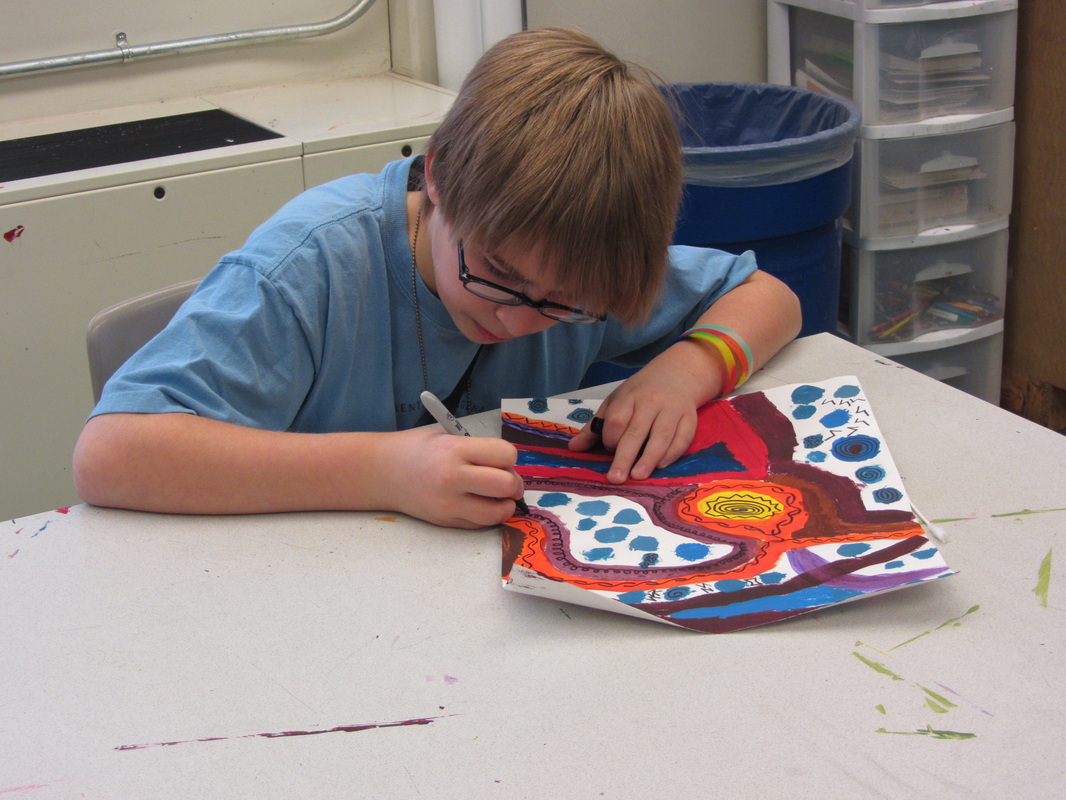  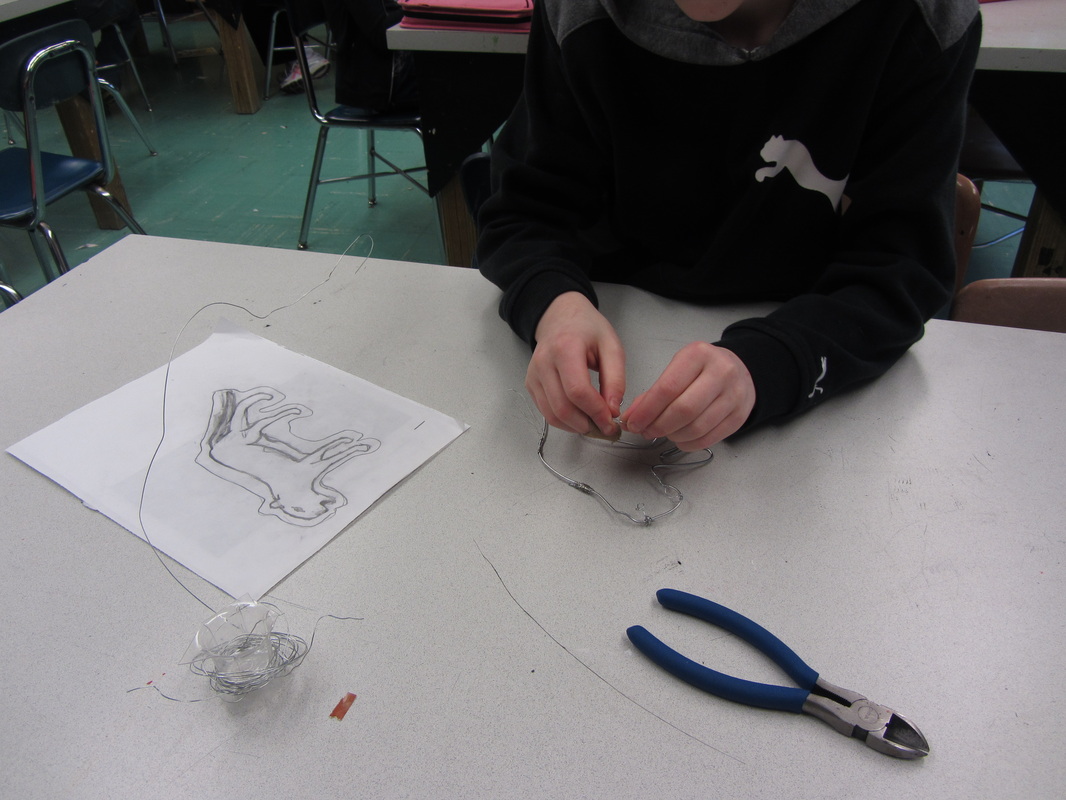 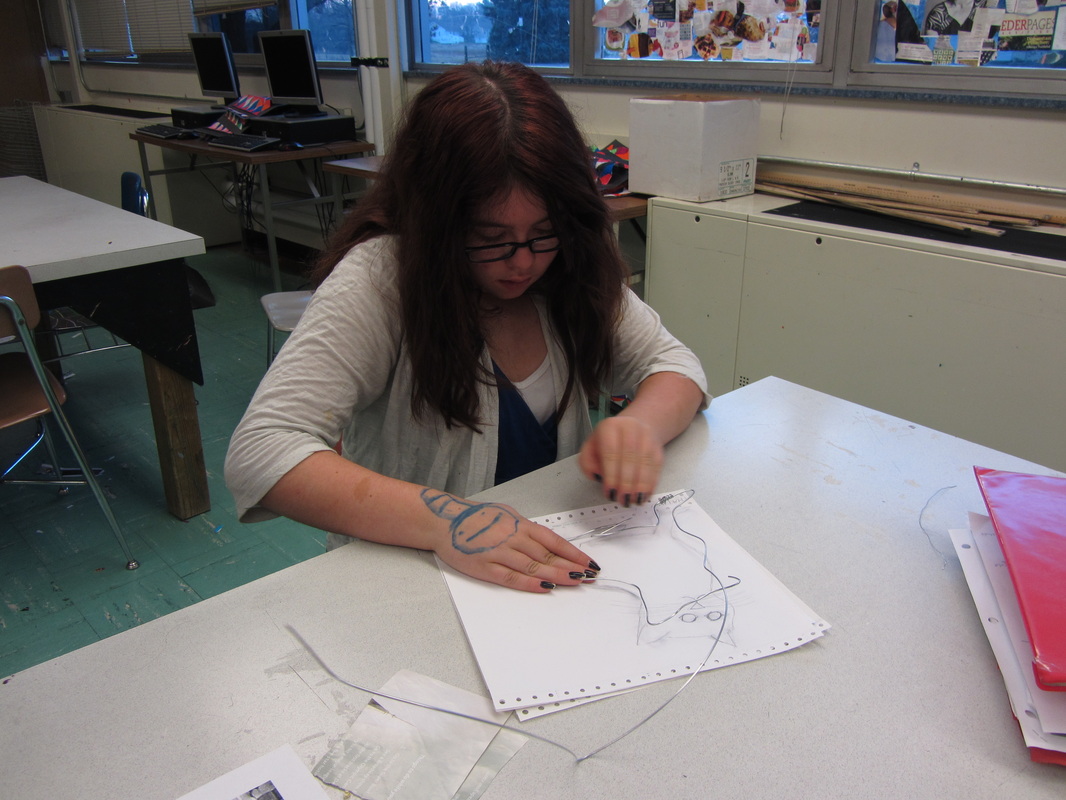 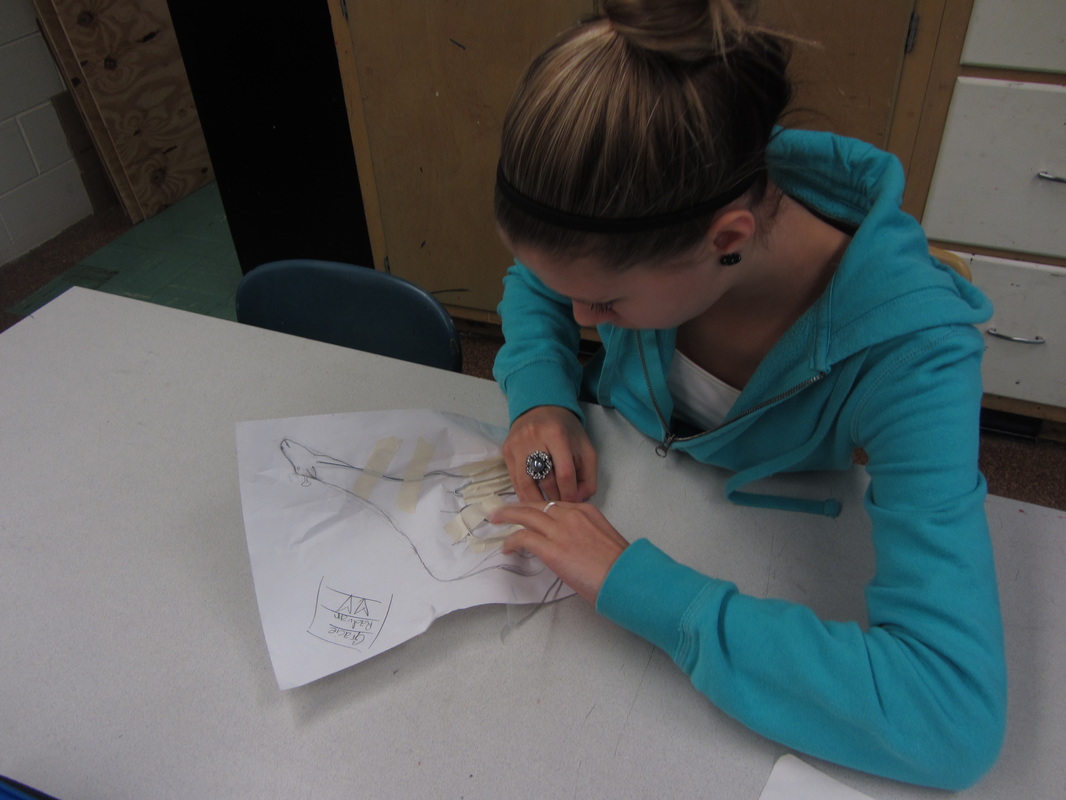 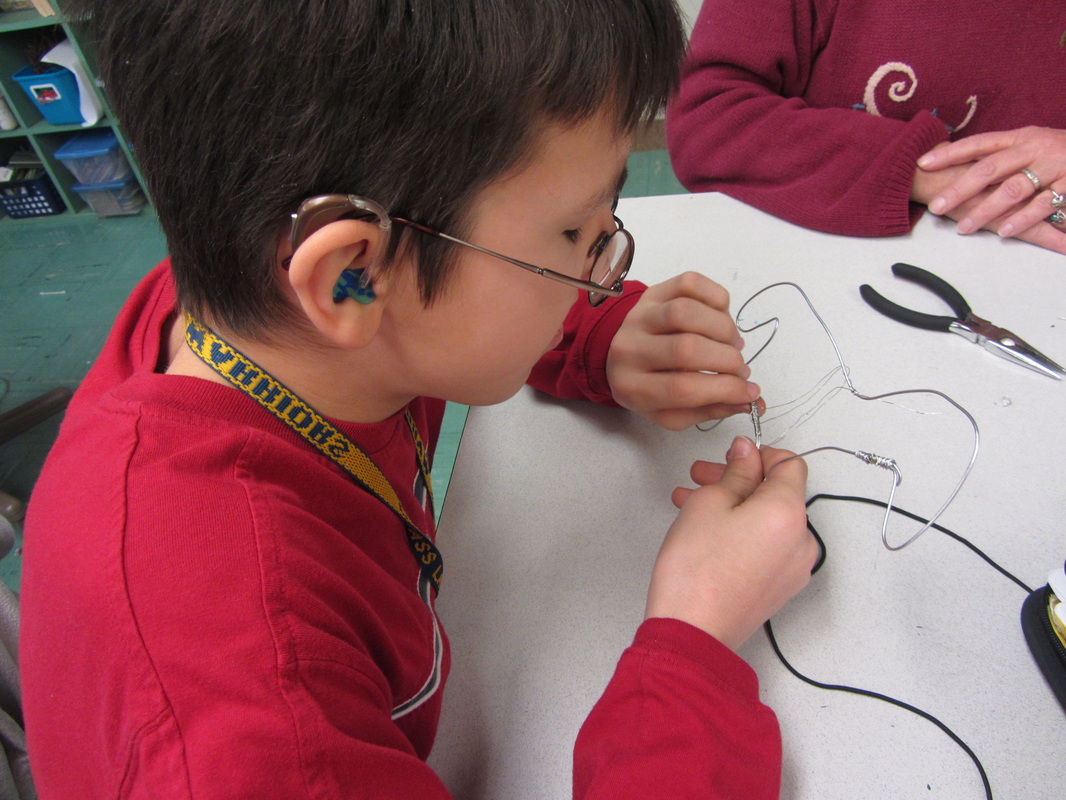 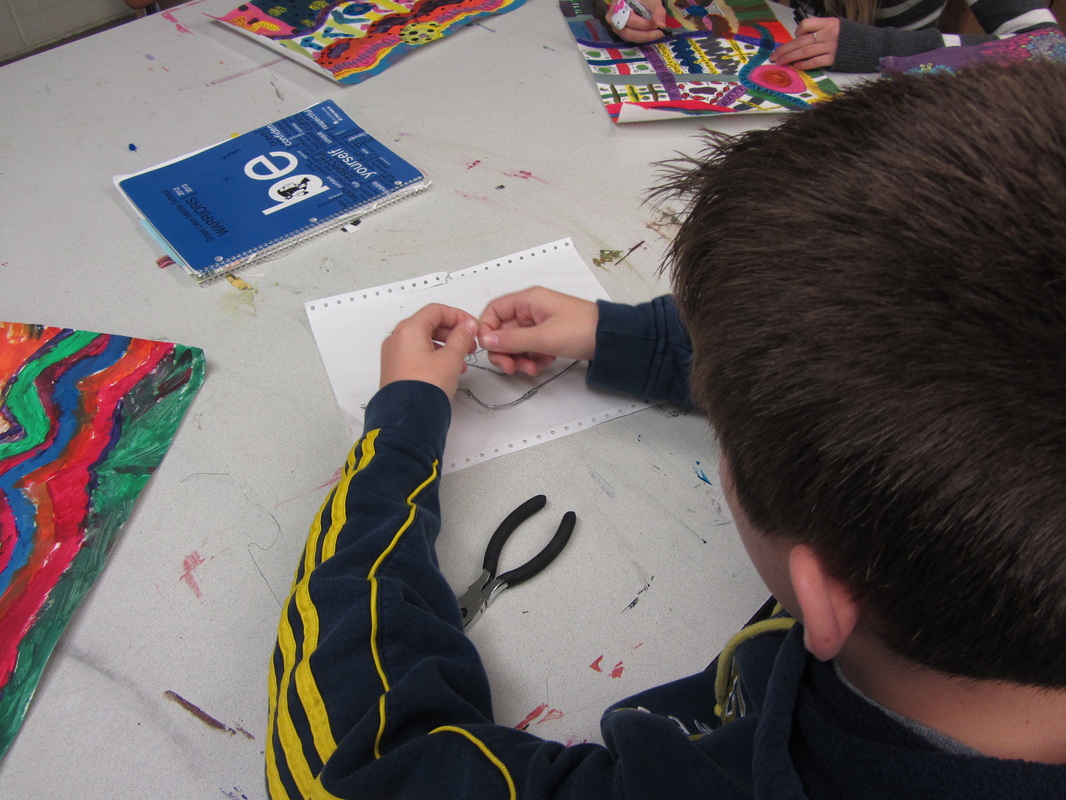 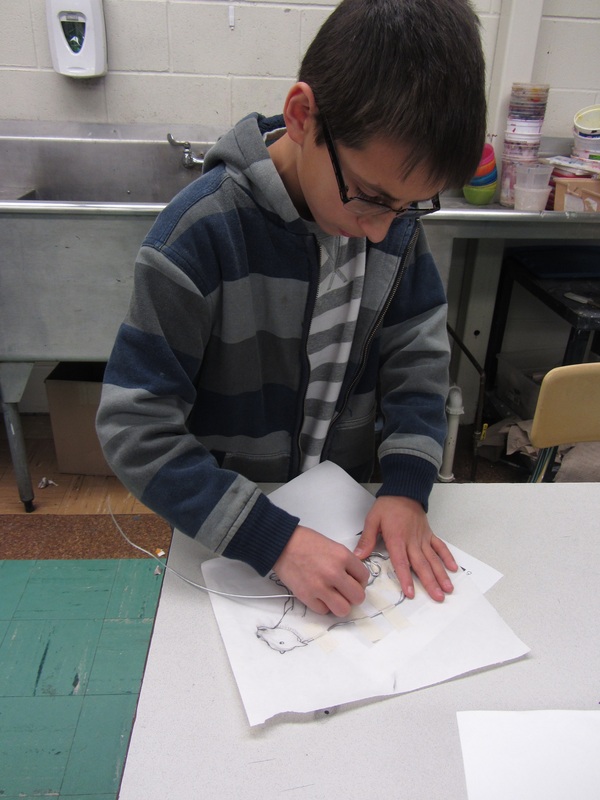 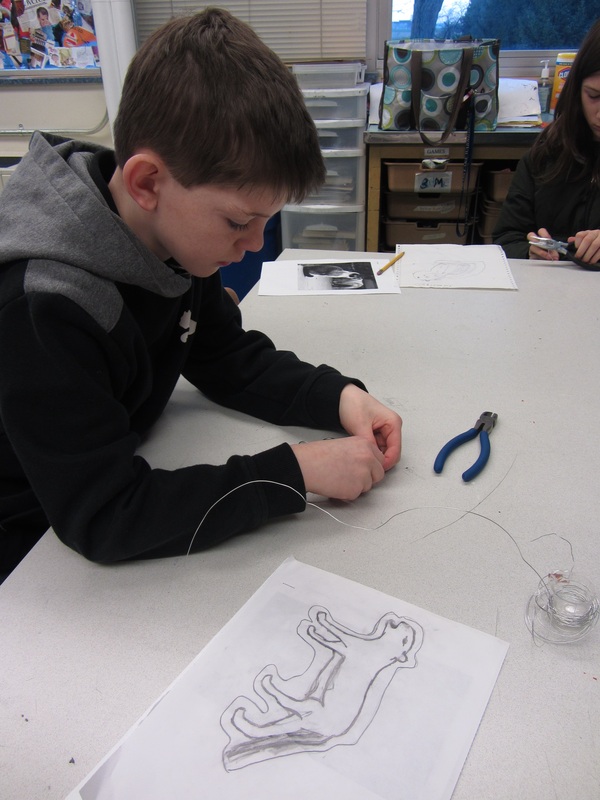 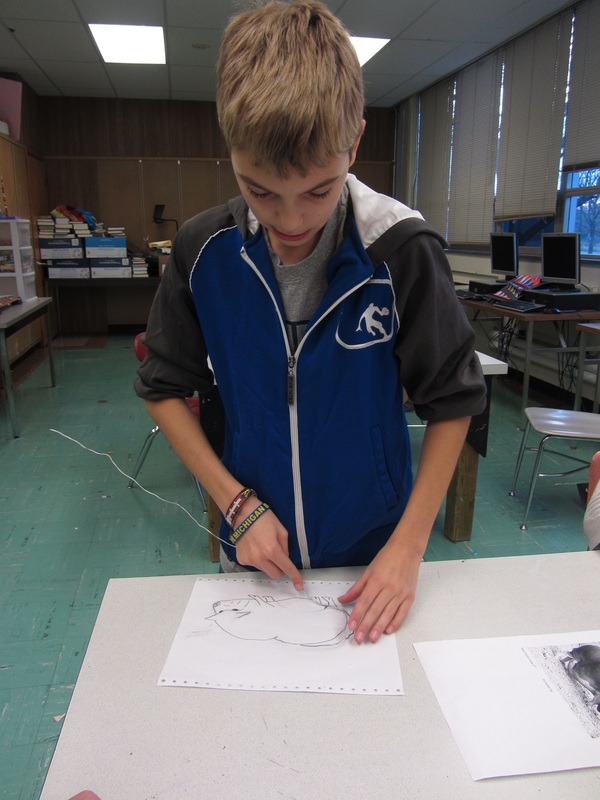 |
Keith haring graffiti people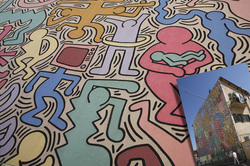
Keith Haring's graffiti artwork littered the New York CIty subways and urban landscape. His unique artwork is known for bold, defined lines and simplified figures. Our ART 6 students created their own personal version of his famous graffiti-style style by using simple images of their interests. Check out the ART 6 Gallery to see final pieces starting Tuesday, November 20!
|
graffiti people in progress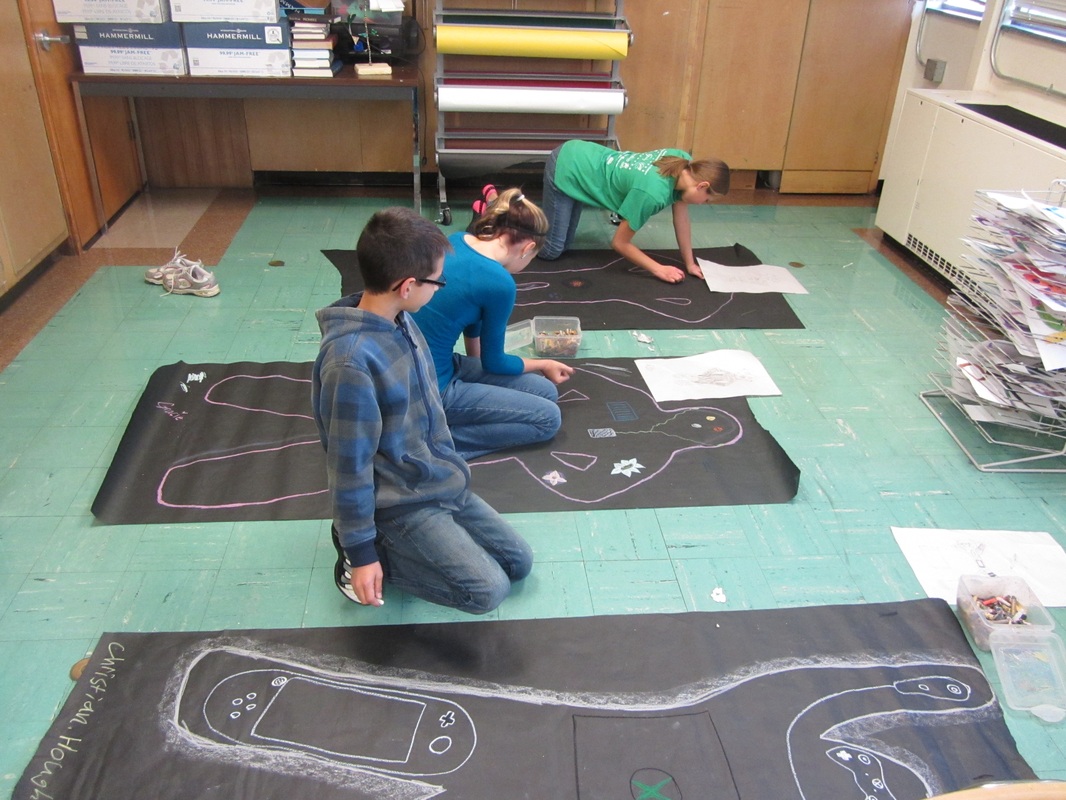  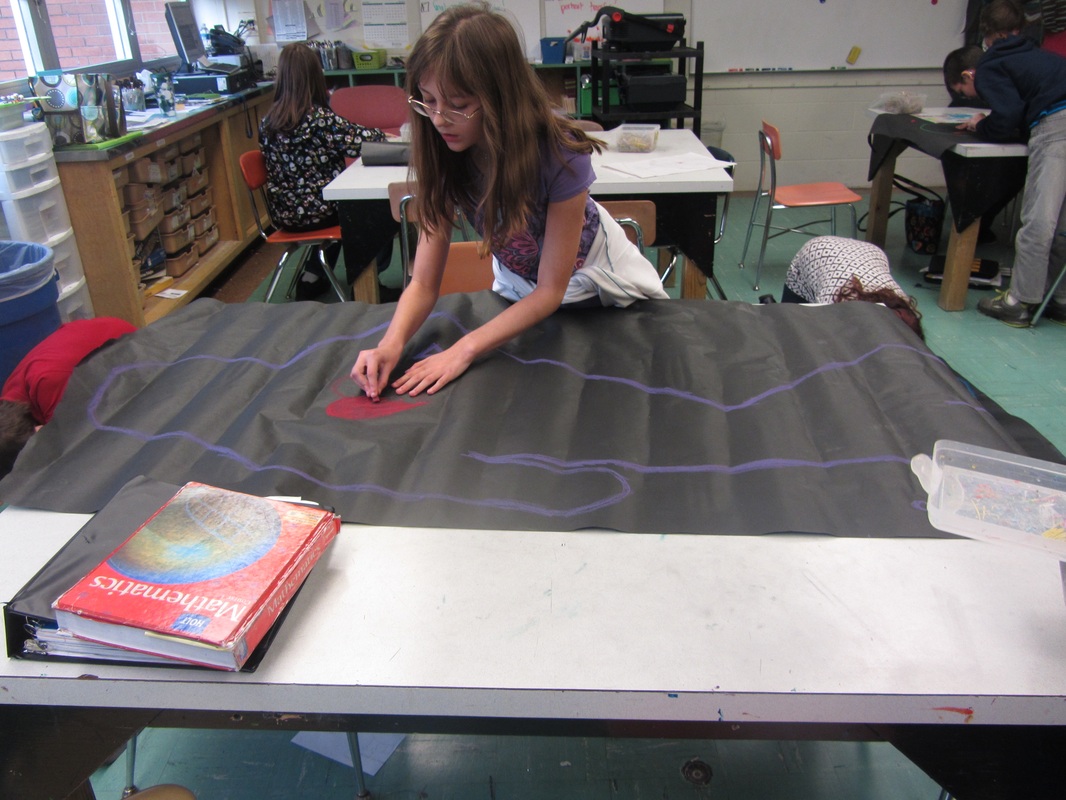 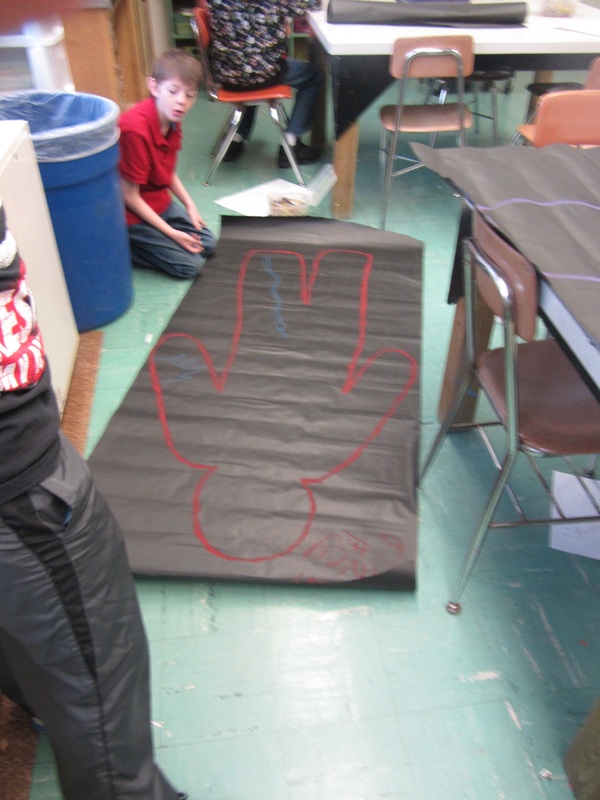  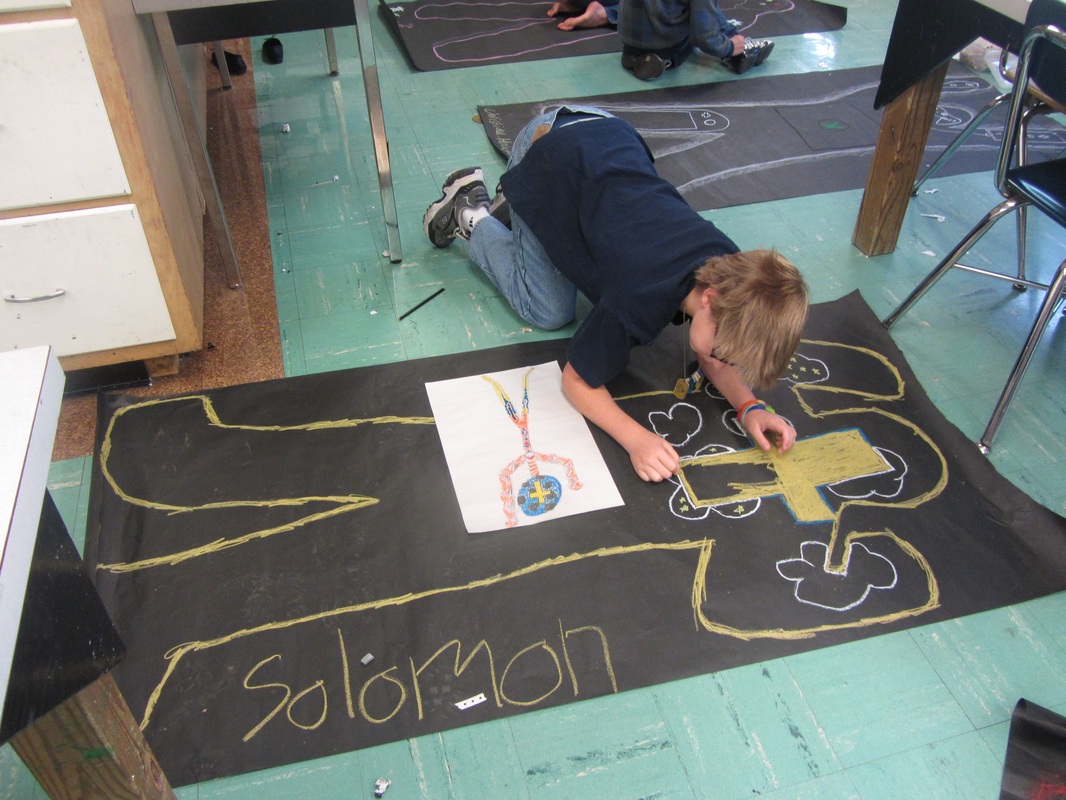 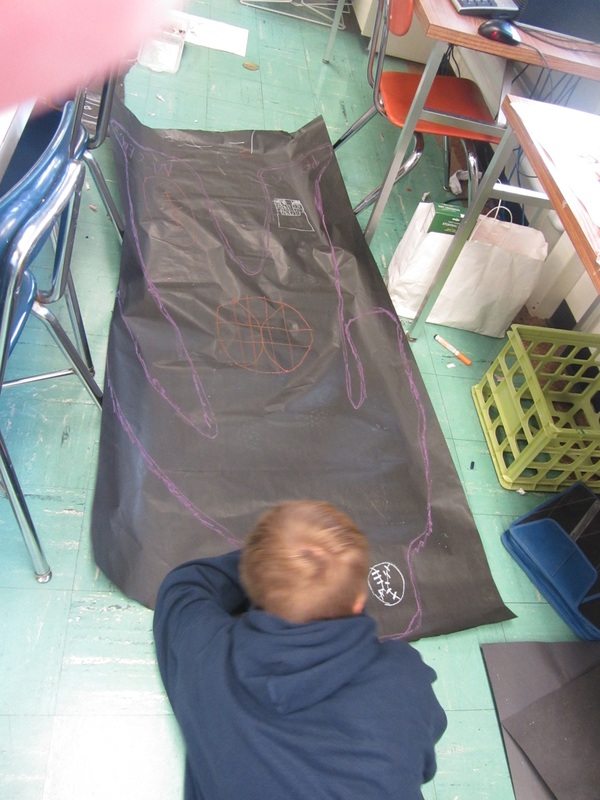 |
